If you have struggled with glazed chicken dishes that leave you with a watery puddle instead of a thick, glossy coating, you are not alone.
I developed this reliable technique to ensure that every strip of chicken is perfectly coated in that savory, restaurant-quality glaze, creating the ultimate 20-Minute Sticky Glazed Chicken Bowl.
The secret lies in the precise, dual application of cornstarch, locking in flavor and guaranteeing a truly sticky, non-watery finish in under half an hour.
Why This 20-Minute Sticky Glazed Chicken Bowl Is Your New Weeknight Hero
This recipe transforms a quick weeknight meal into an elevated dining experience without sacrificing speed or simplicity.
It cuts through the complexity often associated with achieving truly satisfying Asian-inspired flavors, prioritizing rapid prep and high-impact techniques.
The Time-Saver: Truly Done in 20 Minutes
Speed is achieved through strategic preparation: slicing the chicken into uniform 1-inch strips maximizes surface area for both the cornstarch coating and the high-heat searing.
This rapid sear ensures the chicken cooks through quickly while developing excellent exterior texture before the glazing step.
The glaze itself thickens immediately upon adding the slurry, removing the long waiting time required for traditional reductions.
The “Restaurant Quality” Gloss Secret
The key to a high-adhesion, glossy glaze is preparing the protein correctly before introducing it to the sauce.
We first coat the raw chicken in cornstarch to create a textural layer that seals in moisture and provides a porous surface for the final thick glaze to stick to.
The second application-the cold-water slurry-is what provides the dramatic, glossy finish and the satisfying stickiness that keeps the sauce bound to the chicken, not pooling at the bottom of the bowl.
For an even glossier finish on your chicken, check out this guide to sticky glazed sesame chicken.
Tools for the Task: Essential Kitchen Gear
-
Large Skillet or Wok
A wide cooking surface is crucial for the high-heat sear, allowing the chicken strips to spread out without steaming or overcrowding the pan.
-
Sharp Knife and Cutting Board
Uniformly slicing the chicken and aromatics (onion, garlic, ginger) ensures they cook evenly and rapidly, maintaining the 20-minute timeline.
-
Small Whisk
The whisk is essential for dissolving the initial sugar in the sauce base and, critically, for incorporating the cornstarch slurry without creating frustrating lumps.
Essential Ingredients and Flavor Substitutions
The Star Protein: Chicken Preparation
For maximum moisture and richness, boneless, skinless chicken thighs are the superior choice, as they remain tender even under high heat.
If you prefer a leaner protein, chicken breasts work perfectly, but require close monitoring to prevent overcooking and chewiness.
Slicing the protein into uniform 1-inch strips is key; consistency ensures every piece of chicken cooks to perfection simultaneously.
Building the Sticky Glaze Base
Soy sauce is the foundation of the savory flavor; for better control over the final salinity, I highly recommend starting with a low-sodium variety.
The sweetness can be achieved with either brown sugar for a rich, molasses note, or honey for a complex, floral sweetness that adheres beautifully.
Rice vinegar is the essential acid in this glaze, cutting through the sweetness and richness to provide a necessary bright balance.
Always use freshly grated ginger over ground spice if possible; the fresh root delivers a vibrant, pungent warmth that elevates the sauce significantly.
The Science of Stickiness: Cornstarch’s Dual Role
The first application of 2 tablespoons of cornstarch coats the raw chicken, creating a fine, dry barrier that promotes browning during the sear.
This coating acts like a primer, preventing the chicken from releasing too much moisture and setting the stage for the final glaze to adhere perfectly.
The second use, the slurry (1 teaspoon cornstarch mixed with cold water), is the pure thickening agent, transforming the liquid sauce base into a thick, glossy, sticky coating within seconds.
Mastering the Gloss: Step-by-Step Guide to Perfection
-
Prep and Coat the Chicken:
Place the sliced chicken strips in a medium bowl and toss them thoroughly with the 2 tablespoons of cornstarch until no moisture remains visible.
Ensure every piece is dusted evenly, as this foundational coating is responsible for developing the crucial texture of the final dish.
-
The High-Heat Sear:
Heat the oil in your large skillet or wok over medium-high heat until shimmering, which is essential for achieving a proper sear and avoiding a soggy result.
Sear the cornstarch-coated chicken for 5 to 7 minutes, stirring just often enough to brown the edges without overcrowding the pan.
Once the chicken is opaque and lightly golden, remove it immediately from the pan to a separate plate to prevent carryover cooking.
-
Sauté the Aromatics:
Reduce the heat to medium and add the thinly sliced yellow onion to the residual oil, cooking for about 3 to 4 minutes until they are soft and translucent.
Introduce the minced garlic and fresh ginger next, sautéing for just 60 seconds until they release their fragrant oils but before the garlic begins to brown or burn.
-
Whip Up the Sauce Base:
In a small mixing bowl, whisk together the measured soy sauce, brown sugar or honey, water or broth, and rice vinegar until the sugar is mostly dissolved.
Pour this liquid mixture directly into the skillet with the sautéed aromatics and bring the mixture to a rapid, rolling simmer.
-
The Crucial Thickening Step: The Slurry Solution
In a tiny bowl, mix 1 teaspoon of cornstarch with 2 tablespoons of cold water until completely dissolved; using cold water is imperative to guarantee a lump-free thickening.
While the sauce in the skillet is bubbling rapidly, slowly drizzle the slurry into the sauce base while continuously whisking in the center.
The sauce will dramatically thicken and turn beautifully glossy almost instantly; allow it to simmer for an additional 30 to 60 seconds to fully cook out any residual raw starch flavor.
-
Glaze and Serve:
Return the seared chicken strips to the skillet, folding and tossing vigorously for about one minute to ensure every strip is enveloped in the thick, glossy glaze.
The heat from the pan and the density of the glaze combine to create the ideal sticky texture that adheres perfectly to the cornstarch-coated chicken.
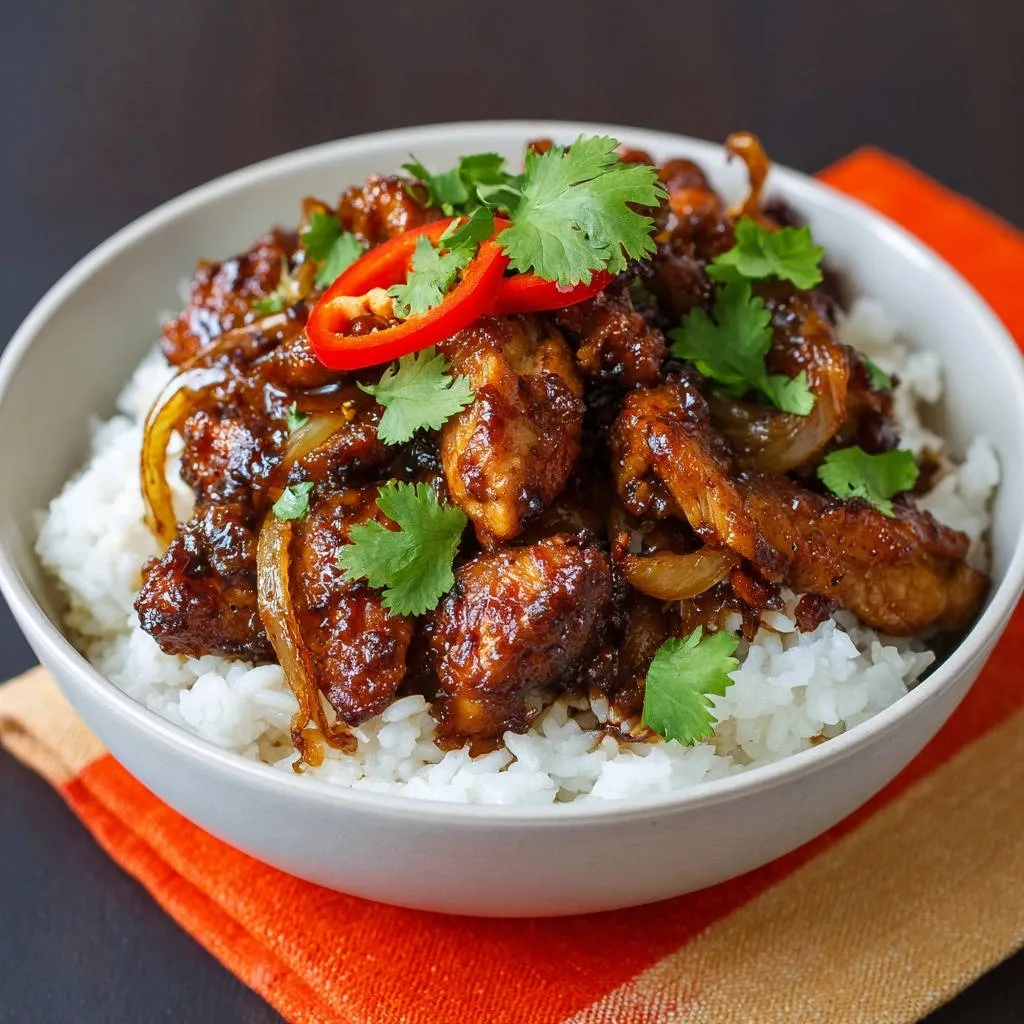
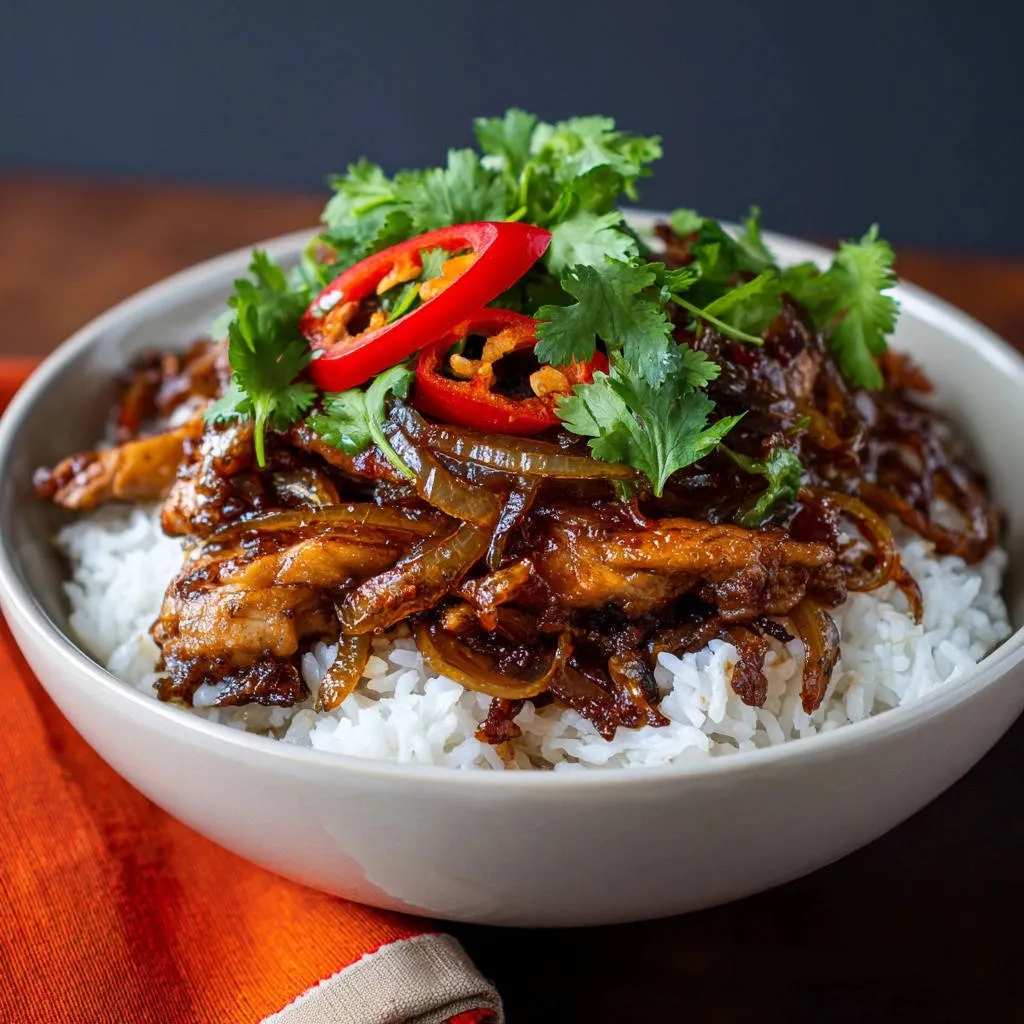
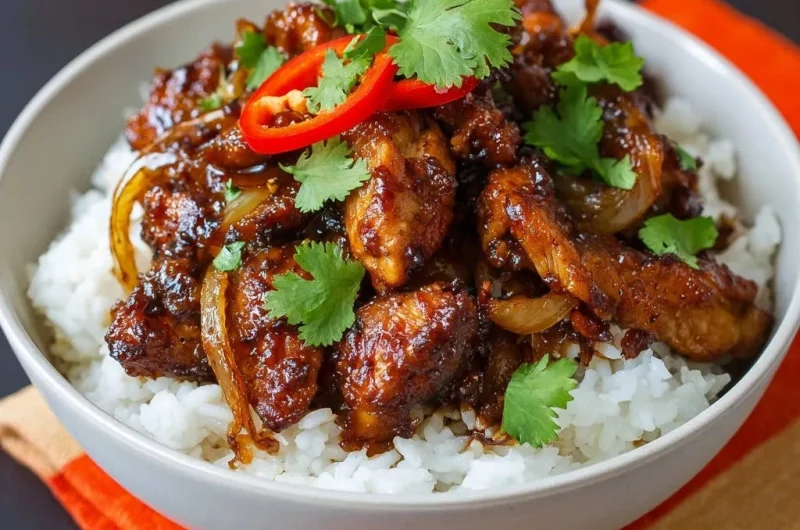
Serve this perfect sticky chicken immediately over hot rice, topped generously with fresh cilantro and vibrant red chili slices.
For a similar sticky bite, explore these sticky sesame chicken meatballs.
Quick Fixes: Troubleshooting Your Glaze and Chicken Texture
Problem: The Glaze is Still Watery or Thin
If your sauce lacks the desired thickness, the first question is whether you successfully implemented the second cornstarch slurry.
What Else to Try
Continue your chicken adventure with these complementary dishes.
- For more glazed chicken goodness, check out these crispy glazed chicken wings, made with a special double-fry method.
- If you enjoy the sesame and ginger notes, consider this sesame ginger chicken salad, featuring a technique to keep it fresh.
The immediate fix is to create another tiny slurry with a half-teaspoon of cornstarch and cold water, then slowly whisk it into the simmering sauce until the desired consistency is achieved.
Always allow the sauce to simmer for at least 60 seconds after adding the thickener to ensure the starch fully activates and any chalkiness disappears.
Problem: The Chicken is Chewy or Dry
Chewy chicken is almost always a result of overcooking, usually due to searing for too long or using pieces that are too large.
For absolute certainty, ensure the chicken’s internal temperature reaches 165°F (74°C) and remove it promptly.
If you are using chicken breasts, slightly undercook them during the initial sear since they will continue to cook as they are tossed and coated in the piping hot glaze.
Problem: The Sauce Tastes Too Salty or Sweet
If the glaze is overly salty, you can easily balance the flavor profile by stirring in a teaspoon of rice vinegar for sharpness or a splash of water or neutral broth.
If the sauce tastes too sweet, counteract this by adding another dash of soy sauce or a squeeze of fresh lime juice to introduce acidity and brightness.
Perfect Pairing: Serving and Storage Solutions
How to Build the Ultimate 20-Minute Sticky Glazed Chicken Bowl
Classic steamed white rice is the traditional choice, but jasmine rice adds a lovely floral aroma, or brown rice provides excellent fiber and nuttiness.
This dish pairs perfectly with quick, fresh vegetable additions like steamed broccoli florets or snap peas, which can be tossed directly into the finished glaze for a quick coating.
Do not skip the garnishes: fresh cilantro adds herbaceous contrast, and thinly sliced red chilis provide necessary heat and beautiful visual pop.
Making It Ahead and Safe Storage
Leftovers of this 20-Minute Sticky Glazed Chicken Bowl should be stored in an airtight container and refrigerated promptly, where they will last safely for up to three days.
To reheat, avoid the microwave, which tends to soften the chicken and loosen the glossy glaze.
Instead, reheat the sticky chicken gently in a dry skillet over medium heat, stirring until warm, which helps the glaze re-adhere and maintains a better texture.
FAQs: Common Questions About Glazed Chicken Bowls
Can I make this 20-Minute Sticky Glazed Chicken Bowl recipe gluten-free?
Absolutely. To make this recipe gluten-free, substitute the standard soy sauce with an equal amount of certified gluten-free tamari or coconut aminos.
Ensure any broth used in the sauce base is also confirmed gluten-free, but the cornstarch itself is naturally gluten-free.
What oil works best for the sear?
For a proper high-heat sear, you must use an oil with a high smoke point, such as vegetable oil, canola oil, or refined peanut oil.
These oils can withstand the medium-high temperature necessary for browning the coated chicken effectively without burning or smoking.
Is it possible to use frozen chicken strips?
While convenient, frozen chicken strips must be fully thawed before starting the recipe to prevent a watery outcome.
Crucially, pat the thawed chicken completely dry with paper towels before slicing and coating it with the cornstarch; any surface moisture will inhibit proper browning.
Ready to Impress? Share Your Glossy Glaze Success!
This recipe is my definitive answer to the frustrating watery sauce dilemma, proving that incredible flavor and professional texture are achievable quickly at home.
The unique, dual-stage use of cornstarch ensures this sticky glazed chicken is a highly reliable weeknight favorite that always delivers perfect results.
Try the “slurry solution” tonight and see the instant, glossy transformation for yourself-then come back and let me know how much you love your new favorite weeknight bowl!
Sticky Glazed Chicken
Course: Main CourseCuisine: AsianDifficulty: easy4
servings10
minutes10
minutes350
kcal20
minutesTired of watery sauces? This recipe shows you the simple trick for achieving a thick, glossy, sticky glaze that perfectly coats every strip of chicken. It’s quick, savory, and perfect for a weeknight meal served over rice.
Ingredients
1.5 pounds boneless skinless chicken thighs or breasts, sliced into 1-inch strips
2 tablespoons cornstarch plus 1 teaspoon for slurry
1 tablespoon vegetable oil
1 medium yellow onion, thinly sliced
3 cloves garlic, minced
1/2 cup soy sauce
1/4 cup brown sugar or honey
1/4 cup water or broth
1 tablespoon rice vinegar
1 teaspoon grated fresh ginger
Cooked white rice for serving
Fresh cilantro for garnish
Red chili slices for garnish
Directions
- Prep the chicken: Place the sliced chicken strips in a bowl and toss them with 2 tablespoons of cornstarch until fully coated. This coating step is crucial for achieving texture and helping the glaze stick later.
- Sear the chicken: Heat the vegetable oil in a large skillet or wok over medium-high heat. Add the cornstarch-coated chicken and sear for 5 to 7 minutes, flipping occasionally, until the chicken is browned and cooked through. Remove the chicken from the pan and set it aside.
- Saute the aromatics: Reduce the heat to medium. Add the sliced onion to the skillet and cook for 3 to 4 minutes until softened. Add the minced garlic and ginger and cook for 1 minute until fragrant.
- Prepare the sauce base: In a separate small bowl, whisk together the soy sauce, brown sugar, water or broth, and rice vinegar. Pour this mixture into the skillet with the onions and bring the mixture to a rapid simmer.
- The Sticky Coating Solution: In another tiny bowl, mix 1 teaspoon of cornstarch with 2 tablespoons of cold water to create a slurry. While the sauce is simmering rapidly, slowly drizzle the slurry into the sauce while whisking continuously. The sauce will immediately thicken and turn glossy. Allow the sauce to simmer for 30 to 60 seconds to cook out the starchiness.
- Glaze the chicken: Return the cooked chicken strips to the skillet. Toss vigorously for about 1 minute until every piece of chicken is thoroughly coated in the thick, sticky glaze. The high heat combined with the thickness of the sauce will ensure a perfect glossy coating.
- Serve immediately over white rice, garnished with fresh cilantro and chili slices.
Notes
- The double cornstarch application (coating the chicken first, then using a slurry) is essential for maximum stickiness and gloss.