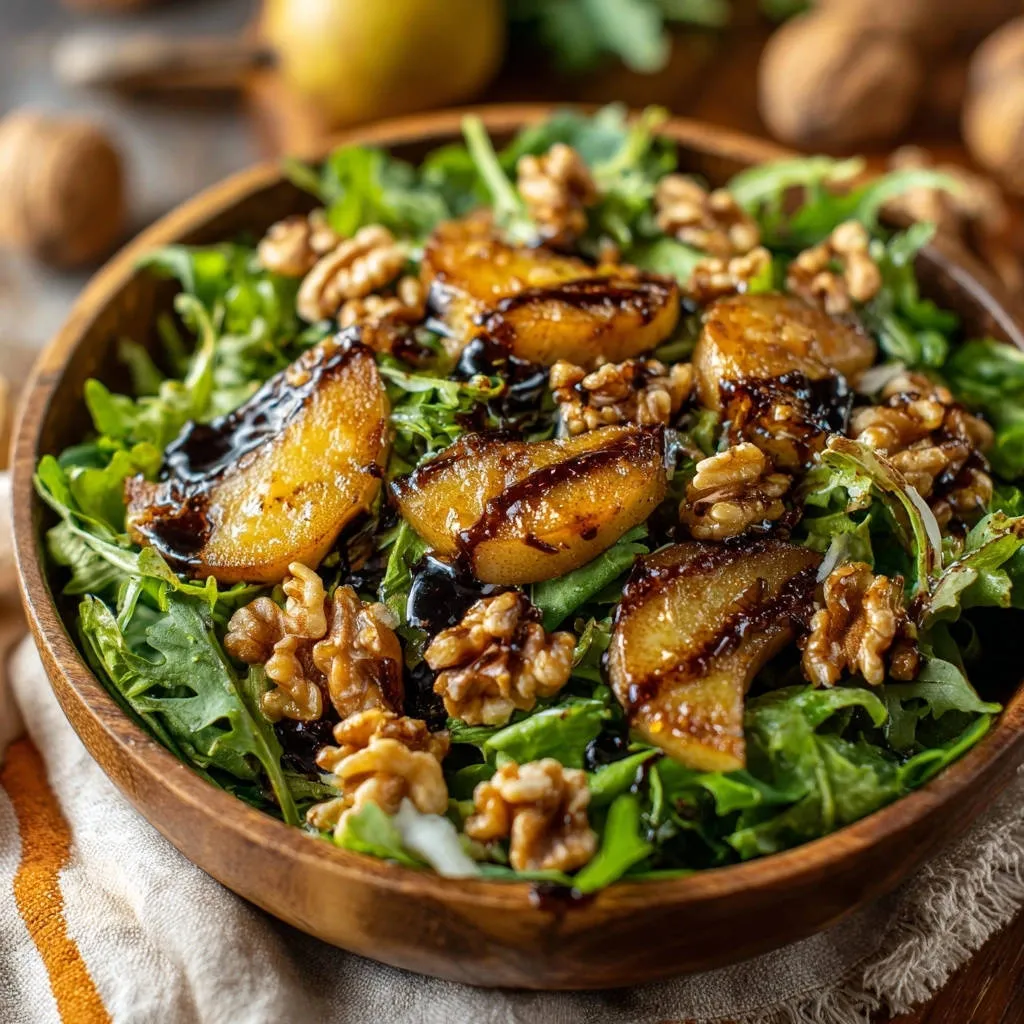
There is nothing worse than making a gorgeous, hearty salad only to watch the dressing run straight to the bottom of the bowl. This recipe for Arugula and Seared Pear Salad changes everything by teaching you the fail-proof technique for a truly thick, restaurant-quality balsamic glaze.
We will achieve a deep, rich flavor that perfectly coats every peppery leaf and sweet, caramelized pear wedge, delivering elegance and sophistication in under 30 minutes.
The Secret Weapon: Why Our Balsamic Glaze Recipe Works Every Time
From Runny Mess to Restaurant-Quality Coating
The key to superior texture lies in the careful reduction process, which concentrates the vinegar’s flavor and viscosity dramatically.
The addition of brown sugar acts as a stabilizing agent, preventing the glaze from separating and ensuring it adheres tightly to the ingredients for that coveted, glossy finish.
Sweet and Savory: The Perfect Seasonal Balance
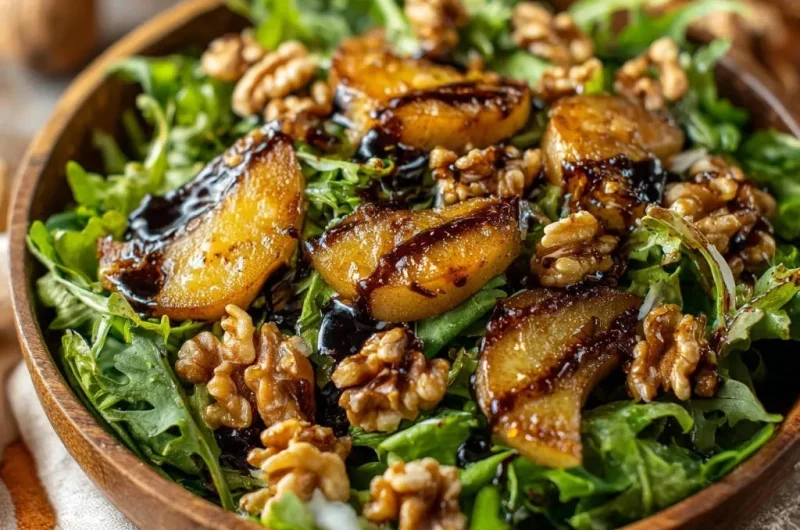
Arugula provides a necessary sharpness and bitterness that cuts through the richness of the butter-seared pears, preventing the dish from tasting overly sweet.
The thick balsamic glaze then acts as the perfect bridge, offering a concentrated sweetness balanced by the vinegar’s natural acidity and depth.
Quick Elegance: Ready in Under 30 Minutes
The crucial reduction process for the glaze takes about 12 to 15 minutes, which allows you to simultaneously sear the pears and toast the walnuts.
This parallel preparation method makes this salad lightning-fast to execute, transforming it into a high-impact, elegant dish suitable for any meal.
Building Blocks of Flavor: Choosing Your Ingredients Wisely
Balsamic Quality Control: Why Grade Matters for Reduction
While you don’t need expensive aged balsamic, opt for a good quality mid-range balsamic vinegar for the best results.
Higher quality vinegar contains a better sugar concentration naturally, yielding a superior viscosity and deeper flavor complexity upon careful reduction.
Selecting the Perfect Pear for Searing (Firmness Matters)
Always opt for firm varieties like Bosc or Anjou because their dense flesh holds up perfectly well to medium heat.
Softer pears, such as Bartlett, release too much moisture and tend to break down into an unpleasant mush when seared, failing to achieve that perfect caramelized crust.
The Arugula Foundation: Freshness and Bite
Arugula is non-negotiable for its distinct peppery and slightly bitter bite, which is crucial for contrasting the intense sweetness of the glaze and pears.
If you prefer a milder base, you can substitute up to half of the arugula with tender baby spinach or baby kale for a smoother flavor profile.
Elevating Crunch: Toasting Walnuts for Maximum Aroma
Toasting walnuts is essential as this brief heat exposure releases their natural oils and significantly deepens their inherent nutty aroma and flavor.
For the best result, toast them gently in a dry skillet over medium-low heat for 3 to 5 minutes, shaking frequently until they become fragrant.
Essential Kitchen Tools for the Perfect Sear and Reduction
Choosing the Right Pan for the Glaze Reduction
A non-reactive saucepan, such as stainless steel or ceramic, is crucial because vinegar can react chemically with certain metals, causing an off-putting flavor.
Ensure the pan has a heavy, thick bottom to distribute the low heat perfectly, preventing scorching during the prolonged 12 to 15-minute reduction time.
Skillet Selection for Optimal Pear Caramelization
A heavy-bottomed cast iron skillet or a high-quality stainless steel pan is ideal for searing.
These materials retain heat consistently and extremely well, allowing you to achieve a beautiful, quick, dark crust (the Maillard reaction) on the pear wedges.
Your Step-by-Step Guide to Arugula and Seared Pear Salad Perfection
Phase 1: Achieving the Fail-Proof Thick Glaze
Step 1.1: Gentle Simmering is Crucial: Combine the balsamic vinegar and brown sugar in your non-reactive saucepan and bring it to a very gentle simmer over low to medium-low heat.
You should see tiny, lazy bubbles forming primarily around the edges of the pan, indicating low, controlled heat, which prevents the sugars from scorching.
Step 1.2: The “Coating the Spoon” Test: Allow the mixture to bubble gently and reduce its volume by half, which should take 12 to 15 minutes.
Test for doneness by dipping a cold spoon into the liquid; if the glaze coats the back of the spoon thickly and a drawn line holds its shape, it is ready.
Immediately pour the glaze into a separate container, as the residual heat in the pan will continue to reduce and over-thicken the reduction once it is off the stove.
Phase 2: Mastering the Sear on Pear Wedges
Step 2.1: Achieving High Heat Safely: Heat the butter or olive oil in your skillet over medium heat until it is shimmering slightly, but not yet smoking.
Carefully place the firm pear wedges cut-side down into the hot skillet, ensuring you do not overcrowd the pan; sear them in two batches if necessary.
Step 2.2: The Caramelized Texture Goal: Sear the pears for 3 to 4 minutes per side until they develop a deep golden-brown, caramelized crust.
The goal is an internal texture that is slightly tender yet still firm enough to hold their beautiful wedge shape for the final assembly.
Phase 3: Assembly and The Finishing Drizzle
Step 3.1: Layering the Components: Place the fresh arugula in a large, wide serving bowl or on individual plates for elegant presentation.
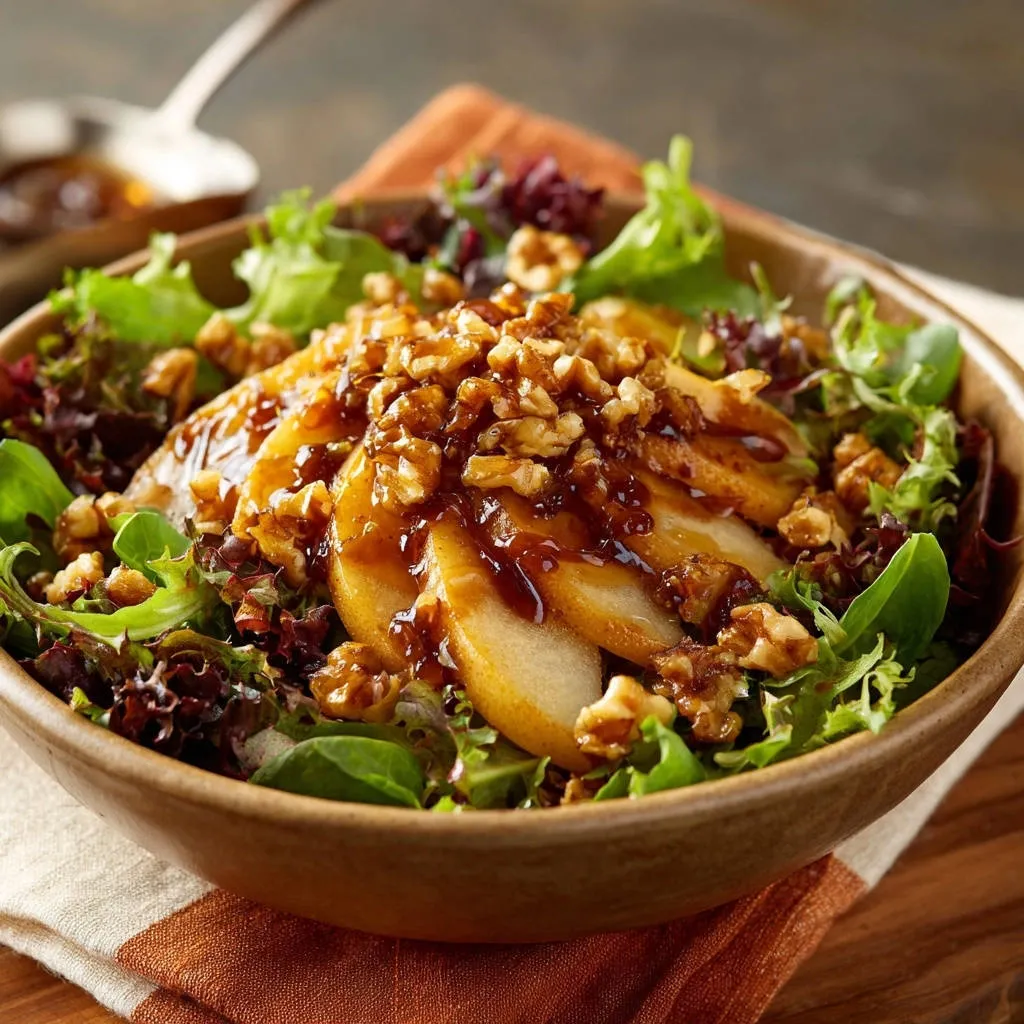
Scatter the toasted walnuts evenly over the greens, then gently arrange the warm, caramelized pear wedges across the top of the salad.
Step 3.2: Drizzling for Maximum Impact: Drizzle the now-cooled, fully thickened balsamic glaze generously over the warm pears and cool greens just before serving.
Using cooled glaze is critical because its high viscosity allows it to cling perfectly to every single component of the Arugula and Seared Pear Salad, delivering flavor evenly.
Chef’s Secrets: How to Customize and Elevate Your Arugula and Seared Pear Salad
A Note on Heat: Preventing a Burnt Balsamic Taste
If the heat is too high during the reduction, the brown sugar will rapidly scorch before the liquid has time to reduce properly.
This results in a glaze that tastes bitter and acrid, rather than deep and sweetly acidic, so always use the lowest effective heat setting.
Cheese Pairing Suggestions (Feta vs. Goat Cheese)
The creamy, tangy flavor of soft goat cheese crumbles provides a phenomenal textural and flavor counterpoint to the sweet pears and rich glaze.
For a similar creamy experience, find out how to make delicious creamy pasta.
Alternatively, the salty brine and sharper flavor of crumbled feta cheese can offer a stronger contrast, enhancing the savory components of the dish.
Protein Power: Making This a Main Course
To transform this side dish into a substantial main course, add thinly sliced grilled chicken breast or pieces of seared pork tenderloin.
For a vegetarian option, replace the walnuts with crunchy, oven-roasted chickpeas or candied pecans for added substance and texture.
Spice it Up: Adding Warmth to the Sear
For a seasonal or dessert-like flavor profile, lightly dust the pear wedges with a tiny pinch of cinnamon or ground nutmeg before searing them.
This small addition deepens the caramel notes and introduces a layer of warmth and complexity to the overall taste of the salad.
Preparation and Storage Solutions for Make-Ahead Meals
Can I Prep the Pears Ahead of Time? (The Short Answer)
Seared pears are texturally best served either warm or immediately after cooling slightly, as they can lose their crust and firm structure if chilled too long.
If necessary, cut the firm pear wedges no more than an hour beforehand and hold them briefly in a bowl of cold water mixed with a small squeeze of lemon juice to prevent immediate browning.
Storing Leftover Thick Balsamic Glaze
Store any leftover thick balsamic glaze in a small, airtight container in the refrigerator for maximum freshness.
Properly sealed and chilled, the intense glaze will last approximately 1 to 2 weeks and is excellent used as a condiment or on other appetizers.
Best Practices for Keeping Arugula Crisp
Always wash and dry arugula meticulously using a high-quality salad spinner to remove every trace of excess moisture before storing.
Store the completely dry greens in a container lined with paper towels to absorb any residual humidity, ensuring they remain crisp and ready to accept the thick dressing.
Troubleshooting and Frequently Asked Questions
Why Is My Glaze Still Runny After Cooling?
If your glaze is too thin after cooling, it means the mixture was simply not reduced long enough, or the heat was inconsistent during the simmering process.
Return the thin liquid to a small saucepan over low heat and continue to simmer gently for another 3 to 5 minutes, testing the viscosity again with the spoon test until it is sufficiently reduced.
How Do I Prevent the Pears From Getting Soggy or Falling Apart?
Soggy pears are usually the result of using overly soft varieties or having a skillet temperature that was too low, causing them to steam instead of sear.
Ensure you are using firm pears and maintain steady medium heat to achieve a quick, intense crust and prevent the fruit from becoming mushy during cooking.
What If I Don’t Have Brown Sugar?
You can easily substitute the brown sugar with an equal quantity of either maple syrup or honey, both of which provide the necessary sweetness and viscosity stabilizing properties.
Because liquid sweeteners already contain some moisture, the overall reduction time might be slightly shorter when using them, so monitor the glaze closely.
Ready to Impress? Share Your Arugula and Seared Pear Salad Masterpiece!
The complexity and elegance of this Arugula and Seared Pear Salad belie how quick and simple it is to execute perfectly, provided you follow the technique for the thick glaze.
Once you master this fail-proof balsamic reduction method, you will unlock a new level of restaurant-quality flavor and professional presentation for any salad or appetizer you create.
We encourage you to try this recipe tonight and experience the profound difference a truly thick, luscious glaze makes. Share your successes and tell us which delightful variations you added to your customized pear salad!
Seared Pear Salad
Course: SaladCuisine: InternationalDifficulty: easy4
servings15
minutes20
minutes240
kcal35
minutesAchieve a restaurant-quality balsamic glaze that coats perfectly. This recipe pairs sweet caramelized seared pears and toasted walnuts with fresh arugula for a hearty, gourmet salad.
Ingredients
1/2 cup Balsamic Vinegar (good quality)
2 tablespoons Brown Sugar (or maple syrup)
4 cups Fresh Arugula
2 Firm Pears, cored and cut into 6 wedges each
1 tablespoon Butter or Olive Oil
1/2 cup Walnuts, lightly toasted
Pinch of Salt
Directions
- Prepare the Thick Balsamic Glaze (The Fail-Proof Reduction Method): Combine the balsamic vinegar and brown sugar in a small, non-reactive saucepan. Place over low to medium-low heat. Bring the mixture to a very gentle simmer, stirring occasionally.
- The key to thickness is patience and low heat. Allow the mixture to gently bubble and reduce by half, which should take about 12 to 15 minutes. Watch carefully. The glaze is ready when it coats the back of a spoon thickly and you can draw a line through it with your finger that holds its shape. Immediately remove from heat and pour into a small container. The glaze will thicken significantly as it cools. Set aside.
- Prepare the Pears: While the glaze cools, heat the butter or oil in a skillet over medium heat. Place the pear wedges cut-side down in the hot skillet. Sprinkle lightly with a pinch of salt.
- Sear the pears for 3 to 4 minutes per side until they develop a deep golden brown caramelization and soften slightly. They should be tender but still hold their shape. Remove the pears from the skillet and set aside.
- Assemble the Salad: Place the arugula in a large bowl. Scatter the toasted walnuts over the greens. Arrange the warm caramelized pear wedges over the top of the salad.
- Finishing Touch: Drizzle the cooled (and now thickened) balsamic glaze generously over the pears and greens. Serve immediately.
Notes
- The glaze must cool completely after reduction to achieve maximum thickness and coat the greens properly.