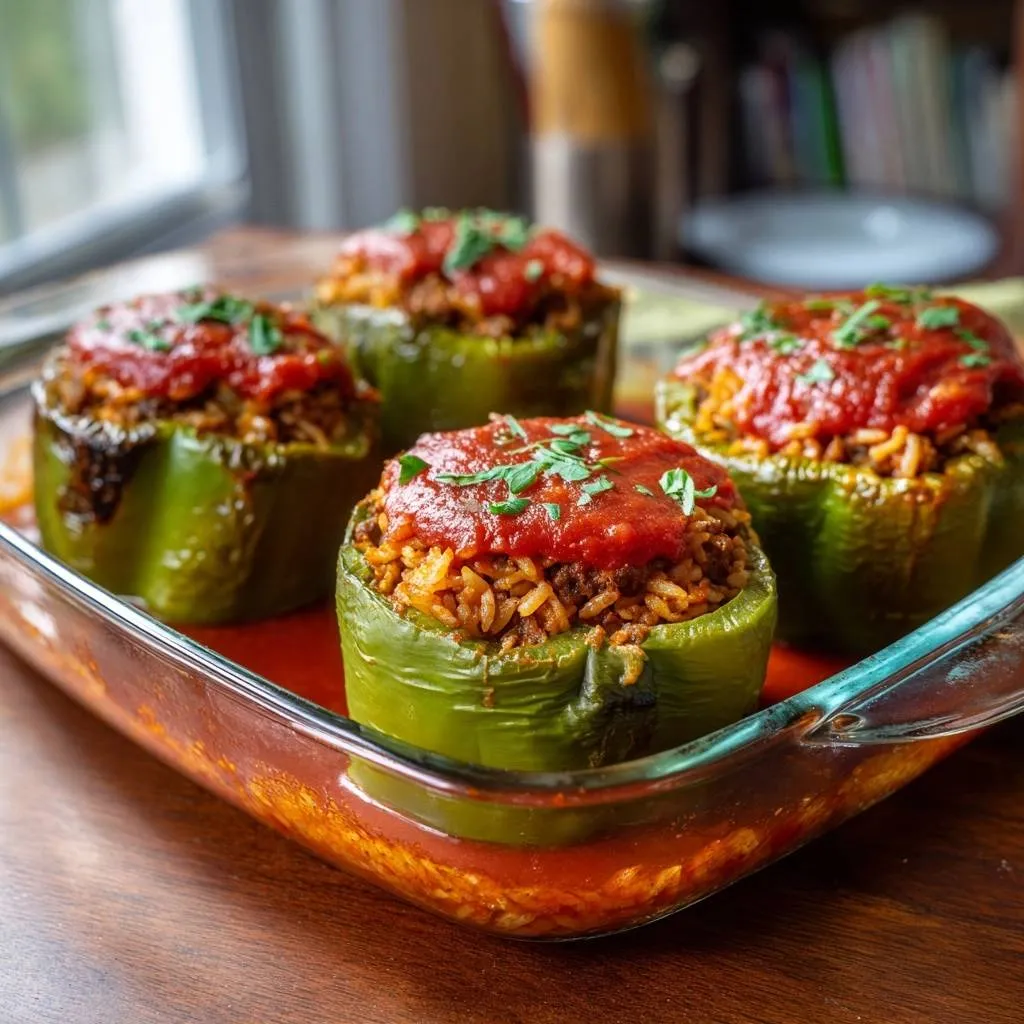
Ever bitten into stuffed peppers only to get a watery, mushy mess? You’re not alone. Most beef and rice stuffed peppers flop because raw peppers dump their moisture right into the filling during baking. But this recipe flips that with a quick blanching step that pulls out the excess water first.
Therefore, you end up with tender-crisp peppers that hold their shape perfectly. The savory beef and rice filling stays flavorful and textured, not diluted. Imagine that first juicy bite, charred tops releasing an irresistible aroma of tomatoes and herbs.
If you’re focusing on the texture of your beef and rice stuffed peppers, this next recipe offers a similar approach.
Here’s the expertise booster: blanch exactly 5 minutes. It deactivates enzymes that cause sogginess and softens cell walls just enough. That’s why these beef and rice stuffed peppers deliver restaurant-quality results every time.
Why Blanching Transforms Beef and Rice Stuffed Peppers
Bell peppers pack 92% water, locked in vacuoles that burst under oven heat. That steam floods the beef and rice stuffed peppers, turning everything soupy. Traditional raw stuffing ignores this, but blanching draws out moisture upfront.
The Water Science in Bell Peppers
Peppers’ pectin holds structure, but green ones shine here with firmer walls than sweeter reds or yellows. Blanching collapses those vacuoles safely, slashing moisture by about 40%. In addition, it locks in vibrant color by stopping enzyme breakdown.
Blanching vs. Raw Prep Pitfalls
Raw peppers bake up soggy and split; blanched ones stay crisp outside, tender inside. Picture a side-by-side: one pools water, the other boasts firm shape after 40 minutes. Stick to that precise 5-minute blanch for foolproof wins.
Key Ingredients for Beef and Rice Stuffed Peppers
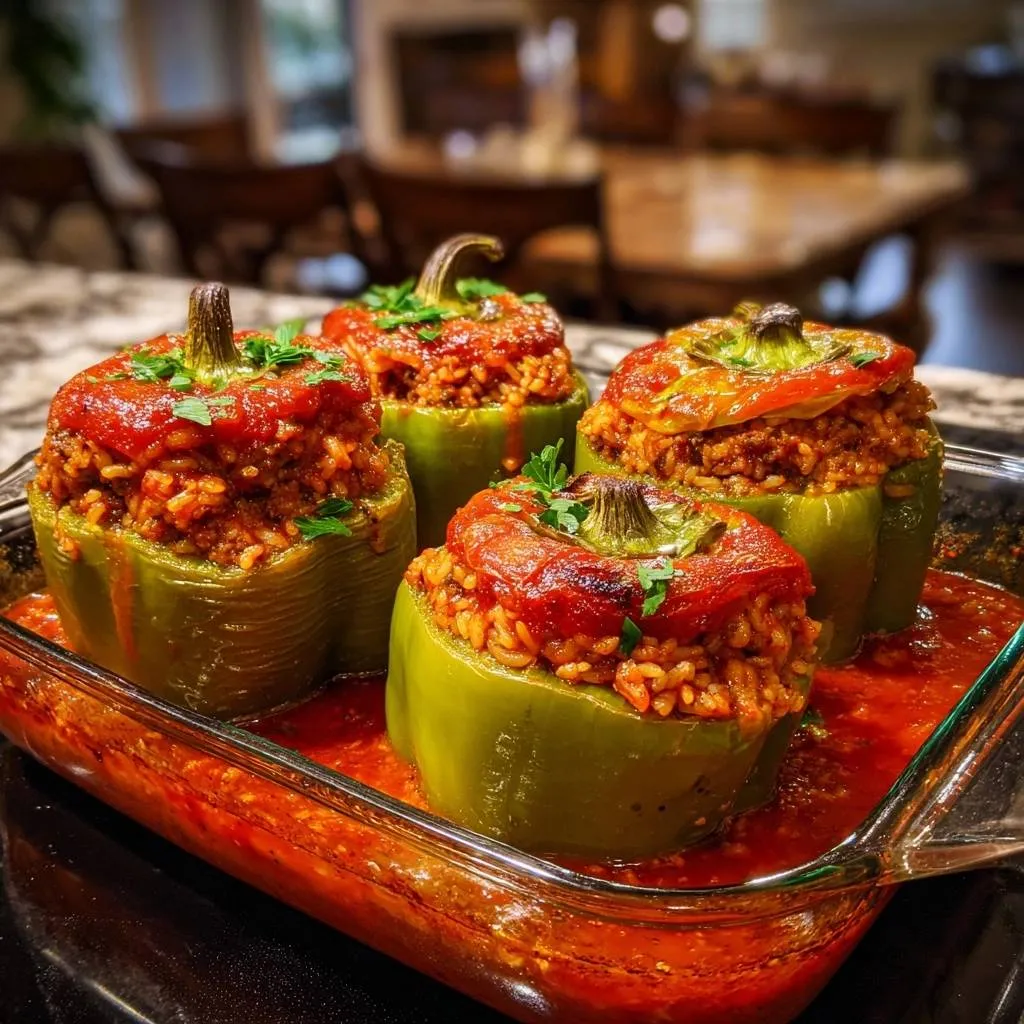
Start with 4 large green bell peppers; they provide sturdy shells that won’t collapse. One pound of ground beef brings rich savoriness, while 2 cups cooked rice absorbs flavors without gumminess. Divide 2 cups tomato sauce: one for the filling, the rest for baking moisture.
Salt, pepper, and fresh parsley finish it. Use day-old rice; it soaks up juices better. Fresh parsley adds a bright pop that elevates the whole dish.
Selecting Ideal Bell Peppers
Pick firm, heavy green bells; their lower sugar content fights mush better than colorful varieties. Slice tops cleanly and rinse insides thoroughly. However, avoid overripe ones that lack structure.
Ground Beef and Rice Pairing Secrets
Go for 80/20 ground beef for flavor without excess grease; drain well after browning. Jasmine rice gives perfect chew over sticky types. Season the filling early so flavors meld fully.
Equipment Essentials for Stuffed Peppers Success
You need a large pot for blanching, an 8×8 greased baking dish, and a skillet. The pot handles boiling water safely, while foil controls steam during baking. No fancy gear required; a kitchen towel for draining works wonders.
Blanching Pot and Draining Setup
Grab a 4-quart pot minimum to fit all peppers upright. Drain upside down on a towel; capillary action wicks away every drop. That 10-minute wait ensures dry interiors for crisp beef and rice stuffed peppers.
Step-by-Step: Blanching Beef and Rice Stuffed Peppers
Preheat your oven to 375 degrees F for even, gentle cooking. This temp crisps without drying out the peppers.
Phase 1: Prepping and Blanching Peppers
Slice tops off peppers and scrape out seeds. Boil water, then blanch peppers upright for exactly 5 minutes; they’ll brighten and soften slightly. Drain upside down 10 minutes; pat dry if needed for no-soggy guarantee.
Phase 2: Browning Beef-Rice Filling
Heat skillet to medium; brown beef 8 minutes until crumbly and aromatic. Drain fat, then stir in rice, 1 cup tomato sauce, salt, and pepper. Taste here; adjust seasoning before it heats through fully.
For a similar satisfying experience with beef, check out this juicy sear steak bowl.
Phase 3: Stuffing and Baking Perfection
Stand peppers in greased 8×8 dish; pack with filling generously. Pour remaining sauce around and over tops for self-basting. Cover with foil, bake 30 minutes; uncover for 10-15 more until tops char lightly and beef hits 165 degrees F.
Science of Crisp Texture in Stuffed Peppers
Blanching pre-collapses pepper cell walls, so they don’t explode in the oven. Tomato sauce’s acidity helps pectin gel for firmness. At 375 degrees F, heat transfers evenly, charring sugars on top without burning.
Moisture Migration During Baking
Covered baking traps steam to tenderize; uncovering lets it escape for crispness. Heavy-duty foil works best to contain vapors. This controls humidity, keeping beef and rice stuffed peppers textured perfectly.
Avoiding Common Mistakes with Beef and Rice Stuffed Peppers
Skipping blanch leads to waterlogged disasters; always do it. Overstuffing causes collapse, so fill generously but not to bursting. Use fully cooked rice to dodge crunchy surprises.
Troubleshooting Soggy or Cracked Peppers
Sogginess means skipped blanch or wet interiors; blot extra next time. Cracks signal dry oven or overcrowding; add sauce and tent loosely. Salvage by baking uncovered longer.
Filling Texture Fixes
Greasy filling? Drain beef twice. Bland? Stir in garlic or herbs before rice. Clumpy rice fixes with a fork fluff pre-mix.
Flavor Variations for Beef and Rice Stuffed Peppers
Swap beef for ground turkey to lighten it up. Try quinoa over rice for nutty chew. Add diced onions or cumin for depth without overpowering.
Vegetarian Swaps and Add-Ins
Lentils mimic beef’s texture perfectly; use cauliflower rice for low-carb. Top with parmesan before final bake for a golden crust. These keep the structure intact.
Make-Ahead and Freezing Stuffed Peppers Guide
Assemble unfilled peppers and filling separately; fridge up to 2 days. Blanching stabilizes for freezing whole up to 3 months. Thaw overnight before baking for best results.
Freezing and Reheating Best Practices
Flash-freeze upright in dish, then bag. Reheat at 350 degrees F covered, then uncover to crisp. Microwave works but oven revives texture better.
Complementary Recipes
To round out your meal with the stuffed peppers, consider these fresh options.
- For a vibrant and healthy addition, try this Loaded Chicken Chickpea Spinach Salad, offering greens and protein.
- If you’re in the mood for a grain-based salad, this Zesty Couscous Veggie Salad brings bright flavors that pair well.
Perfect Pairings for Beef and Rice Stuffed Peppers
Balance richness with crisp cucumber salad or roasted veggies. Garlic bread soaks up sauce nicely. Scale up for family; doubles easily.
Side Dish Complements
Cucumber salad’s acidity cuts through beefy savoriness. Yogurt dip cools spice if added. These make weeknight meals feel special.
Beef and Rice Stuffed Peppers FAQ
Can I Use Different Pepper Colors?
Yes, but green bells hold shape best due to firmer pectin and less sugar, preventing mush. Reds or yellows work if blanched same way; they sweeten the dish, so cut tomato sauce slightly to balance. Always choose large, firm ones for easy stuffing.
How Long Do Leftovers Last?
Store in an airtight container in the fridge up to 4 days; they reheat beautifully. Freeze baked peppers up to 3 months in freezer bags, sauce separate to avoid sogginess. Reheat in 350 degrees F oven covered 20 minutes, then uncovered 10 for crisp tops.
Gluten-Free or Low-Carb Options?
This recipe’s naturally gluten-free with no wheat. For low-carb, swap rice for cauliflower rice; it absorbs flavors well and cuts carbs by half. Blanching keeps peppers crisp either way.
Why Are My Peppers Soggy?
Raw prep releases internal water during baking, diluting filling. Blanch exactly 5 minutes and drain 10 to fix it 100%. If soggy still, interiors weren’t dry enough; pat extra and skip ice bath which adds moisture.
Scaling for Larger Batches?
Double everything for 8 peppers; use 9×13 dish. Blanch in batches to avoid overcrowding pot. Add 10 minutes to bake time, checking beef at 165 degrees F. Perfect for crowds without texture loss.
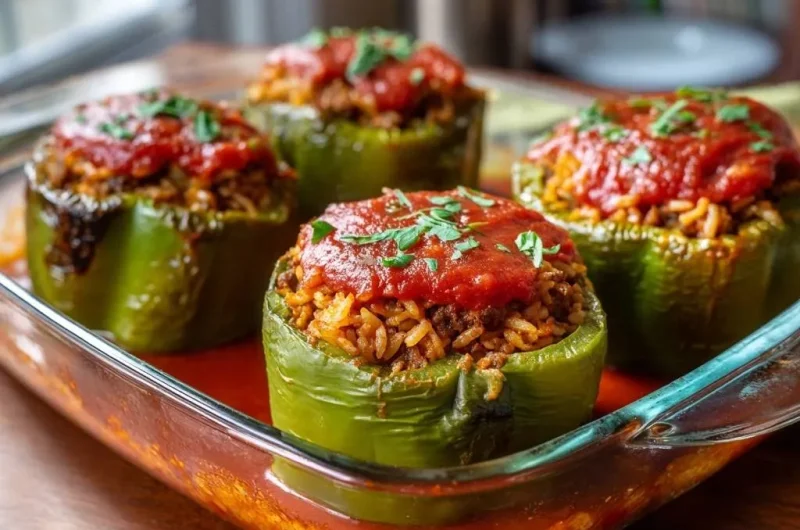
Stuffed Peppers
Course: Main CourseCuisine: AmericanDifficulty: medium4
servings25
minutes50
minutes450
kcal75
MinutesStuffed peppers always turn out watery because raw peppers release moisture during baking. This foolproof blanching trick draws out that excess water first for tender peppers that hold their shape with perfectly textured filling every single time.
Ingredients
4 large green bell peppers
1 pound ground beef
2 cups cooked rice
2 cups tomato sauce, divided
1/4 cup chopped fresh parsley, for garnish
Salt and pepper to taste
Directions
- Preheat oven to 375 degrees F. Slice the tops off the peppers and remove seeds and membranes. Rinse insides well.
- Bring a large pot of water to a boil. Blanch peppers for exactly 5 minutes to release excess moisture, the key step that prevents sogginess. Drain upside down on a clean kitchen towel for 10 minutes to fully dry interiors.
- In a skillet over medium heat, cook ground beef until browned and crumbled, about 8 minutes. Drain fat if needed. Stir in cooked rice, 1 cup tomato sauce, salt, and pepper. Mix until heated through. Cook until no pink remains and it reaches 160°F (71°C).
- Stand blanched peppers upright in a greased 8×8-inch baking dish. Stuff generously with beef-rice mixture. Pour remaining 1 cup tomato sauce around and over tops.
- Cover dish tightly with foil and bake 30 minutes. Remove foil and bake 10-15 more minutes until peppers are tender and tops are slightly charred. Garnish with parsley. Serve hot.
Notes
- Blanching peppers for exactly 5 minutes is the key step to release excess moisture and prevent sogginess.