
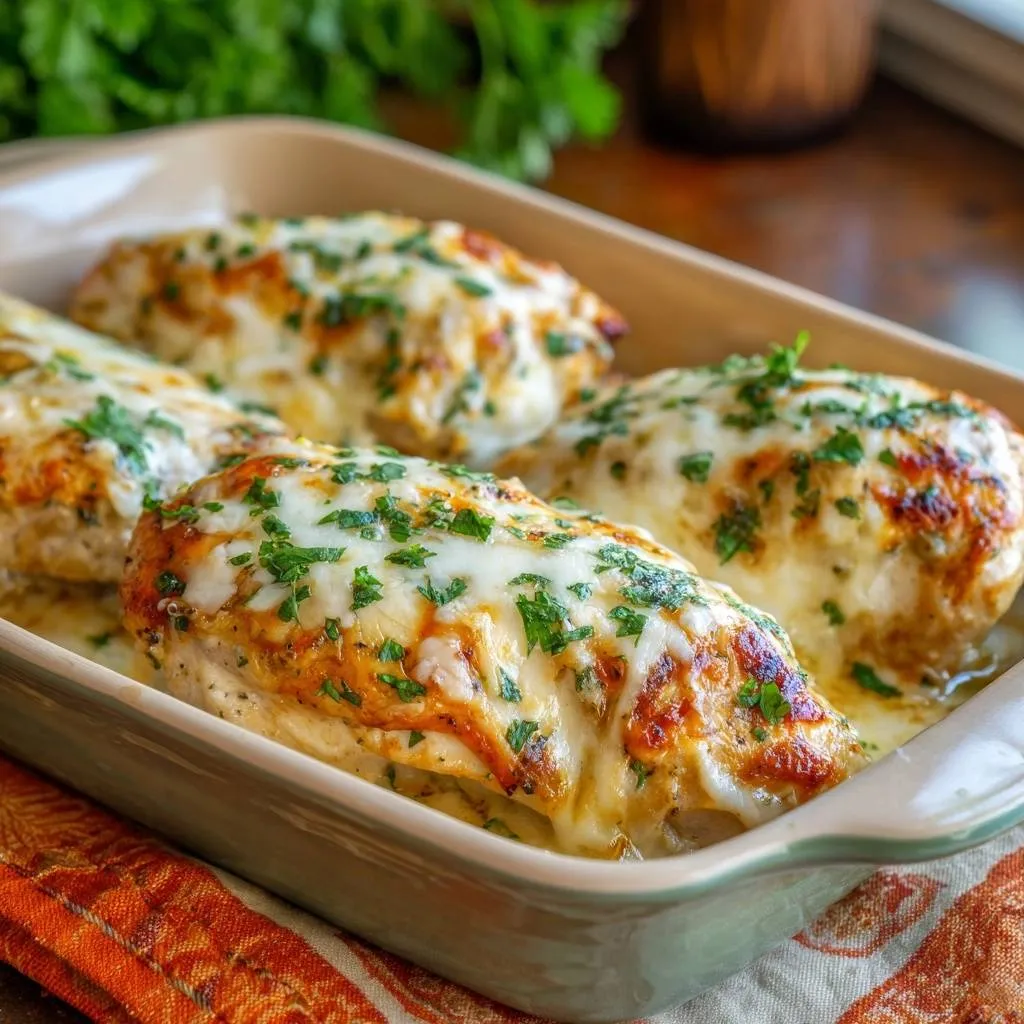
Ever pull a baked chicken breast from the oven only to find it tough and dry as leather? You’re not alone. This cheesy baked chicken breasts recipe changes everything with a quick sear first. That golden crust locks in juices, leading to tender bites under bubbly mozzarella. Imagine the sizzle, the creamy pull, and that first juicy forkful.
So why does this work when others fail? Chicken breasts are lean, so they dry out fast in the oven. However, searing triggers a barrier that traps moisture. In addition, the heavy cream and cheese create a rich sauce that steams the chicken just right.
Here’s the pro tip that seals the deal: pat the chicken super dry before seasoning. Moisture on the surface steams instead of sears, so you miss that crucial crust. Do this, and your cheesy baked chicken breasts stay foolproof juicy every time.
Why Cheesy Baked Chicken Breasts Stay Juicy
Straight to the oven often spells disaster for chicken breasts. They overcook easily since they’re lean with little fat. However, this recipe’s sear-first step fixes that by building flavor through the Maillard reaction. That browning adds depth and a moisture seal.
Without searing, juices escape as proteins tighten. But with it, you get juicy cheesy baked chicken that rivals restaurant quality. Therefore, you’ll never go back to dry versions. The cream sauce helps too, keeping everything tender during the short bake.
The Science of Searing Chicken Breasts First
Searing kicks off the Maillard reaction, where proteins and sugars brown for nutty flavor. It also denatures surface proteins, forming a barrier that cuts evaporation. Aim for edges hitting about 150°F in the sear, then bake to a safe 165°F internal.
Picture this: the crust shrinks slightly, trapping juices inside. No fancy gear needed, just heat and patience. In addition, this keeps the cheesy baked chicken breasts moist even if your oven runs hot.
Key Ingredients for Perfect Cheesy Baked Chicken
Start with 4 boneless skinless chicken breasts, about 6 ounces each for even cooking. They need patting dry for that sear. Then, 2 tablespoons olive oil heats to a shimmer, perfect for high-smoke browning without burning.
Heavy cream, 1 cup, brings silkiness to the sauce since its high fat stabilizes the melt. Shred 2 cups mozzarella yourself; it melts smoother than pre-shredded thanks to no anti-caking agents. Finally, season with 1 teaspoon salt, 1/2 teaspoon pepper, 1/2 teaspoon garlic powder, and 1/4 cup chopped fresh parsley for bright finish.
| Ingredient | Amount |
|---|---|
| Boneless skinless chicken breasts | 4 |
| Olive oil | 2 tablespoons |
| Heavy cream | 1 cup |
| Shredded mozzarella cheese | 2 cups |
| Fresh parsley, chopped | 1/4 cup |
| Salt | 1 teaspoon |
| Black pepper | 1/2 teaspoon |
| Garlic powder | 1/2 teaspoon |
Heavy Cream vs. Milk in Cheese Sauce
Heavy cream’s 36-40% fat emulsifies perfectly with cheese, staying velvety. Milk, with less fat, often separates or turns watery. Therefore, stick to cream for that lush sauce around your cheesy baked chicken breasts.
Pro tip: warm the cream slightly before pouring to avoid shocking the cheese melt.
Cheese Choices for Baked Chicken Breasts
Mozzarella shines with its stretchy melt and mild taste that lets chicken star. Gouda adds nuttiness, provolone smokiness. Always shred fresh; pre-shredded has starch that clumps.
In addition, mix in a bit of parmesan for crisp edges if you crave more bite.
Equipment Essentials for Cheesy Baked Chicken
Grab a cast-iron skillet for searing; it holds heat evenly for perfect crusts. A 9×13 greased baking dish ensures even baking without sticking. Most importantly, use an instant-read thermometer to hit 165°F precisely.
Position the rack in the middle for steady heat. Skip non-stick skillets here; they don’t sear as well. Therefore, these tools make your cheesy baked chicken breasts effortless.
Best Skillets for Chicken Breast Searing
Cast iron wins for superior heat retention and distribution. Stainless works too but needs more oil. Preheat over medium-high for 3-5 minutes until oil shimmers; size it to fit 4 breasts without crowding.
Step-by-Step: Searing and Baking Cheesy Chicken Breasts
Preheat your oven to 375°F. Pat chicken dry, then season both sides with salt, pepper, and garlic powder. Let it sit 5 minutes; salt draws out moisture for better browning.
Heat oil in the skillet until shimmering. Sear chicken 3-4 minutes per side for golden crust. You’ll hear a steady sizzle and smell savory aroma. Transfer to baking dish.
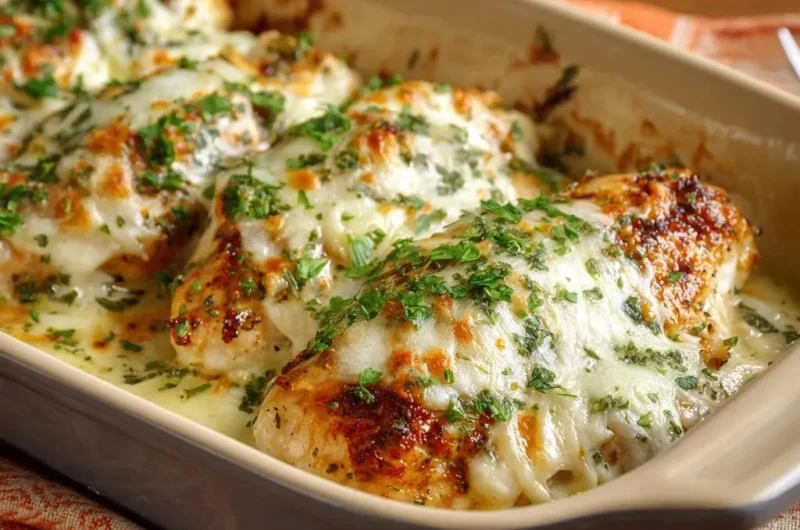
Pour cream around the chicken, not over. Sprinkle cheese evenly on top. Bake uncovered 15-18 minutes until bubbly and golden. Check internal temp at 165°F; juices run clear.
Garnish with parsley. Rest 5 minutes; carryover heat finishes it perfectly. Oh man, that first bite is pure juicy bliss!
Prepping Chicken Breasts for Seasoning
Pat dry thoroughly with paper towels; wet chicken steams. Rub seasoning evenly. Room temp rest 15 minutes helps even cooking, but fridge-cold works if rushed.
Perfect Sear Technique for Juicy Results
Oil must shimmer, not smoke. Sear 3-4 minutes per side without flipping constantly. Look for deep gold crust. Don’t crowd; cook in batches if needed for best results.
For more tender chicken, explore this cheesy chicken potato casserole.
Baking with Cheese and Cream Sauce
Grease dish lightly. Pour cream around bases. Top with even cheese layer. Bake uncovered for browning. Rest tented with foil post-oven to redistribute juices.
Avoiding Dry Cheesy Baked Chicken Breasts
Skipping the sear lets juices flee. Overcrowding the pan steams instead of browns. High oven temps or baking past 165°F toughen meat. For thick breasts, slice thinner or pound even.
Therefore, follow temps closely for moist cheesy baked chicken breasts. Pro tip: if breasts vary in size, check smallest first to avoid overcooking.
Internal Temperature Monitoring Guide
Use instant-read thermometer in thickest part without bone. Pull at 160°F; carryover adds 5-10°F. Clear juices confirm doneness over color alone.
Flavor Variations for Cheesy Baked Chicken
Swap garlic powder for paprika and Italian herbs for smoky twist. Blend mozzarella with parmesan for crisp top. Stir spinach or sun-dried tomatoes into cream before baking.
Try pepper jack for heat. Keep the sear; it anchors every version. These keep your cheese-topped baked chicken exciting.
Herb and Spice Twists on Chicken Breasts
Upgrade with smoked paprika or fresh basil over parsley. Chipotle powder adds gentle smoke, balanced by cream’s richness. Start light; taste as you go.
Make-Ahead Guide for Cheesy Baked Chicken Breasts
Sear chicken up to 2 days ahead; store covered in fridge. Assemble fully and bake from cold, adding 5 minutes. Or freeze seared breasts up to 3 months.
Thaw overnight in fridge. Avoid sogginess by freezing cheese separate. Perfect for weeknight meal prep.
Freezing and Reheating Chicken Breasts
Flash-freeze seared pieces on tray, then bag. Thaw fully. Reheat in 350°F oven covered with foil, then uncover to crisp cheese. Microwave toughens; skip it.
Pairing Sides with Cheesy Baked Chicken Breasts
Balance richness with crisp green salad or roasted broccoli. Asparagus spears char nicely alongside. Quinoa or rice pilaf soaks up that sauce beautifully.
Sparkling cranberry juice cuts through the creaminess. These sides make the meal complete.
Vegetable Sides for Baked Chicken Balance
Garlic green beans roast in 20 minutes, matching bake time. Lemon zucchini slices brighten flavors. Toss in olive oil, salt, and roast at 375°F.
Cheesy Baked Chicken Breasts FAQ
Can I Use Chicken Thighs Instead?
Yes, thighs work great; they’re juicier from fat. Bone-in needs 25-30 minutes at 375°F to 165°F. Sear same way for flavor boost.
How to Know When Baking Is Done?
Chicken hits 165°F internally, cheese bubbles with golden spots, and juices run clear. Thermometer is key; don’t rely on time alone.
Is Heavy Cream Substitutable?
Half-and-half works but may thin; coconut milk for dairy-free adds coconut note. Avoid milk to prevent separation.
Can I Prepare This in Advance?
Absolutely. Sear ahead up to 2 days, assemble and fridge overnight, or freeze seared chicken 3 months. Bake from thawed or cold with time adjustment.
Why Sear Before Baking Chicken Breasts?
Searing creates Maillard crust that locks juices via protein barrier, preventing dry oven results. It builds flavor too.
How Do I Store Leftovers?
Cool completely, then fridge in airtight container up to 4 days. Reheat oven at 350°F covered to retain moisture. Freezes well up to 3 months; thaw in fridge first, avoid microwaving to prevent toughness.
Why Is My Chicken Still Dry?
Common issue: skipped sear or overbaked past 165°F. Pat dry well, sear properly, and use thermometer. Pound uneven breasts for consistency.
What Can I Substitute for Mozzarella?
Provolone or gouda melt similarly; monterey jack for mild creaminess. Shred fresh for best results, avoiding pre-shredded clumps.
Cheesy Baked Chicken
Course: Main CourseCuisine: AmericanDifficulty: easy4
servings10
minutes25
minutes450
kcal35
MinutesBaked chicken breasts always turn out dry and tough? This foolproof recipe fixes that forever with a quick sear-first technique that locks in all the juices before baking in creamy cheese sauce. Juicy, cheesy perfection every time.
Ingredients
4 boneless skinless chicken breasts
2 tablespoons olive oil
1 cup heavy cream
2 cups shredded mozzarella cheese
1/4 cup fresh parsley, chopped
1 teaspoon salt
1/2 teaspoon black pepper
1/2 teaspoon garlic powder
Directions
- Preheat oven to 375 degrees F. Pat chicken breasts dry with paper towels. Season both sides generously with salt, pepper, and garlic powder.
- Heat olive oil in a large skillet over medium-high heat until shimmering. Sear chicken breasts for 3-4 minutes per side until golden brown crust forms. This crucial step creates a moisture barrier that prevents dryness during baking, trapping natural juices inside.
- Transfer seared chicken to a greased baking dish. Pour heavy cream around the chicken, then sprinkle shredded cheese evenly over the top.
- Bake uncovered for 15-18 minutes until cheese is bubbly and golden, and chicken reaches 165 degrees F internally. Juices will stay locked in thanks to the sear.
- Remove from oven, garnish with chopped fresh parsley, and serve hot. No dry chicken disasters here!
Notes
- The initial sear is crucial for locking in juices and preventing dry chicken. Ensure chicken reaches 165°F internally.