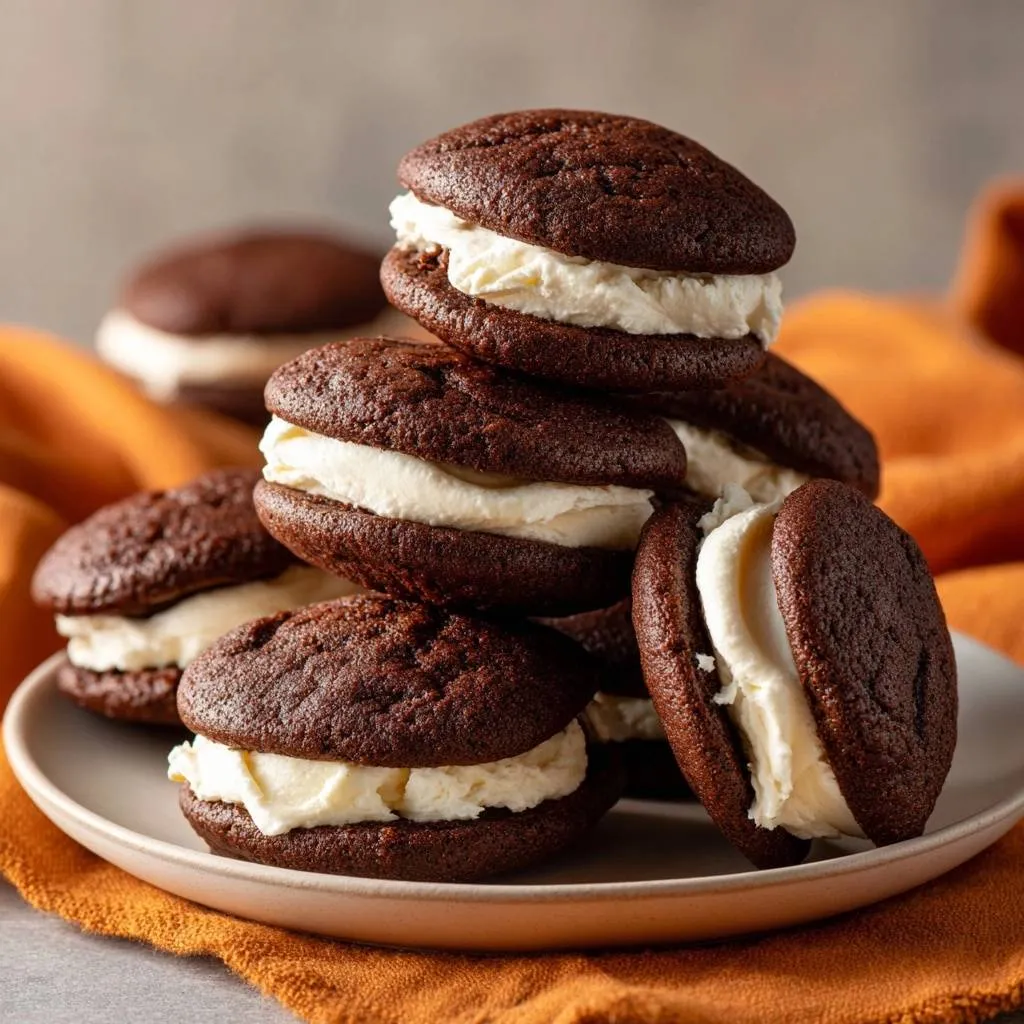
Ever bitten into a whoopie pie that crumbles like dry dirt? Those tough, sad edges ruin the fun. This recipe fixes that with vegetable oil instead of butter. You’ll get soft, moist cookies that stay tender for days.
Therefore, you stack them high with creamy filling, and they hold up perfectly. No more heartbreak over crumbly treats. These chocolate whoopie pies deliver that pillowy chew everyone craves.
The secret lies in oil’s liquid stay. Unlike butter, it doesn’t solidify and dry out post-bake. Beat it pale with sugar, and you lock in air for lift plus unbeatable moisture.
Chocolate Whoopie Pies Ingredients Breakdown
Cookies: Dry Mix Foundations
All-purpose flour gives your chocolate whoopie pies a tender crumb. It avoids the heaviness of bread flour. Measure by spooning lightly into the cup, then level off. Packing it down makes dense cookies.
In addition, unsweetened cocoa powder builds rich flavor. Natural cocoa reacts with buttermilk for better rise and deep color. However, Dutch-processed works too, just expect slightly less lift.
For intensely rich chocolate flavor in your next bake, consider frosted dark chocolate toffee cookies.
Baking soda teams with buttermilk’s acidity for gentle puff. Salt sharpens the chocolate taste. Whisk them evenly so no pockets of bitterness hit your bite.
Cookies: Wet Blend Moisture Heroes
Granulated sugar creams smooth with vegetable oil. That’s your hero for moist chocolate whoopie pies. Oil stays liquid, keeping centers soft even days later.
Therefore, use a room-temp egg. It binds everything without curdling the batter. Vanilla extract adds warmth that cuts through cocoa’s intensity.
Buttermilk brings tang and tenderness. Its acidity tenderizes gluten for that signature chew. No buttermilk? Mix milk with a teaspoon of lemon juice.
For a similar bright citrus note, check out these glazed orange creamsicle cookies.
Filling: Creamy Vanilla Buttercream Essentials
Softened unsalted butter forms the base. Unsalted lets you control sweetness perfectly. Beat it creamy first for stable fluff.
Gradually add powdered sugar to avoid graininess. Vanilla and a pinch of salt balance the mix. Milk thins it just enough for easy spreading on chocolate whoopie pies.
Science of Moist Chocolate Whoopie Pies
Oil vs Butter for Tender Texture
Vegetable oil has a lower melting point than butter. So, it keeps chocolate whoopie pies soft after cooling. Butter solidifies, creating a drier crumb over time.
Moreover, oil emulsifies better in batter. This traps moisture and air for fluffy results. Your pies stay moist up to five days in an airtight container.
Beat oil and sugar two minutes until pale. You’ll see the emulsion form, promising tender stacks that don’t crumble.
Buttermilk Acidity and Batter Chemistry
Buttermilk’s low pH reacts with baking soda for steady rise. This yields fluffy domes without toughness. Plain milk lacks that acid, so domes fall flat.
Therefore, the combo tenderizes flour proteins. Try this: swap milk once, and feel the difference in chew. Buttermilk wins for authentic chocolate whoopie pies.
Chilling Batter for Dome Perfection
A 30-minute chill hydrates fats evenly. Batter firms at edges for controlled spread. No more thin, dry pancakes disguised as cookies.
In addition, it sets structure for perfect domes. Skip it, and you’ll fight spreading. Cover tightly to prevent skinning on top.
Equipment Choices for Chocolate Whoopie Pies
Baking Sheets and Parchment Precision
Heavy aluminum sheets conduct heat evenly. They prevent warping for uniform chocolate whoopie pies. Light pans lead to uneven browning.
Parchment paper beats silicone mats here. It promotes crisp edges without sticking. Use half-sheet size for easy rotation.
Scoop Sizes and Piping Bags Matter
A 2-tablespoon cookie scoop ensures matched pairs. Drop mounds 2 inches apart for chocolate whoopie pies that bake true. Wet the scoop to avoid sticking.
For filling, a piping bag makes neat stacks. No bag? Snip a ziplock corner. It controls flow without mess.
Mastering Chocolate Whoopie Pies Batter Steps
Whisking Dry Ingredients First
Measure flour accurately, then whisk with cocoa, soda, and salt. Sift if lumps appear for even dispersion. You want no bitter streaks in your chocolate whoopie pies.
This dry mix distributes leaveners perfectly. Set it aside while you tackle wet ingredients.
More Chocolatey Treats
If you’re craving more rich chocolate desserts, consider these options.
- For another deeply satisfying chocolate experience, try this Moist Chocolate Bundt Cake, perfect for a celebration or just because.
- To complement your sweet chocolate with a touch of spice, pair your whoopie pies with these Cinnamon French Toast Stacks.
Beating Oil and Sugar Smooth
Beat sugar and oil two minutes until pale and fluffy. Electric mixer incorporates air for lift. Handheld works, but stand mixers save elbow grease.
Look for ribbon trails off the beater. That’s your cue for moist chocolate whoopie pies success.
Alternating Wet-Dry for No Streaks
Add dry mix, then buttermilk, starting and ending with dry. Mix just until streaks vanish. Overmixing develops gluten for tough bites.
Therefore, stop early. A few lumps dissolve on their own, preserving tenderness.
Chill and Preheat Timing
Cover batter and chill exactly 30 minutes. Meanwhile, preheat to 375F. This timing yields springy tops without dry edges on chocolate whoopie pies.
Fridge chill firms it just right. Don’t rush to room temp.
Baking Chocolate Whoopie Pies Perfectly
Scooping Even Mounds
Scoop 2-tablespoon mounds, spacing 2 inches apart. Chilled batter holds shape for domed chocolate whoopie pies. Rotate sheets halfway for even bake.
They’ll puff gently. Pro tip: bake one sheet at a time for best airflow.
9-10 Minute Bake Signals
Bake 9-10 minutes until tops spring back lightly. Centers stay soft, edges set. Cool five minutes on sheets to firm up without breaking.
Overbake, and moisture flees. Touch test beats timer every time.
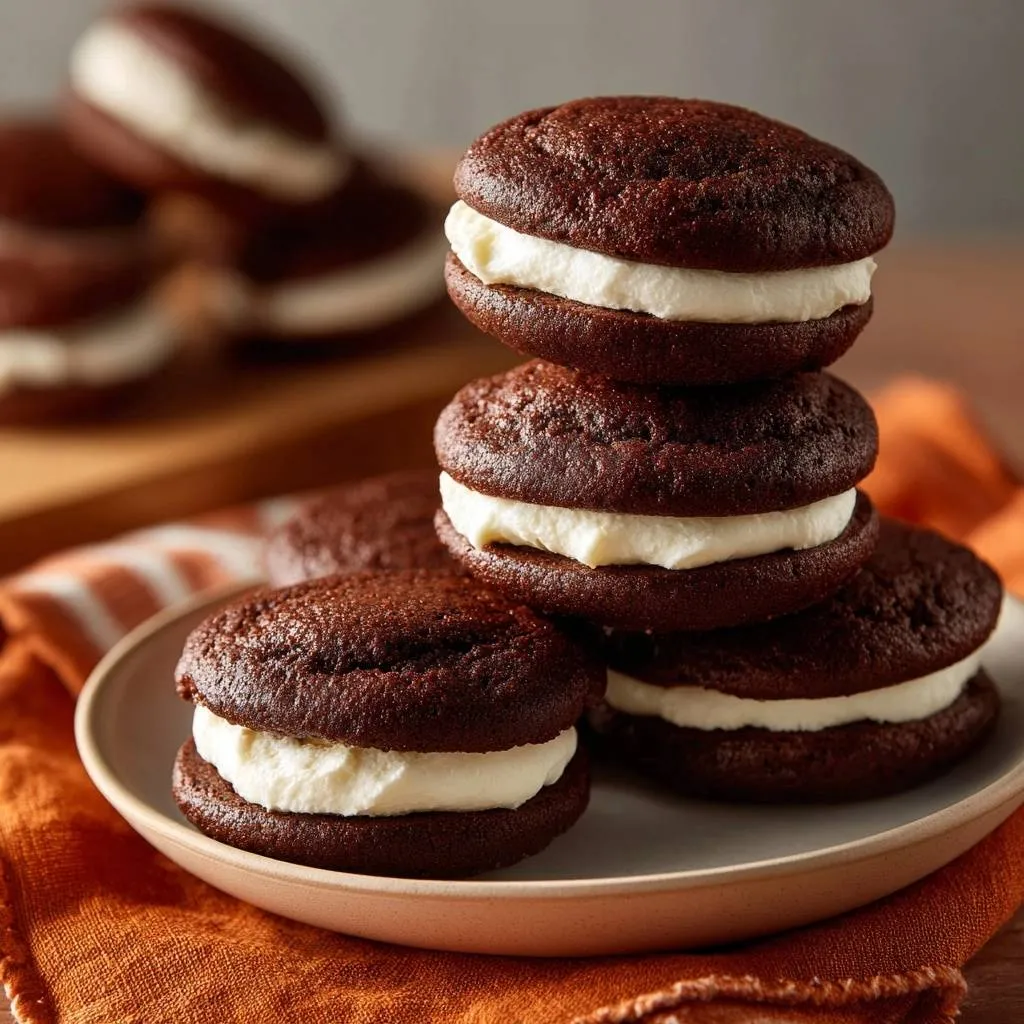
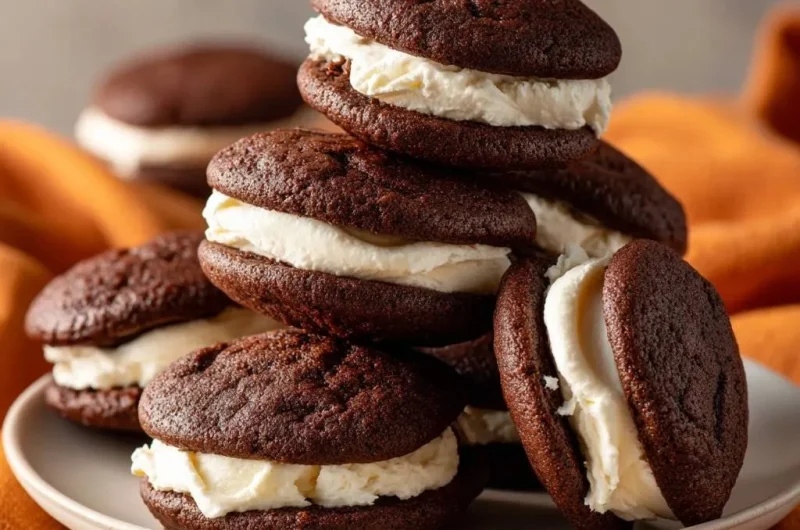
Assembling Fluffy Chocolate Whoopie Pies
Whipping Stable Filling
Beat softened butter creamy, then add powdered sugar gradually. Mix in vanilla, milk, and salt for fluff. It should hold peaks for piping.
This stability prevents squishy sandwiches later.
Pairing and Stacking Sandwiches
Spread or pipe filling on flat cookie bottoms. Top with matching domes, pressing gently. Even height makes pro-looking chocolate whoopie pies.
Pair by size for stability. They’ll hold stacks beautifully.
Avoiding Dry Chocolate Whoopie Pies Pitfalls
Overmixing and Overbaking Fixes
Overmixing toughens via gluten. Fix by mixing less next time. For overbaking, dial back one minute in hot ovens.
Convection? Drop to 350F. These tweaks keep chocolate whoopie pies moist.
Storage for Lasting Moisture
Store airtight at room temp up to five days. Layer with parchment to prevent sticking. They’ll stay soft thanks to oil.
Freeze whole pies in bags up to three months. Thaw overnight for fresh texture.
Flavor Twists on Chocolate Whoopie Pies
Swaps for Coffee or Mint Notes
Add 1 teaspoon espresso powder to dry mix for mocha depth. Or, swap vanilla in filling for 1/2 teaspoon peppermint extract. Balances without overpowering chocolate whoopie pies.
Add-Ins Like Chips or Nuts
Fold 1/2 cup mini chocolate chips into batter. For filling, chop 1/4 cup toasted pecans. Keep add-ins small to maintain moisture in chocolate whoopie pies.
Pairing Chocolate Whoopie Pies Sides
Beverage Matches Beyond Coffee
Cold whole milk cuts the richness perfectly. Hot cocoa amplifies chocolate vibes. Herbal fruit teas refresh between bites with chocolate whoopie pies.
Simple Plate Companions
Fresh strawberries add tart pop. A dollop of whipped cream lightens things. Vanilla ice cream scoops turn them into sundaes.
Chocolate Whoopie Pies Troubleshooting
Flat Cookies or Grainy Filling?
Flat cookies mean skipped chill or low oven temp. Grainy filling? Sift powdered sugar first. At high altitude, reduce soda by 1/4 teaspoon.
Cracked Tops or Leaking Filling?
Cracks from over-chilling; stick to 30 minutes. Leaking? Use less milk for thicker buttercream. Stack gently for stable chocolate whoopie pies.
Scaling Batter Up or Down
Halve for 12 pies: cut everything in half, chill same time. Double? Add one extra minute bake, watch closely. Moisture holds either way.
FAQ
How do I store Chocolate Whoopie Pies and do they freeze well?
Store in an airtight container at room temperature for up to five days. Layer parchment between stacks to keep them from sticking. They stay moist thanks to the oil. For freezing, place whole pies in freezer bags for up to three months. Thaw at room temp overnight; the filling softens perfectly without sogginess.
Why are my Chocolate Whoopie Pies dry or tough?
Dryness usually comes from butter instead of oil or overbaking. Oil keeps them tender longer. Tough texture means overmixing developed gluten. Next time, alternate wet and dry minimally and bake just until tops spring back. Cool on sheets five minutes to trap steam inside.
Can I substitute ingredients in Chocolate Whoopie Pies?
No buttermilk? Mix 1 cup milk with 1 tablespoon lemon juice and let sit 10 minutes. Swap cocoa for black cocoa for deeper color, but reduce to 1/3 cup. For filling, use heavy cream instead of milk if you want extra fluff. Avoid butter in cookies; it dries them out.
Why chill the batter for Chocolate Whoopie Pies?
Chilling 30 minutes firms the batter for even spreading and domed shapes. It hydrates flour properly, preventing thin, dry cookies. Without it, they spread too much and lose moisture during bake. Cover tightly so the top doesn’t crust over.
How do I get even domes on Chocolate Whoopie Pies?
Use a 2-tablespoon scoop for uniform mounds and space 2 inches apart. Preheat fully to 375F and rotate sheets mid-bake. The buttermilk-baking soda reaction plus chill gives gentle lift without cracks. Test doneness by light spring-back, not color.
Can I make Chocolate Whoopie Pies gluten-free?
Yes, swap 2 cups all-purpose for 1:1 gluten-free flour blend with xanthan gum. Add 1/4 teaspoon extra baking soda for rise. Batter may need 5 extra chill minutes. They hold up to filling but eat within three days for best texture.
Whoopie Pies
Course: DessertCuisine: AmericanDifficulty: easy24
whoopie pies20
minutes10
minutes250
kcal60
MinutesDry whoopie pies are the worst – crumbly edges, tough chew, gone in one sad bite. This recipe nails soft, moist cookies every time with one simple batter swap that locks in tenderness for days. Stack ’em high and watch them disappear!
Ingredients
Cookies:
2 cups all-purpose flour
1/2 cup unsweetened cocoa powder
1 teaspoon baking soda
1/2 teaspoon salt
1 cup granulated sugar
1/2 cup vegetable oil (the moisture-lock hero)
1 large egg
1 teaspoon vanilla extract
1 cup buttermilk
Filling:
1/2 cup unsalted butter, softened
2 cups powdered sugar
1 teaspoon vanilla extract
2 tablespoons milk
Pinch of salt
Directions
- Whisk flour, cocoa, baking soda, and salt in a bowl. Set aside.
- In a large bowl, beat sugar and vegetable oil until smooth and pale, about 2 minutes. This oil swap is your game-changer – unlike butter, it stays liquid for ultra-moist, never-dry cookies that hold up to filling and stacking.
- Beat in egg and vanilla until combined.
- Alternate adding dry ingredients and buttermilk to wet mixture, starting and ending with dry. Mix just until no streaks remain – overmixing toughens texture.
- Cover batter and chill 30 minutes. This firms it up for perfect domes without spreading thin or drying out.
- Preheat oven to 375F. Line baking sheets with parchment.
- Scoop 2-tablespoon mounds of batter, 2 inches apart. Bake 9-10 minutes until tops spring back but centers stay soft – no overbaking! Cool 5 minutes on sheets, then fully on racks.
- For filling, beat butter until creamy. Gradually add powdered sugar, vanilla, milk, and salt until fluffy.
- Spread or pipe filling on flat sides of half the cookies. Top with remaining cookies. Store airtight for moist magic up to 5 days.
Notes
- Use vegetable oil instead of butter for ultra-moist cookies that stay tender for up to 5 days. Chill batter for perfect domes. Store airtight.