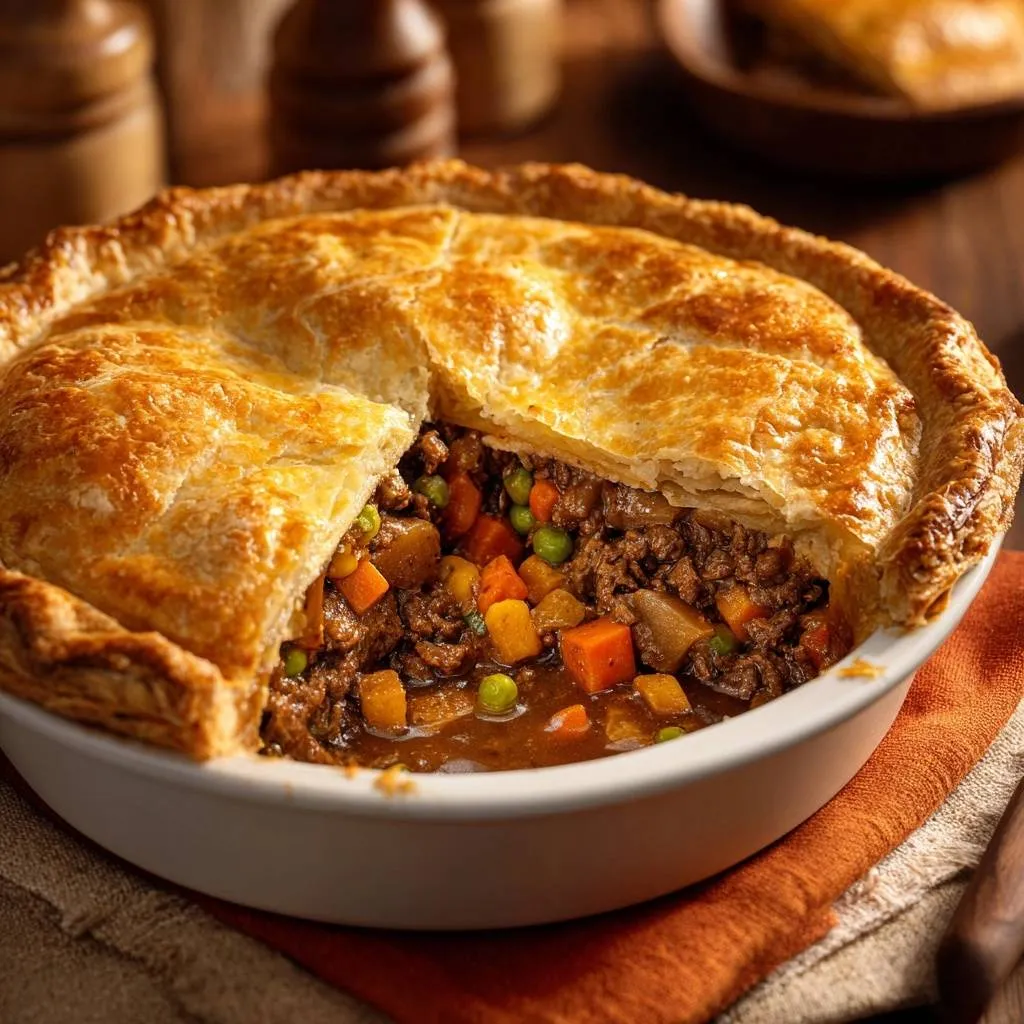
Nothing kills a Classic Beef Pot Pie faster than a soggy bottom crust. You’ve bitten into that disappointment before, right? The flaky top promises comfort, but the mushy base soaks up all the gravy and falls apart. This recipe fixes it with a foolproof double-crust method that delivers crisp layers every time.
Therefore, you get a traditional beef pot pie that’s restaurant-worthy without the hassle. Ground beef makes the filling rich and quick, while tender carrots, potatoes, and peas add perfect pops of texture. In addition, the science-backed seal keeps moisture locked out, so your Classic Beef Pot Pie stays structurally sound.
Here’s the expertise kicker: the starch slurry brush on the blind-baked bottom creates an invisible barrier. It absorbs steam from the hot filling before it can penetrate the dough. You’ll slice into golden perfection that holds up for six servings, ready in 20 minutes prep and 50 minutes total cook time. Home cooks love this because it turns a finicky dish into a reliable weeknight win.
Why Classic Beef Pot Pie Demands Precision
Classic Beef Pot Pie traces back to British pasties, those handheld meat-and-veggie packets miners carried underground. They evolved into America’s hearty comfort food, baked in deep dishes for family tables. However, the ground beef version suits busy kitchens better than slow-braised cubed chuck.
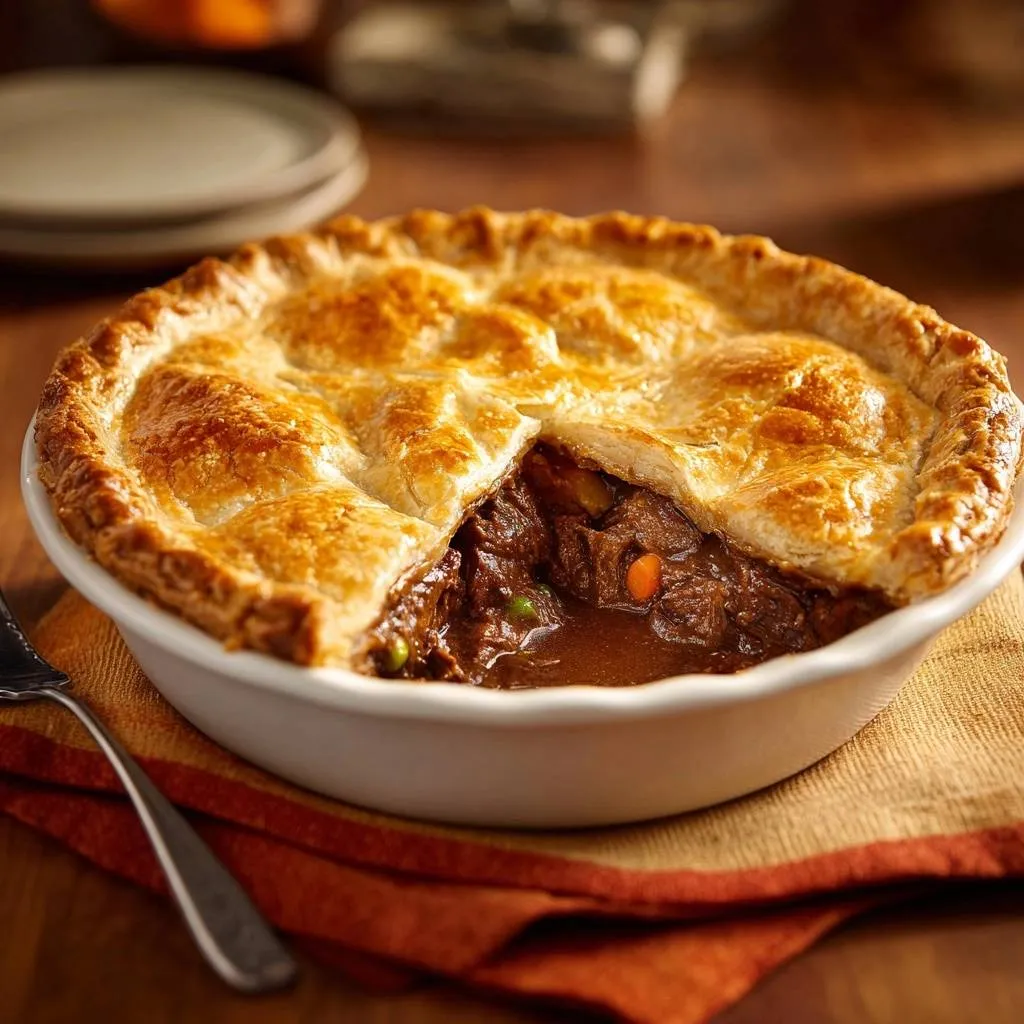
You’ll savor the flaky crust contrasting creamy gravy laced with tender veggies. Thyme brings earthy warmth, while beef broth amps up savory depth. That’s why this traditional beef pot pie version shines: it balances nostalgia with everyday ease.
In addition, precision matters because steam from the juicy filling migrates into the dough without protection. This recipe’s blind-bake and slurry stop that cold, ensuring your traditional beef pot pie wows every time.
Bottom Crust Science: Beating Sogginess
Moisture migration happens fast in pot pies. Hot filling releases steam that softens the bottom crust from below. Without intervention, it turns gummy instead of crisp.
Therefore, blind-bake the bottom for 15 minutes total, then seal with a flour-water slurry. This starch layer gels on contact, blocking juices. Your Classic Beef Pot Pie bottom stays firm through baking.
Key Ingredients for Flaky Classic Beef Pot Pie
Start with two sheets of puff pastry or pie dough for the crust. They provide lift and buttery layers. Use store-bought for speed; it freezes well too.
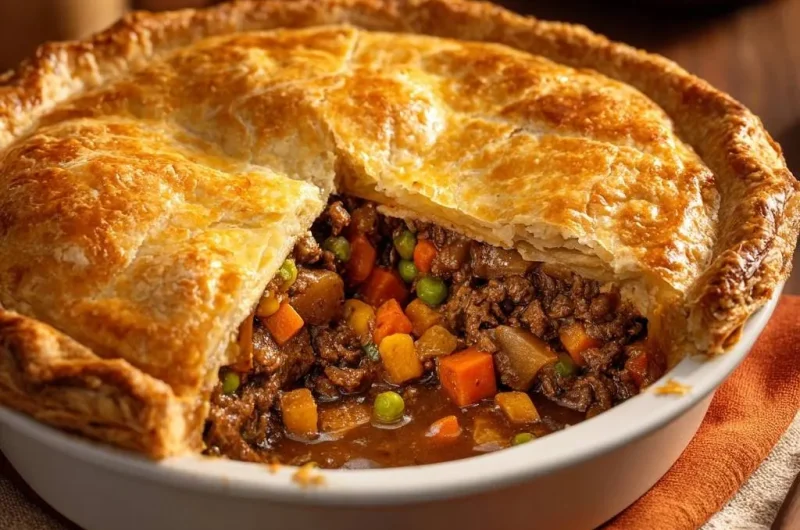
Next, 1 pound ground beef browns quickly and stays tender. Dice two carrots, two potatoes, and one onion small, about 1/4-inch, for even cooking. Add 1 cup peas at the end to keep them vibrant.
Beef broth, two cups, delivers umami punch over plain stock. Two tablespoons each of flour and butter build the gravy. One teaspoon thyme ties flavors together; salt and pepper season to taste. Finally, a beaten egg for wash gives shine. For lighter subs, try ground turkey. These choices make your Classic Beef Pot Pie flaky and hearty.
Crust Choices: Puff Pastry vs. Homemade Dough
Puff pastry rises sky-high with steam, perfect for beginners. Pie dough offers classic tenderness if you make it. However, store-bought puff pastry saves time without sacrificing flake.
Vegetable Mix: Carrots, Potatoes, Peas Balance
Carrots add sweetness, potatoes heartiness, peas pop. Dice uniformly so they soften together. Skip green beans; these classics provide nutrition and texture contrast in your beef pot pie filling.
Equipment Essentials for Pot Pie Success
A 9-inch deep pie dish prevents overflow from bubbling gravy. It holds the filling without spilling. Use a medium skillet for even evaporation during simmer.
In addition, parchment paper and pie weights ensure flat blind-baking. An oven thermometer confirms 400F accuracy; ovens run hot or cool otherwise. These tools guarantee your Classic Beef Pot Pie bakes evenly.
Blind-Baking Setup: Parchment and Weights
No weights? Dry beans or rice work fine in parchment. They press the dough flat without burning. Remove before the second bake.
Mastering the Double-Crust Technique
The phased approach starts with chilling dough to relax gluten. Then blind-bake for structure. Seal with slurry, add cooled filling, top, and bake.
Therefore, each step builds success. You’ll handle a pro-level Classic Beef Pot Pie effortlessly.
Phase 1: Chilling and Fitting Bottom Crust
Roll dough to fit your 9-inch dish with overhang. Trim edges, prick bottom with a fork to vent steam. Chill 15 minutes; it contracts gluten for less shrinkage.
Phase 2: Blind-Baking Bottom for Structure
Bake with weights 10 minutes until set. Remove, bake 5 more until pale gold. It feels firm, smells toasty. Cool briefly before sealing.
Phase 3: Starch Slurry Seal Against Moisture
Mix 1 tablespoon flour with 2 tablespoons cold water for smooth slurry. Brush evenly; it dries tacky fast. This ratio absorbs filling juices perfectly.
Building the Hearty Beef Filling
Melt butter in a skillet over medium. Brown beef 5 minutes, drain fat to avoid greasiness. Add onion, carrots, potatoes; cook 5 minutes until softened and fragrant.
Stir in 1 tablespoon flour and thyme for roux base. Pour in broth, simmer 10 minutes till thick. Cool slightly; hot filling melts crust. Stir peas last for snap. This beef pot pie filling stays gravy-rich.
Browning Beef and Sautéing Aromatics
Medium heat prevents tough beef. Onions turn translucent and sweet after 5 minutes. Break up meat well for even flavor.
Thickening Gravy with Broth Simmer
Broth reduces to coat a spoon. Bubbles slow as it thickens. Peas go in off-heat to hold shape.
Seasoning Layers: Thyme and Beyond
Add salt and pepper after browning. Thyme infuses during simmer. Swap rosemary if you want piney notes.
Assembling and Baking Your Pot Pie
Spoon cooled filling into sealed bottom. Roll top dough, drape over, trim, crimp edges. Cut 4 vents for steam escape.
Brush egg wash for gloss. Bake 25-30 minutes till golden and bubbly. Rest 10 minutes; gravy sets for clean slices. Your Classic Beef Pot Pie serves six flawlessly.
Crimping Edges for Secure Seal
Fork-press for ridges or pinch with fingers. It seals filling in tight.
Avoiding Classic Beef Pot Pie Pitfalls
Soggy bottoms? Always seal with slurry. Overcooked veggies come from big dice; keep them small. Repair dough tears with scraps and water.
For underbaked centers, check at 25 minutes. Dough tears fix with a wet finger smooth-over. Fill dish to 1-inch below rim to avoid spills in your Classic Beef Pot Pie.
Raw Dough Center Fixes
Tent foil over edges if browning fast. Shift to lower rack last 10 minutes. Internal temp hits 165F.
Filling Overflow Prevention
Generous vents let steam out. Don’t overfill; leave headspace.
Make-Ahead Strategies for Beef Pot Pie
Assemble fully, wrap tight, fridge up to 2 days. Or freeze filling only in bags for 3 months. Thaw overnight, bake as directed.
Baked pot pie reheats at 350F to 165F internal. Fridge holds 3-4 days safely. These tricks make pot pie prep a breeze for weeknights.
Freezing Assembled Pies
Freeze unbaked up to 3 months. Bake from frozen at 375F, add 15 minutes. Thaw first for best crust.
Flavor Twists on Classic Beef Pot Pie
Swap potatoes for mushrooms for earthiness. Use non-alcoholic stout instead of broth for malt depth. Mix cheddar into top dough for cheesiness.
However, blend spicy chorizo with beef for kick. Keep the core traditional; these tweaks elevate without overhauling.
Perfect Pairings for Beef Pot Pie
Crisp green salad cuts richness. Roasted root veggies echo the filling. Simple grains like quinoa add chew.
Herbal tea warms, crisp cider refreshes alongside.
Classic Beef Pot Pie FAQ
Can I Use Leftover Roast Beef?
Yes, dice 1 pound leftover roast beef finely. Skip initial browning, add to veggies, and reduce broth by half to avoid soupy filling. It reheats beautifully in the pie.
For a different take on this comforting meal, explore mini beef pot pies with tender beef chunks.
How to Fix Runny Pot Pie Filling?
Mix 1 teaspoon cornstarch with 1 tablespoon water, stir into simmering gravy. Boil 1 minute till thick. Cool fully before assembling to set the beef pot pie filling right.
Gluten-Free Classic Beef Pot Pie Options?
Use gluten-free puff pastry or pie dough sheets. Swap all-purpose flour for 2 tablespoons gluten-free 1:1 blend in slurry and roux. It holds structure just as well.
Vegetarian Beef Pot Pie Substitutes?
Replace beef with 1 pound cooked lentils or mushrooms. Boost umami with extra broth and soy sauce. Veggies stay the same for hearty texture.
Storage Time for Baked Pot Pie?
Fridge airtight up to 4 days; reheat slices at 350F to 165F. Freeze baked up to 3 months in portions, thaw overnight, no refreezing after thaw. Crust stays decent.
Beef Pot Pie
Course: Main CourseCuisine: AmericanDifficulty: medium6
servings30
minutes50
minutes550
kcal60
MinutesTired of pies with a mushy base? This recipe uses a chill-blind-bake-starch slurry technique for a crisp bottom, flaky top, and hearty beef, veggie, and gravy filling.
Ingredients
2 sheets puff pastry or pie dough
1 lb ground beef
2 carrots, diced
2 potatoes, diced
1 cup peas
1 onion, diced
2 cups beef broth
2 tbsp flour
2 tbsp butter
1 tsp thyme
Salt and pepper to taste
1 egg, beaten for wash
Directions
- Preheat oven to 400F. Roll out one sheet of dough and fit into a 9-inch pie dish. Trim edges, prick bottom with fork, chill 15 minutes.
- Blind-bake bottom crust: Line with parchment and pie weights, bake 10 minutes until set but not browned. Remove weights, bake 5 more minutes. Cool slightly.
- Make starch slurry for seal: Mix 1 tbsp flour with 2 tbsp cold water. Brush over baked bottom crust. This creates a moisture barrier, preventing sogginess from juicy filling.
- Cook filling: In skillet, melt butter over medium heat. Brown ground beef 5 minutes, drain fat. Add onion, carrots, potatoes, cook 5 minutes. Stir in 1 tbsp flour, thyme, salt, pepper. Add broth, simmer 10 minutes until thickened. Stir in peas, cool slightly.
- Fill pie: Spoon beef mixture into sealed bottom crust. Roll out top dough, cover filling, crimp edges, cut vents. Brush with egg wash.
- Bake 25-30 minutes until golden and bubbly. Rest 10 minutes before slicing for perfect slices. Enjoy your crisp-bottomed masterpiece!
Notes
- Chill dough and use starch slurry on bottom crust to prevent sogginess. Rest pie 10 minutes before slicing for perfect cuts.