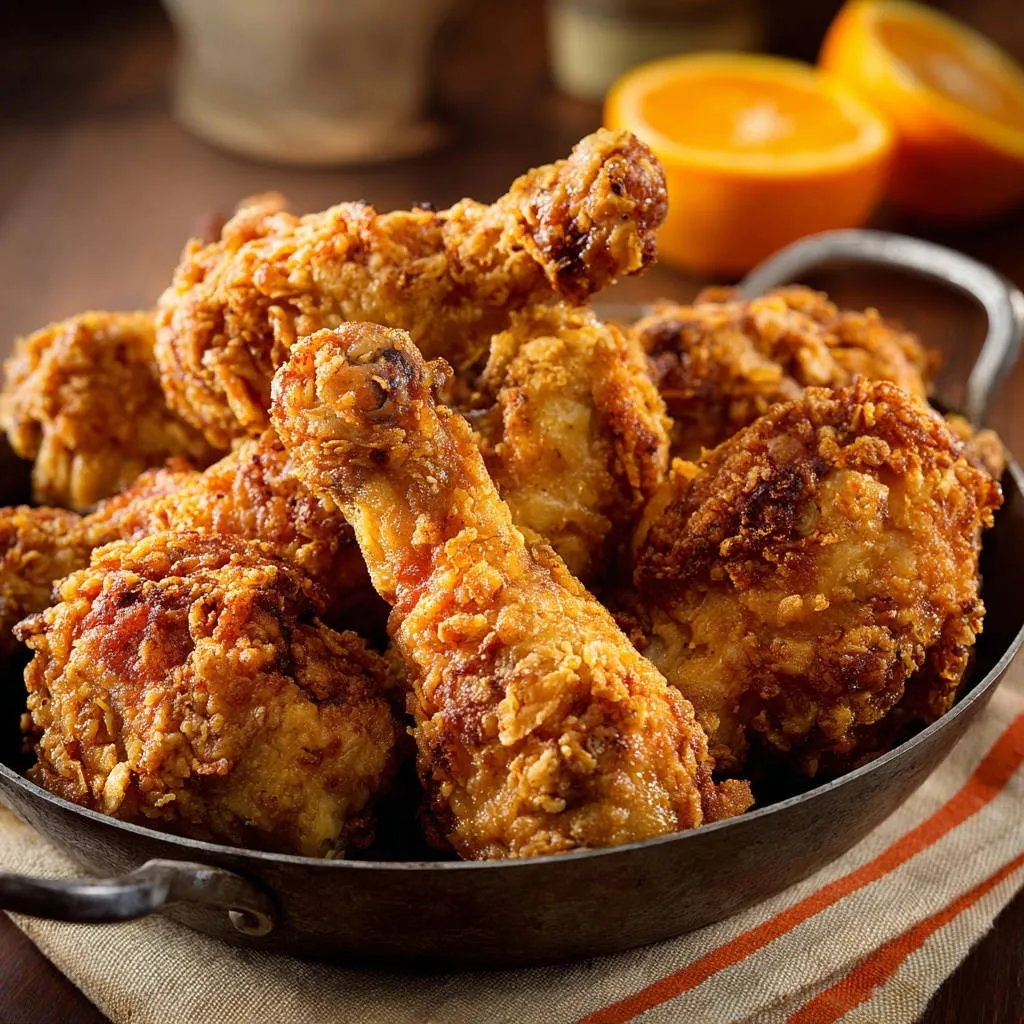
There’s nothing quite like biting into a piece of truly exceptional, Classic Crispy Fried Chicken – that unmistakable crunch giving way to juicy, tender meat. Many home cooks struggle with achieving that perfect, non-soggy coating, but after countless batches and a few secret tricks, I’ve cracked the code.
This recipe isn’t just about frying chicken; it’s about mastering the elements that guarantee a shatteringly crisp exterior every single time. Get ready to elevate your fried chicken game with techniques that transform good into unforgettable.
Unlocking the Golden Crunch: What Makes Our Fried Chicken Special?
The Buttermilk Immersion: Beyond Basic Marinade
Marinating chicken in buttermilk goes far beyond just adding flavor. The mild acidity naturally tenderizes the meat, resulting in incredibly succulent chicken that cooks evenly and retains moisture.
This essential step also provides the perfect textured surface for the seasoned flour to adhere, laying the groundwork for that signature crispy coating.
The Double-Dredge Advantage: Maximizing Crispiness
Our optional double-dredge technique is a game-changer for serious crunch enthusiasts. By re-dipping the floured chicken briefly in buttermilk and then back into the flour, you build a thicker, more robust crust.
This extra layer transforms into an even more pronounced crispy exterior, offering maximum textural satisfaction with every bite of your Classic Crispy Fried Chicken.
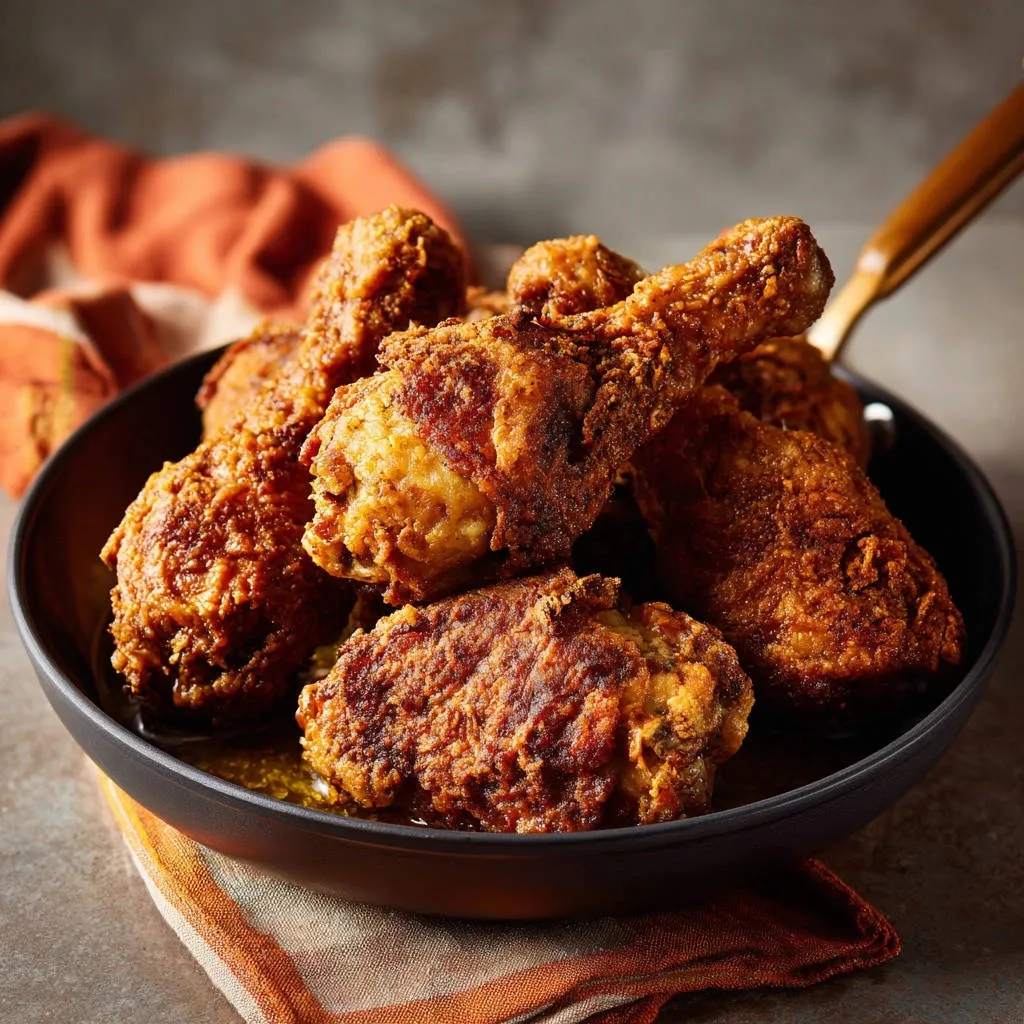
Air Circulation: The Ultimate “Never-Soggy” Secret
The single most crucial step to prevent soggy fried chicken happens after it leaves the oil. Immediately transferring the cooked chicken to a wire rack set over a baking sheet is paramount.
This simple act allows air to circulate around every surface, preventing steam from getting trapped underneath and turning your perfectly crisp coating into a soft, disappointing layer. It’s the foolproof method for maintaining that satisfying crunch.
Beyond the Basics: Ingredients for Irresistible Fried Chicken
Selecting Your Star: Bone-In, Skin-On Chicken
For the truest taste of Classic Crispy Fried Chicken, bone-in, skin-on pieces, particularly drumsticks and thighs, are highly recommended.
The bones impart a richer flavor, while the skin crisps up beautifully and helps keep the meat incredibly moist during frying.
The Buttermilk Foundation: Flavor & Tenderness
Buttermilk is a fundamental ingredient, serving a dual purpose in this recipe. Its mild acidity tenderizes the chicken, yielding a juicy interior.
Additionally, its viscous texture acts as a perfect adhesive, helping the seasoned flour cling to every curve of the chicken, ensuring a full and crispy coating.
Crafting Your Signature Seasoned Flour Blend
Our carefully balanced spice blend of paprika, garlic powder, onion powder, and optional cayenne pepper delivers a complex, savory flavor profile and a beautiful golden color.
Feel free to customize this blend to your taste, perhaps adding a pinch of dried thyme or oregano for an aromatic twist.
Choosing the Right Oil for a Perfect Fry
Selecting the correct oil is crucial for achieving a clean, crispy fry. Opt for neutral oils with a high smoke point.
Vegetable oil or canola oil are excellent choices, as they won’t impart unwanted flavors and can withstand the necessary high temperatures for proper crisping.
Mastering the Fry: A Step-by-Step Guide to Classic Crispy Chicken Perfection
Marination Magic: Infusing Flavor Deep Within
In a large bowl, combine your chicken pieces with buttermilk, 1 teaspoon salt, and 1/2 teaspoon black pepper. Ensure every piece is thoroughly coated in this flavorful liquid.
Cover the bowl and refrigerate the chicken for at least 4 hours, or ideally overnight. This extended marination time is crucial for both tenderizing the meat and allowing the flavors to penetrate deeply.
Setting Up Your Efficient Breading Station
Prepare your dry coating by combining 2 cups of all-purpose flour with 2 tablespoons of paprika, 1 tablespoon of garlic powder, 1 tablespoon of onion powder, and 1 teaspoon of cayenne pepper (if using).
Stir these ingredients well in a shallow dish or large resealable bag to ensure an even distribution of spices, which is key for a consistent flavor and color.
The Art of Coating: Ensuring Full Adherence
Remove chicken pieces from the buttermilk, allowing any excess to drip off – do not rinse. Place each piece into the seasoned flour mixture, pressing firmly to ensure the flour adheres completely and evenly.
For an extra crispy coating, you can dip the floured chicken back into the buttermilk for a quick moment, then return it to the flour mixture for a second, more substantial coat. Set the breaded chicken on a clean wire rack while the oil heats; this resting period helps the coating set and adhere better.
Achieving Optimal Oil Temperature: Your Fry’s Foundation
Pour about 4 cups of vegetable oil into a large, heavy-bottomed pot or Dutch oven, ensuring it’s at least 2-3 inches deep. Heat the oil over medium-high heat until it reaches 350°F (175°C).
Using a reliable oil thermometer is absolutely critical here; maintaining the correct temperature prevents the chicken from becoming soggy or burning before it’s cooked through.
Frying Technique: Golden Brown & Cooked Through
Carefully place 3-4 pieces of breaded chicken into the hot oil, being mindful not to overcrowd the pot. Overcrowding will significantly drop the oil temperature, leading to greasy, less crispy results.
Fry the chicken for about 6-8 minutes per side, turning occasionally with tongs, until each piece is golden brown and audibly crispy. Continuously monitor the oil temperature, adjusting the heat to keep it as close to 325-350°F (160-175°C) as possible, and check for an internal temperature of 165°F (74°C).
The Essential Rest: Locking in the Crisp
Once cooked, immediately remove the Classic Crispy Fried Chicken from the oil. Transfer it directly to a clean wire rack set over a baking sheet.
This is our “never soggy secret”: avoiding paper towels allows crucial air circulation, preventing steam from softening the crust. Let the chicken rest for 5-10 minutes before serving to lock in the crispness and allow juices to redistribute. Garnish with orange slices if desired for a touch of freshness.
Gearing Up for Greatness: Essential Fried Chicken Tools
Kitchen Essentials for Frying Success
Having the right tools makes all the difference for perfect fried chicken. You’ll need a large bowl for marinating, a shallow dish or resealable bag for breading, and a sturdy wire rack with a baking sheet for resting.
Additionally, a pair of long tongs will be invaluable for safely handling the chicken in hot oil, and a heavy-bottomed pot or Dutch oven is essential for even heat distribution during frying.
Thermometers: Your Key to Consistent Results
For truly consistent and safe results, an oil thermometer is non-negotiable; it ensures your oil stays at the optimal frying temperature, preventing both sogginess and burning.
A reliable meat thermometer is equally important to confirm the chicken has reached a safe internal temperature of 165°F (74°C), guaranteeing it’s perfectly cooked through.
Elevate Your Fried Chicken: Pro Tips & Creative Twists
Spice It Up: Customizing Your Flavor Profile
Don’t hesitate to personalize your seasoned flour blend. For a bolder kick, increase the cayenne pepper or add a pinch of smoked paprika for depth.
Experiment with dried herbs like thyme, oregano, or a touch of rosemary to infuse your Classic Crispy Fried Chicken with an aromatic twist.
For Extra Crunch: The Double-Dip Deep Dive
To achieve an unparalleled crispiness, reinforce the double-dredging technique. Some chefs even opt for an egg wash as the second liquid dip instead of buttermilk, creating an even more robust and craggier coating.
This extra layer of breading provides more surface area to crisp, delivering maximum crunch with every bite.
Make-Ahead & Reheating Strategies
You can marinate the chicken for up to 24 hours in advance, streamlining your prep time. When reheating leftover Classic Crispy Fried Chicken, avoid the microwave.
Instead, reheat it in an oven or air fryer at 375°F (190°C) for 10-15 minutes, or until warmed through and re-crisped, to preserve that desirable crunch.
Perfect Pairings: What to Serve Alongside
Classic Crispy Fried Chicken is a meal in itself, but it truly shines when accompanied by traditional side dishes. Creamy mashed potatoes, a tangy coleslaw, or easy fluffy biscuits are always welcome.
Consider pairing it with a vibrant green salad, some creamy potato gratin, or even crispy roasted cauliflower for a well-rounded and comforting meal.
Solving Common Fried Chicken Foes: Troubleshooting Guide
Why Did My Chicken Get Soggy?
Soggy chicken is often a result of oil that’s too cool, causing the coating to absorb oil rather than crisp. Ensure your oil maintains a consistent temperature of 325-350°F (160-175°C).
Another common culprit is resting the chicken on paper towels, which traps steam. Always use a wire rack immediately after frying to allow proper air circulation.
My Coating Won’t Stick!
If your coating is falling off, it could be due to insufficient pressing of the flour onto the chicken. Really press firmly to ensure maximum adhesion.
Additionally, allowing the breaded chicken to rest for 10-15 minutes before frying helps the flour mixture bind to the buttermilk and chicken surface more effectively.
Is It Fully Cooked? Ensuring Food Safety
The most reliable way to check for doneness is with a meat thermometer, which should read 165°F (74°C) in the thickest part of the chicken, away from the bone.
Visual cues include a deep golden-brown exterior and clear juices running when pierced, but a thermometer offers absolute certainty for food safety.
Dealing with Oil Splatter Safely
Oil splatter can be a nuisance, but it’s manageable. Ensure your chicken is as dry as possible before breading and frying, as water reacts violently with hot oil.
Using a splatter screen over your pot can significantly reduce mess and protect you from hot oil, making the frying process much more pleasant.
Your Top Questions Answered: Classic Crispy Fried Chicken FAQs
Can I use different chicken cuts for this recipe?
While bone-in, skin-on drumsticks and thighs are ideal for their flavor and moisture, you can certainly use boneless chicken breasts or tenders.
Be aware that boneless cuts will cook much faster, so reduce frying time and monitor the internal temperature closely to prevent them from drying out.
What’s the best oil to use for frying Classic Crispy Fried Chicken?
The best oils for frying are neutral in flavor and have a high smoke point. Vegetable oil, canola oil, or peanut oil are excellent choices.
These oils can reach and maintain the high temperatures needed to achieve that perfectly crispy, golden-brown crust without burning or imparting unwanted tastes.
How can I tell if the oil is hot enough without a thermometer?
While a thermometer is highly recommended for precision, you can test the oil’s temperature by dropping a small pinch of flour into it.
If the flour sizzles vigorously and turns golden within a few seconds, the oil is likely ready. Alternatively, dip the handle of a wooden spoon into the oil; if bubbles form around it rapidly, it’s hot enough.
Are there gluten-free alternatives for the coating?
Yes, you can substitute a good quality gluten-free all-purpose flour blend for the wheat flour in the coating.
Keep in mind that the texture may vary slightly, but many blends are designed to crisp up beautifully. Always check the ingredients of your chosen blend.
Is it possible to bake or air fry this recipe instead?
You can adapt this recipe for baking or air frying, but understand that the results, while delicious, will differ from traditional deep-frying.
For baking, coat the chicken as directed, then bake on a wire rack at 400°F (200°C) for 45-60 minutes. For air frying, use a similar temperature and check for doneness after 25-35 minutes, turning halfway through.
Ready to Fry? Your Classic Crispy Fried Chicken Journey Awaits!
With the “never-soggy” secret in your arsenal and these expert tips, you’re now equipped to create the most incredible Classic Crispy Fried Chicken right in your own kitchen.
Embrace the process, trust the technique, and prepare to be amazed by the golden, crunchy perfection you’ll achieve. I can’t wait for you to experience this truly satisfying meal. Share your triumphs and favorite pairings with us!
Fried Chicken
Course: Main CourseCuisine: AmericanDifficulty: medium4
servings (8 pieces)20
minutes35
minutes750
kcal300
minutesAchieve perfectly crispy fried chicken every time with this simple secret. Learn how to get that golden, crunchy exterior that stays amazing, ensuring your fried chicken never gets soggy. This recipe will change your fried chicken game forever!
Ingredients
8 pieces bone-in, skin-on chicken (drumsticks and thighs)
2 cups buttermilk
1 teaspoon salt, plus more for seasoning
1/2 teaspoon black pepper, plus more for seasoning
2 cups all-purpose flour
2 tablespoons paprika
1 tablespoon garlic powder
1 tablespoon onion powder
1 teaspoon cayenne pepper (optional, for a little kick)
4 cups vegetable oil (or other neutral oil for frying)
1 orange, sliced (for garnish, optional)
Directions
- Prepare the Chicken: In a large bowl, combine the chicken pieces with buttermilk, 1 teaspoon salt, and 1/2 teaspoon black pepper. Make sure all pieces are coated. Cover and refrigerate for at least 4 hours, or preferably overnight, allowing the chicken to marinate and tenderize.
- Set Up Breading Station: In a shallow dish or large resealable bag, combine the flour, paprika, garlic powder, onion powder, and cayenne pepper (if using). Stir or shake well to mix the dry ingredients evenly.
- Bread the Chicken: Remove the chicken pieces from the buttermilk, allowing any excess to drip off. Do not rinse. Place each piece directly into the flour mixture, pressing firmly to ensure the flour adheres well. For an extra crispy coating, you can dip the floured chicken back into the buttermilk for a quick moment, then back into the flour mixture for a second coating. Set the breaded chicken aside on a wire rack while you heat the oil. This resting time helps the coating adhere better.
- Heat the Oil: Pour the vegetable oil into a large, heavy-bottomed pot or Dutch oven, ensuring it is at least 2-3 inches deep. Heat the oil over medium-high heat until it reaches 350 degrees F (175 degrees C). Use a thermometer to monitor the temperature; maintaining the correct heat is crucial for non-soggy chicken.
- Fry the Chicken: Carefully place 3-4 pieces of chicken into the hot oil, ensuring you do not overcrowd the pot, which would lower the oil temperature too quickly. Fry the chicken for about 6-8 minutes per side, turning occasionally with tongs, until golden brown and crispy. The internal temperature should reach 165 degrees F (74 degrees C). Adjust heat as needed to keep the oil temperature as close to 325-350 degrees F (160-175 degrees C) as possible.
- The Never Soggy Secret: Once cooked, immediately remove the chicken from the oil and place it on a clean wire rack set over a baking sheet. Avoid placing fried chicken directly on paper towels for extended periods, as this can trap steam underneath and lead to a soggy coating. Allowing air to circulate all around the chicken on the wire rack is key to keeping that beautiful crispness intact. Let the chicken rest for 5-10 minutes before serving. Garnish with orange slices if desired.
Notes
- The key to non-soggy chicken is allowing it to rest on a wire rack after frying, promoting air circulation.