There is nothing more disappointing than watching expensive, gorgeous lump crab meat fall apart in the skillet, yielding dense, filler-heavy patties instead of light, restaurant-quality seafood.
I perfected this recipe for Classic Lump Crab Cakes by mastering one simple, non-negotiable structural technique-chilling-which ensures a flawless, golden crust and a crab-forward interior every single time, without relying on cups of binder.
Say Goodbye to Dense, Crumbly Crab Cakes (The Minimal Filler Method)
The core philosophy of truly exceptional crab cakes is simple: the star ingredient should be crab, not filler. This recipe utilizes the absolute minimum amount of binder needed for stability, maximizing the natural sweetness and texture of the lump meat.
Instead of relying on excessive flour or breadcrumbs for structure, we use a brief, controlled searing process followed by an oven finish, locking in stability achieved through mandatory refrigeration.
The “Never Dense” Secret: Achieving Airy Texture
The difference between a truly classic, Maryland-style cake and a denser version often comes down to handling and proportions. We treat the delicate crab meat with respect, keeping the lumps intact for a flaky, buttery bite.
When mixing the ingredients, the use of a wide rubber spatula is crucial; you must fold the mixture gently, rotating the bowl slowly to ensure the binder just coats the panko and the crab, preventing the lumps from breaking down.
Why Chilling is the Non-Negotiable Step for Success
The 60-minute refrigeration step is the structural insurance policy for these Classic Lump Crab Cakes. It is the guaranteed way to prevent the cakes from crumbling the moment they hit the hot oil.
Scientifically, chilling allows the protein in the egg and the starch in the panko and mayonnaise to fully set and solidify the minimal binding agents. This internal setting provides the necessary resilience for the cakes to hold their shape during the high-heat searing process.
The Essential Ingredients: Prioritizing Quality Lump Crab Meat
The quality of your crab meat directly dictates the quality of the finished dish, making sourcing and selection paramount.
Selecting the Star: Which Crab Meat Grade is Best?
Crab meat is typically sold in several grades. Jumbo Lump consists of the largest, most visually impressive pieces from the swimming muscles, but it can be too delicate for shaping.
Lump crab meat, which includes slightly smaller but still substantial pieces, provides the ideal balance of impressive texture and structural integrity for shaping into firm patties.
The Minimalist Binder: Mayonnaise, Egg, and Panko
Our binder agents serve distinct functions while remaining minimal in volume. This ensures the crab flavor remains dominant.
We use Panko breadcrumbs because their light, airy structure absorbs moisture without becoming dense, unlike standard breadcrumbs. The mayonnaise provides essential moisture and richness, while the lightly beaten egg acts as the primary protein-based setting agent when chilled and cooked.
Boosting Flavor: The Role of Dijon, Parsley, and Old Bay Seasoning
These aromatics and seasonings are vital for crafting the traditional flavor profile of Classic Lump Crab Cakes.
Fresh lemon juice is an essential addition, offering a vibrant acidity that cuts through the richness of the mayonnaise and brightens the overall flavor of the crab meat. Old Bay seasoning (or your preferred seafood seasoning) delivers the characteristic savory and slightly spicy depth that defines this dish.
Gearing Up: Must-Have Tools for the Perfect Sear and Bake
Having the right tools ensures a smooth transition from chilling to cooking.
Cast Iron or Oven-Safe Skillet: Essential for transferring seamlessly from the stovetop sear to the oven finish, preventing the need to move delicate cakes.
Parchment-Lined Sheet Pan: Needed for the critical chilling step. Parchment prevents the raw cakes from sticking to the pan when the binder is still loose.
Rubber Spatula: The required tool for gentle folding to preserve the integrity of the valuable crab lumps during the mixing process.
From Mixing Bowl to Oven: Structuring Your Classic Lump Crab Cakes
Step 1: Whisking the Flavorful Binder Base
Start by combining all the wet ingredients and seasonings-mayonnaise, beaten egg, Dijon mustard, fresh lemon juice, parsley, and Old Bay. Whisk them until the mixture is completely homogenous and uniform in color.
Season lightly with salt and black pepper now, ensuring the flavor base is established before the delicate crab is introduced.
Step 2: The Art of Gentle Folding (Protecting the Lumps)
First, sprinkle the panko breadcrumbs over the binder and fold them in until just combined. Next, add the full pound of lump crab meat.
Using a rubber spatula, gently fold the mixture only until the crab meat is minimally coated with the binder. Stop immediately when no dry patches remain; overmixing will shred the lumps and lead to a tough, dense crab cake.
Step 3: The Critical Chill (Achieving Structural Integrity)
Divide the mixture immediately and shape it into four generous, uniform patties, approximately 1 1/2 inches thick. Place the shaped cakes onto a parchment-lined sheet pan.
For beautifully formed patties, discover the secrets to perfect crab cakes that hold together.
Cover and refrigerate for a minimum of 60 minutes. This period is non-negotiable; it sets the structure, guaranteeing the crab cakes hold their shape perfectly when subjected to heat.
Step 4: Achieving the Deep Golden Sear
Preheat your oven to 375°F. Heat the vegetable oil in your oven-safe skillet over medium-high heat until it shimmers, indicating it is hot enough to achieve an instant crust.
Carefully place the chilled crab cakes into the hot skillet, ensuring the pan is not crowded. Sear undisturbed for 3 to 4 minutes until a deep golden brown crust has fully formed on the bottom.
Do not attempt to move, flip, or nudge the cakes during the searing period, as this is when they are most vulnerable to crumbling.
Step 5: The Oven Finish for Even Cooking
Once the beautiful crust is established on the bottom, immediately transfer the entire skillet into the preheated 375°F oven.
Bake the crab cakes for 8 to 10 minutes, or until the interior is heated through and the sides of the cakes feel firm to the touch. This oven finish ensures the cakes cook gently and evenly throughout without scorching the delicate crust, guaranteeing a flaky interior.
Chef’s Secrets: Troubleshooting and Refining Your Technique
Consistent success with Classic Lump Crab Cakes relies on attention to small details.
The Temperature Test: Always verify your crab cakes are thoroughly chilled before placing them in the skillet. If they are even slightly room temperature, they will crumble upon searing.
Don’t Crowd the Skillet: Cook in batches if necessary. Overcrowding drops the pan temperature significantly, causing the crab cakes to steam and dissolve rather than sear to a crisp finish.
Oil Selection Matters: For the initial high-heat searing, use an oil with a high smoke point, such as vegetable, canola, or grapeseed oil, to avoid burnt flavors.
Salting Considerations: Remember that traditional Old Bay seasoning contains a noticeable amount of salt. Add any additional salt to the binder mixture cautiously, tasting as you go.
What If My Cakes Are Still Crumbly? (Fixes and Prevention)
Crumbly crab cakes are usually caused by either insufficient chilling time, or more commonly, overmixing that breaks down the structural integrity of the crab meat. If you notice your mixture is too loose before chilling, gently fold in a half teaspoon of additional panko to soak up excess moisture, then ensure they chill for the full 60 minutes.
Beyond the Plate: Serving Suggestions and Make-Ahead Planning
A well-made crab cake deserves equally thoughtful accompaniments.
The Perfect Pairing: Classic Sauces and Accompaniments
Serve your crab cakes alongside a creamy, homemade Tartar Sauce that balances richness and tang, or a zesty Remoulade made with Creole mustard and a touch of horseradish for a spicy kick.
For side dishes, choose light, crisp options such as a mixed green salad dressed with a simple vinaigrette, or perfectly roasted, bright green asparagus spears.
Storage and Freezing: Making Classic Lump Crab Cakes Ahead of Time
You can prepare the crab cake mixture and shape the raw patties up to 24 hours in advance, keeping them tightly covered and refrigerated until you are ready to sear and bake.
To freeze, flash-freeze the shaped, raw crab cakes on a tray until solid, then transfer them to an airtight container or vacuum seal. Reheat cooked leftovers in a moderate oven or an air fryer to crisp up the exterior without drying out the interior.
Frequently Asked Questions About Classic Lump Crab Cakes
Can I Bake These Without Searing First?
Yes, you can achieve an all-baked Classic Lump Crab Cake, but you will sacrifice some of the deep, golden crust development. To do so, preheat the oven to 400°F and bake for 15 to 18 minutes, brushing the tops lightly with melted butter before baking.
Is Panko Breadcrumbs Necessary, or Can I Substitute?
Panko is highly preferred because its flake structure yields the lightest cake. While you can substitute with fine, dry cracker meal or certified gluten-free breadcrumbs, be prepared to potentially reduce the quantity slightly as those tend to absorb more moisture than Panko.
How Do I Know When My Crab Cakes Are Fully Cooked?
The safest indicator is an internal temperature of 165°F (74°C), measured with an instant-read thermometer inserted into the center. Visually, the sides of the crab cakes will be firm, and the filling will look opaque and slightly golden throughout.
A Timeless Dish: Enjoying Your Homemade Classic Lump Crab Cakes
Mastering the technique for minimal binder and maximizing the chilling time completely removes the anxiety of achieving the perfect sear and structure.
You now possess the secret to flawless Classic Lump Crab Cakes-a dish that showcases the pure, delicate flavor of quality seafood. Give this method a try and share your results; I guarantee this will become your new benchmark recipe.
Crab Cakes
Course: Main CourseCuisine: AmericanDifficulty: easy4
servings15
minutes15
minutes240
kcal90
minutesAvoid the frustration of crumbled crab cakes with this foolproof recipe focused on preserving the lump meat. By using minimal binder and a critical chilling step, you guarantee a gorgeous, golden crust and a flaky, restaurant-quality interior every time.
Ingredients
1 pound lump crab meat
1/4 cup quality mayonnaise
1 large egg, lightly beaten
1 teaspoon Dijon mustard
1 teaspoon fresh lemon juice
1 tablespoon finely chopped fresh parsley
1 teaspoon Old Bay seasoning (or similar seafood seasoning)
1/4 cup panko breadcrumbs (minimal binder)
Salt and black pepper to taste
2 tablespoons vegetable oil (for searing)
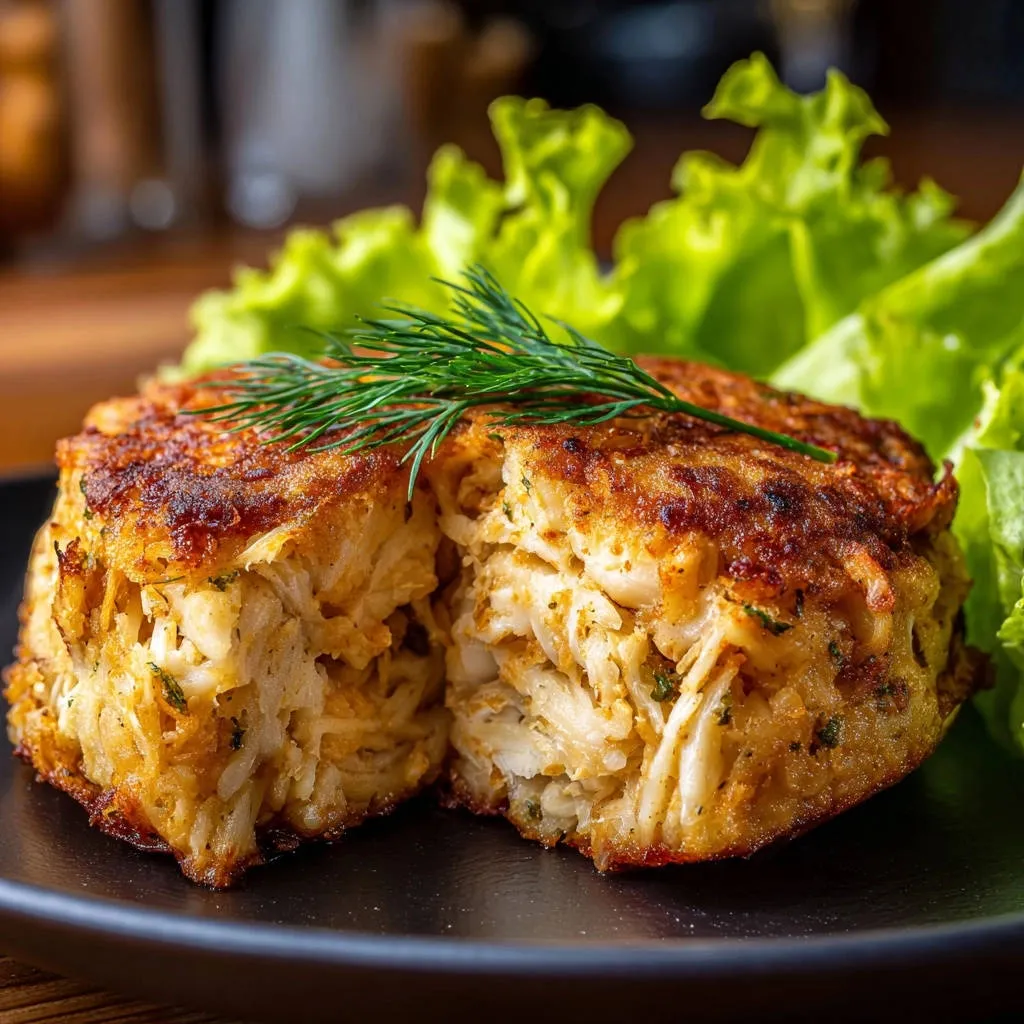
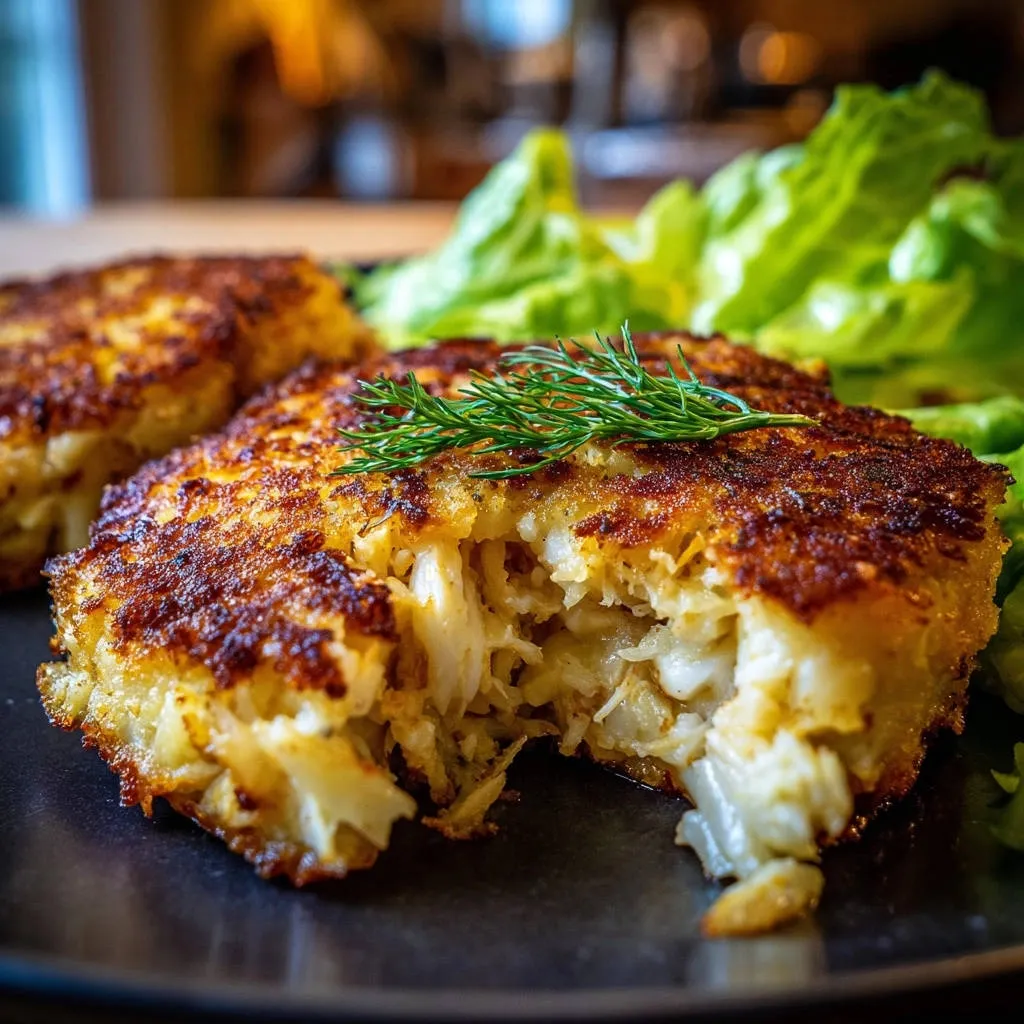
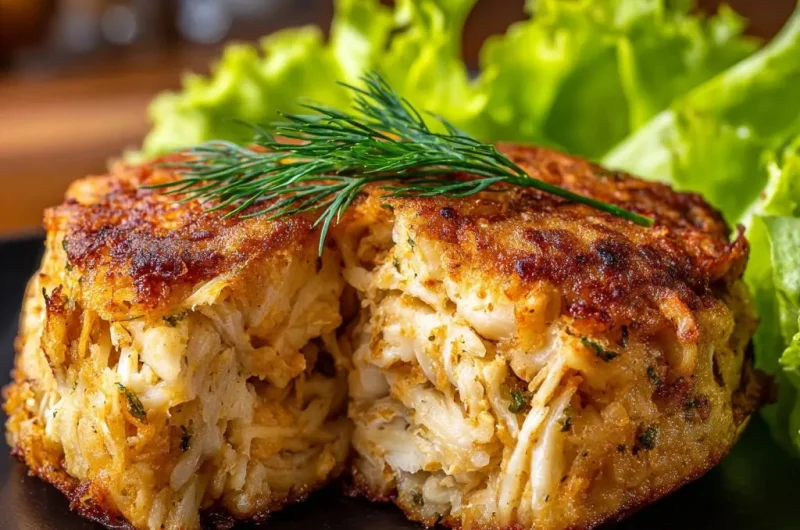
Fresh dill and lettuce (for garnish)
Directions
- Prepare the Binder Mixture: In a medium bowl, whisk together the mayonnaise, beaten egg, Dijon mustard, lemon juice, parsley, and Old Bay seasoning. Season lightly with salt and pepper. This forms the minimal binding base.
- Incorporate the Crab: Gently fold in the panko breadcrumbs until just combined. Now, add the lump crab meat. This step is critical: use a rubber spatula and fold gently, avoiding breaking up the large lumps of crab. You want the binder mixture to just coat the crab meat; overmixing will result in tough, small pieces and a denser cake.
- The Structural Fix (Chill): Divide the mixture into 4 generous patties, about 1 1/2 inches thick. Place the shaped crab cakes immediately onto a sheet pan lined with parchment paper. This is the non-negotiable step to prevent crushing: Cover the pan loosely and refrigerate for a minimum of 60 minutes, or up to 4 hours. Chilling allows the minimal binder to set, guaranteeing the cakes hold their structure when cooking.
- Sear for Color: Preheat the oven to 375 degrees F. Heat the vegetable oil in an oven-safe skillet (cast iron works best) over medium-high heat until shimmering. Carefully place the chilled crab cakes into the hot skillet. Sear for 3 to 4 minutes until a deep golden brown crust forms on the bottom. Do not crowd the pan or attempt to move the cakes during this time.
- Bake to Finish: Once the bottom is golden, immediately transfer the entire skillet into the preheated 375 degree F oven. Bake for 8 to 10 minutes, or until the interior is heated through and the sides of the cakes are firm. The oven finish ensures they cook evenly and gently without getting scorched, locking in that flaky, crab-forward texture.
- Serve immediately garnished with fresh dill and lettuce.
Notes
- The minimum 60-minute refrigeration step is non-negotiable for ensuring the cakes hold their structure during cooking.