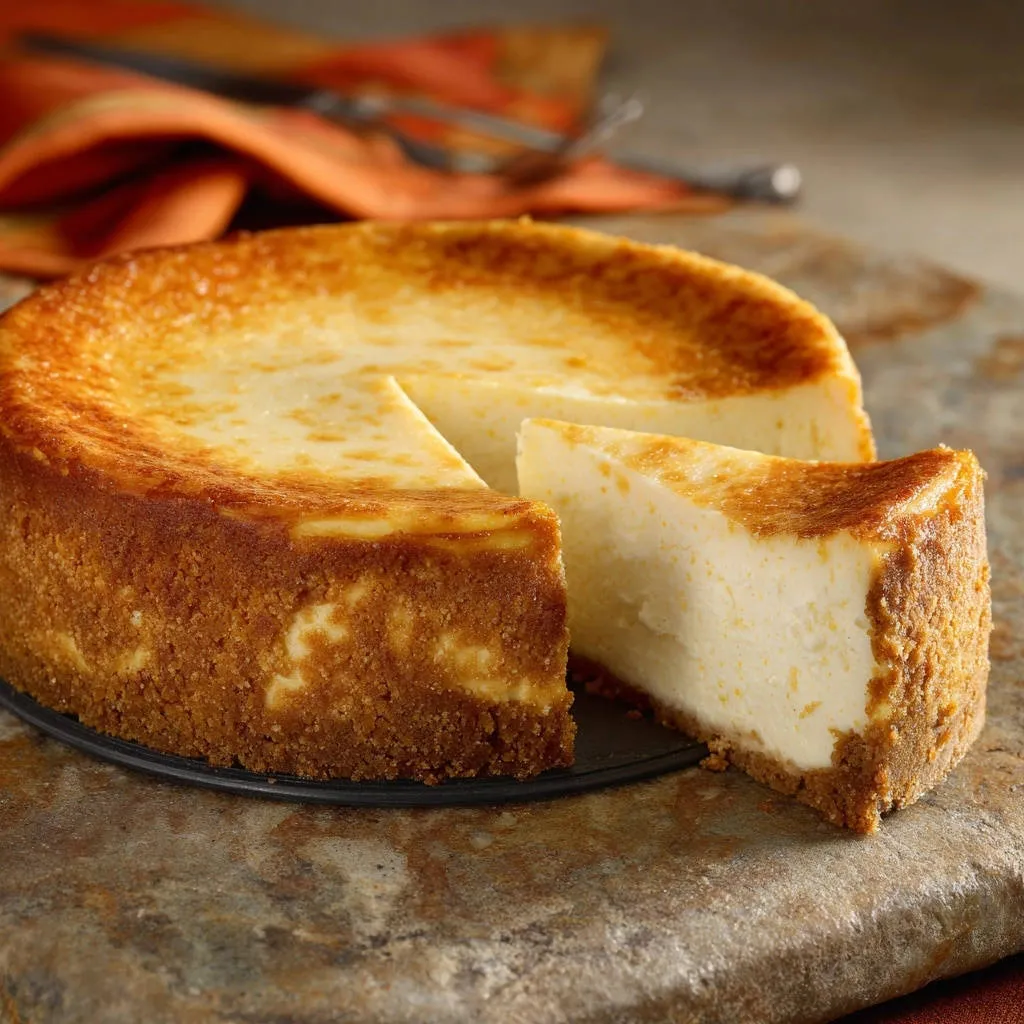
For years, the dreaded cracked top made me hesitant to make a show-stopping dessert, but I discovered the perfect solution to that frustration. This recipe for Classic New York Cheesecake is guaranteed to yield a flawlessly smooth surface and a signature creamy, dense interior, solving the age-old problem of temperature shock. By mastering a simple slow-cooling technique, you can confidently bake a bakery-quality cheesecake every single time.
The Secret to Guaranteed Smoothness: Why This Recipe Works Every Time
Achieving that iconic, unblemished surface and rich, velvety texture requires precision, not guesswork. Our method addresses the two primary causes of cheesecake failure directly: uneven baking and rapid cooling.
This systematic approach builds trust and ensures predictable results, which is key to repeatable success in baking.
Understanding Cheesecake Cracks: The Enemy is Temperature Shock
Cheesecakes typically crack when the center and edges cool at drastically different rates. When the hot, airy center is suddenly exposed to cool room air, it rapidly shrinks while the set edges remain rigid, tearing the surface.
Controlling the thermal environment is the secret to preventing this structural failure.
The Crucial Role of the Water Bath (Bain-Marie)
A water bath is essential for providing gentle, even heat from all sides. The water surrounding the pan acts as an insulator and keeps the oven air moist.
This technique prevents the edges from drying out and baking too quickly, ensuring the entire cheesecake sets homogeneously.
Eliminating Risk: The “No-Crack” Slow Cooling Method
The single most important step for a crack-free surface is the post-bake cooling protocol. By turning the oven off and leaving the cheesecake inside for one full hour, you create a temperature transition so gradual it eliminates shock entirely.
This allows the internal structure to relax and settle without the sudden contraction that causes surface tension and cracking.
Setting Up for Success: Essential Equipment Checklist
Using the correct tools is fundamental to the execution of this technical bake.
The Springform Pan and Foil Armor
A 9-inch springform pan is non-negotiable, allowing you to easily release the delicate dessert without inverting it.
When preparing the water bath, you must tightly wrap the pan’s exterior with two layers of heavy-duty aluminum foil.
This crucial “foil armor” prevents even a tiny amount of water seepage, which would otherwise ruin the crust by making it soggy.
Baking Essentials: Roasting Pans and Thermometers
You will need a roasting pan large enough to hold the springform pan with several inches of clearance around the sides for the water bath.
Always use an independent oven thermometer to confirm your oven’s accuracy; temperature fluctuations can easily sabotage the slow-baking process.
Essential Building Blocks for Authentic Classic New York Cheesecake Flavor
Quality ingredients used at the correct temperature are non-negotiable for achieving the signature rich texture of a true New York style dessert.
The Foundation: Crafting the Ideal Graham Cracker Crust
The perfect ratio of graham crumbs, sugar, and melted butter creates a sturdy, flavorful base that can withstand the density of the filling.
Pre-baking the crust for 8-10 minutes sets the structure and intensifies the nutty, buttery flavor before the heavy filling is added.
Cream Cheese Science: Temperature and Texture Control
The cream cheese must be completely softened-this is perhaps the most crucial ingredient prep step.
For a similarly luscious experience, explore our red velvet cheesecake cookies.
If the cream cheese is cold, you will have to mix longer to eliminate lumps, which incorporates excess air into the batter.
Too much air causes the cheesecake to rise rapidly and then collapse, resulting in a dense texture and guaranteed cracking.
The Role of Room Temperature Eggs and Heavy Cream
Room temperature eggs are essential because they fully emulsify and blend seamlessly into the cream cheese base.
The inclusion of heavy cream (or sour cream, in some variations) provides critical fat content, resulting in the desired signature rich, dense texture without becoming gluey or tough.
For another take on creamy cheesecake, explore creamy pumpkin swirl cheesecake.
Classic New York Cheesecake: Step-by-Step Guide to Baking Perfection
Follow these steps precisely, paying close attention to mixing speed and cooling times, to guarantee an unblemished result.
- Crust Preparation and Initial Bake:
Preheat the oven to 350°F and press the graham mixture firmly into the bottom and up the sides of the greased 9-inch pan.
Bake the crust for 8 to 10 minutes, remove it immediately, and then reduce the oven temperature to 325°F before you start the filling.
- Assembling the Water Barrier (Foil Wrapping):
Once the crust is slightly cooled, tightly wrap the outside bottom and sides of the springform pan in two overlapping layers of heavy-duty foil.
Ensure the foil extends well past the water level you intend to use; prevention of water seepage is absolutely critical for the crust’s integrity.
- The Critical Mixing Technique (Avoiding Over-Aeration):
First, beat only the softened cream cheese and sugar until perfectly smooth, then mix in the vanilla and heavy cream until just combined.
Add the eggs one at a time, mixing only on LOW speed until the yolk just disappears; stop the mixer immediately once the last egg is blended.
This mixing discipline prevents excess air from being incorporated, which is the primary cause of rising, subsequent falling, and cracking.
- Water Bath Assembly and Careful Placement:
Pour the prepared batter into the crust and place the foil-wrapped springform pan inside the larger roasting pan.
Carefully pour hot water into the roasting pan until it reaches halfway up the sides of the springform pan to ensure even thermal insulation.
- Monitoring the Bake: The “Jiggle” Test:
Bake at 325°F for 60 to 75 minutes. The cheesecake is done when the outer 1-2 inches are completely set and slightly puffed.
The center 2 inches should still show a visible, slight jiggle, similar to firm gelatin; it will finish setting during the cooling process.
- The No-Crack Solution: Gradual Cooling Protocol:
Once the timer goes off, turn the oven OFF completely, but do NOT open the door under any circumstances.
Leave the cheesecake inside the cooling oven for exactly one full hour; this gentle, gradual temperature transition is the ultimate secret to eliminating shrinkage and cracking.
- Final Cooling and Non-Negotiable Chill Time:
After the oven hour, remove the cheesecake from the water bath and peel off the foil. Let it cool completely on a wire rack at room temperature for another hour.
Transfer the loosely covered cake to the refrigerator and chill for a minimum of 6 hours, ideally overnight; this non-negotiable step allows the texture and flavors to fully develop.
Chef’s Secrets: Troubleshooting and Elevating Your Cheesecake
Why Did My Cheesecake Sink in the Middle?
A sunken center is usually the result of over-mixing (incorporating too much air) or removing the cake from the oven too quickly.
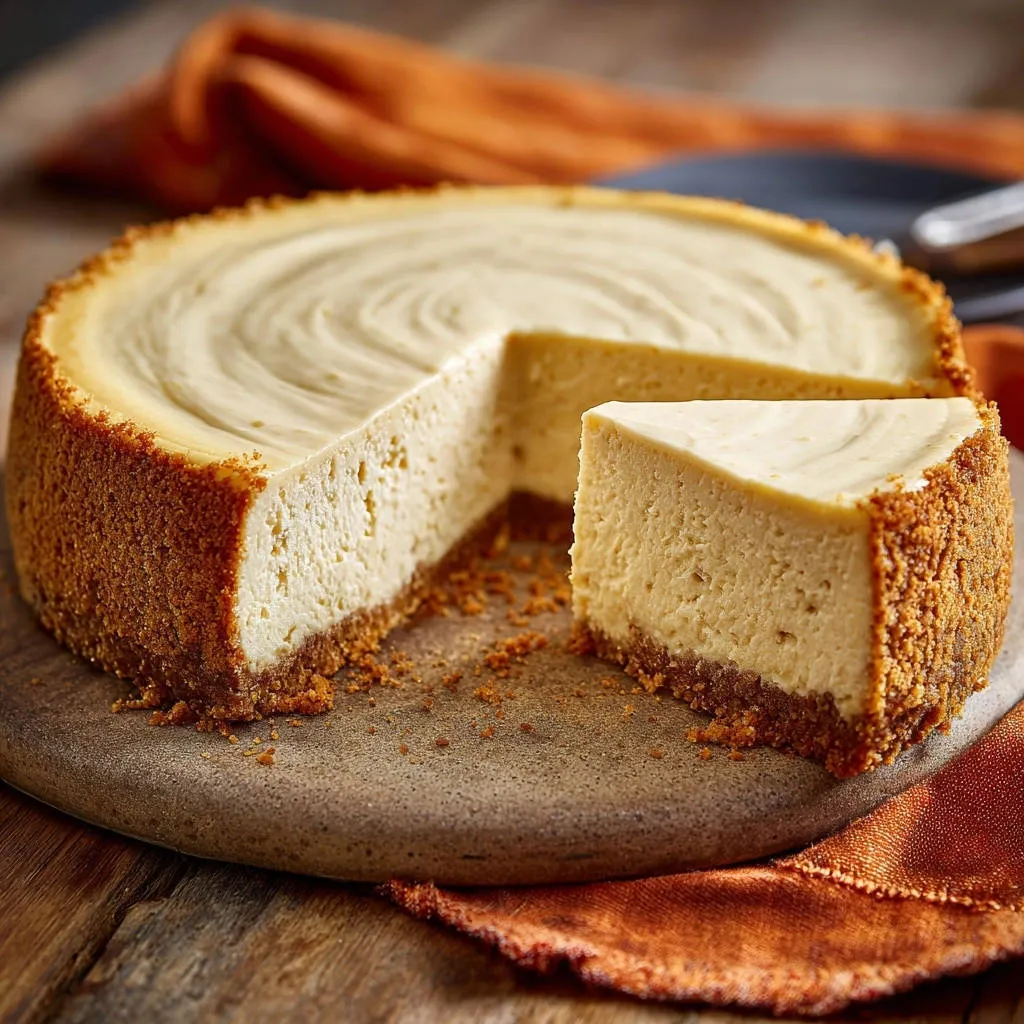
Achieving That Signature Dense, Yet Creamy Texture
Always choose full-fat cream cheese for maximum richness, and ensure you let the cheesecake chill for a full 12 hours.
Pro Tip: Scoring the Crust Edge Before Baking
Before putting the cheesecake in the oven, run a thin, flexible knife around the edge where the batter meets the pan.
This minor scoring prevents the edges from sticking tightly to the pan as the cheesecake shrinks slightly while baking, reducing tension that causes cracks.
Creative Garnishes and Toppings for Classic New York Cheesecake
While often served plain, classic toppings elevate the presentation.
Complementary Bites
Round out your cheesecake experience with these complementary recipes.
- For a cheesy starter that balances the sweetness of cheesecake, try this Gooey Shrimp Spinach Dip, featuring similar creamy notes.
- Start your day with a sweet treat before dessert by making this Baked Blueberry Cream Cheese French Toast, sharing a creamy cheese element.
Try fresh seasonal berries, a bright cherry sauce, or a simple, slightly tangy sour cream glaze applied after the cheesecake is fully chilled.
Make-Ahead Mastery: Storage, Freezing, and Serving Timing
How Long Can Classic New York Cheesecake Last in the Fridge?
Cheesecake should be covered loosely after the initial overnight chill.
When properly wrapped and stored in an airtight container, your Classic New York Cheesecake will remain delicious for 4 to 5 days in the refrigerator.
Freezing Classic New York Cheesecake (Best Practices)
Cheesecake freezes beautifully. Once fully cooled and set, wrap the entire cheesecake tightly first in plastic wrap, then in heavy-duty aluminum foil.
It can be frozen for up to 1-2 months. Thaw it slowly overnight in the refrigerator before serving to maintain the perfect texture.
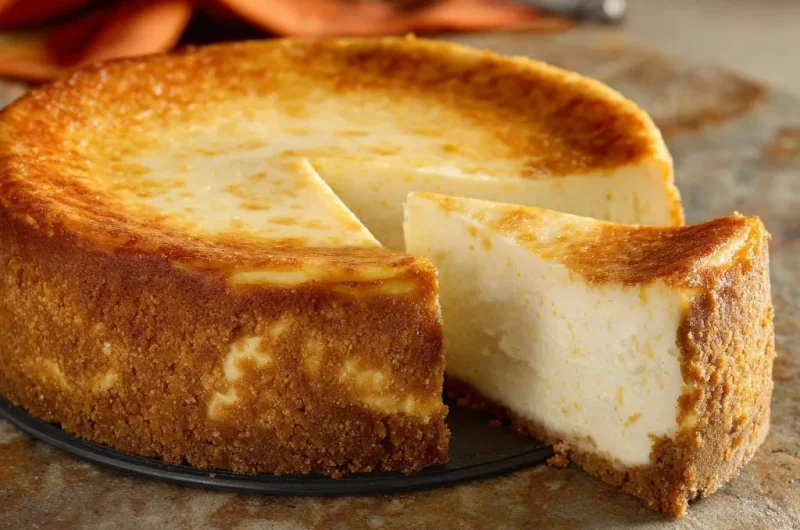
The Perfect Slice: Tips for Clean Cuts
For bakery-worthy slices, use a thin, sharp knife that has been warmed in a tall glass of hot water.
Wipe the knife blade completely clean and hot between every single cut for the cleanest, most professional presentation.
Frequently Asked Questions About Classic New York Cheesecake
Do I really need to use a water bath for cheesecake?
Yes, for this specific guaranteed no-crack recipe, the water bath is mandatory. It regulates the internal temperature during the 75-minute bake, providing the moisture needed for a creamy, tender interior.
Can I substitute reduced-fat cream cheese?
We strongly advise against using reduced-fat cream cheese. The high-fat content of full-fat cream cheese is what provides the dense, unctuous mouthfeel signature to an authentic New York style cheesecake.
Why is room temperature so important for ingredients?
Using room temperature ingredients, especially cream cheese and eggs, is crucial for proper emulsification. Everything blends smoothly and quickly, ensuring you don’t overmix and incorporate too much air into the batter.
How do I know if my cheesecake is underbaked?
If the center two inches wobble vigorously instead of resembling firm gelatin, it is underbaked. Removing it too soon risks a soft, gooey center that will collapse dramatically upon cooling.
Ready to Impress? Share Your Classic New York Cheesecake Masterpiece!
You now have the precise techniques used by professional bakers to conquer the challenging cheesecake bake.
Master this slow-cooling protocol and enjoy the confidence that comes with serving a perfectly smooth, rich, and unforgettable Classic New York Cheesecake. Try the recipe today and share your crack-free results!
Cheesecake
Course: DessertCuisine: AmericanDifficulty: medium12
servings (9-inch cake)20
minutes1
hour15
minutes450
kcal540
minutesAchieve a perfectly smooth, crack-free cheesecake every time with this foolproof technique! By utilizing a water bath and slow, gradual cooling in the oven, you eliminate temperature shock, guaranteeing a creamy texture and flawless top. This classic recipe is easy once you know the secret.
Ingredients
For the Crust:
1 1/2 cups graham cracker crumbs
1/4 cup granulated sugar
6 tablespoons unsalted butter, melted
For the Filling:
3 (8 ounce) packages cream cheese, softened completely
1 1/2 cups granulated sugar
1 teaspoon vanilla extract
1/4 cup heavy cream
4 large eggs, room temperature
Directions
- Prepare the Pan and Oven: Preheat oven to 350 degrees F. Lightly grease a 9 inch springform pan.
- Form the Crust: In a small bowl, combine graham cracker crumbs, 1/4 cup sugar, and melted butter. Press the mixture firmly into the bottom and 1 inch up the sides of the prepared springform pan. Bake the crust for 8 to 10 minutes until lightly set. Remove from oven and let cool slightly. Reduce oven temperature to 325 degrees F.
- Prepare for Water Bath: Tightly wrap the outside bottom and sides of the springform pan in two layers of heavy duty aluminum foil. This is crucial for preventing water from seeping in and making the crust soggy.
- Mix the Batter (The Texture Fix): In a large mixing bowl, beat the softened cream cheese with 1 1/2 cups sugar until completely smooth. Add the vanilla and heavy cream and mix until just combined. Add the eggs one at a time, mixing on LOW speed only until each egg yolk is incorporated. Stop mixing immediately once the last egg is blended. Do not overmix the batter, as excessive air incorporation leads to dense texture and cracking.
- Bake with Water Bath: Pour the cheesecake filling into the prepared crust. Place the foil wrapped pan into a large roasting pan. Carefully pour hot water into the roasting pan until the water reaches about halfway up the sides of the springform pan.
- Cook Slowly: Bake at 325 degrees F for 60 to 75 minutes. The cheesecake is done when the edges look set and the center 2 inches still look slightly jiggly (like firm gelatin).
- THE NO-CRACK SOLUTION: When the baking time is complete, turn the oven OFF. Do NOT open the oven door. Leave the cheesecake inside the cooling oven for 1 hour. This extremely slow, gradual cooling process eliminates the temperature shock that causes shrinkage and cracking.
- Finish Cooling: After 1 hour in the off oven, remove the cheesecake from the water bath and the foil wrapping. Let it cool completely on a wire rack at room temperature for another 1 hour.
- Chill: Cover the cheesecake loosely and transfer it to the refrigerator. Chill for at least 6 hours or, ideally, overnight before slicing and serving.
Notes
- The extended cooling process (1 hour in the switched-off oven followed by 1 hour at room temperature) is mandatory to prevent cracking. Do not skip this step!