We all know the misery of pulling cookie dough out of the oven only to watch it deflate into thin, sad, greasy discs. I cracked the code on making truly thick, soft, and beautifully defined Classic Peanut Butter Cookies by focusing on one simple, mandatory pre-bake step.
This recipe establishes expertise and guarantees a gorgeous, chewy height that stands up perfectly, delivering the satisfying texture every time.
For even more no-spread perfection, check out these chewy peanut butter cookies.
The Cookie Spread Solution: Our Secret for Thick, No-Fail Results
Why Peanut Butter Cookies Are Prone to Spreading
Cookie doughs high in fat, like peanut butter dough, are notorious for spreading because the fat melts quickly before the structure has a chance to set.
This issue is often exacerbated when bakers use natural peanut butter, which separates easily and has a higher concentration of unbound oil.
The Mandatory Chilling Step: Locking in Structure
Chilling the scooped dough for a minimum of 30 minutes is the definitive solution against excessive spreading.
This process rapidly solidifies the fat within the dough, ensuring the cookies retain their spherical shape until the baking soda activates and sets the structure in the oven, guaranteeing thick peanut butter cookies.
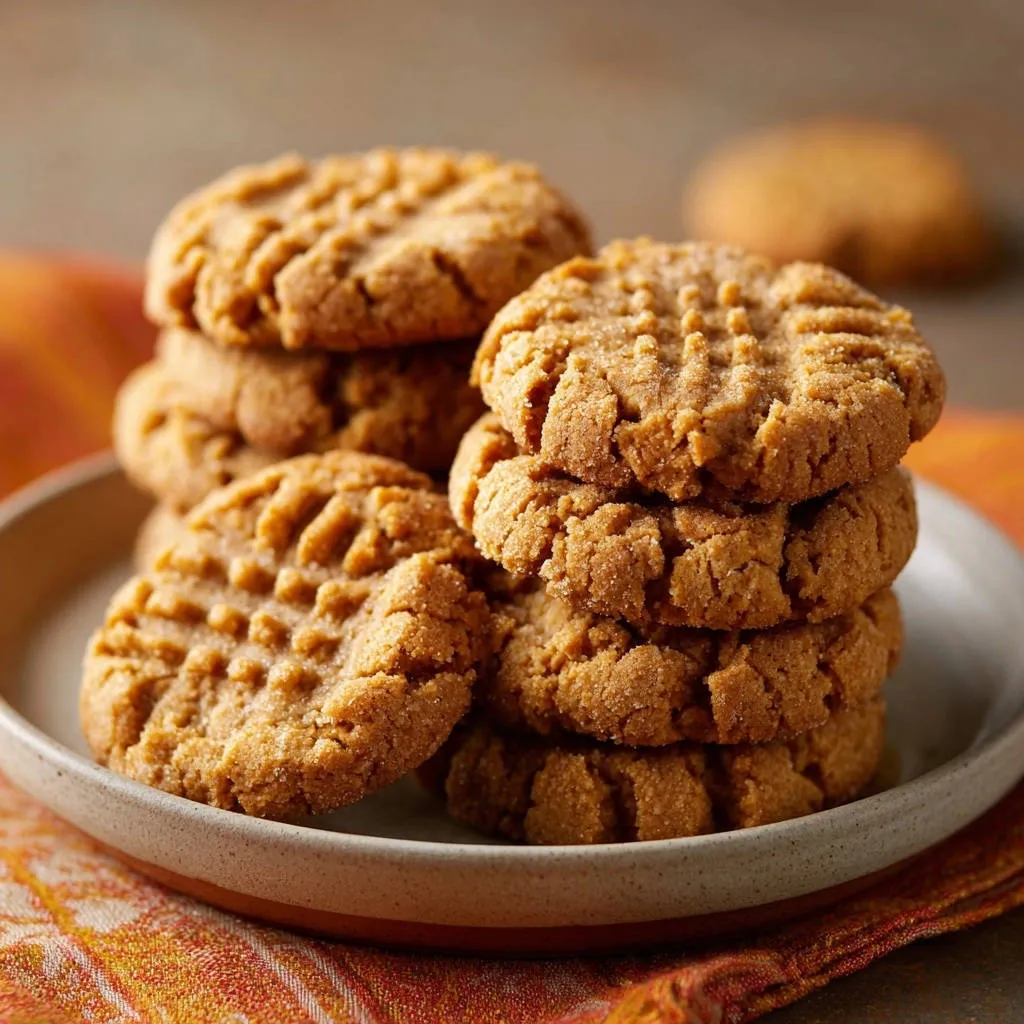
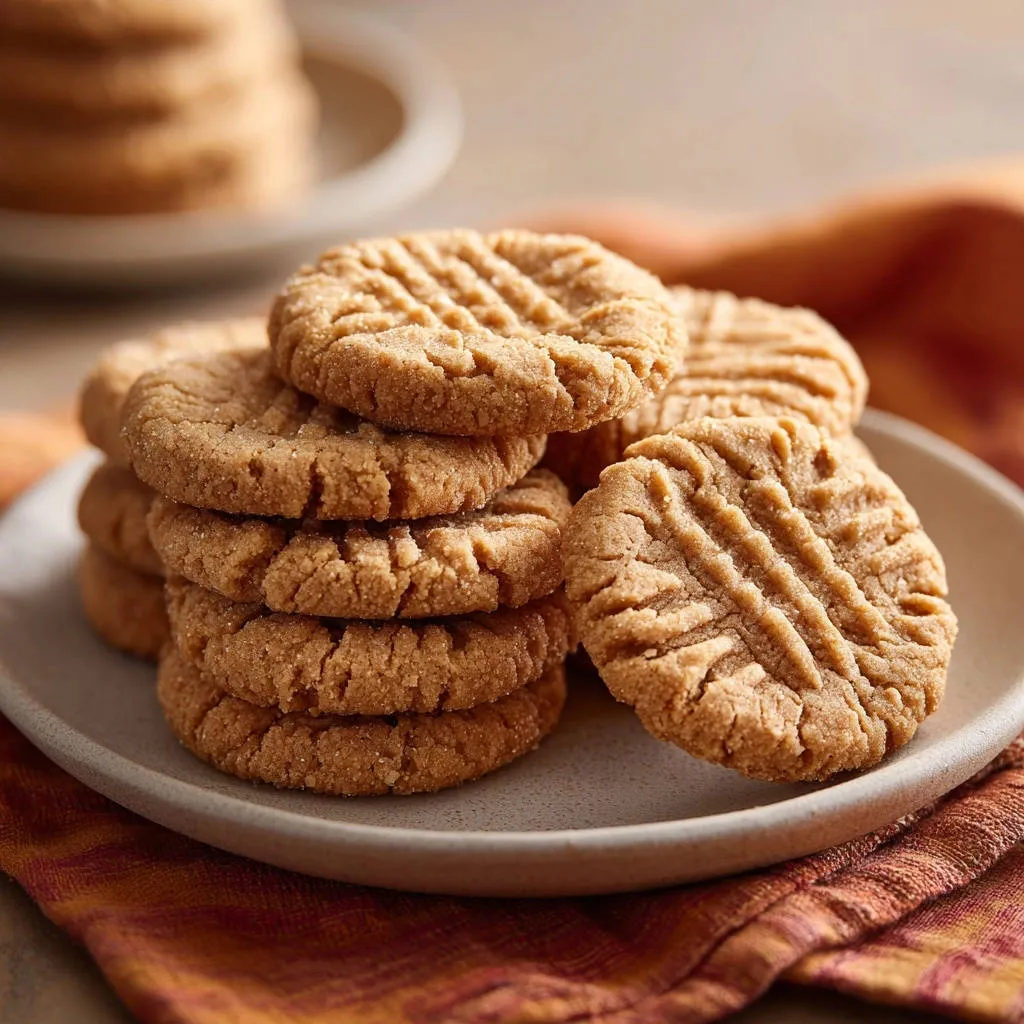
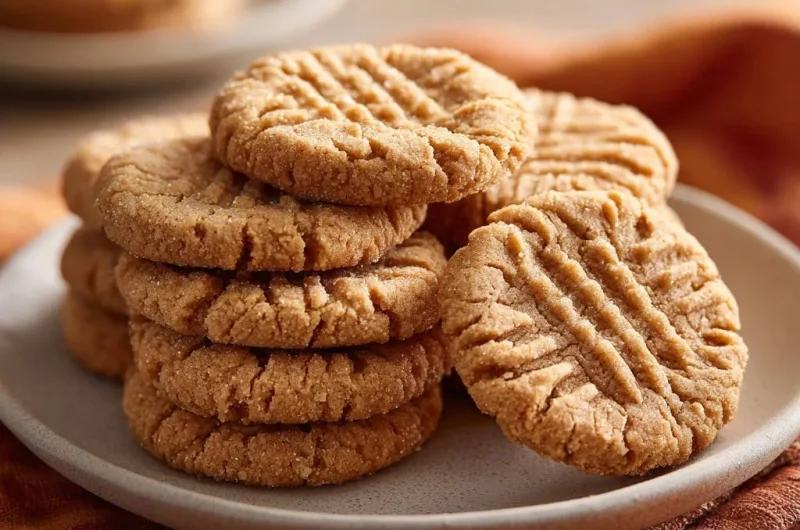
The Perfect Texture Profile: Soft, Chewy, and Defined
We aim for a cookie that is chewy around the edges and exceptionally soft in the center.
The chilling and precise baking time ensure the cookies hold the traditional cross-hatch pattern and possess that desirable defined height, not a flat disc.
Building Blocks of Flavor: Key Ingredients for Classic Peanut Butter Cookies
The Essential Peanut Butter Choice (Creamy Only)
For guaranteed no-spread cookies, you must use creamy, processed peanut butter like Jif or Skippy.
These commercial varieties contain stabilizers and emulsifiers that help bind the fat, resulting in a much more predictable and structured dough.
The Dynamic Duo: Granulated and Brown Sugar
Granulated white sugar provides necessary structure and contributes to the slight crispness around the edges.
Packed light brown sugar adds moisture, depth of flavor, and is key for that soft, desirable chewy texture in the center.
Leavening Agent Focus: Why We Use Only Baking Soda
Baking soda is the perfect leavening agent here because it is activated by the acid present in the brown sugar.
The small amount of salt balances the sweetness and enhances the rich flavor of the peanut butter.
Essential Gear: Tools for Classic Peanut Butter Cookies Success
- Stand or Hand Mixer:
Essential for thoroughly creaming the peanut butter and sugars until light and fluffy.
- Parchment Paper-Lined Baking Sheets:
Prevents sticking and ensures the bottoms of the cookies do not brown too quickly.
- Cookie Scoop (1.5 Tablespoon size):
Guarantees uniform size for even baking and presentation, crucial for consistent results.
- Wire Cooling Rack:
Necessary to allow air circulation, preventing the bottoms from becoming soggy while they finish setting.
From Dough to Delight: Mastering the Classic Peanut Butter Cookies Technique
- Prep and Creaming Fundamentals:
Preheat the oven to 350°F and prepare your baking sheets immediately.
In a large bowl, beat the peanut butter, granulated sugar, and brown sugar for the full two minutes until the mixture is visibly light and airy. This crucial creaming step dissolves the sugar crystals and incorporates air, which is essential for a soft finished cookie.
- Incorporating Wet Ingredients:
Gently beat in the large egg and vanilla extract until they are just combined.
Make sure to scrape down the sides of the bowl to ensure all ingredients are fully integrated.
- The Dry Ingredient Integration:
Whisk the baking soda and salt separately in a small bowl, then add this dry mix to the wet ingredients.
Mix on low speed only until the dough comes together and no streaks remain. Stop immediately to prevent overmixing, as excessive handling develops gluten and leads to tough cookies.
- The Crucial Chilling Stage (The No-Spread Guarantee):
Scoop the dough into uniform 1.5-tablespoon balls and place them on the prepared sheets.
Place the entire tray in the refrigerator for a minimum of 30 minutes. This mandatory step solidifies the fat, preventing the dough from melting too fast in the hot oven environment.
- Creating the Signature Cross-Hatch Pattern:
Dip a fork in a small bowl of granulated sugar, then gently press the fork onto each chilled dough ball to create the iconic cross-hatch pattern.
Press just until slightly flattened; the sugar coating prevents the fork from sticking and tearing the dough.
- Baking and The Golden Rule:
Bake for 10 to 12 minutes. You are looking for light golden edges, but the center must still look slightly soft and underdone.
Overbaking is the enemy of a chewy cookie; remember they will continue to set up significantly once they are removed from the oven.
- The Essential Setting Time:
Allow the Classic Peanut Butter Cookies to cool completely on the baking sheet for a full five minutes before attempting to move them.
This setting time is non-negotiable for achieving the perfect, fully set, thick, and chewy texture that defines these delicious treats.
Troubleshooting and Expert Tips for Your Next Batch
Help! My Dough Is Too Crumbly
If your peanut butter dough feels excessively dry or crumbly after mixing, it may be due to differences in peanut butter brand density or altitude.
Add a tiny splash of milk or half a teaspoon of water, mixing until the dough holds together when squeezed without being sticky.
Achieving the Perfect Cross-Hatch Without Sticking
The key to a clean cross-hatch pattern is preparation.
Always dip the fork tines into a small bowl of granulated sugar before pressing; this lubricates the fork and prevents the dough from clinging to the metal.
Handling High Humidity While Baking
High environmental humidity can introduce extra moisture into the dough, making it stickier and softer.
If humidity is high, slightly increase the mandatory chilling time to 45 minutes to ensure the dough is sufficiently firm before baking.
The Power of Precise Measurement
In this recipe, measuring the peanut butter accurately is paramount, especially since we are not using flour.
Ensure you scrape out peanut butter using dry measuring cups to prevent air pockets that could throw off the fat-to-sugar ratio.
Make-Ahead Magic and Perfect Pairings
Can I Prepare the Dough in Advance?
Absolutely-this peanut butter dough is excellent for make-ahead baking.
Store the scooped, unbaked balls in an airtight container in the refrigerator for up to three days, or freeze them for up to three months; bake directly from frozen, adding 2-3 minutes to the total time.
The Best Way to Store Baked Classic Peanut Butter Cookies
Once completely cooled, store the finished cookies in an airtight container at room temperature.
They will retain their fresh, chewy texture for four to five days.
Serving Suggestions Beyond the Cookie Jar
These chewy texture treats are perfectly paired with a tall glass of cold milk or a strong cup of coffee.
For an indulgent twist, try sandwiching vanilla ice cream between two cookies or drizzling them with melted dark chocolate once they are fully cooled.
FAQs: Your Classic Peanut Butter Cookies Questions Answered
Why is Using Natural Peanut Butter Not Recommended for this Recipe?
Natural peanut butter, which requires stirring and separates easily, contains much higher amounts of unbound oil.
Using natural peanut butter will inevitably lead to excess spreading and results in a thin, greasy cookie, ruining the specific thick structure we are aiming for.
Do I Need to Refrigerate the Dough if I Am In a Hurry?
The 30-minute chilling is non-negotiable for achieving thick, non-spreading cookies; it is the core technique of this recipe.
If you skip this step, the fat will melt immediately upon hitting the oven, and the cookies will flatten out significantly.
How Can I Make These Gluten-Free?
This specific Classic Peanut Butter Cookies recipe, often called the “Flourless 7-Ingredient PB Cookie,” is naturally gluten-free!
It relies only on the binding power of the peanut butter, eggs, and sugars for structure, making it perfect for those avoiding gluten without any substitutions.
Ready to Impress? Share Your Classic Peanut Butter Cookies Masterpiece!
We hope this definitive guide helps you master the art of the perfect, thick, and chewy Classic Peanut Butter Cookies.
No more sad, greasy discs-just glorious, satisfying texture every single time you pull them from the oven.
Bake a batch today, share them with friends, and discover the unmatched joy of a truly perfect peanut butter treat!
Peanut Butter Cookies
Course: DessertCuisine: AmericanDifficulty: easy4
18-24 cookies15
minutes12
minutes240
kcal60
minutesTired of thin, greasy peanut butter cookies? This recipe guarantees thick, soft, and beautifully defined cookies every time. The secret is one crucial chilling step that locks in the height before baking.
Ingredients
1 cup creamy peanut butter (not natural style)
1/2 cup granulated white sugar
1/2 cup packed light brown sugar
1 large egg
1 teaspoon vanilla extract
1 teaspoon baking soda
1/2 teaspoon salt
Directions
- Preheat the oven to 350 degrees F. Line two baking sheets with parchment paper.
- In a large mixing bowl, beat together the peanut butter, granulated sugar, and brown sugar until light and fluffy, about 2 minutes. This creaming process is crucial for dissolving the sugars.
- Beat in the egg and vanilla extract until just combined.
- In a separate small bowl, whisk together the baking soda and salt. Add the dry ingredients to the wet ingredients and mix on low speed until the dough comes together and no streaks of flour remain. Do not overmix. The dough should be thick and slightly crumbly.
- THE KEY TO NO SPREADING: Scoop the dough into uniform balls (about 1.5 tablespoons each). Place them on the prepared baking sheets. Place the entire baking sheet, with the dough balls, into the refrigerator for a minimum of 30 minutes. This mandatory chilling step solidifies the fat, ensuring the cookies do not melt and spread excessively before the baking soda activates and sets the structure.
- Once chilled, dip a fork in a small bowl of granulated sugar. Press the fork gently onto each dough ball, creating the traditional cross-hatch pattern. Press just until slightly flattened; if the edges crack, reshape them gently. Dipping the fork prevents sticking and tearing.
- Bake for 10 to 12 minutes, or until the edges are light golden brown but the centers still look soft. Do not overbake.
- Let the cookies cool completely on the baking sheet for 5 minutes before transferring them to a wire rack. This allows the centers to fully set, guaranteeing a thick, chewy texture.
Notes
- Requires a mandatory minimum 30-minute chilling time before baking to prevent spreading.