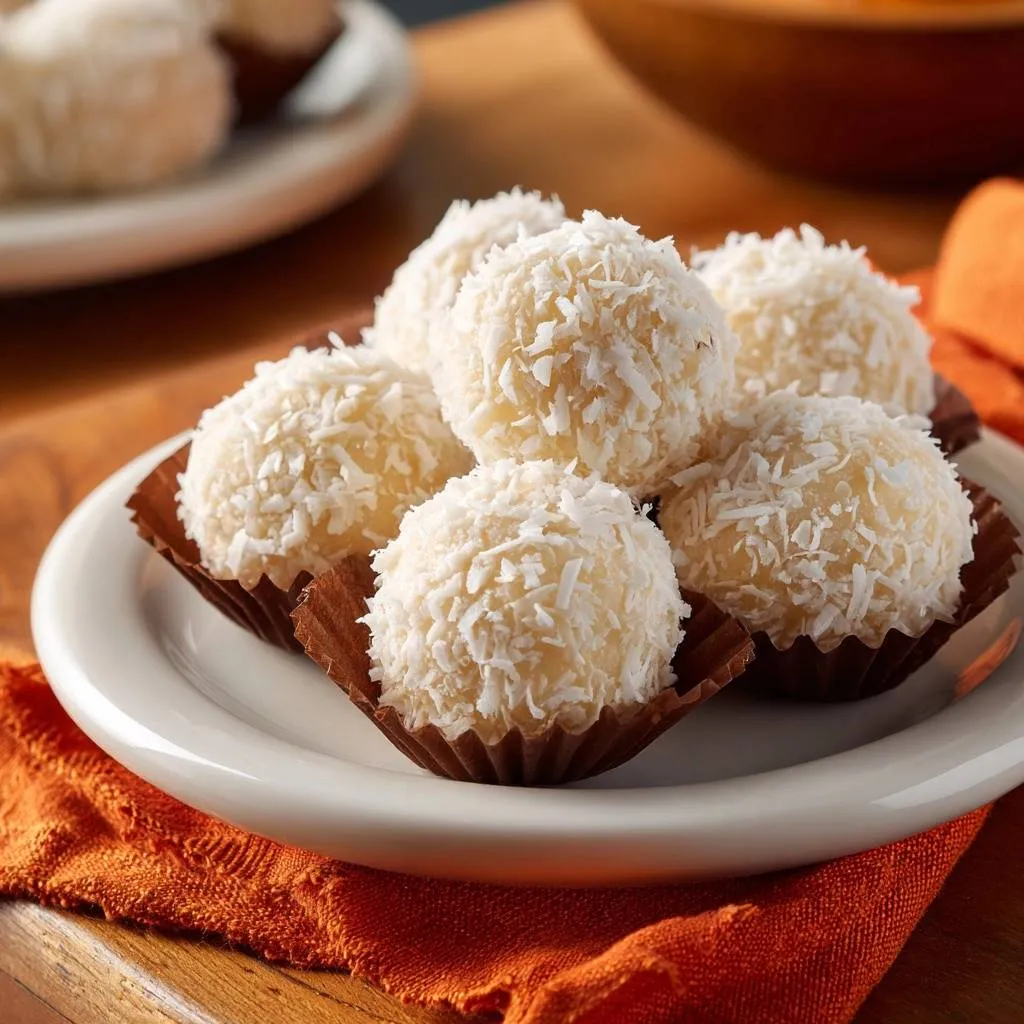
Ever dealt with coconut balls that stick to your hands like glue and crumble into a sad mess? Most recipes skip a key step, leaving you frustrated in the kitchen. But this chill-before-roll method changes everything. You get perfect, firm balls that shape effortlessly, yielding about 24 treats in just 20 minutes active time and 50 minutes total.
That’s why this recipe shines. It transforms three simple ingredients into chewy-centered, crisp-coated snowballs ideal for holidays or gifting. No more wasted coconut or sticky disasters. Plus, they stay fresh in the fridge for a week.
If you enjoy the simple coconut flavor here, you’ll also appreciate the technique behind achieving that perfect dome shape macaroons.
Here’s the expertise booster: chill the cooked mixture exactly 30 minutes. This firms up the coconut oils without over-hardening, so it scoops like dough but rolls smooth. Skip it, and you’re back to the nightmare.
Core Ingredients for Coconut Snowballs
You only need three ingredients for these Coconut Snowballs, but each plays a starring role. Sweetened condensed milk binds everything with creamy moisture. Sweetened shredded coconut, three cups total, delivers chew and crunch. Vanilla extract adds a subtle aroma that ties it all together.
Grab full-fat sweetened condensed milk; low-fat versions water down the mix. Use bagged sweetened shredded coconut for consistent sweetness and texture. These keep waste low since you divide the coconut smartly.
In addition, measure precisely. The 14-ounce can matches perfectly with two cups coconut for cooking, saving the last cup for coating.
Why Sweetened Condensed Milk Works Best
Sweetened condensed milk beats regular milk because it’s evaporated and thick. It prevents watery mixtures that never firm up. During cooking, its sugars caramelize gently for a golden hue and rich flavor.
Therefore, you get a paste that pulls from the pan sides cleanly. No substitutes here; stick to the real thing for success.
Shredded Coconut: Sweetened vs. Unsweetened
Sweetened shredded coconut binds better and adds crunch without dryness. Unsweetened versions stay too moist and flat in taste. Sweetened gives that perfect chew.
However, if you want nutty depth, toast a handful lightly first. It elevates without overpowering.
Science of Thickening Coconut Snowballs
The stovetop magic relies on the Maillard reaction, where proteins and sugars brown gently. Constant stirring on medium heat prevents scorching. Chilling then gelatinizes the fats for scoopable firmness.
Without chilling, the warm mix sticks and crumbles. This method locks in texture, contrasting no-chill disasters. You’ll smell sweet coconut as it thickens, a sure sign of progress.
Moreover, aim for 160-180°F internally. It reduces water content until the mix pulls away smoothly.
Stovetop Cooking: Heat and Stir Dynamics
Medium heat hits the 160-180°F sweet spot for thickening without boiling. Watch for the mixture to pull cleanly from pan sides; that’s your doneness cue from reduced water.
Stir constantly with a wooden spoon. Wood grips better than metal, avoiding scratches and hot spots.
Chilling Phase: Texture Transformation
Refrigeration firms the coconut oils, creating a flour-free dough-like consistency. Chill 30 minutes max to keep it scoopable; longer makes it rock-hard.
Therefore, it holds shape but yields under pressure. Perfect for mess-free rolling.
Step-by-Step: Cooking Coconut Snowball Base
Start with a medium saucepan over medium heat. Combine the sweetened condensed milk, two cups sweetened shredded coconut, and vanilla extract. Stir constantly with a wooden spoon for 10-12 minutes.
Look for thickening: it goes from soupy to taffy-like, pulling away from sides. Don’t boil, or it separates. Transfer to a bowl, cool 10 minutes at room temp to dodge condensation, then cover and chill.
This no-boil rule keeps it smooth. You’ll hear the spoon scrape cleanly as it thickens.
Combining and Heating Precisely
The 2-cup coconut to milk ratio creates paste-like pull-away. Visual cues guide you: soupy at first, then glossy and thick. Patience pays off here.
Pro tip: if it sticks early, lower heat slightly.
Step-by-Step: Chilling and Shaping Coconut Snowballs
After chilling, cover the bowl to prevent skinning. Scoop tablespoon-sized portions for 24 uniform balls. Lightly dust hands with extra coconut flakes, then roll quickly into smooth spheres.
The chill makes it non-sticky; warm hands from friction help it smooth out. Work fast before it softens.
In addition, line a plate with paper liners first. It keeps them tidy during the next chill.
Scooping Firm, Mess-Free Portions
Test scoopability: it holds shape but yields to pressure post-chill. Use a tablespoon measure for even 24 balls. No guesswork means pro results.
This baking-free treat stays chewy inside.
Step-by-Step: Coating and Final Set for Coconut Snowballs
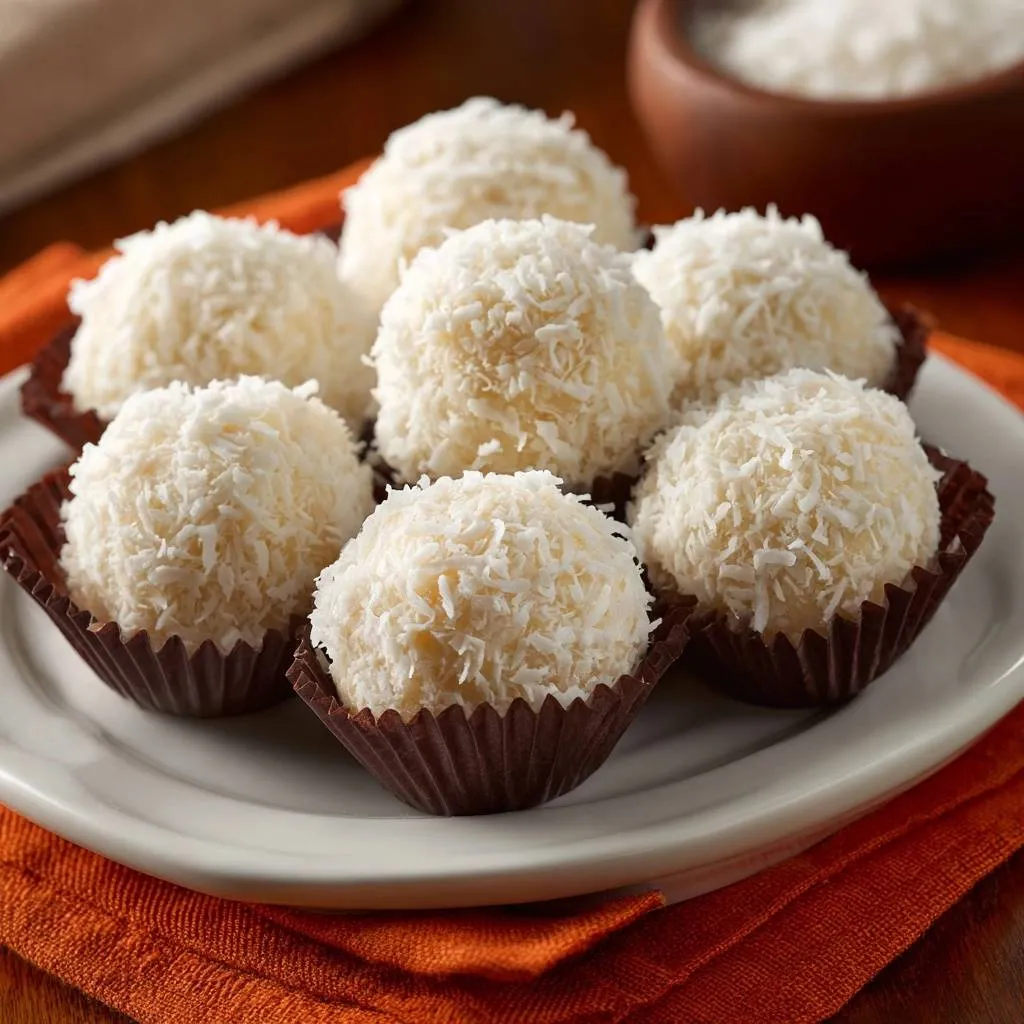
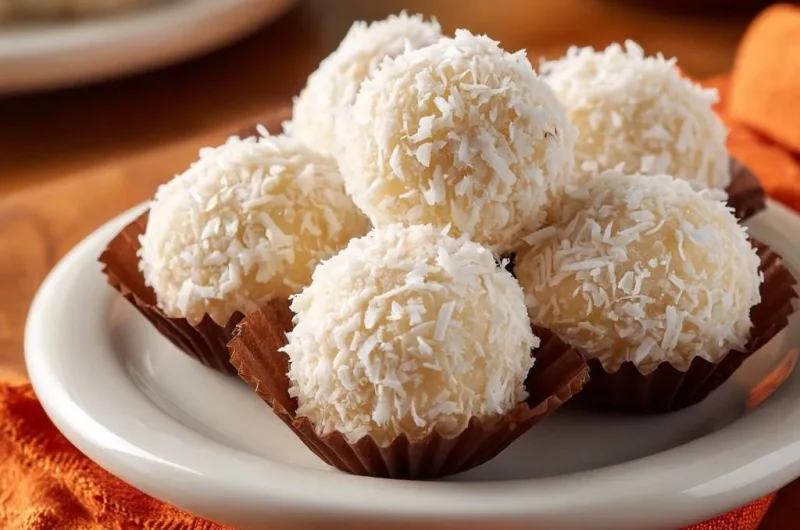
Roll each ball in the remaining one cup sweetened shredded coconut for a snowy exterior. Press lightly for even adhesion. Place in paper liners on a plate and chill 10 more minutes to set.
Store airtight in the fridge up to one week. The final chill locks the coating without sogginess.
Oh man, that crisp outside with chewy center? Pure joy.
Achieving Even, Crisp Coconut Coating
Press coconut on lightly; too hard causes clumping. The extra chill firms it all without moisture sneaking in. Crisp perfection every time.
Avoiding Common Mistakes with Coconut Snowballs
Boiling separates the milk, skipping chill leads to sticky hell, and overcooking turns it rubbery. Fix boiling by starting over on low heat. Always chill fully.
For sticky hands beyond dusting, chill hands under cold water first. Patience in cooling prevents cracks.
Therefore, temp checks and timers save the day. Scale carefully too; big batches need wider pans.
Fixing Sticky or Crumbly Mixtures
Sticky means under-chilled; re-refrigerate 10 minutes. Crumbly from overcooking? Stir in a teaspoon more condensed milk and reheat gently. More coconut absorbs excess if oily.
Preventing Uneven Shapes and Coatings
Scoop consistently for uniform shapes; run hands under cold water between batches. Avoid damp coconut for coating, or it clumps. Cold hands trick works wonders.
Flavor Variations for Coconut Snowballs
Keep the base simple, but add almond extract for nutty vibes or lemon zest for brightness. Mix in chocolate chips or nut butters post-cooking. For low-sugar, swap coconut cream plus sweetener.
Dairy-free? Use coconut condensed milk brands; they mimic the thickness perfectly. These tweaks don’t alter the no-stick method.
However, test small batches first to balance sweetness.
Nutty and Citrus Twists
Fold in 1/4 cup chopped pistachios or lime zest after cooking. It cuts richness while boosting flavor. Chill as usual for structure.
The citrus pops against coconut sweetness beautifully.
Chocolate-Dipped Coconut Snowball Upgrades
Melt dark chocolate, dip cooled balls post-coating, then chill to harden. It adds indulgence without mess. Store as usual.
Make-Ahead and Freezing Coconut Snowballs
Make the base dough ahead; freeze in a bag up to one month, thaw in fridge, then shape. Finished balls freeze on a tray first, then bag for three months. Thaw overnight in fridge.
For gifting, layer in tins with parchment. Texture holds beautifully.
Pro tip: base freezing saves time for holidays.
Freezing Base vs. Finished Balls
Base pros: max flexibility, no texture loss on thaw. Finished balls preserve the snowy coat but thaw softer. Defrost in fridge always for best chew.
Pairing Coconut Snowballs with Drinks and Desserts
These tropical treats pair with iced hibiscus tea for floral contrast or strong coffee to cut sweetness. Serve on holiday trays with shortbread or alongside fruit sorbets.
Sparkling pineapple juice harmonizes the coconut vibes perfectly.
Best Beverage Matches
Chai latte’s spices play off the chewiness. Sparkling pineapple juice amps tropical notes. Both refresh without overwhelming.
Coconut Snowballs: Troubleshooting Guide
Mixture oily? You overheated; cool and stir in more coconut. Balls falling apart? Under-chilled; fridge longer. For larger batches, use bigger pans to avoid scorching.
Scale-up needs more stirring power too.
Scaling Recipe for Larger Batches
Double safely in a wide saucepan; chill time stays 30 minutes. Stir vigorously to thicken evenly. Yields 48 perfect balls.
Frequently Asked Questions About Coconut Snowballs
Are Coconut Snowballs Gluten-Free?
Yes, naturally gluten-free with just condensed milk, coconut, and vanilla. Watch for cross-contamination in shared facilities.
Can I Use Fresh Coconut?
No, fresh shreds are too moist and won’t firm up. Stick to bagged sweetened shredded for the right texture and binding.
How Long Do They Last?
Fridge airtight up to one week; they soften slightly after day four. Freezer three months for longer storage. Thaw in fridge to prevent sogginess.
Vegan Substitutions for Coconut Snowballs
Use vegan sweetened condensed coconut milk, like Nature’s Charm brand. It thickens identically; no other changes needed.
Why Chill Before Rolling Coconut Snowballs?
Chilling firms coconut oils into a scoopable dough, preventing stickiness and crumbling. Without it, warm mix clings and falls apart during shaping.
Coconut Snowballs
Course: DessertCuisine: AmericanDifficulty: easy4
24 snowballs20
minutes12
minutes240
kcal60
MinutesTired of coconut balls that cling to your hands and crumble? This recipe’s chill-before-roll trick firms up the mixture for effortless shaping and perfect, mess-free balls every time.
Ingredients
14-ounce can sweetened condensed milk
3 cups sweetened shredded coconut, divided
1 teaspoon vanilla extract
Directions
- In a medium saucepan over medium heat, combine sweetened condensed milk, 2 cups shredded coconut, and vanilla extract. Cook, stirring constantly with a wooden spoon, until mixture thickens and pulls cleanly away from pan sides, about 10 to 12 minutes. Do not boil.
- Transfer to a bowl and cool for 10 minutes at room temperature. Cover and refrigerate 30 minutes until firm but scoopable. This chilling locks in texture, solving the sticky mess by making the mixture easy to handle without sticking or falling apart.
- Line a plate with paper liners. Scoop tablespoon-sized portions of chilled mixture. Roll quickly into smooth balls using hands lightly dusted with extra coconut flakes.
- Roll each ball in remaining 1 cup shredded coconut to coat evenly. Place in liners and chill 10 more minutes to set. Store in fridge up to 1 week.
Notes
- Chilling is key to prevent sticking and crumbling. Store in fridge up to 1 week.