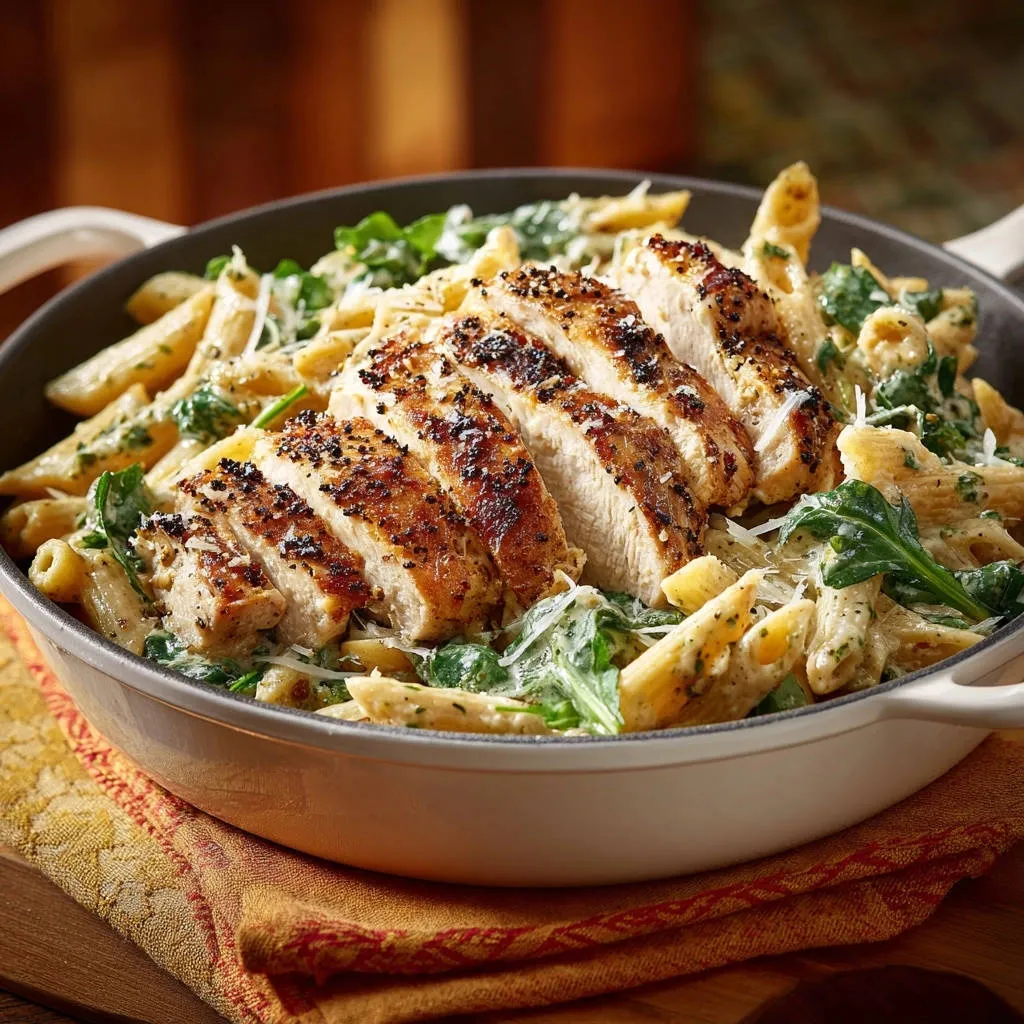
I’ve spent years perfecting weeknight pasta, and nothing is more frustrating than dry chicken breast ruining an otherwise rich dish. This method guarantees that your Creamy Penne with Seared Chicken will feature impossibly tender, perfectly cooked protein every single time.
This recipe provides the ultimate solution by focusing on a simple technique-pounding and resting-that locks in moisture, resulting in a reliable, luxurious meal.
Why This Creamy Penne with Seared Chicken is Your New Weeknight Hero
This dish masters the balance between speed and quality, delivering a creamy, restaurant-worthy experience in under 40 minutes.
We eliminate the common pitfalls of dry poultry by using specific handling and searing techniques, ensuring the chicken is juicy and flavorful enough to stand up to the rich pasta.
The velvety cream sauce utilizes a clever culinary trick-the addition of starchy pasta water-that prevents the sauce from breaking, ensuring it clings beautifully to every piece of penne.
Solving the Dry Chicken Dilemma
The secret weapon here is uniformity: gently pounding the chicken to an even thickness guarantees that all parts finish cooking simultaneously, preventing the thin edges from turning tough.
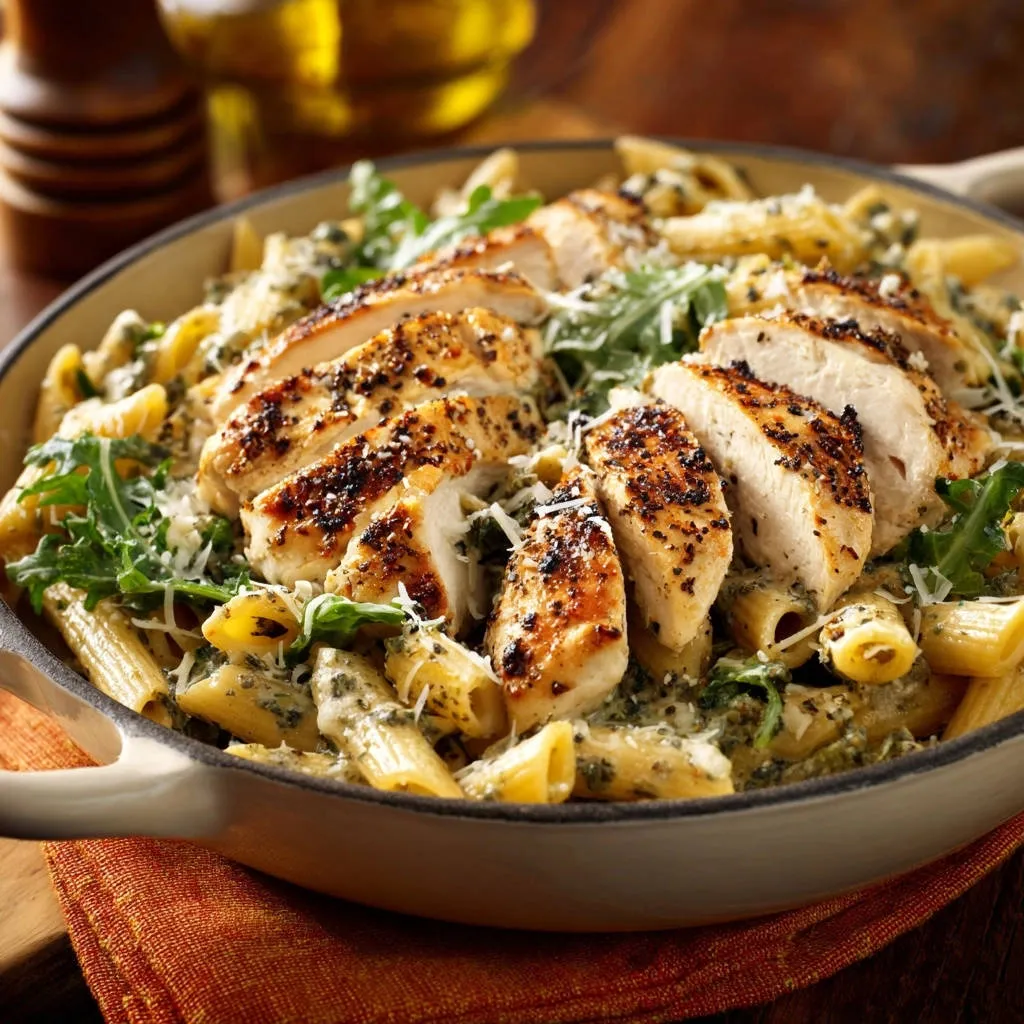
Coupled with a necessary resting period after searing, this technique ensures the internal juices redistribute instead of leaking out when you slice, resulting in melt-in-your-mouth tenderness.
Maximum Flavor, Minimal Time Commitment
This recipe employs efficient cooking zones, utilizing one large skillet to sear the chicken and build the sauce while the pasta boils, drastically cutting down on overall prep and cleanup time.
The Secret to Sauce Perfection (A Deep Dive)
Unlike sauces that separate or feel greasy, this recipe achieves perfect texture through emulsification.
The starch released from the penne, captured in the reserved cooking water, acts as a natural stabilizer when whisked into the warm heavy cream, creating a cohesive, velvety coating that defines a truly great pasta dish.
Essential Tools for Seared Chicken Perfection
The Meat Mallet (or Heavy Pan)
Uniform thickness is non-negotiable for juicy results, allowing heat to penetrate evenly across the chicken breast.
The Wide, Heavy-Bottomed Skillet
A quality skillet is essential for achieving a proper, deep golden sear and ensuring even heat distribution when building the sauce right in the same pan, capturing all the flavorful brown bits (fond).
Instant-Read Thermometer
The only true way to guarantee perfect doneness is by checking the internal temperature, allowing you to pull the chicken precisely at 160°F without risking it becoming dry.
Building Blocks of Flavor: Key Ingredients and Substitutions
The Star Protein: Chicken Breast
Select high-quality, boneless, skinless chicken breasts that are fresh, firm, and free of discoloration.
We cut the breast into four equal portions before pounding to ensure they are the perfect size for serving and easier to manage during the searing process.
The Cream, Cheese, and Pasta Water Trio
Heavy cream provides the luxurious base, offering richness without the sauce thinning out when heated.
For an even richer sauce, explore the secrets to a velvety Tuscan chicken pasta.
Freshly grated Parmesan cheese adds necessary salt, sharp umami flavor, and helps thicken the finished sauce slightly.
The starchy pasta water binds the fat and liquid, creating the stable texture that allows the sauce to cling beautifully to the pasta.
Choosing the Right Pasta Shape
Penne works exceptionally well because its hollow interior and ridged exterior capture and hold the thick, creamy sauce perfectly.
If penne is unavailable, suitable alternatives include ridged rigatoni or fusilli, both of which provide maximum surface area for coating.
Freshness Factor: Arugula or Spinach
Adding greens like arugula or spinach late in the cooking process provides a welcome color contrast and a slightly peppery note, balancing the richness of the cream.
They should only be tossed in right at the end, using the residual heat of the pasta and sauce to just wilt them, maintaining a fresh texture.
Mastering the Technique: Step-by-Step for Perfect Results
Phase 1: Ensuring Even Thickness and Seasoning
Gently pounding the thickest part of the breast until all pieces are an even thickness of about 3/4 inch ensures every slice finishes cooking at the exact same time.
Season the chicken generously on both sides with salt and fresh cracked black pepper; this crucial step builds the flavor profile and aids in developing a deep crust.
Phase 2: Achieving the Deep Golden Crust and Crucial Rest
Sear the seasoned chicken in hot olive oil over medium-high heat for 5 to 6 minutes without moving it until a deep, golden crust forms-this is the coveted Maillard reaction.
Flip and continue cooking until the internal temperature registers 160°F before immediately removing it from the skillet.
The resting period, tented loosely with foil for a minimum of 5 minutes, is non-negotiable; this prevents moisture loss when slicing and ensures the final temperature rises to a safe 165°F.
Phase 3: The Secret to the Clingy, Non-Breaking Cream Sauce
After removing the chicken, reduce the heat and scrape up the delicious browned bits (fond) from the skillet; these caramelized fragments are essential for depth of flavor in the sauce.
Add the garlic and sauté briefly, then pour in the heavy cream and bring to a bare simmer.
The reserved hot starch water must be whisked vigorously into the cream base to create a stable, velvety emulsion that perfectly coats the penne without separating.
Phase 4: Combining and Plating
Stir in the Parmesan cheese until fully melted and the sauce is smooth, then add the cooked, drained penne and the fresh arugula or spinach.
Toss the pasta quickly until the greens have just wilted; avoid prolonged simmering, which can cause the sauce to tighten too much.
Slice the rested chicken breasts against the grain and arrange them beautifully over the creamy penne pasta before serving with a final dusting of Parmesan.
The Chef’s Trick: How Pounding Guarantees Melt-in-Your-Mouth Chicken
The Science Behind Even Cooking
Pounding the chicken breast ensures heat penetration is uniform across the entire cut, eliminating temperature gradients that cause uneven cooking.
It also subtly tenderizes the muscle fibers, resulting in a softer texture and a piece of chicken that feels incredibly moist even when fully cooked.
The Importance of Internal Temperature and Carryover Cooking
We pull the chicken from the heat at 160°F because of carryover cooking, which is the internal temperature rise that occurs after food is removed from the heat source.
During the resting period, the residual heat brings the chicken safely up to the required 165°F internal temperature, while the fibers relax and reabsorb moisture.
Troubleshooting Your Cream Sauce: How to Prevent Breaking and Ensure Emulsion
Achieving a velvety, stable sauce is the hallmark of a great pasta dish, but cream sauces can be temperamental.
Why Did My Sauce Curdle or Look Oily?
Curdling typically occurs when the cream is boiled vigorously or when it is exposed to sudden, high heat that causes the proteins to seize.
Adding cold ingredients, particularly cold cheese, too quickly to a hot sauce can also shock the dairy and cause separation or an oily appearance.
Rescue Mission: Fixing a Too-Thin or Split Sauce
If your sauce is too thin, try dissolving 1 teaspoon of cornstarch in 1 tablespoon of cold water, then whisking this slurry into the simmering sauce to thicken.
If the sauce has split (looks oily or granular), remove it from the heat and whisk in a tablespoon of reserved pasta water or a cold pat of butter; the emulsion often stabilizes as it cools slightly and re-integrates.
Elevate Your Dish: Flavor Enhancements and Serving Suggestions
Quick Vegetable Additions for Color and Crunch
These additions integrate seamlessly, rounding out the richness of the Creamy Penne with Seared Chicken.
Roasted Bell Peppers: Slice and roast red bell peppers ahead of time, then add them in when you combine the sauce and pasta for sweetness and rich color.
Mushrooms: Sauté sliced cremini mushrooms in the skillet after searing the chicken, but before adding the garlic, for a deep, earthy umami boost.
The Perfect Side Dishes and drink pairing
A simple side of fresh greens, such as a crisp Caesar salad dressed lightly, provides a clean contrast to the heavy cream sauce.
Crusty artisan bread is essential for soaking up any remaining sauce on the plate.
For grape juice, select a crisp white like sparkling grape juice; their bright acidity cuts through the richness of the creamy sauce without competing with the flavor profile.
Make-Ahead Tips and Safely Storing Leftovers
Best Way to Store Leftovers
Store leftover creamy penne and sliced chicken in separate airtight containers in the refrigerator for up to three to four days.
If you anticipate leftovers, store the sliced chicken separately and only combine what you plan to eat immediately for the best texture.
Reheating for Maximum Creaminess
The best way to reheat this dish is low and slow on the stovetop in a small pan.
Add a splash of milk, chicken broth, or water to the pasta before reheating; this introduces new liquid that helps the sauce re-emulsify and regain its velvety texture, preventing it from drying out or splitting.
Common Questions for the Creamy Penne Cook
Is Penne the Best Pasta Shape for This Recipe?
Penne is excellent due to its shape, which ensures the thick sauce adheres internally and externally, maximizing flavor in every bite.
However, many medium-shaped pastas like rotini or rigatoni work equally well as they provide substantial ridges for the sauce to cling to.
Why is the Reserved Pasta Water So Important?
The pasta water is crucial because it contains high amounts of starch, which functions as a binder between the fat (cream/cheese) and the liquid.
Adding this starchy water is the professional technique used to create a stable, velvety emulsion, ensuring your sauce never tastes watery or separates into oil and liquid.
Can I Use Chicken Thighs Instead of Breast?
Yes, chicken thighs are an excellent, naturally juicier alternative due to their higher fat content and require less aggressive temperature control.
If using thighs, skip the pounding step, but ensure they are cooked thoroughly (internal temp 175°F) for maximum tenderness.
Time to Savor: Your Creamy Penne with Seared Chicken Awaits!
You now possess the techniques needed to consistently execute this outstanding creamy penne pasta dish, guaranteeing juicy chicken and a sauce that earns rave reviews every time.
The small effort involved in pounding the chicken and remembering that crucial resting step makes all the difference in achieving truly restaurant-quality results at home.
Go ahead, grab your skillet, and prepare to master the perfect weeknight meal. I encourage you to try this method and see the difference truly tender, seared chicken makes!
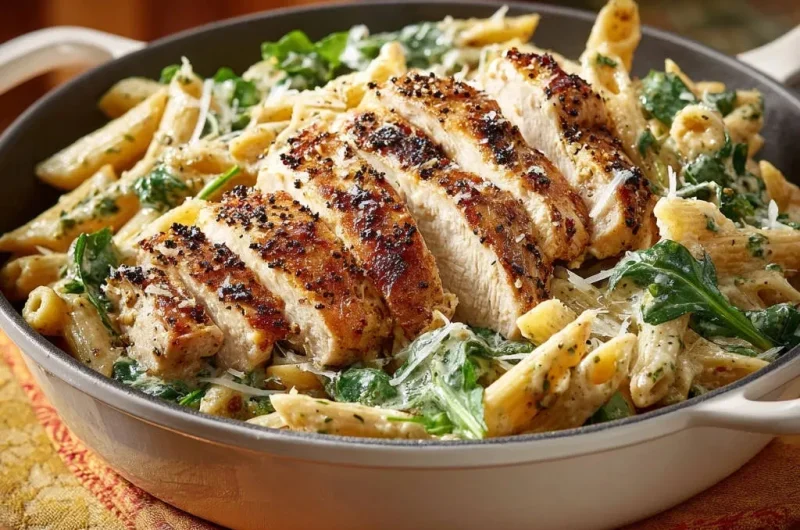
Creamy Penne Chicken
Course: Main CourseCuisine: Italian-AmericanDifficulty: easy4
servings15
minutes25
minutes750
kcal45
minutesFinally master the art of cooking perfectly tender, juicy chicken breast every time! This easy technique guarantees a melt-in-your-mouth experience when paired with a rich, creamy sauce and al dente penne pasta. It’s the ultimate weeknight comfort meal.
Ingredients
1 pound boneless skinless chicken breast, cut into 4 equal portions
1 teaspoon salt, divided
1 tablespoon fresh cracked black pepper
2 tablespoons olive oil, divided
8 ounces penne pasta
2 cloves garlic, minced
1 cup heavy cream
1/2 cup pasta cooking water
1 cup fresh arugula or spinach
1/2 cup grated Parmesan cheese, plus extra for topping
Directions
- Prepare the Chicken for Juiciness: Place each chicken portion between two pieces of plastic wrap. Using the flat side of a meat mallet or a heavy pan, gently pound the thickest part of the breast until the chicken pieces are an even thickness (about 3/4 inch). This is the key to even cooking and juiciness. Season the chicken generously on both sides with 1/2 teaspoon of the salt and all of the black pepper.
- Cook the Pasta: Cook the penne pasta according to package directions until al dente. Just before draining, reserve 1/2 cup of the starchy cooking water.
- Sear the Chicken: Heat 1 tablespoon of olive oil in a large skillet over medium-high heat until shimmering. Place the seasoned chicken breasts in the hot skillet, ensuring they are not touching. Sear without moving for 5 to 6 minutes, until a deep golden crust forms. Flip the chicken and cook for another 4 to 5 minutes, until the internal temperature reaches 160 degrees F. Remove the chicken from the skillet immediately and place it on a cutting board.
- Rest the Chicken: This step is crucial for moisture retention. Tent the chicken loosely with foil and let it rest for a minimum of 5 minutes before slicing. It will continue cooking slightly and reach 165 degrees F, locking in the juices.
- Build the Sauce: Reduce the skillet heat to medium. Add the remaining 1 tablespoon of olive oil and the minced garlic. Saute for 30 seconds until fragrant. Pour in the heavy cream and the remaining 1/2 teaspoon of salt. Bring to a gentle simmer.
- Emulsify the Sauce: Add the reserved pasta cooking water and whisk vigorously. This starch water prevents the sauce from breaking and helps it cling perfectly to the pasta. Reduce heat to low.
- Combine and Finish: Stir in the 1/2 cup of Parmesan cheese until melted and the sauce is smooth. Add the cooked and drained penne pasta and the fresh arugula or spinach. Toss until the pasta is coated and the greens have just wilted.
- Serve: Slice the rested chicken breasts against the grain and arrange them over the pasta in the skillet. Top generously with extra grated Parmesan cheese before serving.
Notes
- Pounding the chicken to an even thickness and resting it properly are crucial steps for maximum moisture retention.