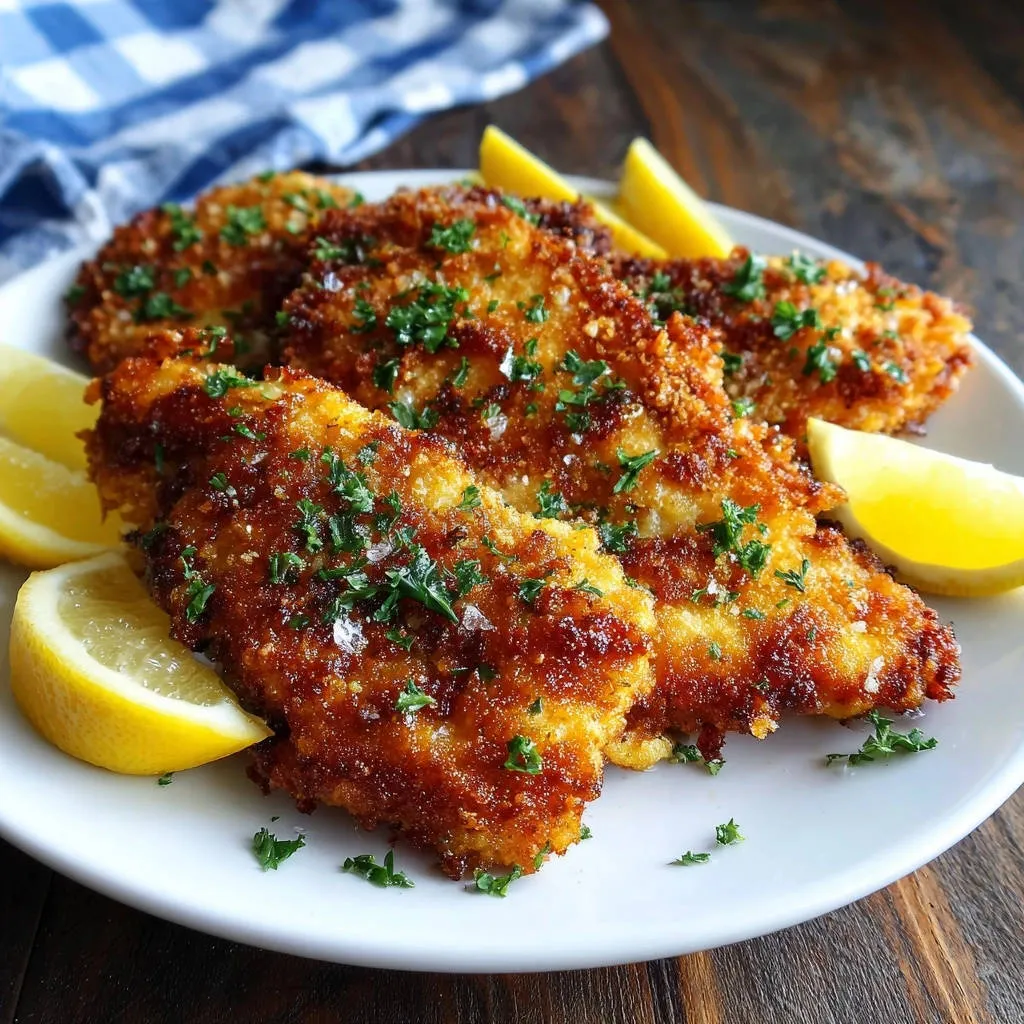
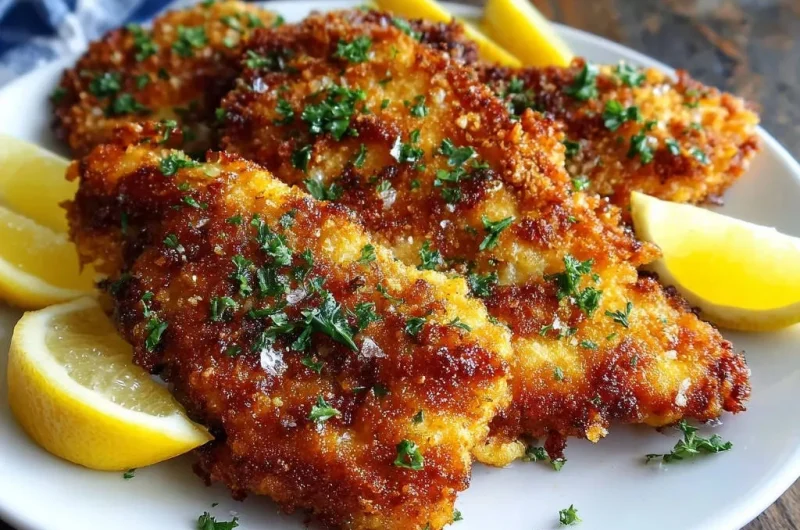
Few kitchen frustrations compare to the moment the perfect golden crust peels away from your cutlet right when you take that first bite. I spent years perfecting the technique to lock that breading in place, resulting in truly exceptional, shatteringly crunchy Crispy Pan-Fried Chicken Cutlets every single time.
This method focuses on preparation and a critical pressing step that ensures deep flavor, uniform texture, and a crust guaranteed to stick permanently to the tender meat.
For more on achieving that perfect crust, check out this recipe for crispy fried chicken.
The Peeling Problem Solved: Why This Recipe Is the Only One You Need
This is the definitive recipe for stress-free frying, designed to eliminate the common issue of breading separation. We focus heavily on achieving a perfect bond between the raw chicken and the Panko before it even hits the oil.
The entire process is quick, simple, and reliable, giving you restaurant-quality results in less than 20 minutes of active cooking time.
The Power of Pounding: Why Uniform Thickness is Key
Pounding the chicken breasts to a uniform 1/4 inch thickness is non-negotiable for achieving success with pan-frying. Thin cutlets cook quickly and evenly, which is crucial for maximizing the crispness of the Panko.
This ensures that the meat reaches a safe internal temperature of 165°F exactly when the exterior crust hits its peak golden-brown perfection, preventing a burnt exterior or a dry interior.

A Foolproof Dredging System That Minimizes Mess
The classic three-station setup-flour, egg wash, and Panko-remains the most efficient way to achieve full, consistent coverage. Properly setting up your shallow dishes makes the entire process smooth and minimizes the mess associated with breading.
Ingredients for Success: Building the Ultimate Crispy Crust
Why Japanese Panko is Non-Negotiable
Panko is made from crustless bread that is processed into larger, flatter, jagged flakes, unlike traditional finely ground breadcrumbs.
These large flakes create significantly more surface area and stand up beautifully to the heat, which is why Panko delivers a superior, shatteringly crisp result every time.
The Aromatic Seasoning Blend (Garlic Powder & Paprika)
The flour mixture is far more than just a binder; it’s the essential flavor base for your cutlets. We combine salt, garlic powder, and paprika into the flour to ensure the coating itself is robustly savory and never bland.
The paprika also contributes a subtle warmth and helps deepen the appealing golden color of the final crust.
Choosing the Right Oil for High-Heat Frying
Always use a neutral, high-smoke point oil such as vegetable, canola, or grapeseed oil for pan-frying. Avoid olive oil, which will smoke and burn at the required temperatures.
You need approximately 1/2 inch depth of oil in your skillet to ensure the cutlets are submerged enough for proper, even cooking without excessive turning.
Essential Gear: Tools for Cutlet Preparation and Frying
The Importance of a Meat Tenderizer or Rolling Pin
Use the flat, smooth side of a meat tenderizer or a rolling pin to pound the chicken gently and evenly.
Applying uniform pressure prevents tearing the delicate meat while ensuring a consistent cooking time across the entire cutlet.
Don’t Skip the Wire Rack for Draining
A wire rack placed over a baking sheet is absolutely essential for finishing fried foods.
It allows air to circulate around the hot cutlets, preventing the condensation that inevitably forms when placed on paper towels, which leads to immediate sogginess.
Selecting the Best Skillet Size
Choose a large, heavy-bottomed skillet, such as a sturdy stainless steel or cast iron pan.
A larger skillet provides enough surface area to avoid overcrowding and helps the pan maintain a steady, consistent temperature during frying.
Mastering the Pan-Fry: Step-by-Step Instructions
Prep Work: Pounding and Initial Seasoning
Place the chicken breasts between sheets of plastic wrap and pound them out until they are a very thin, uniform 1/4 inch thick.
Once uniform, apply a light coat of salt and pepper directly to the raw meat itself before it enters the breading stations for optimal internal flavor.
Assembling the Breading Stations
In three shallow dishes, set up your dredge: A. Flour mixed with the specified seasonings, B. Eggs whisked with a tablespoon of water, and C. Plain Panko breadcrumbs.
The small addition of water to the egg wash helps thin the mixture just enough to create a smoother, more effective adhesive layer.
Executing the Flour, Egg, and Crumb Coats
First, dredge the cutlet completely in the flour mixture, shaking off all excess-this is the foundational dry layer that prevents the egg from simply sliding off.
Next, move to the egg wash, ensuring full saturation, and then let the excess drip off briefly before transferring it immediately into the Panko.
Frying the Cutlets: Oil Temperature and Timing
Heat 1/2 inch of neutral oil in your skillet over medium heat, monitoring the temperature carefully.
Fry the cutlets in small batches of 2-3 for 3 to 4 minutes per side, turning only once, until they achieve a deep, uniform golden-brown color and the internal temperature registers 165°F.
Draining and Finishing Touches
Immediately transfer the hot, finished cutlets from the oil onto a clean wire rack over a baking sheet.
While the crust is still sizzling, sprinkle generously with flaky sea salt and fresh chopped parsley; the heat allows the salt to adhere perfectly.
The Core Technique: Locking the Crumb (The Secret to Adhesion)
The Firm Press: How Much Pressure is Enough?
This physical step is the difference between a peeling crust and a perfect crust. After the cutlet is fully coated in Panko, use the heel of your hand to press down with significant, firm pressure across the entire surface.
Flip the cutlet and repeat the pressing motion. This aggressive action physically embeds the jagged Panko flakes into the tacky egg wash and the meat, creating a dense, interlocking shell.
The resulting physical bond prevents the moisture released by the cooking chicken from pushing the crust off when it hits the hot oil.
Why Resting the Breaded Cutlets Matters
After the cutlets are firmly pressed, let them rest on the wire rack for a crucial period of 10 to 15 minutes before frying. This rest period is essential for allowing the coating to “set.”
During the rest, the residual moisture on the chicken’s surface slightly hydrates the flour and egg layers, creating a powerful, glue-like bond that maximizes the crust’s adhesion and resilience.
Frying Fundamentals: Heat Control and Achieving a Golden Finish
How to Calibrate Your Oil Temperature (Without a Thermometer)
The ideal temperature for frying these Crispy Pan-Fried Chicken Cutlets is approximately 325°F. If you do not have a thermometer, you can use the breadcrumb test.
Drop a tiny piece of breadcrumb into the heated oil. If the crumb sizzles immediately but gently and takes about 30 seconds to brown, the temperature is right.
If the crumb immediately turns dark brown or black, the oil is far too hot and will burn the Panko before the chicken cooks through; remove the pan from the heat briefly to cool.
Maintaining Consistent Heat Throughout the Batch
The biggest mistake in pan-frying is overcrowding the pan. Adding too many cold cutlets at once drastically drops the oil temperature.
A low oil temperature results in cutlets that absorb excess oil, becoming greasy and soggy. Fry in small batches, and allow the oil to recover its temperature for about one minute between batches.
Troubleshooting Your Cutlets: Fixes for Common Frying Mishaps
Why Is My Crust Soggy? (Steam Prevention)
Soggy crusts are typically caused by low oil temperature or improper drainage. Ensure your oil stays hot enough to achieve an immediate crisp upon contact.
Always drain the cutlets on a wire rack, never paper towels, which trap steam and cause condensation against the crisp surface.
My Chicken Is Burning Before It Cooks Through (Heat Adjustment)
If the crust darkens rapidly, your oil is too hot, or your cutlets were not pounded thin enough. Double-check that your cutlets are uniform 1/4 inch slices.
Reduce the heat instantly to low-medium. If the exterior is already dark, transfer the cutlets to a 300°F oven for a few minutes to ensure the interior finishes cooking gently without further crust damage.
Dealing with Patchy Breadcrumbs After Frying
Patchiness is a failure of adhesion, generally caused by two issues: failing to shake off excess flour, or failing to press the Panko firmly.
Before the egg wash, ensure the cutlet is only coated in a thin layer of flour. Most importantly, dedicate time to the firm pressing technique to physically lock the Panko flakes into the surface before resting.
Serving and Storage: Making the Most of Your Crispy Pan-Fried Chicken Cutlets
Complementary Side Dishes and Sauces
Serve these fantastic cutlets simply with the traditional side of fresh lemon wedges and flaky sea salt. For heartier pairings, creamy mashed potatoes or a bright, simple arugula salad offer perfect contrast.
Excellent sauce pairings include a classic lemon-butter sauce, a savory caper sauce (for a Chicken Piccata feel), or a side of homemade honey mustard.
Safe Storage and Reheating Tips
Store leftover cutlets in an airtight container in the refrigerator for up to 3 days. Be aware that the crust will inevitably lose some of its initial crispness once chilled.
To restore maximum crispness, avoid the microwave entirely. Use an air fryer set to 350°F for 4-6 minutes, or bake them on a wire rack in a 400°F oven for 8-10 minutes until warmed through.
Quick Variations: Seasoning Swaps
The flavor profile is highly adaptable based on your meal. For an Italian flavor, swap the paprika blend for Italian seasoning and mix grated Parmesan cheese into the Panko.
To add a pleasant kick of heat, incorporate a pinch of cayenne pepper into the seasoned flour mixture.
FAQs: Diving Deeper Into Ingredient Swaps and Prep
Can I Use Regular Breadcrumbs Instead of Panko?
While technically possible, using regular, fine breadcrumbs will result in a denser, noticeably softer crust and lack the distinct crunch we are aiming for.
For the signature, shatteringly crisp texture that defines truly perfect Crispy Pan-Fried Chicken Cutlets, Japanese Panko is a non-negotiable ingredient.
Preparing Chicken Cutlets Ahead of Time
You can pound and bread the cutlets up to one hour before you plan to fry them. Place them on the wire rack, cover loosely with plastic wrap, and refrigerate.
Do not prepare them further in advance than this maximum window, as the chicken moisture will fully saturate the crust over time, leading to dreaded sogginess and breading failure.
Gluten-Free Alternatives for the Flour Mixture
A high-quality, specialized gluten-free all-purpose flour blend can be substituted directly for the wheat flour in the dredge without compromising the coating structure.
Alternatively, fine rice flour is an excellent binding agent that absorbs surface moisture effectively and helps create a very thin, resilient coating barrier.
A Guarantee of Crunch: Enjoy Your Flawlessly Crispy Pan-Fried Chicken Cutlets!
Achieving perfectly breaded chicken cutlets where the crust stays glued to the meat is not luck; it is technique. By focusing on uniform thickness, the correct oil temperature, and our essential firm-press method, you are guaranteed success.
These phenomenal Crispy Pan-Fried Chicken Cutlets are versatile, quick enough for a busy weeknight dinner, and delicious enough to impress any dinner guest. Enjoy the ultimate, satisfying crunch!
Crispy Pan-Fried Chicken Cutlets
Course: Main CourseCuisine: AmericanDifficulty: easy4
servings20
minutes15
minutes650
kcal35
minutesTired of peeling breading? This recipe utilizes a critical pressing technique to ensure a deeply golden, shatteringly crisp crust that stays absolutely glued to the chicken. Perfect, juicy cutlets are guaranteed every time.
Ingredients
4 boneless skinless chicken breasts
1 cup all purpose flour
2 large eggs, lightly beaten
1 tablespoon water
1 1/2 cups Panko breadcrumbs (Japanese style preferred)
1 teaspoon salt
1/2 teaspoon black pepper
1 teaspoon garlic powder
1/2 teaspoon paprika
Vegetable or canola oil, for frying (about 1 cup)
Fresh parsley, chopped, for garnish
Flaky sea salt, for finishing
Lemon wedges, for serving
Directions
- Prepare the Chicken: Place the chicken breasts between two sheets of plastic wrap. Using the flat side of a meat tenderizer or a rolling pin, pound the breasts until they are uniformly 1/4 inch thick. This ensures quick cooking and tender meat. Season both sides lightly with salt and pepper.
- Set Up the Breading Stations: Use three shallow dishes.
- Flour Mixture: Combine the flour, 1 teaspoon salt, garlic powder, and paprika.
- Egg Wash: Whisk the eggs and water together until slightly frothy.
- Crumb Mixture: Place the Panko breadcrumbs in the third dish.
- Execute the Triple Dredge: Working one cutlet at a time, first dredge the chicken fully in the flour mixture, shaking off excess. Next, dip the floured chicken completely into the egg wash, allowing any excess to drip off briefly. Finally, press the chicken firmly into the Panko mixture.
- Lock in the Crumb (The Essential Technique): This is the key step to prevent separation. After coating the cutlet in Panko, firmly press the breadcrumbs into the surface using the heel of your hand. Flip the cutlet and repeat the firm pressing motion, ensuring the entire surface is heavily and tightly coated. The pressure physically adheres the crust to the meat. Set the breaded cutlets aside on a wire rack while you heat the oil.
- Fry the Cutlets: Pour enough high-heat oil (vegetable or canola) into a large skillet to reach about 1/2 inch deep. Heat the oil over medium heat until a breadcrumb dropped in sizzles gently (approximately 325 degrees F). Maintain medium heat; if the oil is too hot, the Panko will burn before the chicken cooks.
- Cook and Finish: Gently place 2 to 3 cutlets into the hot oil, ensuring not to crowd the pan. Fry for 3 to 4 minutes per side until the crust is a deep, uniform golden brown and the internal temperature reaches 165 degrees F.
- Drain and Serve: Transfer the fried cutlets immediately to a clean wire rack (not paper towels, which can steam the bottom and make the crust soggy). Sprinkle immediately with flaky sea salt and chopped fresh parsley. Serve hot with fresh lemon wedges.
Notes
- For extra crispy cutlets, ensure your oil is hot enough before frying; a breadcrumb dropped in should sizzle immediately. Don’t overcrowd the pan, as this lowers the oil temperature and can lead to soggy chicken.