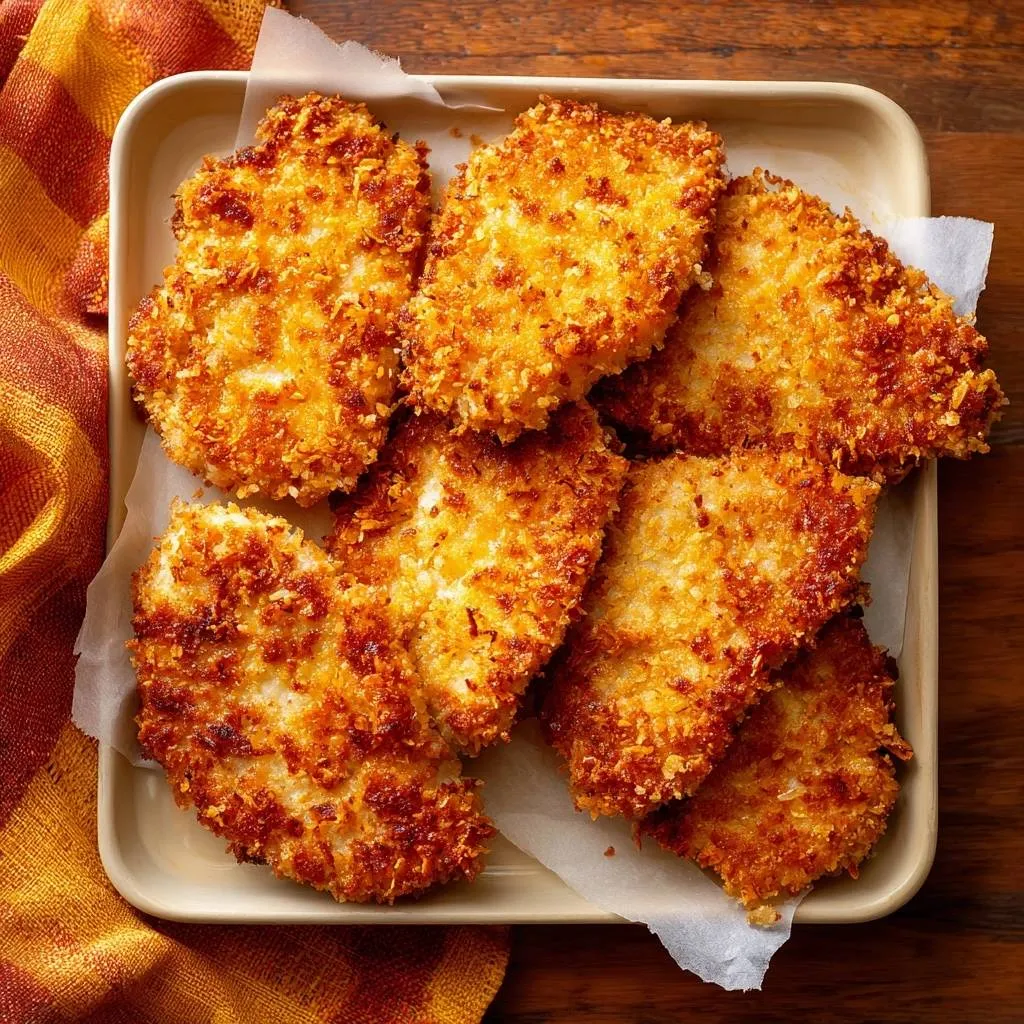
Why Panko Delivers Superior Chicken Cutlet Crisp
Imagine biting into a chicken cutlet where the panko coating shatters with every crunch, never turning soggy no matter what. Regular breadcrumbs soak up moisture and go limp, but panko’s airy flakes stay light and crisp. This recipe fixes that with a double-press technique that embeds the crumbs deep into the coating.
Therefore, you get restaurant-quality results at home. The hot oil frying seals everything instantly, locking out steam that ruins lesser versions. In addition, the refrigeration step sets the breading firm before it hits the pan.
Here’s the pro tip that makes it foolproof: always press the panko twice, once on each side. That embeds the flakes so tightly they won’t budge, even after resting. You’ll hear that satisfying snap when you bite in.
Essential Components for Crispy Panko Chicken Cutlets
Pounded chicken breasts form the base because they cook evenly without drying out. Flour creates a moisture barrier, eggs act as glue, and panko delivers the crunch with its flaky structure. Salt and pepper go on early for better adhesion, while vegetable oil handles high heat without burning.
Fresh panko beats store-bought because it’s drier and lighter. However, if you only have regular breadcrumbs, they’ll work in a pinch, just expect less lift. For quantities, you’ll need 4 breasts, 1 cup flour, 2 eggs, 2 cups panko, 1 tsp salt, 1/2 tsp pepper, and oil for frying.
Protein Base: Preparing Chicken Breasts
- Pound to 1/2-inch thick for quick, even frying; thicker pieces stay raw inside.
- Boneless skinless keeps it simple and lean; thighs work too but adjust time.
- Thickness chart: 1/2-inch fries 3-4 min per side; 3/4-inch needs 4-5 min.
Dry and Wet Layers for Breading Adhesion
- Flour absorbs surface moisture, preventing egg from sliding off.
- Eggs’ viscosity binds everything; beat well for even coverage.
- Panko pressing mechanics trap air pockets for extra crunch.
Oil Selection for Fry Temperature Stability
- Vegetable oil’s high smoke point (around 400°F) holds 350°F steady.
- Use 1/2-inch depth; reuse by straining and storing cool.
- Neutral taste lets chicken shine; avoid olive for its low smoke point.
Science of Crispy Panko Chicken Cutlet Breading
The Maillard reaction at 350°F browns the surface golden while starch in flour and egg gelatinizes for structure. Panko’s low density lets steam escape, unlike dense breadcrumbs that trap it. Therefore, refrigeration chills the coating, contracting proteins to grip tighter.
Wire racks promote air flow, evaporating moisture fast. Studies show frying above 325°F minimizes oil absorption by 30%. In addition, the double-press crushes flakes into the egg layer, creating a sealed armor.
Hot oil crisps the exterior instantly, forming a barrier. Skip this, and moisture seeps back in. You’ll notice the difference in every bite’s snap.
Double-Press Technique Locks in Crunch
Press once, flip, press again to embed deeply; single dips slide off in oil. Think of it like packing snow tight for a snowball. This seals against steam.
Hot Oil Frying Prevents Moisture Absorption
Hit 350°F exactly; below that, chicken steams and soaks oil. Thermometer is key. Overcrowding traps steam, so fry in batches.
Step-by-Step: Building Crispy Panko Chicken Cutlets
Follow these phases precisely for no-fail crunch. Each step builds on the last, transforming raw chicken into golden perfection. Pro tip: work in small batches to keep oil hot.
Phase 1: Dry and Season Chicken Cutlets
Pat chicken super dry with paper towels; moisture is the enemy of adhesion. Season both sides evenly with salt and pepper. Don’t over-salt, or it’ll draw out juices.
Phase 2: Assemble Dredging Station Setup
Line up shallow dishes: flour first, eggs second, panko third. Shallow works best for even coating. Prep one cutlet at a time to avoid gumminess.
Phase 3: Triple-Dip with Double-Press Method
Dredge in flour, shake excess. Dip in egg, let drip. Press firmly into panko on both sides; use hands for feel. Tongs poke holes, so hands win here.
Phase 4: Chill Breading on Wire Rack
Rest breaded cutlets on a wire rack in fridge 10 minutes. Air circulates underneath, setting the coating firm. Plates trap moisture, leading to sogginess.
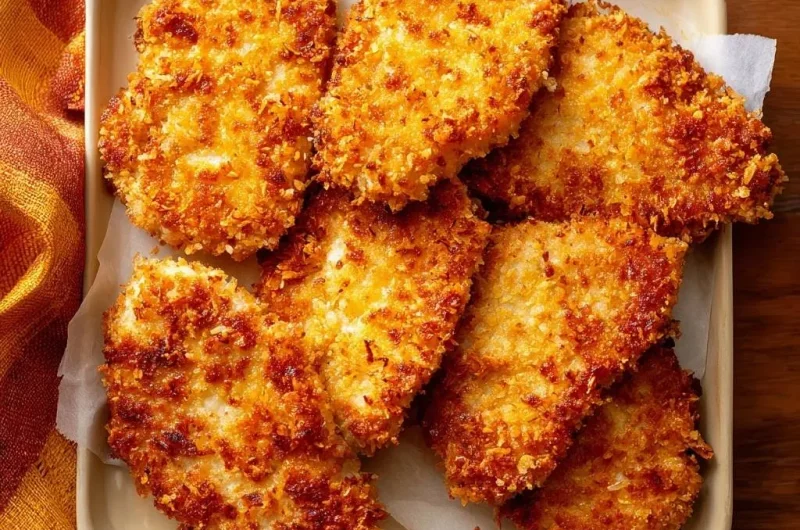
Phase 5: Fry to Golden Perfection
Heat 1/2-inch oil to 350°F; test with a crumb, it should sizzle fast. Fry 3-4 minutes per side till golden. Flip once, drain on clean rack.
Phase 6: Rest and Serve Hot
Rest on wire rack over sheet; steam escapes, keeping crisp. Serve immediately for peak crunch. Hold in 200°F oven if needed, rack only.
Equipment Choices for Perfect Panko Chicken Cutlets
Grab a meat mallet for safe pounding; wrap chicken in plastic first. Instant-read thermometer ensures 350°F accuracy. Large cast-iron skillet holds heat steady for even browning.
Wire racks dual as chilling and draining tools. Budget pick: cooling racks from dollar store work fine. Avoid non-stick for oil splatter.
Avoiding Pitfalls in Panko Chicken Cutlet Frying
Top mistake: skipping the dry pat, causing breading to slip. Cold oil steams instead of fries. Overcrowding traps steam, turning crisp to mush.
Paper towels soak oil but steam underneath. Room-temp rest softens coating. Fix with double-press and hot oil every time.
Overcoming Soggy Breading Issues
Root cause: loose panko and cool oil. Double-press and 350°F remedy it fully. Before: mush; after: shatter.
Ensuring Even Golden Browning
Maintain heat with thermometer; flip at 3 minutes. Batches prevent temp drop. Consistent sizzle means even color.
Flavor Twists on Crispy Panko Chicken Cutlets
Mix thyme or paprika into panko for herb lift. Add garlic powder to seasoning for savoriness. Parmesan blend gives cheesy crust without melting mess.
For an extra flavorful experience, consider these crispy chicken cutlets with savory gravy.
Sesame seeds swap for Asian vibe; keep press method same. Italian style: oregano and parm. Core crunch stays perfect.
For a similar cheesy crunch, explore crispy parmesan chicken breasts.
Ideal Pairings for Crispy Panko Chicken Cutlets
Pair with crisp green salad; acidity cuts richness. Roasted veggies like broccoli add earthiness. Rice pilaf soaks up juices nicely.
What to Try Next
Round out your chicken dinner with these complementary dishes.
- For a fresh take on greens, consider this Crispy Chicken Kale Cabbage Salad Recipe, which uses similar crunchy textures.
- To add a vibrant vegetable option with a similar crispiness, try the Crispy Herb-Crusted Cauliflower with Pickled Beet Salad.
Lemon wedges brighten every bite. Quick side: steam green beans 5 minutes, toss with butter. Balance keeps it fresh.
Storage and Reheating Crispy Panko Chicken Cutlets
Store in airtight container in fridge up to 3 days. Freezes well for 2 months; wrap individually in plastic then foil. Reheat in 400°F oven 10 minutes on rack, or air fryer 5 minutes at 375°F to revive crunch. Skip microwave; it steams soggy.
Troubleshooting Crispy Panko Chicken Cutlets
Why does the breading fall off?
Insufficient pressing or skimpy egg layer causes it. Always double-press panko firmly into all sides after egg dip. Pat dry first too; moisture weakens bonds. Next batch stays intact.
Why is the color pale?
Oil temp dropped below 325°F, so it steamed not fried. Use thermometer religiously and avoid overcrowding. Fry fewer pieces; golden happens fast at 350°F.
Why is it too oily?
Low heat lets oil seep in; insufficient draining traps it. Heat to 350°F precisely and drain on wire rack 5 minutes. Hot oil seals exterior instantly.
Why are thick cutlets uneven?
Uneven thickness cooks raw centers. Pound to exact 1/2-inch uniformly. Use mallet gently; check with fingers for flatness before breading.
Can I make a vegan version?
Yes, swap chicken for tofu or cauliflower steaks. Use aquafaba or flax eggs for binding, gluten-free flour if needed. Fry same way for crunch.
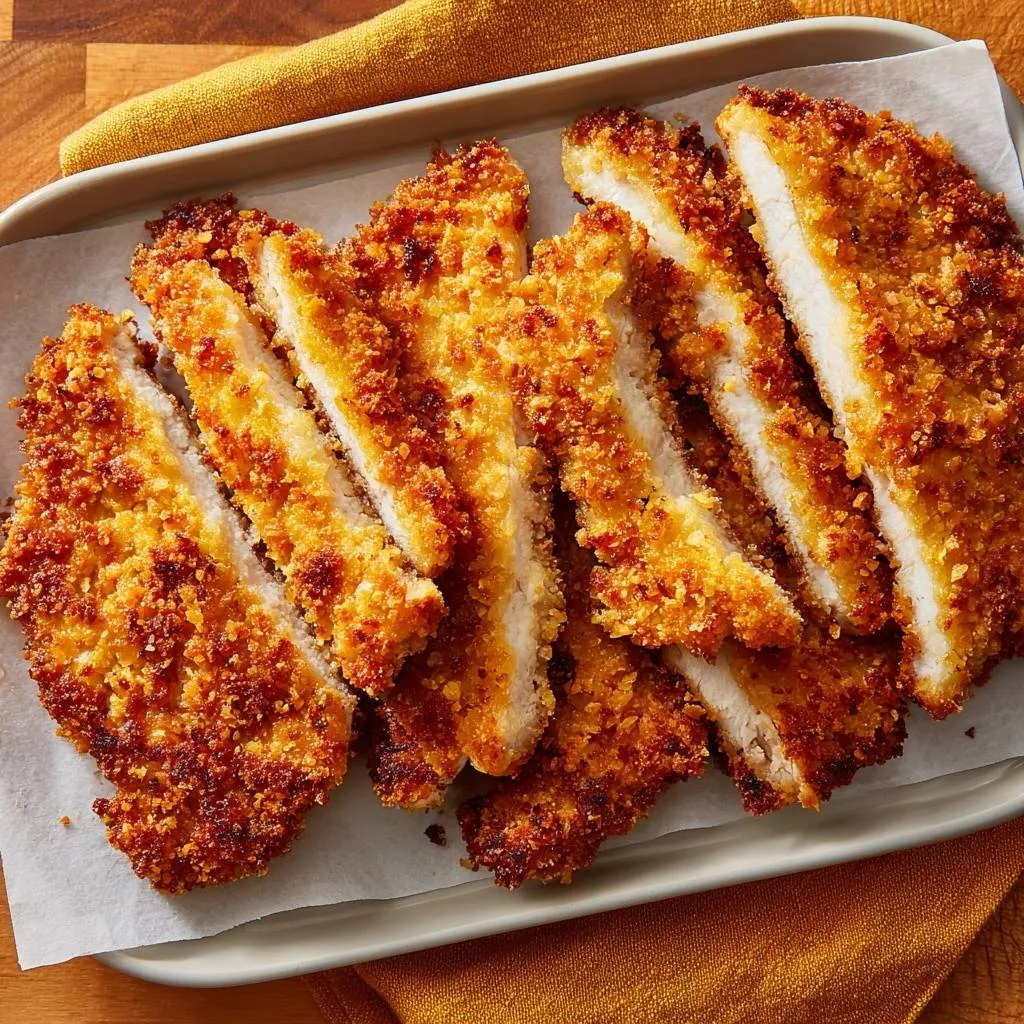
Crispy Chicken Cutlets
Course: Main CourseCuisine: AmericanDifficulty: easy4
servings20
minutes15
minutes450
kcal35
MinutesSick of breaded chicken that turns mushy? This method uses double-press and hot oil frying to lock in ultra-crisp panko that stays crunchy till the last bite.
Ingredients
4 boneless skinless chicken breasts, pounded to 1/2-inch thickness
1 cup all-purpose flour
2 large eggs, beaten
2 cups panko breadcrumbs
1 teaspoon salt
1/2 teaspoon black pepper
Vegetable oil, for frying
Directions
- Pat chicken dry with paper towels. Season both sides with salt and pepper. This removes moisture for breading adhesion.
- Set up dredging station: flour in one shallow dish, beaten eggs in second, panko in third.
- Dredge each cutlet in flour, shake off excess. Dip in egg, let excess drip. Press firmly into panko, coating all sides. Flip and press again to embed crumbs deeply. This double-press seals the coating against sogginess.
- Place breaded cutlets on a wire rack. Refrigerate 10 minutes to set the breading.
- Heat 1/2 inch vegetable oil in a large skillet over medium-high heat to 350 degrees F (use thermometer for precision). Oil must be hot to crisp instantly without absorbing.
- Fry cutlets in batches, 3-4 minutes per side until golden. Do not overcrowd. Drain on clean wire rack over baking sheet. This allows steam to escape, preventing sogginess.
- Serve hot. Perfect crunch guaranteed.
Notes
- Double-press panko into chicken for best adhesion. Refrigerate breaded cutlets 10 minutes before frying. Use thermometer for 350°F oil temperature. Drain on wire rack to prevent sogginess.