Why Lemon Bacon Peas Transform Side Dishes
Ever bite into peas that collapse into a watery mush? Most recipes boil them to death, killing that fresh snap everyone craves. But this lemon bacon peas method changes everything. You get tender-crisp perfection with a quick toss in bacon fat, plus zingy lemon brightness that wakes up your plate.
Here’s why it works so well. Bacon renders a smoky fat base that coats the peas without sogginess. In addition, the short cook time preserves their natural pectin for that irresistible crunch. Americans eat over 30 pounds of peas yearly, yet few nail the texture like this.
The real secret? Cook peas just 1-2 minutes in that hot fat. They turn vibrant green and hold firm. You’ll never go back to mushy lemon bacon peas again.
Key Ingredients for Lemon Bacon Peas
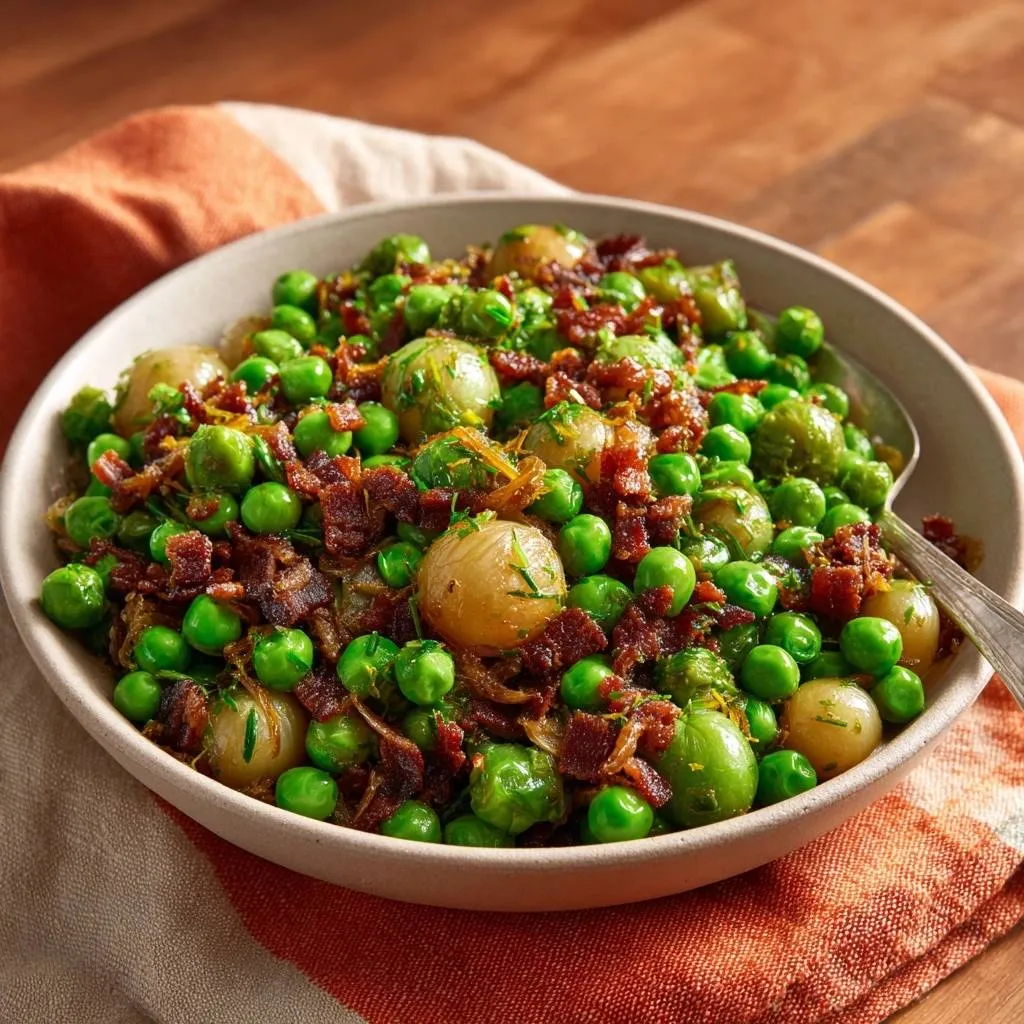
Fresh or frozen peas form the heart of lemon bacon peas. They deliver that snap because they’re low in water compared to canned. Frozen ones thaw fast in the skillet, so you avoid excess moisture.
Chopped bacon renders crucial fat for flavor. It crisps up while infusing everything with smokiness. Meanwhile, the onion sautes in that fat, adding subtle sweetness through gentle caramelization.
Lemon zest brings bright acidity without juice’s sogginess. Fresh dill chops in for herbal lift that balances richness. Salt and pepper finish it, but taste as you go since bacon adds its own saltiness.
Peas: Fresh vs Frozen Debate
Fresh peas shine with peak sweetness in spring, but frozen hold their own year-round. Don’t thaw frozen peas first; their ice melts into the skillet for steam that aids quick cooking. Boiling either way ruins crispness by breaking down cell walls too soon.
Bacon Selection for Optimal Fat Render
Grab thick-cut bacon for more fat and less chew. Uncured varieties offer clean pork flavor without smoky additives. Therefore, they pair perfectly with lemon’s zing in your bacon peas recipe.
Lemon Zest Technique Mastery
Use a microplane for fine lemon zest that releases oils evenly. Avoid the white pith; it bitters the dish. Zest right over the skillet for maximum aroma in lemon bacon peas.
Science of Crispy Bacon Peas Texture
Bacon fat triggers Maillard browning on peas’ edges during the quick toss. This creates nutty depth without overcooking. In addition, peas’ pectin stays intact in just 1-2 minutes, preventing the mush from prolonged heat.
Overheat breaks pectin bonds, turning firm peas soft. Lemon zest’s acids balance bacon’s richness, enhancing snap. That’s the lemon bacon peas snap everyone raves about.
Keep heat medium, and you’ll see peas brighten instantly. No fancy gear needed; simple timing delivers restaurant-quality results every time.
Step-by-Step: Mastering Lemon Bacon Peas
Start with bacon in a cold skillet over medium heat. It renders evenly without splattering much. After 6-8 minutes, scoop out crispy bits, leaving 2 tablespoons fat. This sets up flawless lemon bacon peas.
Next, onions go in for a 3-minute saute. They soften to golden, releasing sweet aroma. Don’t crank the heat; scorching kills nuance.
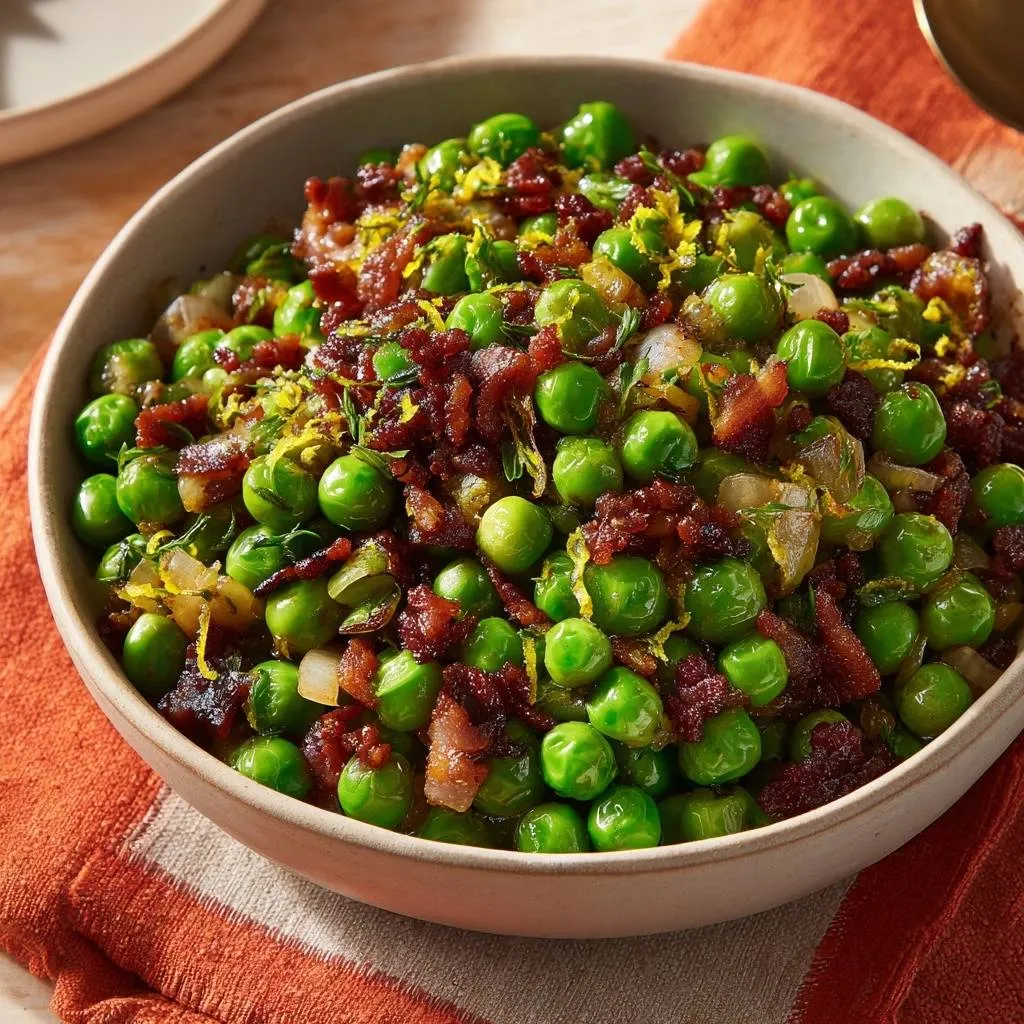
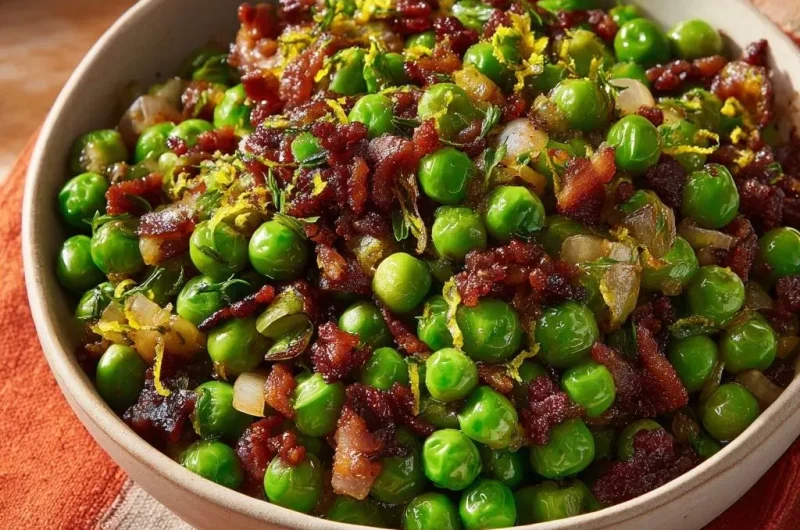
Peas join for 1-2 minutes of gentle tosses. Watch for bright green color and heat. Off heat, stir in bacon, zest, and dill. Season and serve hot for peak crunch.
Phase 1: Render Bacon Fat Perfectly
Medium heat crisps bacon in 6-8 minutes. Use a slotted spoon to remove pieces; measure fat precisely. Splatter? Lid it loosely. Perfect base for lemon bacon peas.
Phase 2: Sauté Onion in Bacon Fat
Onions hit hot fat and sizzle softly for 3 minutes. Aim for golden edges; the fat carries pork essence into every bite. Stir occasionally to prevent burn.
Phase 3: Quick Toss for Tender Peas
Add peas and toss 1-2 minutes max. They gleam bright green with a snappy feel. No furious stirring; gentle motion keeps texture intact in these bacon peas.
Phase 4: Finish with Zest and Dill
Off heat, fold in bacon, zest, and dill. Their flavors infuse without wilting herbs. Season lightly; bacon’s salt shines through.
Avoiding Lemon Bacon Peas Pitfalls
Top mistake? Overcooking peas past 2 minutes. They mush fast, so set a timer. Draining fat robs flavor; measure to keep 2 tablespoons.
Dull lemon? Zest fresh ones only. In addition, skipping onion leads to flat taste. For troubleshooting lemon bacon peas, watch visuals like color change.
Chewy bacon happens from high heat. Medium renders best. These fixes ensure tender-crisp lemon bacon peas every time.
Overcooking Peas Fix
Time it strictly to 1-2 minutes. Start with a cold skillet if peas release too much water. Visual cue: vibrant green means stop.
Bacon Fat Management
Leave exactly 2 tablespoons; pour off excess. No bacon? Use butter, but lose smokiness. Precision keeps lemon bacon peas balanced.
Flavor Variations in Bacon Peas
Swap onion for garlic in lemon bacon peas variations. It adds punch without sweetness. Mint over dill cools the richness nicely.
Turkey bacon works for leaner bites. Vegan? Olive oil plus smoked salt mimics it. These tweaks keep the crisp snap intact.
Try chili flakes for heat. Each change builds on the core lemon bacon peas recipe.
Herb and Citrus Swaps
Basil or parsley freshens dill’s role. Orange zest swaps lemon for sweeter tang. Test small batches first.
Protein and Spice Boosts
Pancetta crisps like bacon but milder. Add chili flakes post-peas for subtle fire. Boosts elevate bacon peas effortlessly.
Pairing Lemon Bacon Peas with Mains
Grilled chicken loves lemon bacon peas’ acidity cutting through char. Fish tacos gain crunch contrast. Pair lemon bacon peas with pasta for easy weeknights.
For perfectly charred greens, consider trying grilled romaine salad.
Roast pork tenderloin balances the zing. Why it works: brightness offsets proteins’ savoriness. Versatile side for any meal.
Steak gets a fresh lift too. Experiment; the snap shines everywhere.
Protein Matches
Poultry like roast turkey absorbs dill notes. Seafood, especially salmon, pairs with lemon zest perfectly.
Grain and Veggie Sides
Rice pilaf soaks up bacon fat vibes. Roasted roots add earthiness to complement peas.
Lemon Bacon Peas Storage Guide
Store leftovers in an airtight container in the fridge up to 3 days. Reheat gently with a quick steam to revive snap; microwave turns them mushy.
Freeze portions in zip bags for 1 month. Thaw overnight, then skillet-toss briefly. Texture holds better than boiled peas.
Troubleshooting Lemon Bacon Peas
Soggy peas? You cooked too long. Cut to 90 seconds next time. Dull flavor means old zest; grate fresh lemons.
Bacon chewy? Low heat renders fat slowly. No fat left? Bacon was too lean; add a pat of butter. These solve most lemon bacon peas issues.
Too salty? Bacon varies; season at end lightly. Quick fixes keep it perfect.
Common Lemon Bacon Peas Queries
Can I use canned peas for lemon bacon peas?
No, skip canned; they’re waterlogged and mushy from processing. Stick to fresh or frozen for true snap. Drain and pat dry if desperate, but texture suffers.
How do I scale lemon bacon peas for 2 servings?
Halve everything: 2 cups peas, 3 bacon slices, half onion. Same timings apply. Perfect for date nights without waste.
Are lemon bacon peas gluten-free?
Yes, naturally gluten-free. All ingredients are safe. Double-check bacon labels for additives if sensitive.
Will kids like lemon bacon peas?
Most do; bacon’s crunch wins them over, lemon adds fun tang. Start with less zest if picky eaters. Hide peas in their favorites.
What’s the nutrition in lemon bacon peas per serving?
About 150 calories per 1-cup serving: 10g fat from bacon, 10g carbs from peas, 6g protein. High fiber, vitamin C from lemon and peas boost it healthily.
Lemon Bacon Peas
Course: Side DishCuisine: AmericanDifficulty: easy4
servings10
minutes12
minutes240
kcal22
MinutesTired of peas turning into a mushy mess? This recipe nails tender-crisp peas every time with a quick toss in bacon fat at the end, locking in their fresh snap while bacon crisps perfectly and lemon adds zing.
Ingredients
4 cups fresh or frozen peas
6 slices bacon, chopped
1 small onion, finely diced
Zest of 1 lemon
2 tablespoons fresh dill, chopped
Salt and pepper to taste
Directions
- Cook the chopped bacon in a large skillet over medium heat until crispy and fat is rendered, about 6-8 minutes. Remove bacon with a slotted spoon to a paper towel-lined plate, leaving 2 tablespoons bacon fat in the skillet.
- Add diced onion to the hot bacon fat and saute until softened and golden, about 3 minutes. Do not let it scorch.
- Add peas to the skillet. The secret to no more mushy peas: Toss gently over medium heat for just 1-2 minutes until bright green and heated through. Overcooking kills the texture, so keep it quick to preserve that perfect snap.
- Remove from heat. Stir in crispy bacon, lemon zest, and dill. Season with salt and pepper. Serve immediately for maximum crunch.
Notes
- Use fresh or frozen peas. Keep cooking time short for perfect tender-crisp texture. Serve immediately.