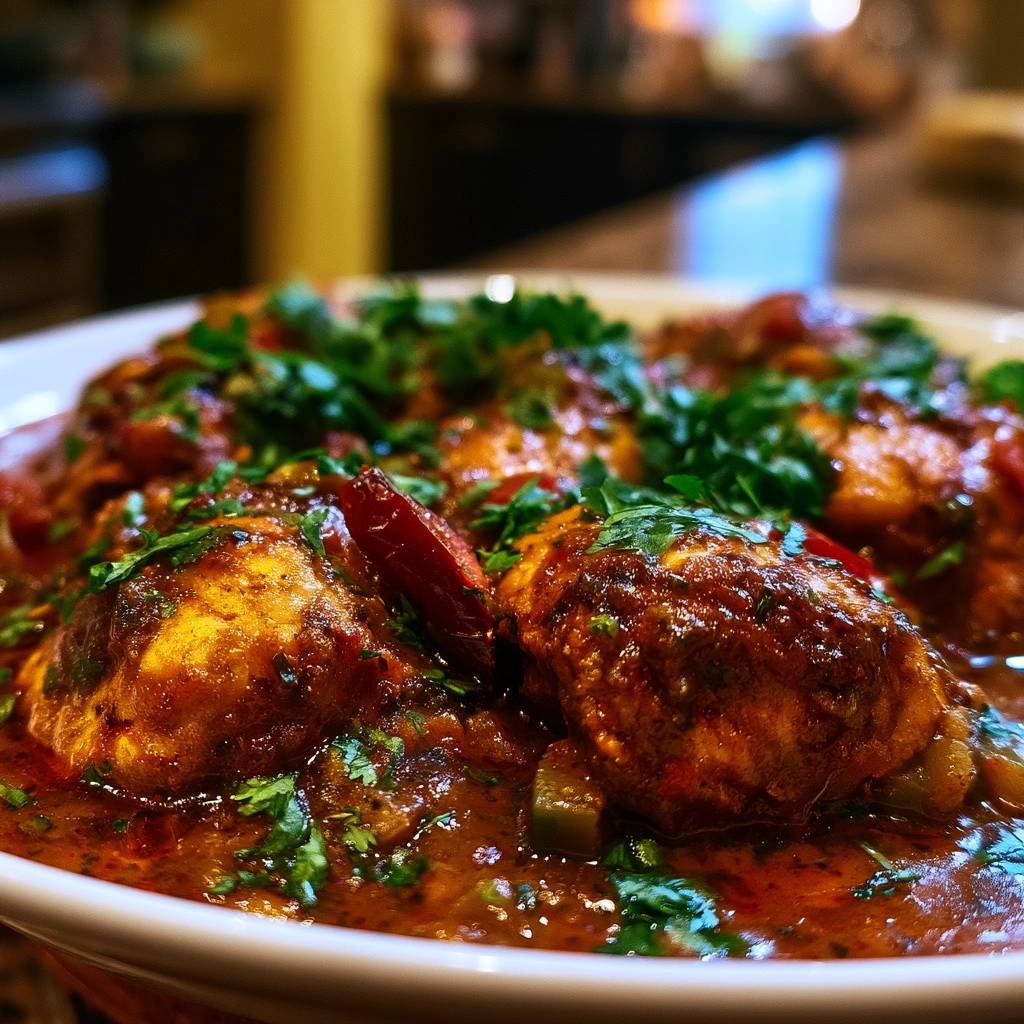
Most braised chicken recipes promise comfort but deliver a disappointing, rubbery skin that slides right off the meat. It’s a common kitchen frustration where the moisture of the sauce steams the poultry instead of crisping it. This recipe changes that by using a specific hybrid technique that keeps the skin high and dry while the meat bathes in a rich, aromatic sauce.
By combining a long, patient sear with a shallow-braising method, you get the best of both worlds. The Mediterranean flavor profile of bell peppers, garlic, and oregano creates a savory base that tastes like a seaside escape. Using bone-in thighs is the secret to success here because they remain incredibly juicy even after forty-five minutes in the oven.
The real trick to this dish is the “liquid line” rule. You must ensure the braising liquid only reaches halfway up the sides of the chicken. This keeps the skin exposed to the dry heat of the oven, allowing it to stay shatteringly crisp while the bottom of the thigh absorbs all the goodness from the tomatoes and peppers.
The Physics of Rendering Chicken Fat
Achieving a golden, crackling skin isn’t just about heat; it’s about managing moisture and fat. The Maillard reaction, which creates those deep savory flavors and brown colors, cannot happen if there is water on the surface of the meat. This is why you must use paper towels to pat the chicken thighs until they are bone-dry before they ever touch the oil.
Once the chicken hits the pan, the goal is to render the fat. This means the solid fat under the skin melts away, leaving behind a thin, crispy layer. If you rush this process or use a lid, the trapped steam will turn the skin into a soggy mess. High heat and an open pan are your best friends for a professional texture.
Therefore, you should resist the urge to move the chicken once it’s in the skillet. That initial contact creates a seal, and the meat will naturally release from the pan once the crust has properly formed. If it sticks when you try to flip it, it simply isn’t ready yet. Give it another minute to do its thing.
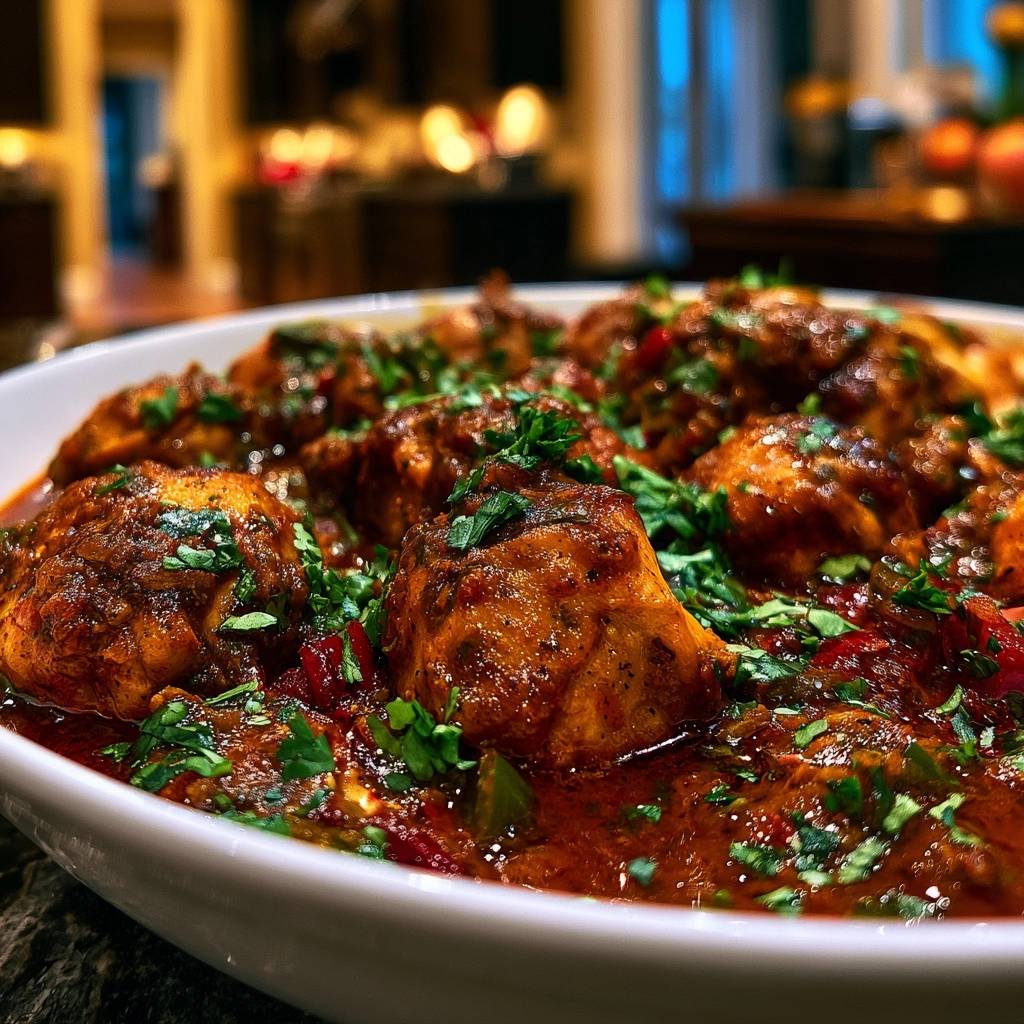
Essential Components for Mediterranean Braised Chicken
Quality ingredients are the backbone of this dish, starting with a high-quality olive oil that can stand up to medium-high heat. While extra virgin is great for finishing, a standard olive oil works perfectly for the searing phase. Fresh garlic is also a non-negotiable here; the pre-minced stuff in jars often has a metallic aftertaste that can ruin a delicate tomato sauce.
For the base, crushed tomatoes provide the perfect viscosity. They offer a thick, jammy texture that clings to the peppers, whereas diced tomatoes often stay too watery and thin. This thickness is vital because it supports the chicken thighs, keeping them elevated so the skin stays above the “splash zone” of the simmering liquid.
In addition, smoked paprika adds a hidden layer of complexity. It doesn’t bring heat, but it provides a subtle earthiness that mimics the flavor of a wood-fired oven. When paired with dried oregano, it creates that classic Mediterranean aroma that will fill your entire house as it bakes.
Selecting the Right Poultry Cuts
You might be tempted to use chicken breasts, but they will likely dry out before the peppers have softened. Bone-in, skin-on thighs are mandatory for this 45-minute cook time. The bone acts as a heat conductor, cooking the meat from the inside out while the fat keeps everything succulent.
When shopping, look for air-chilled chicken if it’s available. Many standard brands soak chicken in a chlorine-water bath, which adds “water weight” that leaks out in the pan. Air-chilled poultry has less moisture, meaning you’ll get a much better sear and more intense chicken flavor in your final sauce.
The Role of Aromatics and Peppers
Red and green bell peppers do more than just add color to the pan. As they sauté in the rendered chicken fat, their natural sugars begin to caramelize. This sweetness is essential for balancing the bright acidity of the crushed tomatoes and the pungent bite of the fresh garlic.
The green peppers provide a slight vegetal bitterness that cuts through the richness of the chicken. Meanwhile, the red peppers soften into silkiness, adding body to the sauce. Together, they create a chunky, rustic texture that makes this meal feel hearty and complete without needing a dozen different vegetables.
Phase One: Achieving the Perfect Golden Sear
Success starts with a hot pan. You want the oil to be shimmering, almost at the smoking point, before the chicken goes in. This immediate hit of heat sears the proteins and starts the fat-rendering process instantly. If the pan is too cold, the chicken will just sit and boil in its own juices, which is the enemy of crispiness.
Follow the “no-touch” rule religiously. Place the thighs skin-side down and leave them alone for a full 8 to 10 minutes. It might feel like a long time, but this patience is what builds that deep golden-brown crust. You’ll know it’s working when you see the edges of the skin turning dark and pulling away from the pan.
Once you flip the chicken, you only need about two minutes on the bottom side. We aren’t trying to cook the chicken through at this stage; we are just building flavor. Remove the thighs to a plate and keep them nearby. Don’t worry about the fat left in the pan—that’s liquid gold that will flavor your vegetables.
Phase Two: Building the Tomato and Pepper Base
After removing the chicken, toss your peppers and garlic into that same skillet. As they cook, they will start to release moisture, which helps loosen the “fond” from the bottom of the pan. Fond is the collection of browned bits left behind by the chicken, and it contains the most concentrated flavor of the entire dish.
Use a wooden spoon to scrape the bottom of the pan vigorously as you stir in the chicken broth and tomatoes. This deglazing process incorporates all those toasted proteins back into the sauce. You’ll notice the liquid turn a deep, rich color as the fond dissolves into the tomato base.
Bring the mixture to a gentle simmer before adding your herbs. This ensures the flavors of the oregano and smoked paprika are evenly distributed. At this point, the kitchen should smell incredible—a mix of sweet peppers, toasted garlic, and savory chicken.
Phase Three: The Shallow-Braise Oven Technique
Now comes the most critical part of the “anti-soggy” strategy. Carefully nestle the chicken thighs back into the skillet, but do not submerge them. The sauce should only reach about halfway up the meat. If you have too much liquid, spoon some out; if you have too little, add a tiny splash of broth.
Place the skillet in the oven UNCOVERED. This is where most people go wrong by reaching for a lid. A lid traps steam, which will immediately soften that beautiful skin you worked so hard to sear. By leaving it open, the 375°F dry heat acts like a convection oven, keeping the skin crispy while the bottom half of the chicken poaches.
Bake for about 25 to 30 minutes. During this time, the sauce will reduce and thicken, becoming even more flavorful. The dry heat from above continues to render any remaining fat in the skin, while the liquid below keeps the meat tender and prevents it from drying out.
Troubleshooting Common Braising Obstacles
If you notice the sauce is thickening too quickly or looking dry before the chicken is done, don’t panic. Simply pour a splash of chicken broth or water into the corners of the pan, being careful not to get any liquid on the crispy skin. This will loosen the sauce without ruining the texture of the poultry.
However, if the chicken is cooked but the skin looks a little pale, you can fix it easily. Move your oven rack to the top position and turn on the broiler for 60 seconds. Watch it like a hawk, though, as the skin can go from golden to burnt in a heartbeat. This quick blast of heat will provide that final crunch.
To check for doneness without a thermometer, pierce the thickest part of the thigh with a knife. The juices should run completely clear. If they are pink, the chicken needs another five minutes. Ideally, you want an internal temperature of 165°F for the safest and juiciest results.
Flavor Variations and Regional Swaps
This recipe is a fantastic canvas for other Mediterranean ingredients. For a saltier, more piquant profile, try stirring in a handful of Kalamata olives or a tablespoon of drained capers during the simmer phase. These additions bring a briny punch that cuts through the richness of the tomato sauce.
You can also swap the oregano for fresh rosemary or thyme if you prefer a more herbal, woody aroma. If you want to make the meal even heartier, add a can of drained chickpeas or some jarred artichoke hearts when you add the tomatoes. They will soak up the sauce and provide a great texture contrast.
For those who like a bit of acidity, a squeeze of fresh lemon juice right before serving can brighten the whole dish. The citrus helps lift the heavier flavors of the roasted peppers and smoked paprika, making the entire meal feel lighter and fresher.
Starch Pairings for Tomato-Based Sauces
You definitely want something on the plate to catch every drop of that delicious sauce. A bed of buttery couscous or orzo pasta tossed with lemon zest is a classic choice. These small grains are perfect for soaking up the tomato and pepper juices without competing with the flavor of the chicken.
If you prefer something more rustic, serve the chicken with a thick slice of toasted sourdough bread. Use the bread to mop up the skillet once the meat is gone. Alternatively, roasted fingerling potatoes seasoned with salt and pepper make for a very filling and comforting side dish.
To balance the richness of the braise, a simple arugula salad is a great addition. The peppery, bitter greens provide a necessary contrast to the sweet bell peppers and savory chicken. A light vinaigrette of olive oil and red wine vinegar is all you need to keep the meal balanced.
Storage and Reheating Without Losing Texture
Leftovers will stay fresh in an airtight container in the refrigerator for up to three days. However, the skin will naturally soften as it sits in the fridge. To bring back that “just-cooked” crunch, avoid the microwave at all costs, as it will turn the chicken rubbery and the skin soggy.
Instead, reheat the chicken in an air fryer at 350°F for about 5 to 7 minutes. This circulates hot air around the skin, crisping it back up while warming the meat through. If you don’t have an air fryer, a standard oven at 375°F for 10 minutes will also do a much better job than a microwave.
The sauce actually tastes even better the next day as the flavors have more time to meld. If the sauce has thickened too much in the fridge, just add a teaspoon of water before reheating it in a small saucepan or alongside the chicken in the oven.
Expert Tips for Professional Results
Always let the chicken rest for at least five minutes after taking it out of the oven. This allows the juices to redistribute throughout the meat. If you cut into it immediately, all that moisture will run out onto the plate, leaving you with a drier piece of chicken.
For a final touch of luxury, drizzle a little bit of high-quality extra virgin olive oil over the dish right before it hits the table. This adds a fresh, grassy note that complements the cooked flavors. Finally, don’t be shy with the parsley; a heavy garnish adds a pop of color and a burst of freshness that ties everything together.
Frequently Asked Questions
How do I store leftovers and can I freeze this?
Store leftovers in an airtight container in the refrigerator for up to 3 days. While you can freeze the chicken and sauce for up to 2 months, be aware that the skin will lose all its crispness upon thawing. If you do freeze it, reheat it in the oven to try and recover some of the texture.
Why is my chicken skin still soggy after baking?
This usually happens for two reasons: either the chicken wasn’t patted dry enough before searing, or the braising liquid was too high in the pan. Ensure the liquid only reaches halfway up the chicken and never cover the pan with a lid or foil while it is in the oven.
Can I use chicken breasts instead of thighs?
You can, but you must reduce the oven time significantly. Chicken breasts are much leaner and will dry out if cooked for 30 minutes in the oven. Check them after 15 minutes with a meat thermometer to ensure they don’t exceed 165°F.
What can I use if I don’t have chicken broth?
You can substitute the chicken broth with water or a splash of white grape juice mixed with a little water. Since the chicken and vegetables provide so much flavor, the dish will still be delicious, though slightly less rich than if you used broth.
Is there a substitute for crushed tomatoes?
If you only have whole peeled tomatoes, you can pulse them in a blender or crush them by hand in a bowl before adding them to the pan. If you use tomato sauce (passata), the flavor will be more concentrated and smooth, so you might want to add a little extra broth to keep it from becoming too thick.
Do I have to use an oven-safe skillet?
If you don’t have a cast-iron or oven-safe skillet, you can perform the searing and sauce-making steps in a regular pan, then transfer everything to a baking dish. Just make sure the baking dish is preheated or the sauce is boiling when you put it in the oven to keep the cooking time accurate.
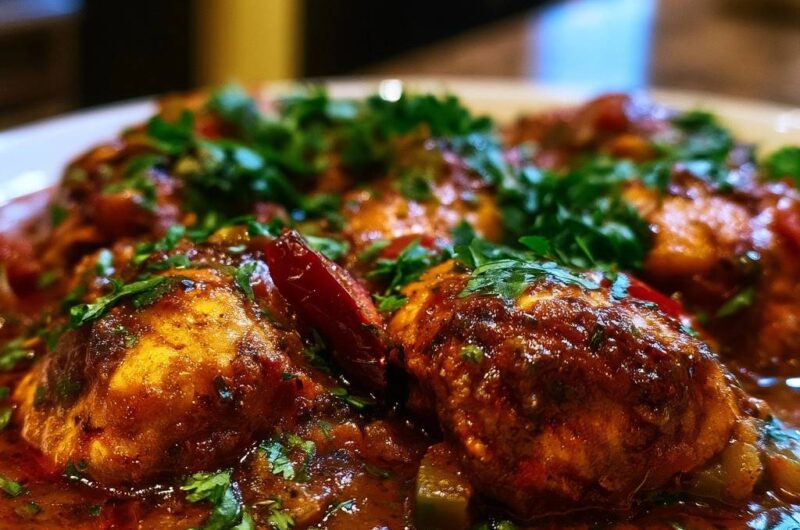
Braised Mediterranean Chicken Thighs
Course: Main CourseCuisine: MediterraneanDifficulty: easy4
servings15
minutes45
minutes60
Minutes420
kcalMediterranean
Ingredients
2 lbs bone-in, skin-on chicken thighs
2 tablespoons olive oil
1 large red bell pepper, sliced into strips
1 green bell pepper, diced
1 cup crushed tomatoes
3 cloves garlic, minced
1 teaspoon dried oregano
1/2 teaspoon smoked paprika
1/2 cup chicken broth
1/2 cup fresh parsley, finely chopped (for garnish)
Salt and black pepper to taste
Directions
- Preheat your oven to 375°F (190°C).
- Pat the chicken thighs completely dry with paper towels. This is the most important step for texture. Season both sides generously with salt and pepper.
- Heat the olive oil in a large, oven-safe heavy skillet or braiser over medium-high heat. Place the chicken skin-side down. Do not crowd the pan; work in batches if necessary.
- Sear the chicken for 8 to 10 minutes without moving it. This renders the fat and creates a deep golden-brown crust. Flip and sear the bottom side for 2 minutes, then remove chicken to a plate.
- In the same pan, add the peppers and garlic. Saute for 3-4 minutes until the peppers are softened and slightly charred.
- Stir in the crushed tomatoes, oregano, paprika, and chicken broth. Scrape the bottom of the pan with a wooden spoon to release the flavorful browned bits (fond). Bring the sauce to a simmer.
- To solve the soggy skin problem, carefully nestle the chicken thighs back into the pan. Ensure the liquid only reaches halfway up the sides of the chicken. The skin must remain exposed and dry above the sauce.
- Transfer the skillet, UNCOVERED, to the preheated oven. Bake for 25 to 30 minutes. Leaving the lid off allows the dry oven heat to maintain the skin’s integrity while the meat braises in the sauce.
- Remove from the oven once the chicken reaches an internal temperature of 165°F. Let rest for 5 minutes.
- Garnish with a very heavy sprinkle of fresh parsley to match the visual profile, ensuring the herbs cover both the sauce and the chicken. Serve directly from the pan.
Notes
- The most important step for texture is patting the chicken skin completely dry before searing. Ensure the pan is not crowded to allow for proper browning.