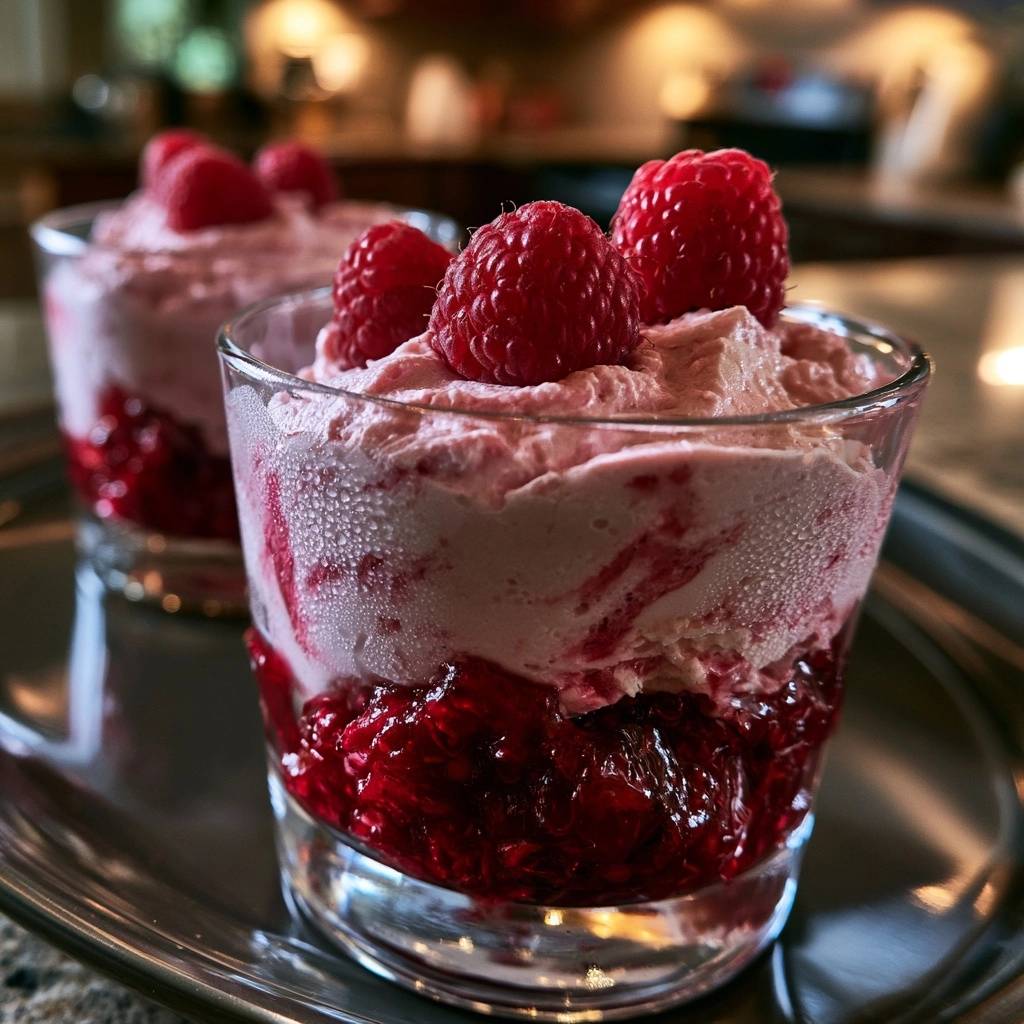
Imagine plunging your spoon into a cloud of vibrant pink mousse that feels as light as air yet holds its shape perfectly against a deep, ruby-red fruit base. The first bite offers a sharp tang of fresh raspberries followed by the velvety, rich finish of high-quality cream. It is a sensory experience that balances acidity and sweetness with a texture that never feels heavy or greasy.
However, most home cooks struggle with the dreaded “weeping” effect where the fruit juice bleeds into the cream, turning a beautiful dessert into a watery, pink mess within an hour. This recipe solves that frustration by using a dual-stabilization technique. We create a pectin-rich raspberry reduction and fortify the mousse with cream cheese to ensure those distinct, professional layers stay sharp from the first scoop to the last.
The secret to this architectural success lies in the temperature of your ingredients. You must ensure your raspberry reduction is completely cold before it ever touches the whipped cream. If the fruit is even slightly warm, it will deflate the air bubbles you worked so hard to create, leaving you with a runny sauce instead of a sturdy mousse.
The Science of Non-Weeping Fruit Desserts
Fresh raspberries are delicious, but they are essentially tiny vessels of water and sugar held together by delicate cell walls. When you macerate them or layer them with cream, the sugar draws out that moisture through osmosis. This is why standard parfaits often look “soupy” after sitting in the fridge for more than twenty minutes.
To combat this, we use a two-pronged approach to moisture management. Firstly, we simmer the berries to activate their natural pectin, which acts as a thickener. Secondly, we introduce a cornstarch slurry. This creates a physical barrier that traps the water molecules in a glossy gel, preventing them from migrating into the dairy layers.
Furthermore, this cooked reduction provides a much more concentrated flavor than raw berries alone. By evaporating the excess water during the simmering process, you intensify the raspberry essence. This ensures the fruit flavor punches through the richness of the heavy cream and cream cheese without adding unnecessary liquid volume.
Why Cream Cheese Outperforms Gelatin
While many professional kitchens use gelatin to set mousses, it can often result in a rubbery or “bouncy” texture that feels artificial. Cream cheese provides a much more luxurious, creamy mouthfeel while offering superior structural support. The high fat content in the cheese coats the air bubbles in the whipped cream, preventing them from collapsing under the weight of the fruit.
Essential Components for Raspberry Mousse Parfaits
Quality is everything when you only have a handful of ingredients. You need heavy whipping cream with at least a 36% fat content. This fat is what allows the cream to trap air and hold a stiff peak. If the fat content is too low, your mousse will lack the “body” needed to sit proudly atop the raspberry base.
The cream cheese must be softened to room temperature before you begin. If it is even slightly cold, it will not incorporate smoothly into the raspberry mixture, leaving you with tiny white lumps. Conversely, your heavy cream must be ice-cold. I often put my mixing bowl and beaters in the freezer for ten minutes before whipping to ensure the fastest, most stable aeration.
Selecting and Preparing Fresh Raspberries
Look for berries that are deep red and matte in appearance. If they are shiny or leaking juice in the container, they are likely overripe and will break down too quickly. While you can certainly use frozen berries for the cooked reduction, I strongly recommend fresh berries for the final garnish. Fresh berries provide a necessary structural contrast and a pop of brightness that frozen fruit simply cannot match.
The Role of Acid and Starch
Lemon juice is the unsung hero of this recipe. It does more than just add a citrus note; the acidity actually helps the pectin in the raspberries set more firmly. When combined with the cornstarch, it creates a translucent, jam-like consistency that looks beautiful through the side of a glass. This mixture stays put, acting as a solid foundation for the mousse layers above.
Phase One: Crafting the Stabilized Raspberry Base
Start by mashing your berries in the saucepan to release their juices immediately. As the mixture simmers, you will notice the color shift from a bright red to a deeper, more translucent crimson. Once you whisk in the cornstarch slurry, the liquid will transform from a thin juice into a thick, glossy glaze that coats the back of a spoon.
Therefore, the cooling phase is the most critical part of this step. You cannot rush physics. If you add warm raspberry sauce to your whipped cream, the heat will melt the fat globules instantly. Transfer the reduction to a shallow bowl to increase the surface area, which helps it cool faster in the refrigerator. It should be cold to the touch before proceeding.
Phase Two: Achieving the Perfect Aerated Peak
When whipping your cream, watch for the transition from soft, floppy waves to “stiff peaks.” A stiff peak means that when you lift the beaters, the cream stands straight up without the tip curling over. This is the point of maximum aeration. However, be careful not to go too far; if the cream starts to look grainy or yellow, you are seconds away from making butter.
If you find your cream isn’t thickening, it might be too warm. Stop immediately and place the bowl in the freezer for five minutes. Using a chilled metal bowl is much more effective than plastic or glass because metal retains the cold, helping the fat in the cream stay solid and trap air more efficiently.
Phase Three: Folding and Marbling Techniques
Folding is a specific culinary movement designed to combine a heavy mixture with a light one without losing volume. Use a rubber spatula to “cut” through the center of the bowl, scrape along the bottom, and “fold” the mixture over the top. Rotate the bowl as you go. This ensures the dense cream cheese and the airy whipped cream become one cohesive, fluffy unit.
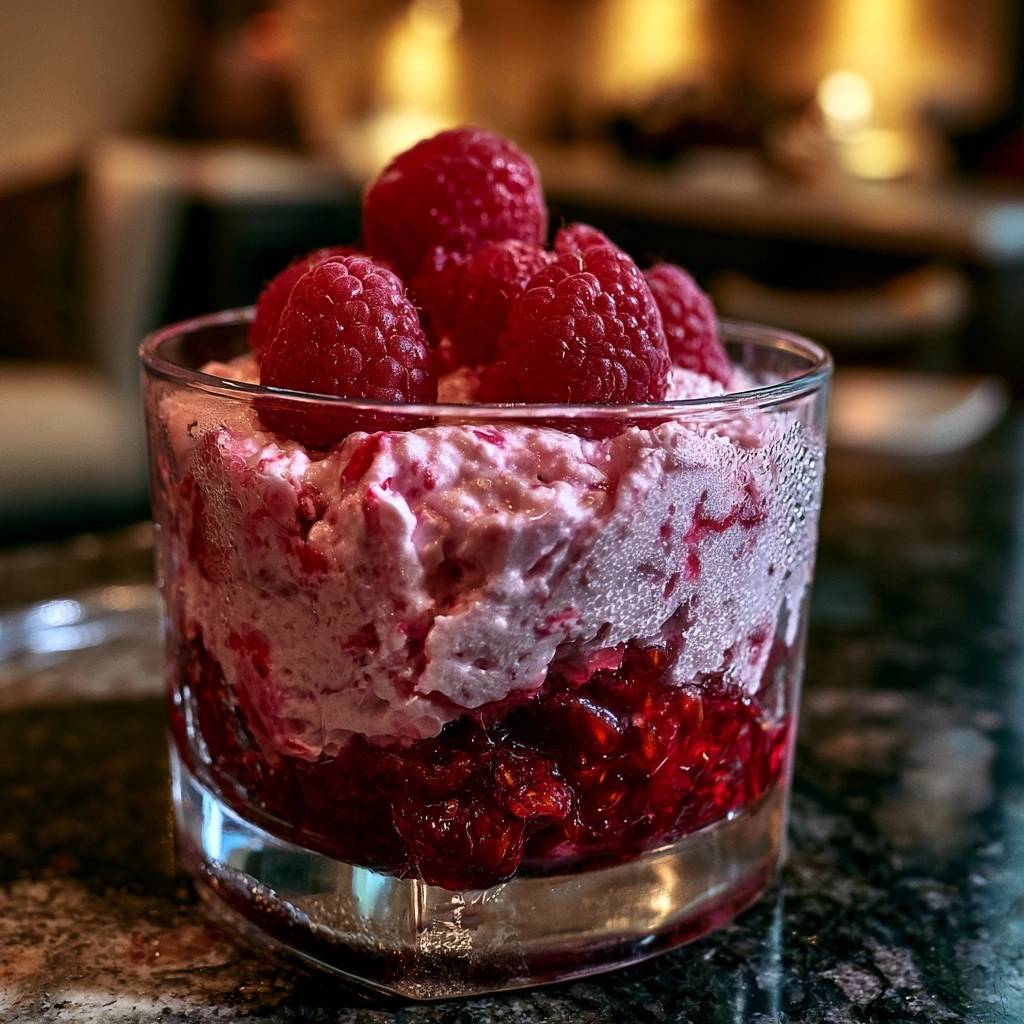
To get that beautiful marbled look, don’t over-mix the final addition of raspberry reduction. Just two or three gentle turns of the spatula are enough. You want to see distinct streaks of dark red against the pale pink mousse. This creates a visual “wow” factor that makes the dessert look like it came from a high-end patisserie.
Assembly Strategy for Clean Visual Layers
For the cleanest presentation, use a piping bag or a large zip-top bag with the corner snipped off to add the mousse. If you use a spoon, you risk smearing the mousse against the sides of the glass, which ruins the sharp line between the fruit base and the cream. Aim for a 1/3 ratio of fruit base to 2/3 mousse for the best flavor balance.
Start by spooning the chilled reduction into the bottom of your glasses. Tap the glass gently on the counter to level the fruit. Then, pipe the mousse starting from the outside edges and spiraling inward. This technique “seals” the edges against the glass, preventing the layers from shifting or mixing as the dessert sets.
Troubleshooting Common Mousse Textural Issues
If your mousse feels too soft after mixing, don’t panic. The cream cheese and heavy cream need time to “set” in the cold. A two-hour chill is the absolute minimum, but four hours is even better. During this time, the fats solidify, creating that firm, textured peak that holds up even after you take it out of the fridge.
If you encounter lumps in your cream cheese, you can fix it by placing the bowl over a pot of warm water for thirty seconds and whisking vigorously. However, you must let it cool back down to room temperature before adding it to the whipped cream. Prevention is always easier, so ensure that cheese is truly soft before you start beating it.
Flavor Variations and Texture Additions
While the raspberry is the star, you can easily add complexity with a few simple tweaks. A teaspoon of vanilla bean paste adds beautiful black specks and a deeper floral note than standard extract. You might also consider adding a “crunch” layer between the fruit and the mousse, such as crushed shortbread cookies or toasted pistachios, to provide a textural break.
For a more botanical profile, a single drop of rosewater in the raspberry reduction pairs beautifully with the tartness of the berries. Just be careful not to overdo it, as rosewater can quickly become soapy. A little bit of lemon zest folded into the final mousse can also provide a fresh, aromatic lift that cuts through the richness of the dairy.
Make-Ahead Logistics and Storage Standards
These parfaits are the ultimate make-ahead dessert because they actually improve after a few hours of chilling. You can prepare them up to 48 hours in advance. The stabilized base and the cream cheese fortification mean they won’t lose their height or become watery in the fridge. However, do not freeze them; the emulsion of the cream cheese will break upon thawing, resulting in a grainy, separated texture.
When choosing glassware, clear glasses or small mason jars work best. They allow the vibrant colors to shine and are easy to handle. If you are serving these at a party, smaller “shooter” glasses are a great way to offer a rich dessert in a manageable, bite-sized portion that stays cold longer.
Expert Tips for Professional Presentation
The final garnish should always be added right before serving. If you place fresh raspberries on top too early, they may begin to sink or bleed into the mousse. For a truly professional look, add a tiny sprig of fresh mint for color contrast. A light dusting of powdered sugar or even some crushed freeze-dried raspberries can add a sophisticated, textured finish to the top of each glass.
How long do these parfaits stay fresh in the refrigerator?
You can store these parfaits in the refrigerator for up to 2 days. Because we used a stabilized reduction and cream cheese, the layers will remain distinct and the mousse will stay airy. For the best results, keep them covered with plastic wrap to prevent the cream from absorbing any other odors from the fridge. Always add the fresh berry garnish just before you plan to eat them.
Why is my mousse grainy instead of smooth?
A grainy texture usually happens for one of two reasons. Either the cream cheese was too cold when you started, causing it to break into tiny clumps, or you over-whipped the heavy cream until it began to turn into butter. To avoid this, ensure the cream cheese is very soft and stop whipping the cream as soon as it reaches stiff peaks. If it’s already grainy, you can sometimes smooth it out by gently folding in a tablespoon of unwhipped liquid cream.
Can I use frozen raspberries for this recipe?
Yes, frozen raspberries work perfectly for the cooked reduction base. In fact, they often release more juice, which makes for a very flavorful syrup. However, I do not recommend using thawed frozen berries for the garnish on top. Thawed berries are soft and leaky, which will ruin the clean look of your mousse. Stick to fresh berries for the topping to maintain that professional aesthetic.
Can I substitute the cream cheese with something else?
If you want a lighter version, you can use mascarpone cheese, which has a similar fat content but a milder, creamier flavor. Greek yogurt is another option, but it is much more watery, so you would need to strain it through cheesecloth for several hours first to ensure the mousse doesn’t become runny. Avoid using low-fat cream cheese, as it contains more moisture and fillers that can prevent the mousse from setting properly.
What if my raspberry reduction is too thin?
If the reduction looks more like juice than jam after simmering, you may need to cook it for a few more minutes to evaporate more liquid. You can also add a tiny bit more cornstarch slurry (mix 1/2 teaspoon cornstarch with 1/2 teaspoon water) and whisk it in while the mixture is simmering. Remember that the reduction will thicken significantly as it cools, so don’t over-thicken it while it’s still on the stove.
Creamy Raspberry Mousse Parfaits
Course: DessertCuisine: AmericanDifficulty: easy4
servings20
minutes8
minutes28
Minutes315
kcalAmerican
Ingredients
3 cups fresh raspberries (divided: 2 cups for reduction, 1 cup for garnish)
1/3 cup granulated sugar
1 tablespoon lemon juice
1 teaspoon cornstarch (mixed with 1 teaspoon water)
1 cup heavy whipping cream, very cold
1/2 cup powdered sugar
1 teaspoon vanilla extract
6 ounces cream cheese, softened to room temperature
Directions
- Create the Stabilized Base: In a small saucepan, combine 2 cups of raspberries, granulated sugar, and lemon juice over medium heat. Mash the berries with a fork. Once simmering, whisk in the cornstarch slurry. Simmer for 5-8 minutes, stirring frequently, until the mixture thickens into a glossy, jam-like consistency. Crucial Step: Transfer to a bowl and chill in the refrigerator until completely cold. This prevents the heat from melting the mousse layers.
- Prepare the Cream Base: In a chilled large bowl, beat the cold heavy whipping cream, powdered sugar, and vanilla extract until stiff peaks form. Do not overbeat. Set aside in the refrigerator.
- Build the Mousse Structure: In a separate bowl, beat the softened cream cheese until completely smooth and lump-free. Add 1/3 of the chilled raspberry reduction to the cream cheese and beat until combined and vibrant pink.
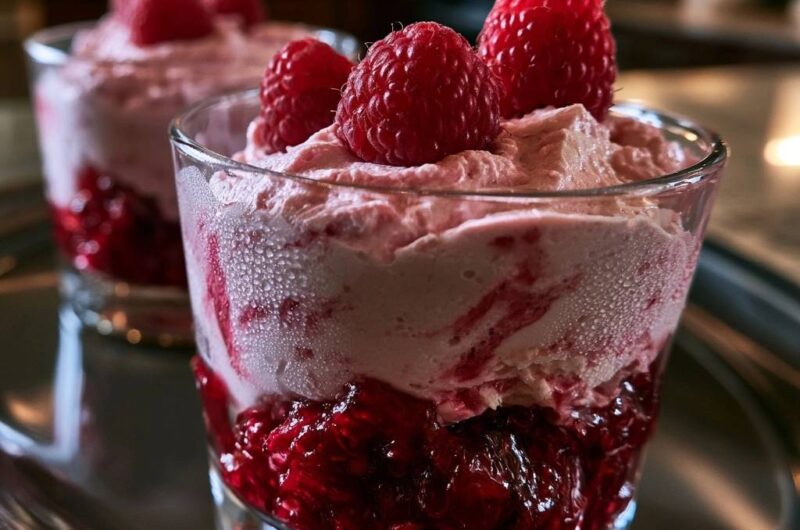
- Fold for Aeration: Gently fold the whipped cream into the raspberry cream cheese mixture using a rubber spatula. Use a “cut and fold” motion to maintain the air bubbles. For the marbled visual effect seen in the image, lightly swirl in another 2 tablespoons of the raspberry reduction at the very end, leaving visible streaks.
- Assembly: Spoon the remaining chilled raspberry reduction into the bottom of four glasses, filling them about 1/3 of the way up.
- Layer and Set: Pipe or spoon the raspberry mousse over the fruit base. The thickness of the stabilized mousse will allow it to sit on top without sinking. Top with the reserved fresh raspberries. Chill for at least 2 hours. The cold temperature is vital for the cream cheese and fats to set, resulting in the firm, textured peak shown in the photo.
Notes
- The dual-stabilization technique uses a cornstarch slurry in the fruit base and cream cheese in the mousse to maintain structure. Ensure the fruit reduction is completely cold before layering to prevent melting the cream.