Most homemade squash soups end up thin, watery, or lacking that deep savory punch we love at high-end restaurants. You’ve likely experienced it before: a bowl of orange liquid that tastes more like diluted baby food than a gourmet meal. The secret to a rich, velvety texture is skipping the boiling pot and using my dry roast method.
By roasting the vegetables until caramelized before adding any liquid, you lock in the natural sugars and ensure a thick, concentrated base. This technique prevents the squash from absorbing excess water, which is the primary culprit behind bland soups. I’ve found that this extra step makes the difference between a “fine” dinner and one your guests will beg for every autumn.
For a similar approach to developing deep flavor, check out this creamy roasted tomato soup.
The real pro tip here is the garlic treatment. Instead of mincing it and risking burnt, bitter bits, we roast the cloves whole in their skins. This steams the garlic inside its own natural wrapper, turning it into a sweet, buttery paste that blends seamlessly into the soup. It adds a mellow depth that raw or sautéed garlic simply can’t match.
Why Most Butternut Squash Soups Fail
The science of a disappointing soup usually comes down to dilution. When you boil squash in a pot of water or broth, the vegetable’s cell structure acts like a sponge. It soaks up the liquid, which swells the fibers and washes away the delicate, nutty flavors of the squash.
Furthermore, boiling never reaches a high enough temperature to trigger the Maillard reaction. This chemical reaction between amino acids and reducing sugars is what creates that “browned” savory flavor. Without it, you’re left with a one-dimensional sweetness that feels flat on the tongue.
Roasting at high heat evaporates the internal moisture of the vegetables. As the water leaves, the flavors concentrate. You’ll notice the edges of your squash turning a deep golden brown on the sheet pan; that’s the caramelization that provides the complex, toasted notes a boiling pot can never achieve.
For more ideas on roasting techniques, explore our guide to creamy roasted butternut squash soup.
Essential Components for a Velvety Soup Base
Success starts with your ingredients, and for this recipe, size actually matters. I recommend a large butternut squash, roughly 3 pounds. At this size, the squash has reached a peak sugar-to-fiber ratio, ensuring the soup is naturally sweet without being stringy or overly starchy.
Your choice of onion also plays a supporting role. I always reach for a yellow onion because it has a higher sugar content than white onions. Once roasted, it provides a foundational sweetness that bridges the gap between the earthy carrots and the rich squash. It’s a subtle difference that makes the final result taste more “complete.”
Lastly, always use a low-sodium vegetable broth. Since we are concentrating the flavors through roasting, a full-sodium broth can quickly become overwhelming as the soup simmers. Using low-sodium gives you total control over the seasoning, allowing the sea salt and cracked black pepper to highlight the vegetables rather than mask them.
Selecting the Perfect Butternut Squash
When you’re at the market, don’t just grab the first squash you see. Look for one with matte skin; a shiny coat often indicates it was picked too early or has a wax coating. It should feel heavy for its size, which tells you it’s full of moisture and hasn’t started to dry out inside.
I prefer squash with a fat, thick “neck.” The neck is solid flesh, whereas the bulbous bottom contains the seeds and stringy bits. A thicker neck means more usable, high-quality squash for your puree. If you have the time, let your squash sit on the counter for a few days; this storage time actually helps starches convert into sugars.
The Role of Aromatics and Fats
We use olive oil for the roasting phase because it has a high enough smoke point to handle the 400°F oven while adding a fruity, peppery note. However, the heavy cream is reserved for the very end. This isn’t just for texture; it’s a flavor vehicle.
Many of the aromatic compounds in thyme and black pepper are fat-soluble. This means they “dissolve” into the fat molecules of the cream. When you take a spoonful, the cream coats your palate, carrying those herbal and spicy notes across your taste buds for a longer-lasting flavor experience.
The Dry Roast Technique for Maximum Flavor
The 400°F oven temperature is the “sweet spot” for this recipe. It’s hot enough to create those beautiful charred edges on the squash and carrots within 30 minutes, but it’s not so hot that it will scorch the garlic tucked in the center. This balance is vital for building a savory profile.
As the vegetables roast, you’ll see them shrink slightly and the colors will intensify. The onions will turn translucent and brown at the tips, and the carrots will become tender enough to crush with a fork. This physical transformation is the signal that the sugars have developed and the vegetables are ready for the blender.
Preparing the Vegetables for the Oven
Uniformity is your best friend when prepping. Try to cut the squash and carrots into 1-inch rounds or cubes. If the pieces are wildly different sizes, the small ones will burn before the large ones are soft. You want everything to reach that caramelized state at the exact same time.
Don’t forget the garlic hack! Keep the skins on the cloves and nestle them right in the middle of the sheet pan. If you peel them, they will turn into hard, bitter pebbles in a 400°F oven. Inside the skin, they steam into a soft, fragrant paste that you can easily squeeze out once they’ve cooled for a minute.
Achieving Deep Caramelization on the Sheet Pan
When you spread the vegetables out, make sure they aren’t piled on top of each other. Overcrowding the pan creates steam, and steam is the enemy of browning. If the pan is too crowded, the vegetables will just get mushy instead of developing those crispy, flavorful edges.
I always toss the vegetables halfway through the roasting time. This ensures that every side of the squash makes contact with the hot metal of the pan. You’re looking for a deep, golden-orange color with dark brown spots. That “burnt” look on the edges is actually where all the best flavor lives.
Step-by-Step: Constructing the Creamy Roasted Butternut Squash Soup
Once the vegetables are out of the oven, the transition to the blender is where the magic happens. This is a critical moment for controlling the final texture. If you dump all the liquid in at once, you risk making the soup too thin, and it’s much harder to thicken a soup than it is to thin it out.
Start by adding the roasted squash, carrots, and onions to the blender. Squeeze the roasted garlic cloves out of their skins directly into the mix. You’ll immediately smell that sweet, roasted aroma. It’s one of the best parts of the entire process!
Blending for a Professional Texture
A high-speed blender is the best tool for this job because its blades move fast enough to completely emulsify the vegetable fibers. If you use an immersion blender, you might still have a slightly grainy texture. For that true restaurant-grade silkiness, a stand blender is the way to go.
Add only 2 cups of the vegetable broth to start. Blend on high until the mixture looks like a thick, vibrant puree. By holding back that last cup of broth, you ensure the blades can properly break down every single piece of roasted vegetable into a smooth, uniform liquid.
The Final Simmer and Tempering the Cream
Pour that thick puree into a heavy-bottomed pot over medium-low heat. Now, stir in the remaining cup of broth and the heavy cream. This is also the moment to add the optional nutmeg. Nutmeg acts as an earthy “bridge,” connecting the sweetness of the squash with the savory notes of the thyme.
Simmer the soup gently for about 5 to 10 minutes. You want the flavors to “marry,” but be careful not to let it reach a rolling boil. High heat can cause the heavy cream to “break” or separate, which ruins that beautiful, glossy finish we worked so hard to achieve.
Troubleshooting Common Texture and Flavor Issues
If your soup feels too thick, don’t panic. Simply whisk in extra broth 1/4 cup at a time until it reaches your desired consistency. If the flavor feels a bit flat, it usually needs a tiny hit of acidity or salt. A teaspoon of apple cider vinegar or an extra pinch of sea salt can make the flavors pop.
Did you accidentally over-roast the garlic? If the garlic smells acrid or looks black, leave it out. It’s better to have a soup with less garlic flavor than one that tastes bitter. You can always whisk in a little garlic powder at the end if you need to compensate.
Flavor Variations and Dietary Swaps
This recipe is incredibly flexible. If you want a dairy-free version, swap the heavy cream for full-fat canned coconut milk. This will give the soup a slightly tropical, Thai-inspired undertone that pairs beautifully with the squash. You could even add a teaspoon of red curry paste to the roasting pan for a spicy kick.
For a bit more tartness, try roasting a peeled and cored Granny Smith apple along with the squash. The acidity of the apple cuts through the richness of the cream perfectly. Some people also enjoy adding a roasted red bell pepper to the mix for a smokier, sweeter profile.
Ideas to Try Next
If you enjoyed this creamy roasted butternut squash soup, consider these other comforting bowls.
- For another hearty soup with creamy elements, give this creamy sausage and white bean soup a try.
- If you appreciate roasted vegetables in your soup, you might also like this creamy roasted tomato soup for its deep, warming flavors.
What to Serve with Roasted Squash Soup
Since this soup is so creamy and smooth, you really want to serve it with something that offers a texture contrast. A thick slice of toasted sourdough bread is the classic choice for dipping. The tanginess of the bread balances the sweetness of the roasted vegetables.
If you want something lighter, a simple arugula salad with a lemon vinaigrette works wonders. The bitterness of the arugula and the sharp acidity of the lemon cut right through the heavy cream. For a crunchy topping, try toasted pumpkin seeds (pepitas) or even some homemade sourdough croutons.
Make Ahead, Storage, and Freezing Instructions
This is one of those rare dishes that actually tastes better the next day. As the soup sits in the fridge, the spices and aromatics continue to infuse into the liquid. It will stay fresh in an airtight container for up to 4 days, making it a perfect meal-prep option.
If you plan to freeze it, I recommend doing so before adding the heavy cream swirl on top. Leave about an inch of headspace in your jars or containers, as the liquid will expand when it freezes. To reheat, let it thaw in the fridge overnight and then warm it slowly on the stovetop, whisking constantly to bring the emulsion back together.
Expert Tips for Restaurant-Style Presentation
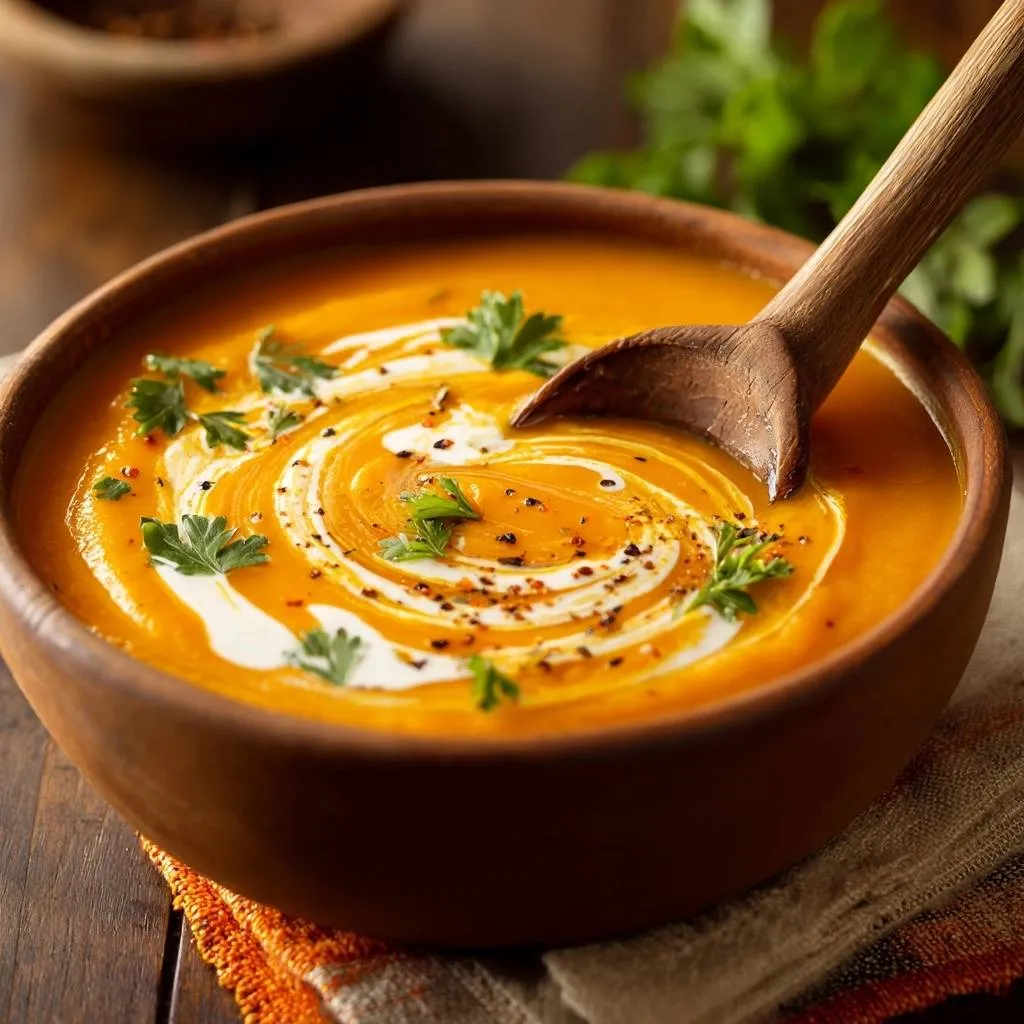
To get that beautiful “Spoon Swirl” you see in food magazines, wait until the soup is in the bowl. Take a small spoon, dip it in heavy cream, and draw a circle on the surface. Then, take a toothpick or the tip of a knife and drag it through the circle to create a marbled effect.
Always use fresh flat-leaf parsley for the garnish. Curly parsley tends to be tough and flavorless, whereas flat-leaf parsley adds a bright, grassy note that refreshes the palate. A final pinch of red pepper flakes adds a pop of color and a tiny hint of heat that keeps the dish exciting.
Temperature Control for Serving
There’s nothing worse than pouring hot soup into a cold bowl. If you want to be extra fancy, run your bowls under hot water or put them in a low oven for a few minutes before serving. This ensures the soup stays at the perfect temperature from the first spoonful to the last.
Adjusting Seasoning at the Table
I always keep a pepper mill on the table when serving this soup. A final crack of fresh black pepper right before eating releases essential oils that hit your nose before the soup hits your tongue. It enhances the olfactory experience and makes the whole meal feel more luxurious.
How do I keep my butternut squash soup from being watery?
The best way to avoid watery soup is to roast your vegetables instead of boiling them. Roasting evaporates the internal water and concentrates the flavor. Additionally, always start by blending the vegetables with only a portion of the broth, then add more slowly until you reach your perfect thickness.
Can I make this soup in a slow cooker?
You can, but you will lose the deep caramelization that makes this recipe special. If you must use a slow cooker, I still highly recommend roasting the squash and onions in the oven first for 20 minutes before adding them to the crockpot with the broth. This ensures you don’t end up with a bland, steamed flavor.
What is the best substitute for heavy cream?
For a dairy-free option, full-fat canned coconut milk is the best substitute because it offers a similar fat content and creamy mouthfeel. If you want to stay dairy-based but want something lighter, you can use half-and-half, though the soup won’t be quite as thick and rich.
Why does my soup taste bitter?
Bitterness usually comes from two things: burnt garlic or over-seasoning with certain dried herbs. If you roast the garlic without the skins, it can burn quickly. To fix a slightly bitter soup, try adding a teaspoon of honey or maple syrup; the sweetness can help balance out the bitter notes.
How do I peel a butternut squash easily?
Butternut squash skin is tough! The easiest way to peel it is to slice off the top and bottom first so you have a stable base. Use a sharp Y-peeler rather than a swivel peeler. If the skin is still too hard, you can microwave the whole squash for 2 minutes to soften the peel before you start.
Can I freeze butternut squash soup with cream in it?
Yes, you can freeze it with the cream already mixed in, but the texture might change slightly upon thawing. When you reheat it, the soup may look separated. To fix this, simply give it a quick whirl in the blender or whisk it vigorously over medium heat to re-emulsify the fats.

Butternut Squash Soup
Course: SoupCuisine: AmericanDifficulty: medium4
servings15
minutes45
minutes240
kcal60
MinutesThis recipe elevates homemade squash soup by roasting vegetables until caramelized before blending. This technique locks in natural sugars and creates a concentrated, savory base finished with heavy cream and warm spices.
Ingredients
1 large butternut squash (about 3 lbs), peeled and cubed
2 large carrots, chopped into 1-inch rounds
1 yellow onion, quartered
4 cloves garlic, skin on
3 cups low-sodium vegetable broth
1/2 cup heavy cream (plus extra for swirling)
2 tablespoons olive oil
1 teaspoon sea salt
1/2 teaspoon cracked black pepper
1/2 teaspoon dried thyme
1/4 teaspoon ground nutmeg (optional, for depth)
Fresh flat-leaf parsley, for garnish
Red pepper flakes and extra cracked black pepper, for garnish
Directions
- Preheat your oven to 400°F (200°C). This high heat is essential for the dry roast technique that prevents a watery finish.
- Place the cubed squash, carrots, and onion on a large sheet pan. Tuck the unpeeled garlic cloves in the center. Drizzle with olive oil and sprinkle with salt, pepper, and thyme. Toss to coat thoroughly and spread in a single layer.
- Roast for 30 to 35 minutes, tossing halfway through, until the edges of the squash are deeply browned and caramelized. This caramelization is the key to solving the bland flavor issue common in boiled soups.
- Squeeze the softened roasted garlic out of its skin and add it to a high-speed blender along with the roasted squash, carrots, and onion.
- Add only 2 cups of the vegetable broth to start. Blend on high until completely smooth and velvety. By controlling the broth amount at this stage, you guarantee a thick consistency rather than a thin juice.
- Pour the puree into a heavy-bottomed pot over medium-low heat. Stir in the remaining 1 cup of broth and the heavy cream. If using, add the nutmeg now.
- Simmer gently for 5-10 minutes to marry the flavors. Do not let it reach a rolling boil, as this can break the cream.
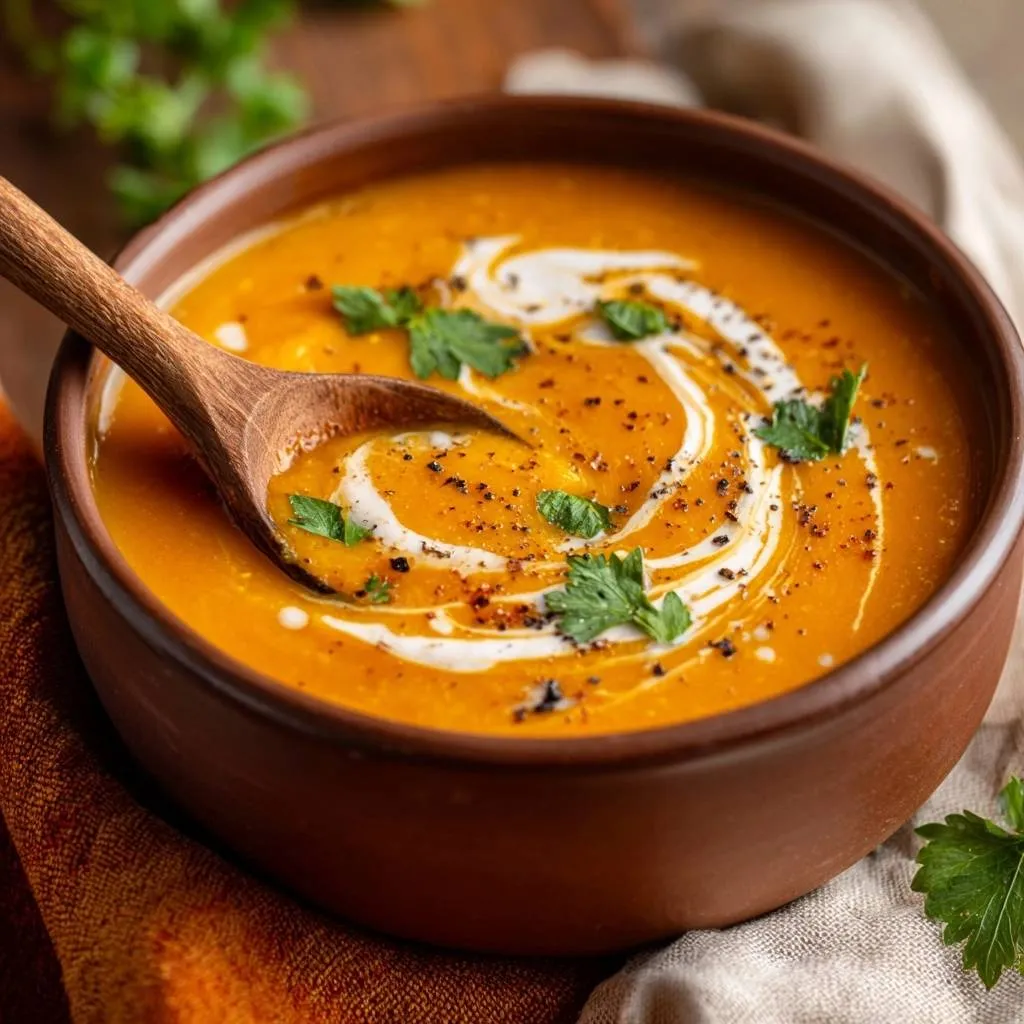
- Ladle the soup into warm bowls. To match the visual presentation, use a spoon to swirl a tablespoon of heavy cream in a circular motion over the surface. Top with fresh parsley leaves, a pinch of red pepper flakes, and extra cracked black pepper.
Notes
- The secret to the thick texture is starting with only 2 cups of broth in the blender. Do not boil the soup after adding the cream to prevent it from breaking.