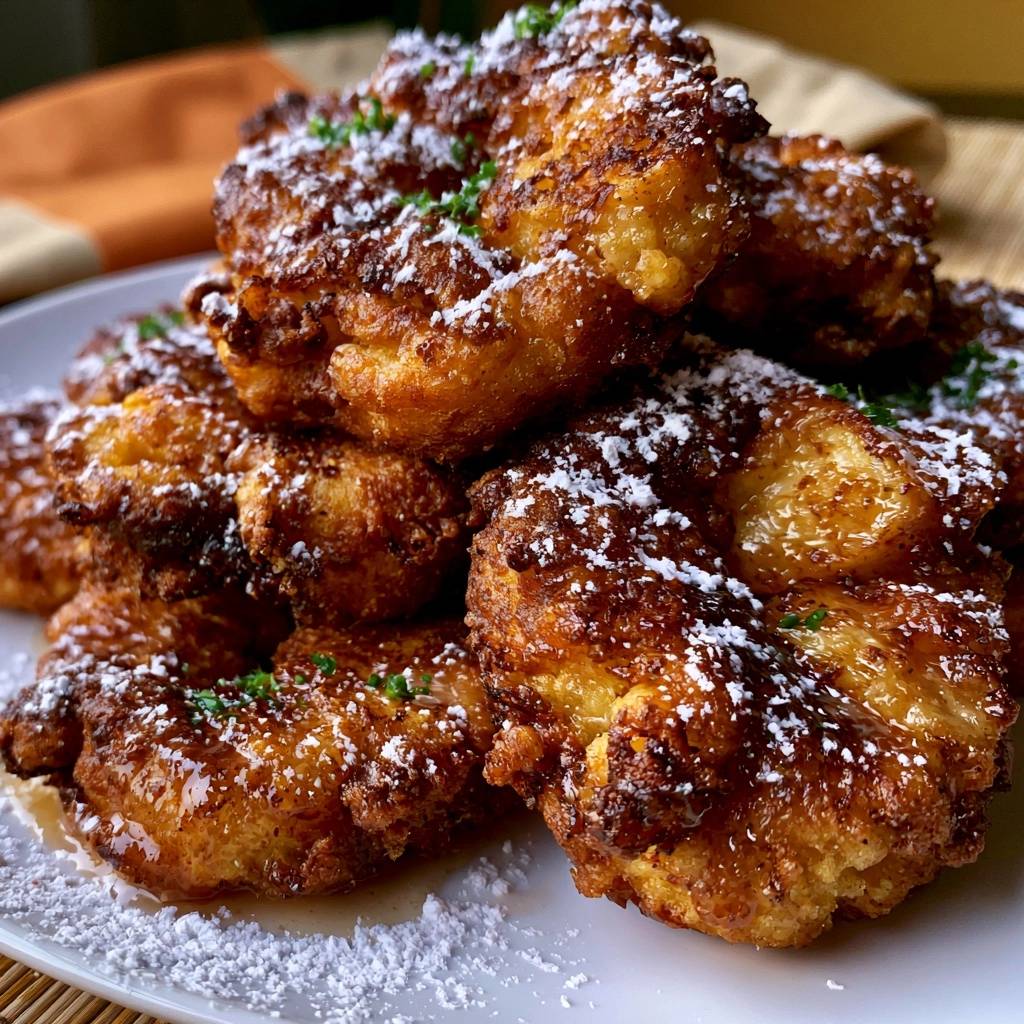
Imagine biting into a fritter that greets you with a loud, audible crunch before giving way to a cloud-like, sweet interior bursting with juicy corn. It’s the ultimate brunch goal, yet so many of us have been disappointed by fritters that look beautiful on the outside but hide a gummy, raw center. There’s nothing quite as frustrating as a greasy base that turns into a limp mess before it even hits your plate.
The secret to avoiding that dreaded “mushy middle” isn’t just about how long you fry them; it’s about managing moisture and structural integrity. Most recipes fail because they treat the batter like a pancake mix, but a truly great fritter requires a specific moisture-wicking technique. By controlling the water content of your corn and using a high-heat shallow fry, you can achieve a result that stays shatteringly crisp from the first bite to the last.
I’ve found that the real magic happens when you focus on the corn’s surface. If your kernels are even slightly damp, they’ll steam inside the batter, creating a pocket of moisture that prevents the flour from setting properly. The trick is to squeeze the corn until it’s tacky to the touch, ensuring the batter clings to the kernels rather than sliding off in a watery slick.
The Science of Achieving Shatteringly Crispy Texture
Frying is essentially a race between moisture evaporation and oil absorption. When you drop batter into hot oil, the water inside the ingredients rapidly turns into steam. If that steam can escape through a porous, craggy surface, the exterior hardens into a crisp shell. However, if the batter is too dense or the corn is too wet, that steam gets trapped, leading to a soggy, bread-like interior.
The “Anti-Soggy Bottom Secret” relies on maximizing the surface area of each fritter. Instead of smooth, round patties, you want irregular, craggy edges. These little ridges and valleys provide more space for the oil to work its magic, creating a structural skeleton that supports the weight of the corn without collapsing into a greasy heap.
Why Cornmeal is Non-Negotiable for Crunch
While all-purpose flour provides the necessary soft crumb, it lacks the grit needed for a long-lasting crunch. Flour is high in starch but softens quickly as it absorbs ambient moisture from the air or the corn itself. By introducing yellow cornmeal, you’re adding a “structural skeleton” to the batter that doesn’t break down as easily under heat.
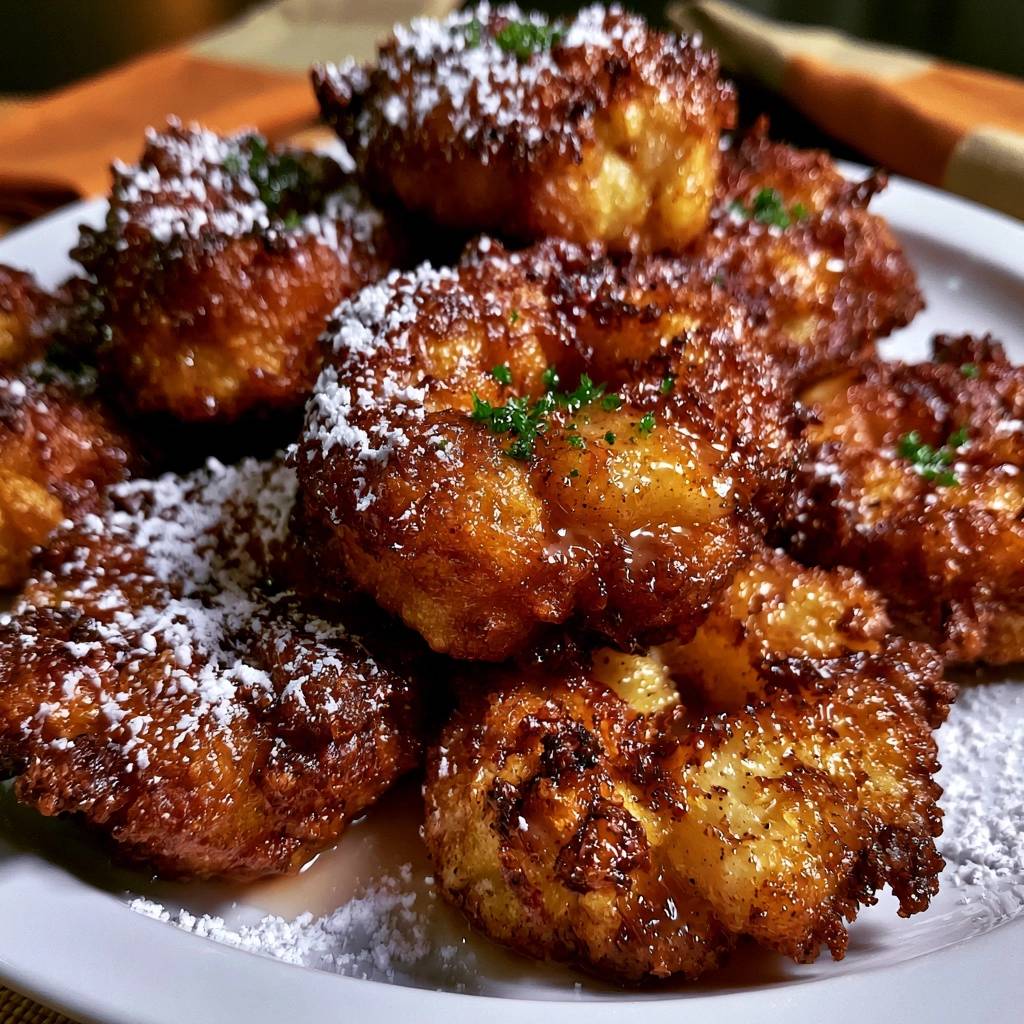
Cornmeal doesn’t hydrate as quickly as flour, which means it stays granular and firm even after being mixed with eggs and cream. This creates a dual-texture experience: the flour keeps things tender, while the cornmeal ensures the exterior remains crisp long after the fritters leave the skillet. Plus, it lends that beautiful, deep golden hue that makes these look like they came from a professional kitchen.
The Role of Leavening in Airy Fritters
Baking powder is your best friend when it comes to preventing a dense, leaden fritter. When the baking powder hits the heat of the oil, it reacts with the eggs and heavy cream to release carbon dioxide bubbles. These bubbles expand rapidly, lifting the batter and creating those essential “craggy” edges.
Without this lift, the batter would sit heavy around the corn, making it difficult for the heat to penetrate the center. The aeration ensures that the fritter is light and airy, allowing the hot oil to crisp up the nooks and crannies. It’s the difference between a heavy dough ball and a light, crispy morsel that feels effortless to eat.
Essential Components for Crispy Golden Corn Fritters
Quality ingredients are the foundation of this dish, and how you handle them matters just as much as the measurements. Fresh corn is always the gold standard because of its natural snap and sweetness. However, if you’re using frozen corn, you can still achieve greatness by treating it with a little extra care to remove the ice crystals that lead to sogginess.
Large eggs act as the primary binder, holding the corn and flour together while providing the protein structure needed for browning. I always recommend using heavy cream instead of milk. The higher fat content in the cream creates a richer, more tender crumb that contrasts beautifully with the fried exterior. It also helps the batter stay thick and tacky rather than runny.
Selecting and Preparing Your Corn Kernels
This is the most critical step in the entire process. Moisture is the absolute enemy of the Maillard reaction—the chemical process that creates that savory, browned crust. If your corn kernels are slick with water or juice, they will never properly bond with the batter, and your fritters will likely fall apart in the pan.
Use the “Squeeze Method” for the best results. Place your kernels between several layers of heavy-duty paper towels and press down firmly with your palms. You want to see the towels soak up that excess liquid. Keep doing this until the kernels feel tacky and almost sticky to the touch. This ensures that the flour-cornmeal mixture coats every single kernel, creating a unified fritter that fries evenly.
Choosing the Right Frying Oil
Not all oils are created equal when it comes to shallow frying. You need an oil with a high smoke point, like canola or peanut oil. These oils can handle the 360°F temperature required for a quick crisp without breaking down or imparting a burnt flavor. Avoid butter or extra virgin olive oil here; they have low smoke points and will burn before the center of the fritter is cooked.
Clean oil is also vital for that specific golden-yellow color. If you’re cooking in batches, make sure to use a slotted spoon to fish out any stray bits of batter that might be floating around. If left in the pan, those bits will burn and turn your oil dark, which can make your second and third batches of fritters look dirty and taste bitter.
Step-by-Step: Engineering the Perfect Fritter
Creating the perfect fritter is a game of precision. You aren’t just mixing ingredients; you’re building a texture. Start by whisking your dry ingredients thoroughly to ensure the baking powder is evenly distributed. This prevents “hot spots” where one fritter rises too much while another stays flat.
When you add the wet ingredients, use a light hand. You want to stir until the flour just disappears. If you over-mix, you’ll develop the gluten in the flour, which results in a tough, bready texture rather than a delicate, crispy one. The batter should look thick and clumpy, almost like a very wet cookie dough, rather than a smooth pancake batter.
Phase 1: Creating the High-Density Batter
The visual cues here are everything. When you lift a spoonful of the batter, it should hold its shape and drop off the spoon in one heavy clump. If it runs or drips, it’s too thin, and you’ll need to add a tablespoon more of flour. A thick batter is essential because it keeps the corn suspended, ensuring every bite has an equal ratio of crunch to corn.
Remember that the chives add a hit of freshness, but they also add a tiny bit of moisture. Fold them in at the very last second along with the dried corn. This keeps the herbs vibrant and prevents them from bleeding their green color into the golden batter, keeping the final look clean and professional.
Phase 2: Precision Temperature Control and Frying
The magic number for frying these fritters is 360°F. If the oil is too cold, the batter will act like a sponge and soak up the oil, leaving you with a greasy mess. If it’s too hot, the outside will turn dark brown before the eggs in the center have a chance to set, leaving you with that dreaded raw middle.
Use the “2-inch rule” when dropping your batter into the skillet. Crowding the pan is the fastest way to drop the oil temperature. When you add cold batter to hot oil, the temperature naturally dips. By giving each fritter plenty of space, you allow the oil to recover its heat quickly, ensuring the bottom of the fritter starts crisping the moment it touches the pan.
Phase 3: The Flip and Flatten Technique
Once you’ve fried the first side for about two minutes, it’s time to flip. Use a wide spatula to turn them over gently. Now, here is the pro move: give the fritter a very light press with the back of your spatula. You aren’t trying to smash it into a pancake, but a gentle press flattens the center just enough to ensure the heat reaches the core.
This technique guarantees that the middle is fully cooked while the edges remain craggy and irregular. Those irregular edges are the best part—they catch the powdered sugar and syrup later on, creating little pockets of flavor. Watch for a deep, dark golden brown color; that’s the sign that the cornmeal has fully toasted and the crunch is locked in.
Troubleshooting Common Fritter Failures
If your fritters are falling apart the moment they hit the oil, your batter is likely too thin or your corn was too wet. You can fix this by adding a small amount of flour to the remaining batter. On the flip side, if they are dark on the outside but doughy inside, your oil is too hot. Turn the heat down slightly and wait a minute before starting the next batch.
Another common issue is the “leaking” fritter, where the corn seems to pop out of the batter. This usually happens when the oil temperature is too low, preventing the batter from “seizing” around the corn instantly. Always test the oil with a tiny drop of batter first; it should sizzle and float to the top immediately.
Managing Heat Fluctuations Between Batches
The second batch is often where home cooks run into trouble. After the first round of frying, the oil is full of residual heat and tiny crumbs. Take a moment to skim the oil with a fine-mesh strainer to remove any burnt bits. These bits will stick to your next batch and create a bitter flavor if left behind.
Always give the oil about 60 seconds to come back up to temperature before adding more batter. If you have an infrared thermometer, use it! If not, wait until the oil looks shimmering and active again. Consistency is the key to making sure the last fritter tastes just as good as the first one.
Optimal Cooling: The Wire Rack Mandate
Most people instinctively reach for paper towels to drain fried foods, but that is a mistake for fritters. When you place a hot, steaming fritter on a flat paper towel, the steam has nowhere to go. It gets trapped between the towel and the fritter, effectively steaming the bottom and turning it soft within seconds.
Instead, use a wire cooling rack set over a baking sheet. This allows air to circulate 360 degrees around the fritter. The steam can escape from all sides, which preserves that hard-earned crunch. It’s a small step that makes a massive difference in the final texture, especially if you aren’t serving them the very second they come out of the pan.
Sweet and Savory Serving Suggestions
The beauty of these corn fritters lies in the contrast. The batter itself is savory with a hint of salt and chives, but the dusting of powdered sugar and the drizzle of syrup bring out the natural sugars in the corn. It’s a classic flavor profile that hits every part of your palate. I love adding a final sprinkle of fresh chives at the end for a pop of color and a mild onion bite.
If you want to experiment, try adding a tiny pinch of cayenne pepper to the powdered sugar. The “sweet-heat” combination is incredible against the richness of the fried batter. You could also serve these with a side of honey-sweetened Greek yogurt for a bit of tang that cuts through the fried goodness.
Pairing Your Fritters with Brunch Staples
Since these fritters are quite rich, you’ll want a drink that offers some acidity or brightness. A sparkling apple cider is a fantastic choice, as the carbonation cleanses the palate between bites. If you prefer something with a bit more kick, a sharp ginger beer provides a spicy contrast to the sweet corn.
For coffee lovers, a robust dark roast is the way to go. The bitterness of the coffee balances the sweetness of the syrup and powdered sugar perfectly. Whatever you choose, make sure it’s something that can stand up to the bold flavors of the fritters without being overshadowed.
Storage and Reheating for Maximum Retention of Crunch
If you happen to have leftovers, whatever you do, stay away from the microwave. Microwaves work by heating water molecules, which will turn your crispy fritters into rubbery discs. To revive that crunch, the oven or an air fryer is your only option.
Place the fritters in a 400°F oven or air fryer for about 3 to 5 minutes. This high heat re-activates the oils on the surface, “re-frying” the exterior while warming the center. They will come out almost as crispy as they were when they first left the skillet. Store them in an airtight container in the fridge for up to three days, but wait until they are completely cool before sealing the lid.
Expert Tips for Customizing Your Batter
Once you’ve mastered the base recipe, you can start getting creative with add-ins. Finely diced jalapeños add a wonderful kick, or a teaspoon of smoked paprika can give the fritters a deep, earthy undertone. The golden rule for any customization is to keep the ingredients dry. If you add peppers or onions, sauté them briefly and pat them dry first.
You can also play with the herbs. While chives are classic, fresh cilantro or even a bit of thyme can change the vibe of the dish entirely. Just remember to keep the ratios the same so you don’t throw off the balance of the batter. The integrity of the “Anti-Soggy” method depends on that thick, tacky consistency.
Scaling the Recipe for Large Groups
If you’re hosting a big brunch, you can easily double or triple this recipe. The batter holds up well for about 30 minutes, but after that, the baking powder will start to lose its potency. To keep things moving, have two skillets going at once if you have the stove space.
Keep the finished fritters warm by placing the wire rack and baking sheet in a 200°F oven. This temperature is low enough that it won’t continue to cook the fritters, but it will keep them hot and crispy while you finish the rest of the batches. This way, everyone gets to eat at the same time, and the fritters stay perfect.
Frequently Asked Questions
Can I use canned corn for this recipe?
Yes, you can use canned corn, but you must be extremely diligent about drying it. Canned corn sits in brine, which makes the kernels much wetter than fresh or frozen versions. Rinse the corn thoroughly in a colander, then use the paper towel squeeze method at least twice to ensure they are as dry as possible before adding them to the batter.
Why did my fritters turn out oily and greasy?
Greasy fritters are almost always a result of low oil temperature. If the oil isn’t hot enough (360°F), the batter won’t form a crust immediately, allowing the oil to seep into the center. Always use a thermometer if possible, and avoid adding too many fritters to the pan at once, which causes the temperature to plummet.
Can I make the fritter batter ahead of time?
It is not recommended to make the batter more than 20-30 minutes in advance. The baking powder begins to react the moment it touches the wet ingredients. If the batter sits too long, the bubbles will deflate, and your fritters will turn out flat and dense rather than airy and craggy. For the best results, fry them immediately after mixing.
Is there a gluten-free substitute for the flour?
You can substitute the all-purpose flour with a high-quality 1:1 gluten-free flour blend. Because gluten-free flours can sometimes be less structural, I recommend adding an extra tablespoon of cornmeal to the mix. This helps ensure the fritters maintain their crunch and don’t become too soft during the frying process.
How do I measure the oil temperature without a thermometer?
You can use the “wooden spoon trick.” Dip the handle of a wooden spoon into the oil. If the oil starts bubbling steadily around the wood, it’s ready for frying. If it bubbles violently, it’s too hot; if there are only a few lazy bubbles, it needs more time. You can also drop a small cube of bread into the oil; it should turn golden brown in about 60 seconds at 360°F.
Crispy Golden Corn Fritters
Course: Appetizer and BrunchCuisine: AmericanDifficulty: easy4
servings10
minutes15
minutes25
Minutes310
kcalAmerican
Ingredients
2 cups fresh or frozen corn kernels (thawed and patted dry)
3/4 cup all-purpose flour
1/4 cup yellow cornmeal
1 teaspoon baking powder
1/2 teaspoon salt
1/4 teaspoon black pepper
2 large eggs, beaten
3 tablespoons heavy cream
1 tablespoon chopped fresh chives
Vegetable oil for frying (canola or peanut oil preferred)
1/4 cup powdered sugar for dusting
2 tablespoons honey or maple syrup for drizzling
Directions
- The secret to avoiding sogginess starts with the corn. Place your corn kernels between two paper towels and squeeze firmly to remove every drop of excess moisture. If the corn is wet, the fritter will steam from the inside and become gummy.
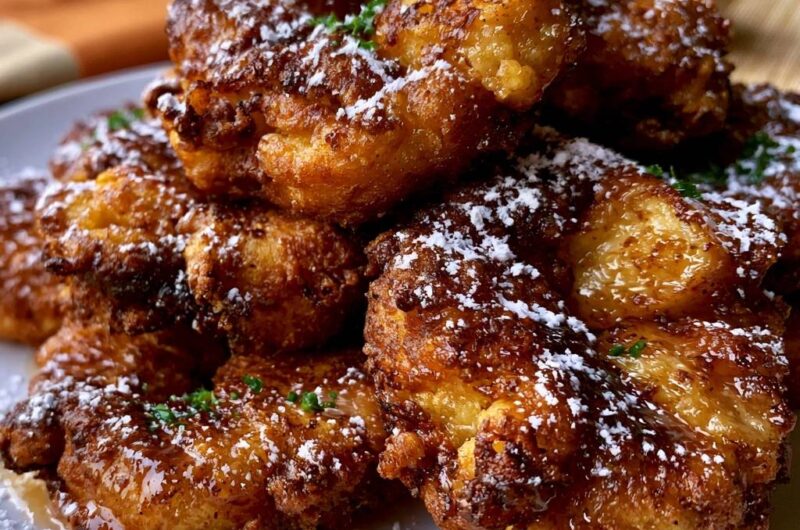
- In a large bowl, whisk together the flour, cornmeal, baking powder, salt, and pepper. The addition of cornmeal is vital as it provides a structural crunch and the deep golden color seen in the image.
- Stir in the beaten eggs, heavy cream, and chives until just combined. Fold in the dried corn kernels. The batter should be thick and tacky, holding its shape on a spoon.
- Heat 1/2 inch of oil in a heavy skillet over medium-high heat until it reaches 360°F. To prevent the soggy bottom, do not crowd the pan. Drop large, rounded spoonfuls of batter into the oil, leaving at least 2 inches between them.
- Fry for 2 to 3 minutes per side until they reach a deep, dark golden brown. Once flipped, press down very gently with a spatula to ensure the center flattens slightly for even heat distribution, but do not flatten them into pancakes; keep the craggy, irregular edges for maximum crunch.
- Drain the fritters on a wire cooling rack rather than paper towels. Air circulation around the entire fritter prevents steam from being trapped underneath, which is the primary cause of a soft base.
- While piping hot, dust generously with powdered sugar and a heavy drizzle of syrup. Garnish with a final sprinkle of fresh chives and serve immediately.
Notes
- The addition of cornmeal provides structural crunch and color. Always use a wire rack instead of paper towels for draining to maintain maximum crispness.