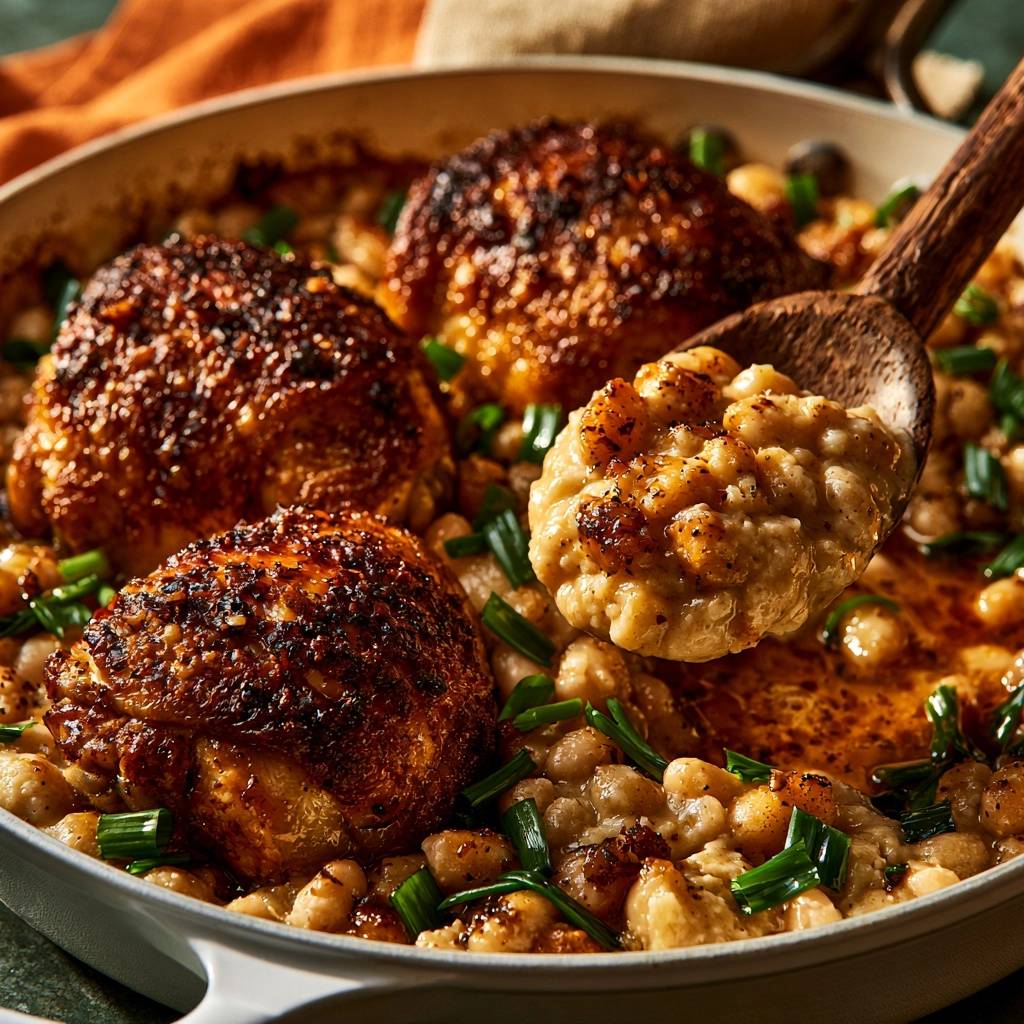
Most one-pan chicken recipes promise a crispy result but deliver a soggy, rubbery disappointment. When you nestle seared meat into a bubbling sauce, the steam trapped underneath the skin destroys that hard-earned crunch in minutes. This recipe for Crispy Skillet Chicken and Creamy White Beans changes the game by using a specific layering technique that keeps the skin high and dry.
You’ll experience a dramatic textural contrast between the shatter-crisp chicken skin and the velvet-like consistency of the beans below. By elevating the protein on a bed of legumes, we allow the oven’s dry heat to circulate around the skin while the meat braises in a savory cream sauce. It’s a sophisticated approach to comfort food that prioritizes physics as much as flavor.
The secret to this success lies in the initial cold-pan rendering and the “one-third mash” rule for the beans. I’ve found that mashing a portion of the cannellini beans creates a natural starch slurry that thickens the sauce without making it heavy. This ensures your chicken sits on a sturdy foundation rather than sinking into a watery broth.
The Physics of Achieving Shatteringly Crispy Skin
Achieving a mahogany crust on chicken isn’t about high heat alone; it’s about the science of rendering subcutaneous fat. Chicken skin contains a significant layer of fat that must be liquefied and cooked off to allow the skin to dehydrate. If you cook too fast, the skin burns before the fat melts, leaving you with a greasy, chewy texture.
Moisture is the ultimate enemy of the Maillard reaction, which is the chemical process that creates those deep, savory flavors and brown colors. By patting the chicken extremely dry and using a long, slow sear, we remove the water that would otherwise cause the meat to steam. This process transforms the skin into a thin, crisp shell that acts as a protective barrier for the juicy meat inside.
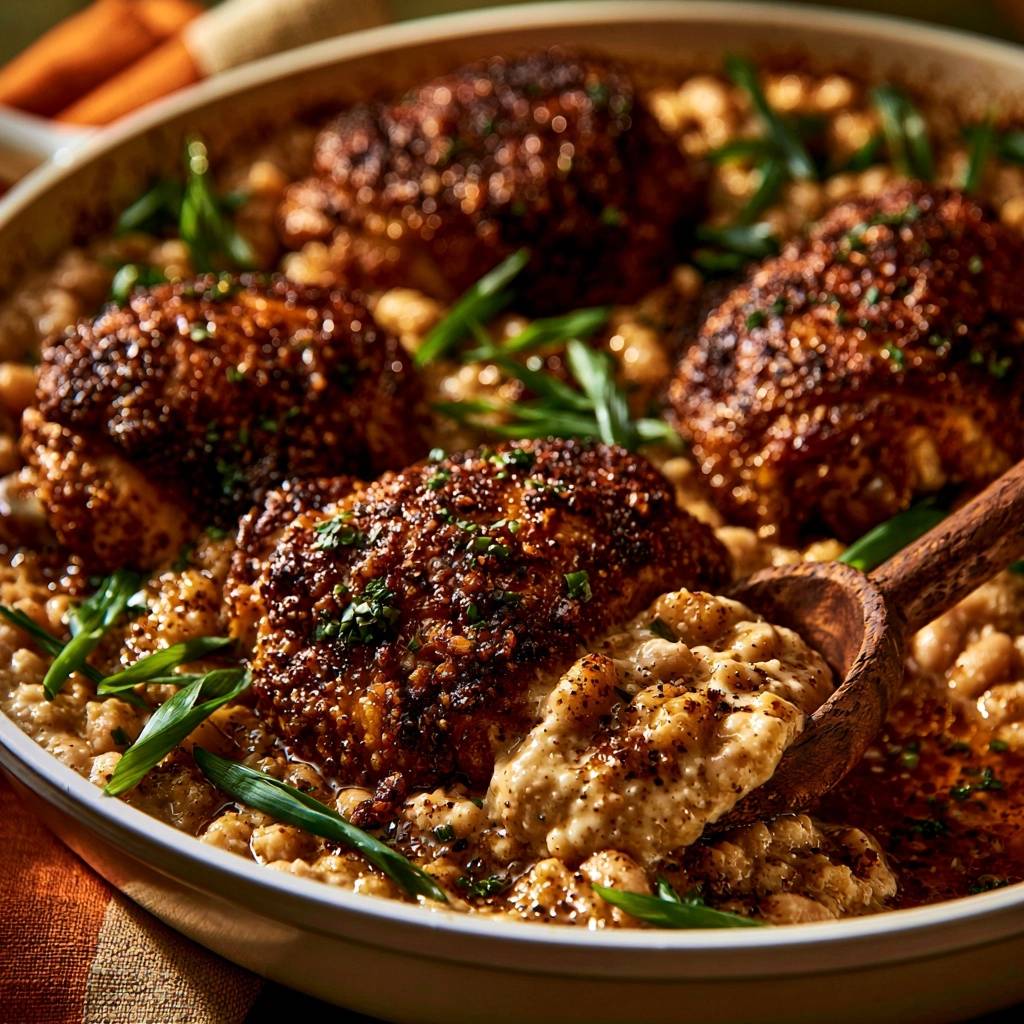
Bone-in, skin-on thighs are the perfect vessel for this technique because they provide ample collagen and fat. As the chicken roasts in the oven, the fat continues to render, essentially self-basting the meat from the top down. This keeps the interior incredibly tender while the exterior remains loud and crunchy with every bite.
Why Bone-In Thighs Outperform Chicken Breasts
Bone-in thighs possess a much higher thermal mass than lean chicken breasts, which means they can withstand the intense heat of a two-stage cooking process. The bone acts as a heat conductor, ensuring the center of the meat cooks evenly without the edges becoming dry or stringy. Furthermore, the dark meat is rich in connective tissue that breaks down into gelatin, providing a succulent mouthfeel that breasts simply cannot match.
Essential Components for the Creamy Bean Base
The foundation of this dish relies on cannellini beans, often called white kidney beans, because of their thin skins and exceptionally creamy interiors. Unlike chickpeas, which maintain a firm bite, cannellini beans soften beautifully, absorbing the chicken broth and heavy cream until they reach a porridge-like consistency. They act as a sponge for the rendered chicken fat and aromatics.
We build the flavor profile using shallots and garlic, which offer a more refined sweetness than standard yellow onions. Shallots melt into the sauce almost completely, providing a back-note of savory depth that doesn’t compete with the chicken. Using fresh garlic is non-negotiable here, as the pre-minced jarred versions often carry a metallic tang that can ruin the delicate cream sauce.
Quality chicken broth is the final pillar of the base. Since we reduce the liquid in the oven, the flavors will concentrate significantly. Therefore, I recommend using a low-sodium broth so you can control the final seasoning yourself. The heavy cream adds just enough luxury to tie the legumes and aromatics together into a cohesive, rich gravy.
Selecting the Right Skillet: Cast Iron vs. Stainless Steel
A heavy-bottomed skillet is essential for this recipe because it retains heat consistently when the cold meat hits the surface. Cast iron is the gold standard here; its massive heat retention ensures the chicken fat renders steadily without the pan temperature dropping. Enameled cast iron is also a fantastic choice as it makes it easier to see the color of the “fond” or browned bits developing on the bottom.
Fresh Aromatics and Dry Spice Ratios
The spice blend of smoked paprika, oregano, and onion powder creates a warm, earthy profile that complements the richness of the beans. I prefer onion powder over fresh onions during the searing phase because fresh onions release moisture and can burn at the high temperatures needed for the chicken. The smoked paprika adds a subtle wood-fired aroma that makes the dish taste like it spent hours in a professional rotisserie.
Step-by-Step: Searing for Maximum Color and Texture
The first 15 minutes of this recipe are the most critical for success. After seasoning your dry chicken, place it skin-side down in the hot oil and then—this is the hard part—don’t touch it. You might be tempted to peek or move the thighs around, but every time you lift the meat, you interrupt the rendering process and lose heat contact.
Watch for the visual cues along the edges of the chicken. You’ll see the fat bubbling and the skin slowly turning from pale yellow to a deep, dark gold. If the pan starts to smoke excessively, turn the heat down slightly, but don’t move the meat until it releases naturally from the pan. If it sticks, it’s not done rendering yet.
Once you flip the chicken, you’ll only need about two minutes on the flesh side. The goal isn’t to cook the chicken through at this stage; it’s simply to sear the bottom and prepare the pan for the aromatics. When you remove the chicken, you should see a beautiful mahogany crust that looks almost like a stained-wood finish.
Deglazing the Pan and Capturing the Fond
After removing the chicken, you’ll see dark brown bits stuck to the bottom of the skillet. This is the “fond,” and it is packed with concentrated chicken flavor. When you pour in the chicken broth, use a wooden spoon to scrape these bits up. They will dissolve into the liquid, turning the broth a deep amber color and providing a natural savory base for your beans.
The Mashing Technique for Porridge-Like Consistency
To get that thick, luxurious texture you see in high-end bistros, you need to manipulate the beans. Once the beans and cream are in the pan, take the back of your spoon and firmly mash about one-third of the beans against the side or bottom of the skillet. This releases the internal starches, which immediately begin to thicken the surrounding liquid.
This technique creates a rustic, hearty texture that is far more interesting than a smooth puree. You get the contrast of whole, buttery beans mixed with a thick, savory bean “gravy.” This thick base is also functional; it creates a sturdy “bed” for the chicken thighs to sit on, preventing them from sinking into the sauce during the final bake.
Managing Liquid Levels to Protect the Crust
This is the “Anti-Soggy Secret” that most recipes miss. When you return the chicken to the skillet, do not submerge it. The liquid should only come up about halfway through the beans, and the chicken should sit entirely on top of the bean mixture. If the cream sauce touches the crispy skin, it will turn to mush in the oven. Keep that skin high and dry!
Oven Finishing: The Final Dehydration Phase
The 400°F oven serves two purposes: it finishes cooking the chicken to a safe 165°F and it acts as a final dehydration chamber for the skin. While the stovetop provides conductive heat from the bottom, the oven provides ambient dry heat from all sides. This ensures any remaining moisture in the skin evaporates, leaving it incredibly light and crisp.
During these 15 to 20 minutes, the sauce will also reduce and thicken further. You’ll know it’s ready when the sauce is bubbling vigorously around the edges and the chicken skin looks tight and crackly. The aroma of toasted spices and garlic will fill your kitchen, signaling that the flavors have fully melded.
Troubleshooting Common Skillet Chicken Pitfalls
If your chicken skin sticks to the pan during the initial sear, it usually means the fat hasn’t finished rendering or your pan wasn’t hot enough to start. Be patient and wait for the meat to release on its own. If the skin is browning too fast but the fat isn’t melting, your heat is too high; drop it to medium and let the process slow down.
If your sauce looks too thin after the oven phase, you can remove the chicken and simmer the beans on the stovetop for another 2-3 minutes to reduce the liquid. Conversely, if the sauce is too thick or “gloopy,” stir in a tablespoon of broth or water to loosen it up. If you accidentally burn the garlic in step 4, wipe the pan out and start the aromatics over; burnt garlic will make the entire dish bitter.
Flavor Variations and Ingredient Substitutions
While cannellini beans are traditional, you can easily swap them for Great Northern beans or even chickpeas for a firmer texture. If you want to add some greens, stir in a handful of chopped kale or baby spinach during the last 5 minutes of baking. The residual heat will wilt the greens perfectly without overcooking them.
To brighten the dish, try adding a squeeze of fresh lemon juice or a teaspoon of lemon zest right before serving. The acidity cuts through the richness of the heavy cream and chicken fat, making the flavors pop. You could also swap the chives for fresh parsley or tarragon if you prefer a more herbal, grassy finish.
Optimal Side Dishes for Rich Poultry and Legumes
Because this dish is quite rich and savory, it pairs best with sides that offer acidity or a bit of crunch. A simple shaved fennel salad with a lemon vinaigrette provides a refreshing palate cleanser between bites of creamy beans. Alternatively, garlicky broccolini or roasted asparagus adds a nice bitter edge that balances the fat.
Don’t forget a loaf of crusty sourdough or a warm baguette. While the beans are hearty on their own, you’ll want something to mop up every last drop of that garlic-cream sauce. A crisp, cold sparkling apple cider or a sharp ginger beer also makes a fantastic beverage pairing to cut through the decadence of the meal.
Expert Tips for Storage and Reheating
If you have leftovers, store them in an airtight container in the fridge for up to three days. However, be warned that the microwave is the enemy of crispy skin; it will turn your beautiful chicken crust into a rubbery mess. The beans, however, actually improve in flavor the next day as they continue to absorb the spices and aromatics.
To reheat, place the chicken and beans in a toaster oven or a standard oven at 350°F until warmed through. For the best results, put the chicken in an air fryer for 3-4 minutes at 375°F to revive that signature crunch while heating the beans separately on the stove. I do not recommend freezing this dish, as the cream sauce can break and the beans may become grainy upon thawing.
Technical FAQ for Skillet Success
Can I use dried beans instead of canned?
Yes, but you must fully cook them first. Soak the dried beans overnight and simmer them in salted water until tender before using them in this recipe. Canned beans are used here for convenience and because their liquid contains starches that help thicken the sauce, so if using dried, you may need to add a splash more broth.
Why did my cream sauce curdle?
Cream usually curdles due to extreme heat or high acidity. Ensure you aren’t boiling the sauce violently once the cream is added; a gentle simmer is all you need. Also, if you choose to add lemon juice, always do it at the very end after the pan is off the heat to prevent the acid from breaking the dairy.
Can I use chicken drumsticks instead of thighs?
You certainly can! Drumsticks work well with this method, though they may cook slightly faster than large thighs. Use a meat thermometer to check for an internal temperature of 165°F. Avoid using chicken breasts, as they lack the fat necessary for the long rendering process and will likely dry out.
How do I know the chicken is done without a thermometer?
While a thermometer is the most reliable method, you can check by piercing the thickest part of the thigh with a knife. The juices should run completely clear, not pink. Additionally, the meat should feel firm to the touch and begin to slightly pull away from the bone at the joints.
What if I don’t have an oven-safe skillet?
If your skillet has a plastic handle or isn’t rated for high heat, you can perform the searing and sauce-making steps on the stove, then transfer everything to a preheated baking dish. Just make sure the baking dish is small enough that the beans still form a thick bed for the chicken to sit on.
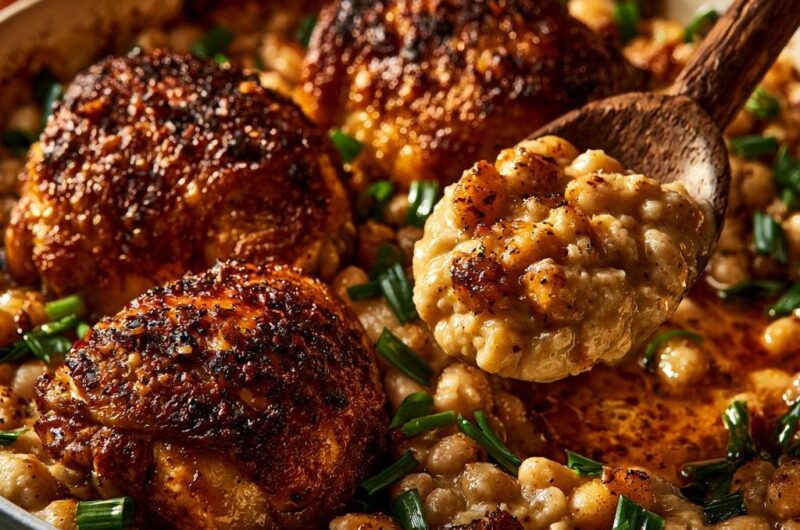
Crispy Skillet Chicken and Creamy White Beans
Course: Main CourseCuisine: AmericanDifficulty: easy4
servings15
minutes35
minutes50
Minutes580
kcalAmerican
Ingredients
4 large bone-in, skin-on chicken thighs
2 cans (15 oz each) cannellini beans, drained and rinsed
1 cup chicken broth
1/2 cup heavy cream
3 cloves garlic, minced
1 small shallot, finely diced
1 tablespoon olive oil
1 tablespoon butter
1 teaspoon smoked paprika
1 teaspoon dried oregano
1/2 teaspoon onion powder
1/2 teaspoon red pepper flakes (optional)
Salt and black pepper to taste
1/2 cup fresh chives, cut into 1-inch batons
Directions
- Pat the chicken thighs extremely dry with paper towels. Season both sides generously with salt, pepper, paprika, oregano, and onion powder. Let the chicken sit at room temperature for 10 minutes to ensure an even sear.
- Heat olive oil in a large, heavy oven-safe skillet (like cast iron or enameled steel) over medium-high heat. Place chicken skin-side down. Do not move them for 8 to 10 minutes. This renders the fat completely and creates the deep, dark mahogany crust seen in the image.
- Once the skin is very dark gold and crispy, flip the chicken and cook for 2 minutes. Remove the chicken from the pan and set aside on a plate. Pour off all but 1 tablespoon of the rendered chicken fat. The chicken is done when it reaches 165°F (74°C) in the thickest part.
- Reduce heat to medium. Add the butter, shallot, and garlic. Sauté for 1-2 minutes until soft and fragrant. Pour in the chicken broth, using a wooden spoon to scrape up every bit of the dark fond (browned bits) from the bottom of the pan.
- Stir in the white beans and heavy cream. To achieve the thick, porridge-like consistency shown in the image, use the back of your spoon to mash roughly 1/3 of the beans directly into the sauce. Season the bean mixture with a pinch of salt and red pepper flakes.
- Nestled the chicken back into the pan. Crucial Step: Ensure the liquid level stays below the chicken skin. The thighs should sit on top of the bean “bed” so the skin remains exposed to dry heat.
- Transfer the skillet to a 400°F (200°C) oven. Bake for 15-20 minutes. This final blast of dry heat finishes the cooking of the meat while further dehydrating and crisping the skin.
- Remove from the oven. The sauce will have reduced into a thick, creamy gravy. Garnish with a generous amount of fresh chive batons. Serve immediately directly from the skillet to maintain the skin’s crunch.
Notes
- To maintain the crunch, ensure the liquid level in the skillet never touches the chicken skin. Mashing one third of the beans is the secret to the thick, gravy-like consistency.