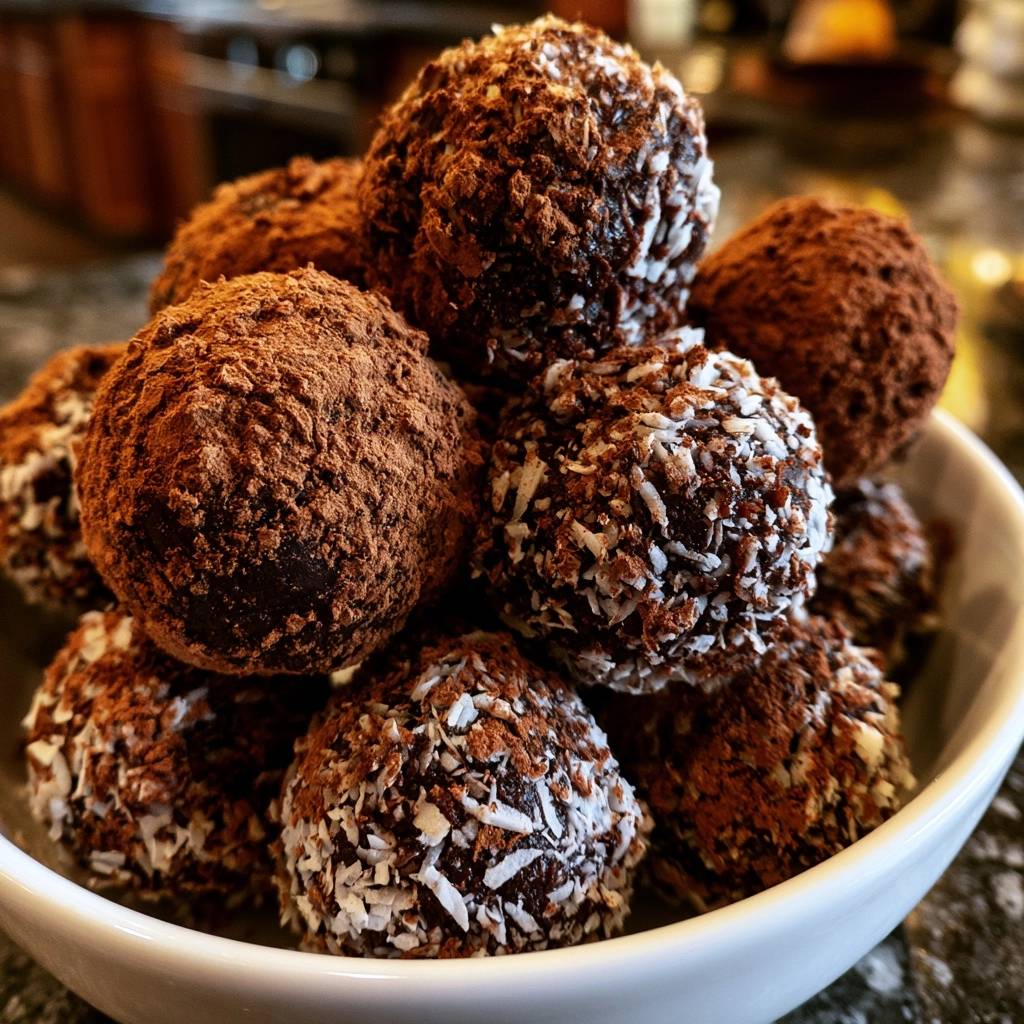
Imagine biting into a truffle that offers a firm, satisfying snap before giving way to a center so velvety it practically disappears on your tongue. Most homemade truffles, unfortunately, miss this mark, ending up as greasy, weeping messes that lose their shape the moment they leave the refrigerator. This happens because the delicate balance of fat and moisture collapses, leaving you with a puddle instead of a confection.
The secret to a professional-grade Dark Chocolate Coconut Truffle isn’t just the quality of the cocoa, but the precision of the emulsion. By controlling the temperature and the way you marry the cream to the chocolate, you create a stable structure that holds its integrity at room temperature. You’re not just mixing ingredients; you’re building a molecular bond that ensures a luxurious mouthfeel every single time.
If you’ve struggled with grainy or soft centers in the past, the fix is simpler than you think. The real trick lies in adding a small amount of room-temperature butter at the very end of the mixing process. This acts as a secondary stabilizer, providing that signature “clean” melt that distinguishes a gourmet truffle from a standard kitchen experiment.
The Chemistry of a Stable Ganache
At its heart, a truffle center is a ganache, which is a fat-in-water emulsion. You are essentially forcing cocoa butter and dairy fat to suspend themselves within the small amount of water found in heavy cream. When this emulsion is successful, the result is smooth and glossy; when it fails, the fats separate, creating a slick, oily coating on the roof of your mouth.
Using a chocolate with at least 60% cacao is vital for this structural integrity. Higher cacao percentages contain more cocoa solids and less sugar, which provides the “backbone” the truffle needs to stay firm. If the cacao percentage is too low, the ratio of sugar to fat becomes unbalanced, leading to a center that feels cloying and fails to set properly.
Why Cacao Percentage Dictates Texture
When you choose a 60% or 70% dark chocolate, you’re working with a higher concentration of cocoa butter. This fat is unique because it remains solid at room temperature but melts at exactly human body temperature. This is what creates that magical “melt-in-your-mouth” sensation that cheaper chocolates simply can’t replicate.
Avoid using standard chocolate chips for this recipe. Most chips are formulated with stabilizers and less cocoa butter so they hold their shape in a hot oven. While great for cookies, these stabilizers prevent the chocolate from melting into a fluid, silk-like consistency, often resulting in a chalky or lumpy ganache.
The Role of Butter as a Stabilizer
Adding a tablespoon of room-temperature butter might seem redundant, but it serves a specific technical purpose. As the ganache cools, the butter fats crystallize alongside the cocoa butter, creating a more complex and stable fat network. This prevents “weeping,” which is when moisture beads up on the surface of the truffle.
Ensure the butter is truly at room temperature before adding it. If it’s too cold, it won’t incorporate fully and will leave tiny yellow beads in your dark chocolate. If it’s melted, it can actually break the emulsion you worked so hard to create. It should be soft enough that your finger leaves an easy indentation.
Essential Components for Dark Chocolate Coconut Truffles
Quality is everything when the ingredient list is this short. Since there are no heavy flours or leaveners to hide behind, every note of the chocolate and coconut will be front and center. You want ingredients that play well together without competing for dominance.
For the coconut, always look for “desiccated” rather than standard shredded coconut. Desiccated coconut is finely ground and thoroughly dried, which means it won’t leach moisture into your chocolate. Standard shredded coconut is often soaked in sugar syrup, which can make your truffles feel soggy and overly sweet within hours.
Selecting High-Quality Dark Chocolate
Check the label on your chocolate bar before you start. The first ingredient should be cocoa mass or cocoa butter, not sugar. High-quality chocolate will have a short ingredient list: cocoa, cocoa butter, sugar, and perhaps lecithin or vanilla.
Take the time to chop your chocolate into very fine, uniform shards. Large chunks won’t melt evenly when the hot cream hits them, forcing you to over-stir the mixture to get the lumps out. Over-stirring introduces air and friction, both of which can cause the fat to separate from the solids.
Heavy Cream vs. Alternatives
You need heavy cream with at least 36% milkfat to achieve the correct density. This high fat content is what allows the ganache to set into a scoopable solid. Using whole milk or half-and-half will result in a sauce rather than a truffle center because there isn’t enough fat to create a solid structure.
While it’s tempting to use coconut milk for extra flavor, it lacks the specific proteins found in dairy that help stabilize an emulsion. For this recipe, we stick to heavy dairy cream for the base and rely on the desiccated coconut coating to provide that tropical punch and textural contrast.
Step-by-Step: Achieving the Perfect Emulsion
The most critical moment in truffle making is the “five-minute rest.” After you pour the simmering cream over your chopped chocolate, you must walk away. This allows the heat to move gently through the chocolate, melting it from the inside out without the need for aggressive stirring.
If you stir too early, you lower the temperature of the cream before the chocolate has fully melted. This leads to a grainy texture that no amount of reheating can truly fix. Patience in these five minutes is the difference between a grainy amateur truffle and a professional confection.
The Small Circle Stirring Method
When the five minutes are up, don’t use a whisk. A whisk incorporates air, which shortens the shelf life of your truffles and ruins the dense texture. Instead, use a rubber spatula and start making tiny circles right in the center of the bowl.
As you stir, you’ll see a dark, glossy “nucleus” form in the middle. Slowly expand your circles to pull in the rest of the cream and chocolate. This method ensures that the emulsion is tight and stable, resulting in a mirror-like finish that looks absolutely beautiful.
Preventing Condensation During the Chill Phase
Water is the ultimate enemy of chocolate. Even a few drops of condensation can cause your ganache to “seize” or become unpleasantly tacky. When you put your bowl in the fridge, don’t just cover it with a lid.
Take a piece of plastic wrap and press it directly onto the surface of the melted chocolate. This “contact wrap” method eliminates the air gap where steam can turn into water droplets. It also prevents a “skin” from forming on top of your ganache, ensuring every scoop is perfectly uniform.
The Dual-Layer Coating Strategy
To get that professional look, we use a specific layering technique. By rolling the truffle in coconut first and then dusting with cocoa, you create a moisture barrier. The coconut provides a textured surface that “grabs” the cocoa powder, preventing it from dissolving into the moist ganache.
This dual-layer approach also balances the flavors. The initial hit of bitter cocoa powder is immediately followed by the sweet, nutty crunch of the coconut, finally ending with the rich, melting dark chocolate center. It’s a three-stage flavor experience in a single bite.
Hand-Rolling Techniques for Uniformity
Your hands are naturally warm, which can make rolling the truffles a messy ordeal. If the ganache starts to soften too much, stop immediately and put it back in the fridge for ten minutes. You can also rinse your hands in ice-cold water and dry them thoroughly before you start rolling.
Using a small cookie scoop or a melon baller ensures that every truffle is exactly the same size. This isn’t just for looks; it ensures that the 115-calorie count remains accurate and that the ratio of coating to center is consistent across the entire batch.
Creating the Signature Visual Finish
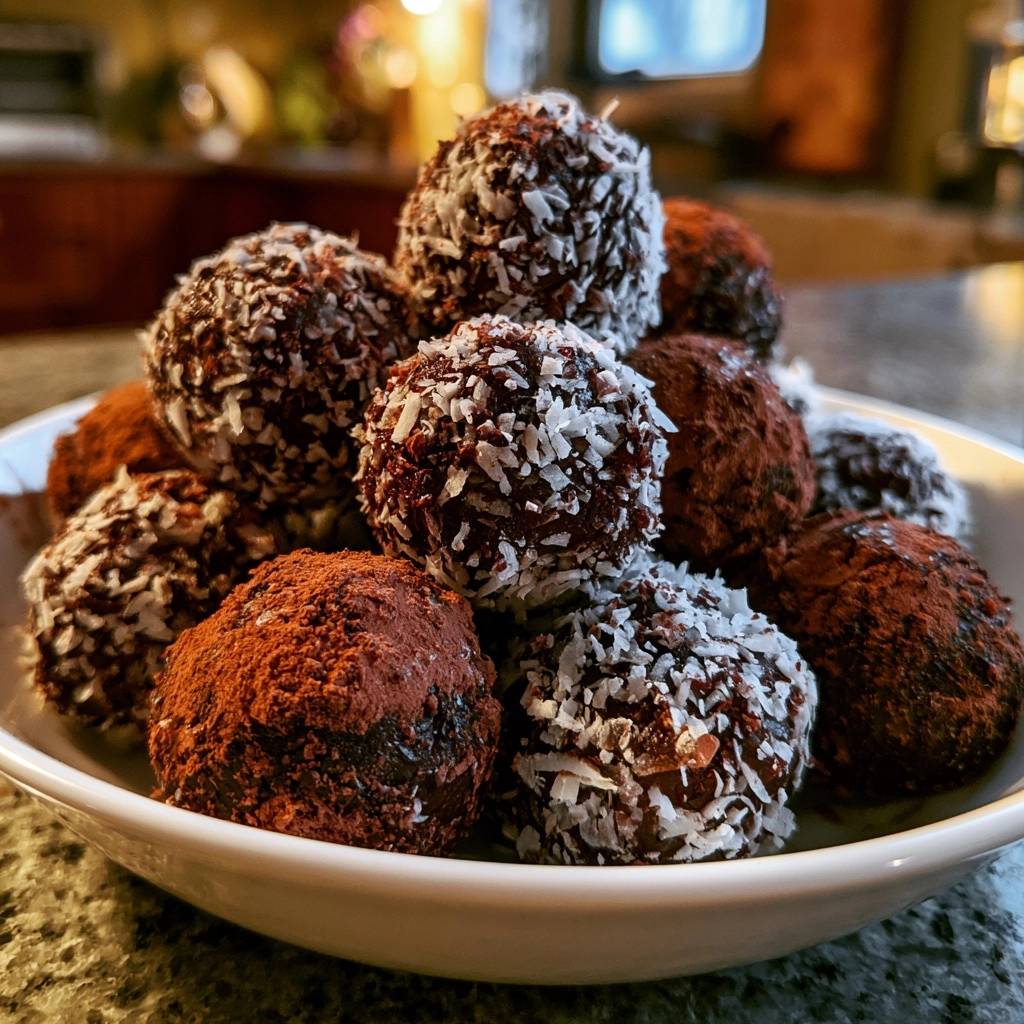
For a stunning presentation, try a “half-and-half” plating style. Roll half of your batch in pure white desiccated coconut and the other half in the cocoa-dusted coconut blend. The contrast between the snowy white and the deep, matte brown looks incredible on a serving platter.
When applying the cocoa powder, use a fine-mesh sieve. A light dusting is much more elegant than a heavy coating, which can be messy to eat and overwhelming to the palate. You want just enough to provide a sophisticated bitterness that cuts through the richness of the cream.
Troubleshooting Common Truffle Failures
If your ganache looks “broken”—meaning it looks curdled or oily—don’t panic and throw it away. This usually happens if the cream was too hot or if you stirred too vigorously. You can often save it by adding a single teaspoon of room-temperature cream and stirring very gently.
If the mixture refuses to set after two hours in the fridge, it’s likely the chocolate didn’t have enough cacao solids. You can gently re-melt the mixture over a double boiler and whisk in another ounce of finely chopped dark chocolate to firm up the ratio.
Fixing a Broken or Grainy Texture
A grainy texture usually means the chocolate was overheated or moisture got into the bowl. To fix this, you can try “tempering” the mixture by adding a small piece of solid chocolate and stirring until it melts. The stable crystals in the solid chocolate can sometimes help realign the fats in the ganache.
If the graininess is severe, the best solution is to use a stick blender. A few short pulses can force the fats and solids back into a smooth emulsion. Just be careful not to lift the blender head above the surface, or you’ll introduce air bubbles that will ruin the density.
Managing Temperature in Warm Kitchens
If you’re working in a humid or hot environment, your truffles will soften much faster. In these conditions, it’s best to work in small batches. Take only a quarter of the ganache out of the fridge at a time while you roll and coat.
You might also find that the cocoa powder “disappears” into the truffle faster in high humidity. If this happens, wait to do the final cocoa dusting until just before you serve them. This keeps the finish looking fresh and matte rather than damp and dark.
Storage and Serving Standards
Because these truffles contain fresh heavy cream, they are perishable. They will stay fresh in an airtight container in the refrigerator for up to two weeks. However, for the best flavor and texture, you should always serve them at room temperature.
Take the truffles out of the fridge about 20 to 30 minutes before you plan to eat them. This allows the cocoa butter to soften just enough to give you that signature melt. If they are too cold, the flavors will be muted and the texture will feel waxy rather than velvety.
The Make-Ahead and Freezing Guide
You can absolutely make these in advance. The ganache centers can be frozen for up to two months. To do this, scoop the balls onto a parchment-lined tray and freeze until solid, then transfer them to a freezer-safe bag.
When you’re ready to finish them, thaw the centers in the refrigerator overnight. Do not thaw them at room temperature, as this will cause condensation to form on the chocolate. Once they are thawed but still cold, roll them in your coconut and cocoa coatings as directed.
Expert Tips for Flavor Customization
Once you’ve mastered the base recipe, you can start playing with sophisticated flavor profiles. A pinch of espresso powder added to the cocoa powder coating can enhance the fruitiness of the dark chocolate. It doesn’t make the truffle taste like coffee; it just makes the chocolate taste “more” like chocolate.
You can also add a tiny pinch of flaky sea salt to the coconut layer. The salt provides a sharp contrast to the rich fats and helps to cleanse the palate between bites. This is a favorite trick of professional chocolatiers to keep the dessert from feeling too heavy.
Infusing the Cream for Deeper Aroma
To add a layer of complexity without changing the moisture ratio, try infusing your heavy cream. You can add a cinnamon stick, a split vanilla bean, or even a few cardamom pods to the cream while you heat it. Let it steep for ten minutes, then strain it before pouring over the chocolate.
This technique allows you to introduce aromatic notes that are fully integrated into the ganache. Since you aren’t adding extra liquid, the structural integrity of the truffle remains perfectly intact. It’s a subtle way to make your Dark Chocolate Coconut Truffles stand out from the crowd.
Expert Tips for Professional Gifting
If you’re giving these as a gift, presentation is key. Use wax-lined candy cups to prevent the oils from the chocolate from staining your gift box. This also makes them easier for the recipient to pick up without getting cocoa powder on their fingers.
Layer the truffles with a sheet of parchment paper between them if you’re stacking them in a tin. This prevents the cocoa powder from one truffle from rubbing off onto the white coconut of another. A little bit of care in the packaging ensures they look just as good as they taste when the box is opened.
Frequently Asked Questions
Can I use sweetened shredded coconut instead of desiccated?
It is not recommended. Sweetened shredded coconut contains a high amount of moisture and sugar syrup. This extra moisture can migrate into the chocolate ganache, making the truffles feel soggy and preventing the cocoa powder from sticking. Desiccated coconut is much drier and provides a better “crunch” and a cleaner flavor profile.
Why did my chocolate turn white or gray after a few days?
This is called “bloom.” It usually happens if the chocolate was stored in a place with fluctuating temperatures. The cocoa butter rises to the surface and recrystallizes. While it looks unappealing, it is perfectly safe to eat. To prevent this, store your truffles in a cool, stable environment and avoid moving them back and forth between a cold fridge and a hot kitchen.
Can I use a microwave to melt the chocolate and cream?
You can, but it is risky. Microwaves create “hot spots” that can easily scorch the chocolate or cause the cream to boil over. If you must use a microwave, heat the cream separately until it simmers, then pour it over the chocolate as directed. Never microwave the chocolate and cream together, as you lose the temperature control necessary for a stable emulsion.
How long can these stay out on a dessert table?
Because the emulsion is stabilized with butter and high-fat cream, these truffles can safely sit at room temperature for about 2 to 4 hours. If your home is particularly warm (above 72°F), they may start to soften sooner. For the best experience, keep them in the fridge until shortly before your guests arrive.
Why is my cocoa powder disappearing or looking wet?
This usually happens because the truffle center was too warm when it was rolled, or the environment is very humid. The moisture in the ganache or the air is being absorbed by the cocoa powder. To fix this, ensure you use the “coconut first” method to create a barrier, and always chill your truffles thoroughly before the final dusting.
Dark Chocolate Coconut Truffles
Course: DessertCuisine: French and AmericanDifficulty: easy18
truffles20
minutes5
minutes120
Minutes115
kcalFrench and American
Ingredients
8 ounces high quality dark chocolate, 60 percent cacao or higher, finely chopped
1/2 cup heavy cream
1 tablespoon unsalted butter, room temperature
1/2 teaspoon pure vanilla extract
1/4 cup unsweetened cocoa powder for rolling
1/4 cup finely shredded desiccated coconut for rolling
1 pinch sea salt
Directions
- The secret to avoiding a soggy or oily center is temperature control during emulsification. Place the finely chopped chocolate and salt in a glass mixing bowl.
- Heat the heavy cream in a small saucepan over medium heat until it just begins to simmer. Do not let it reach a rolling boil, as scorched cream will break the chocolate emulsion.
- Pour the hot cream over the chocolate and let it sit untouched for exactly five minutes. This allows the heat to penetrate the chocolate evenly without introducing air bubbles.
- Using a rubber spatula, stir gently in small circles starting from the center and working outward. Once the mixture is glossy, add the butter and vanilla. The butter acts as a stabilizer to ensure the truffle sets with a “snap” rather than a soft, weeping texture.
- Cover the bowl with plastic wrap, pressing it directly onto the surface of the chocolate to prevent condensation, which is the primary cause of grainy, wet truffles. Refrigerate for at least 2 hours until firm.
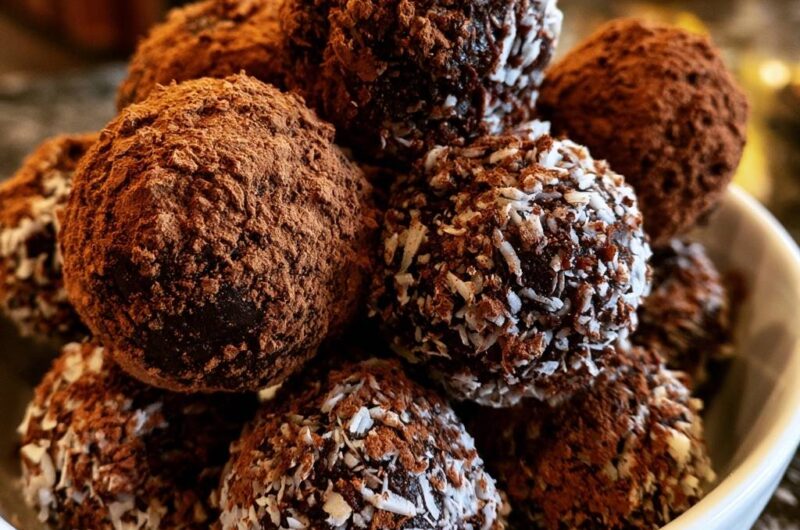
- Use a small scoop to form one-inch balls. To achieve the specific textured look in the image, roll the balls in the shredded coconut first, pressing lightly so the flakes adhere to the ganache.
- For the final finish shown in the visual, lightly dust the coconut-coated truffles with cocoa powder, or roll half in pure cocoa and half in a coconut-cocoa blend. This layering prevents the coconut from becoming “soggy” by creating a moisture barrier.
- Store in an airtight container in a cool place. Because of the stabilized emulsion, these will maintain their perfect velvety texture at room temperature for serving.
Notes
- The secret to avoiding a soggy center is temperature control during emulsification. Pressing plastic wrap directly onto the chocolate surface prevents condensation and graininess.