Most fruit bars suffer from a tragic flaw: the bottom crust turns into a damp, flavorless sponge within hours of baking. You want a bar that holds its shape, offering a distinct snap from the shortbread before you hit that luscious, jammy center. These Glazed Cherry Pie Bars solve the structural issues that plague standard recipes by focusing on a reinforced base and a stabilized fruit filling.
The secret to this bakery-style success lies in a two-stage baking process and a specific moisture barrier. By treating the crust as a foundation rather than just a container, we ensure every bite maintains its integrity. You’ll get that satisfying contrast between a buttery, crumbly shortbread and a vibrant, tart cherry interior that doesn’t run or soak through.
For a similar texture, explore these creamy lemon crumble bars.
I’ve found that the real pro move here is the temperature of your ingredients. Using room temperature eggs is non-negotiable because they emulsify perfectly with the creamed butter and sugar. This creates a uniform crumb structure that acts as a shield against the fruit juices, ensuring your bars stay crisp for days instead of hours.
The Anatomy of a Perfect Fruit Bar
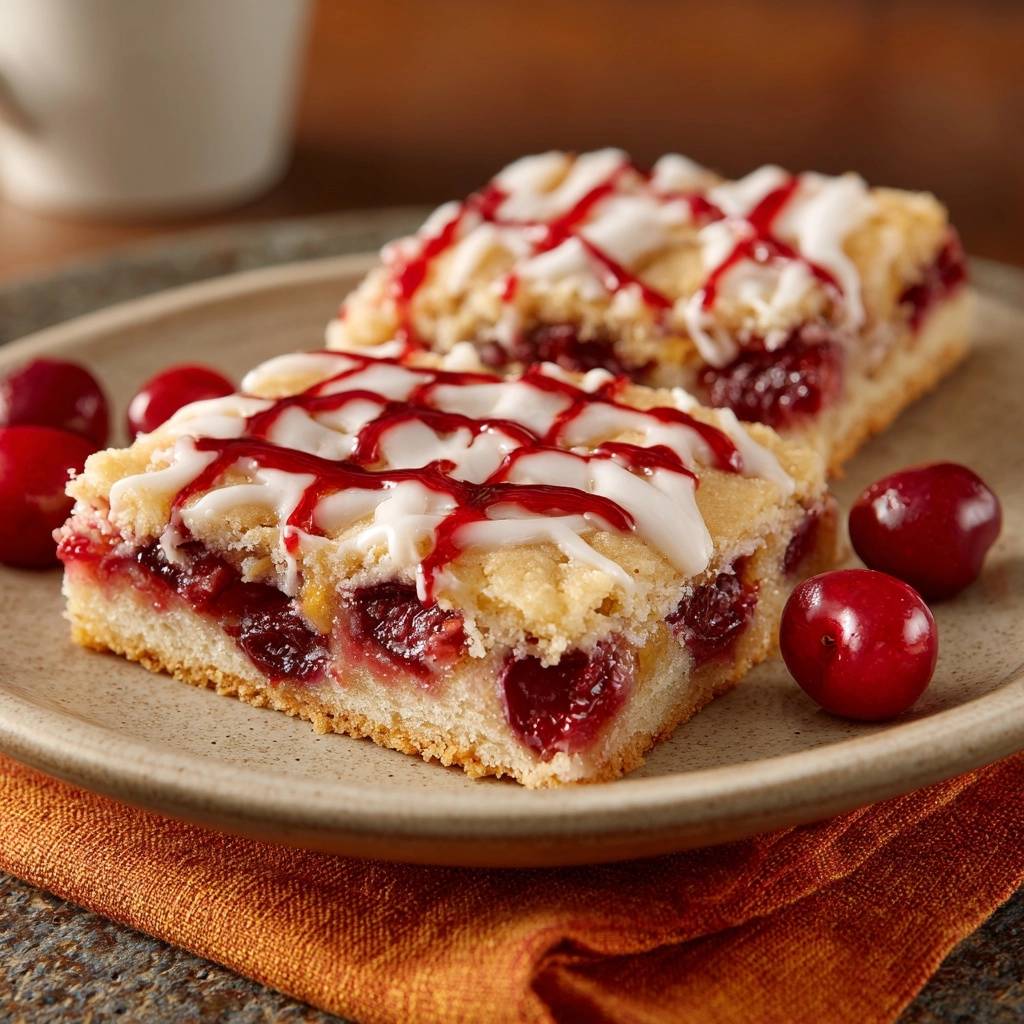
A truly great cherry bar is a study in three distinct layers. First, you have the structural shortbread base, which provides the buttery, salty-sweet crunch that anchors the entire dessert. Next comes the stabilized fruit center, where the cherries are thickened just enough to stay put when sliced. Finally, the dual-glaze finish adds a professional aesthetic and a punch of almond-scented sweetness.
The sensory experience here is incredible because of the almond-cherry flavor profile. Cherries and almonds are botanical cousins, and the almond extract in the glaze acts as a flavor megaphone for the fruit. When you take a bite, you get the initial hit of sweet glaze, followed by the tartness of the cherries, and finishing with the rich, lingering taste of high-quality butter.
For a different fruit combination, explore our classic strawberry rhubarb lattice pie recipe.
Why Par-Baking the Shortbread is Non-Negotiable
Par-baking is the “heat-seal” technique that separates amateur bakers from the pros. When you bake the bottom crust for 12 to 15 minutes before adding the fruit, you are essentially waterproofing the flour. This initial blast of heat sets the starches and creates a firm, golden barrier that prevents the cherry juices from migrating into the dough.
Without this step, the raw dough would absorb the moisture from the pie filling as it bakes, resulting in a gummy, undercooked texture. By the time the fruit is bubbling, the crust is already structurally sound. This ensures that even the very center of the 9×13 pan yields a bar that you can pick up with your hands without it falling apart.
The Role of Cornstarch in Fruit Stability
Standard canned cherry pie filling is delicious, but it is often too fluid for a handheld bar. As the filling heats up in the oven, the sugars liquefy, which can lead to a messy, unsliceable dessert. Adding a single tablespoon of cornstarch to the filling before spreading it out is a game-changer for stability.
This extra starch undergoes gelatinization during the second bake, thickening the juices into a jam-like consistency that stays suspended. This means when you cut into the cooled bars, the cherry layer stays exactly where it belongs. It creates those clean, sharp lines that make the bars look like they came from a high-end pastry shop.
Essential Components for Glazed Cherry Pie Bars
Quality ingredients lead to quality results, especially in a recipe with so few components. Use unsalted butter so you can control the exact amount of salt in the dough. If you use salted butter, the salt levels can vary wildly between brands, which might overpower the delicate vanilla and almond notes in the finish.
For the flour, stick with standard all-purpose flour. It has just enough protein to provide structure without making the bars tough. If you find your shortbread is too crumbly, ensure you aren’t over-measuring your flour; use the “spoon and level” method rather than scooping directly with the measuring cup to avoid packing it down.
Selecting the Right Cherry Filling and Preserves
While the canned filling provides the bulk and the classic “pie” feel, the cherry preserves are the secret weapon for the red drizzle. Look for a high-quality preserve that lists fruit as the first ingredient. These preserves offer a concentrated punch of acidity and a deep ruby color that balances the sugary white glaze.
If you prefer a tarter bar, you can look for “Morello” or “Tart” cherry filling. However, the standard sweet cherry filling works beautifully here because the almond extract and the salt in the crust provide enough contrast to keep the dessert from feeling cloying. The preserves add that final layer of sophisticated fruit flavor.
Flour Ratios and Gluten Development
The goal for the shortbread is a tender, melt-in-your-mouth crumb. This is why we mix the flour in gradually. Over-mixing the dough once the flour is added will develop the gluten, turning your shortbread into something more like a tough bread or a pizza crust. Stop mixing the moment you no longer see streaks of white flour.
Using all-purpose flour provides the perfect middle ground. It gives the bars enough strength to be handled but keeps the texture delicate. If you want an even more tender bar, you could replace two tablespoons of the flour with cornstarch, though the recipe as written is designed for maximum structural integrity.
Step-by-Step: Building the Structural Foundation
Start by creaming your softened butter and sugar together. You aren’t just mixing them; you are aerating them. Look for the mixture to turn a pale ivory color and become noticeably fluffy. This process creates tiny air pockets that will expand in the oven, giving the shortbread its signature light texture.
When you press the dough into the 9×13 pan, take your time to ensure it is an even thickness. I like to use the bottom of a flat measuring cup to smooth it out into the corners. An even base means even baking; you don’t want the edges to burn while the center remains doughy and soft.
Executing the 15-Minute Par-Bake
Keep a close eye on the oven during the par-bake. You aren’t looking for a deep brown color yet. Instead, look for the edges to just barely turn a light golden hue. The center of the crust should no longer look wet or shiny; it should have a matte, set appearance.
This 15-minute window is when the “magic” happens. The heat sets the top of the crust, creating that moisture-proof seal we talked about. Once you pull it out, don’t worry if it still feels a bit soft to the touch; it will firm up significantly as it meets the cool air and prepares for the fruit layer.
Assembling the Fruit Layer and Crumble Topping
Before you spread the cherries, make sure that cornstarch is fully whisked in so you don’t end up with white clumps in your filling. Spread the mixture gently over the warm crust. Then, take your reserved cup of dough and use the “drop and flatten” method. Pinch off a small piece, flatten it between your fingers, and lay it on the fruit.
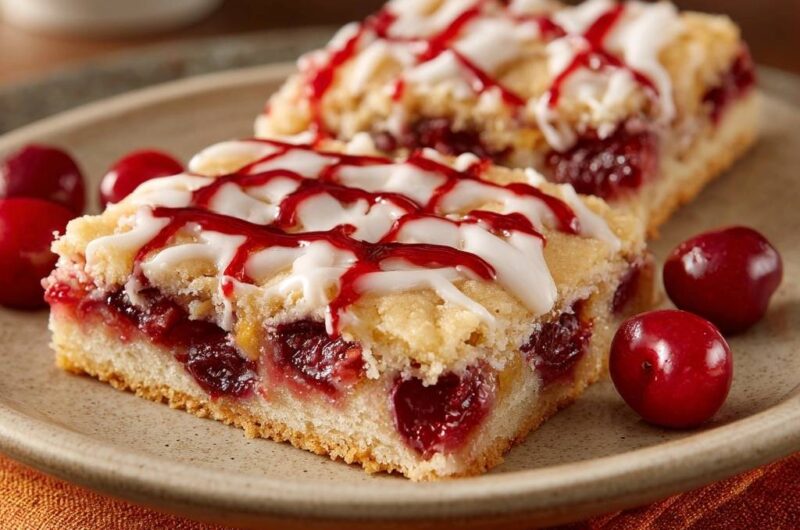
This rustic look is intentional. By leaving gaps between the dough pieces, you allow steam to escape from the cherry filling. This prevents the top crust from getting soggy and allows the filling to reduce slightly, which intensifies the cherry flavor. It also looks beautiful to see the bright red fruit peeking through the golden crust.
The Final Bake: Achieving Golden Brown Perfection
The bars go back into the oven for another 30 to 35 minutes. You are looking for two specific visual cues: the top crumble should be a beautiful golden brown, and the cherry filling should be bubbling vigorously around the edges. That bubbling is the signal that the cornstarch has reached the temperature needed to thicken properly.
If the top is browning too quickly, you can tent the pan loosely with foil, but usually, the 35-minute mark is the sweet spot. Once you pull them out, the hardest part begins: waiting. You must let these bars cool completely in the pan. If you cut them while warm, the filling will run, and the base will crumble.
The Dual-Glaze Finishing Technique
The finishing touch is what makes these bars look like they belong in a professional display case. For the white glaze, whisk the powdered sugar, heavy cream, and almond extract until it is thick enough to hold its shape but fluid enough to drizzle. It should look like thick ribbons falling from your whisk.
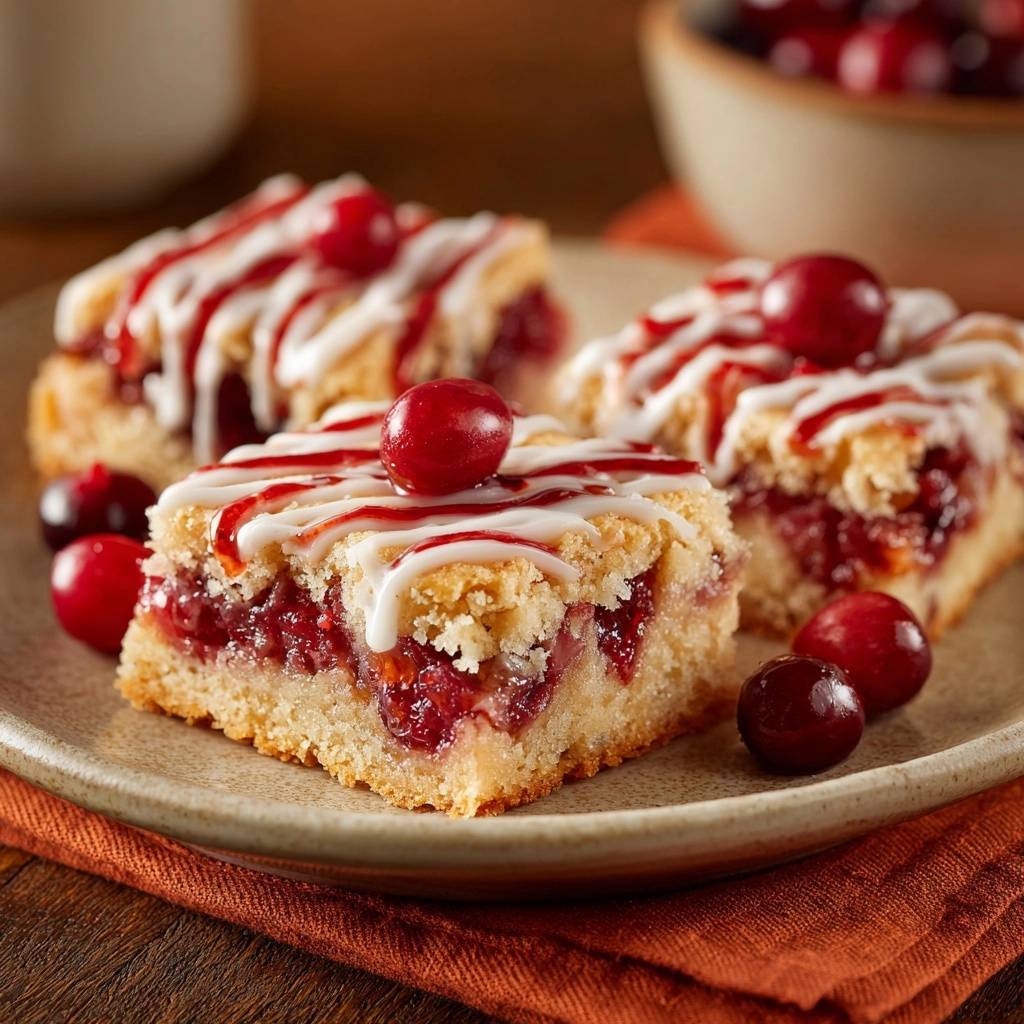
For the red drizzle, warming the preserves is key. It thins the pectin just enough to make it pourable. Straining out the large fruit pieces ensures a smooth, elegant line. I like to use a fork or a small piping bag to create a zig-zag pattern. Start with the white glaze, let it set for just a minute, and then follow with the red.
This dual-glaze method isn’t just for looks. The white glaze provides a creamy, almond-forward sweetness, while the red drizzle adds a final hit of concentrated cherry acidity. Together, they create a complex flavor profile that elevates the bars from a simple snack to a sophisticated dessert. The visual contrast of the white and red against the golden crust is absolutely stunning.
Why Almond Extract Outperforms Vanilla in Glazes
While vanilla is the standard in most kitchens, almond extract is the secret ingredient for anything involving stone fruits. Cherries contain a compound called benzaldehyde, which is the same primary flavor component found in almond extract. This is why they pair so naturally together.
More Sweet Ideas
To complement your cherry pie bars, consider these other baked delights.
- For a breakfast treat that echoes the fluffy texture of your bars, try these fluffy diner-style pancakes.
- If you enjoyed the baking process, you might like to make fluffy golden pancakes for a similar light and airy result.
In the glaze, the almond extract provides a floral, nutty aroma that cuts through the sugar. It makes the cherry flavor “pop” in a way that vanilla simply can’t. It’s a subtle shift, but it’s the difference between a bar that tastes “good” and one that tastes “extraordinary.” Just be careful not to overdo it; almond extract is potent!
Troubleshooting Common Cherry Bar Failures
If your bars are falling apart when you slice them, the culprit is almost always temperature. These bars need at least two hours to reach room temperature so the butter in the crust can re-solidify and the cornstarch can fully set. For the cleanest squares, you can even chill the pan in the fridge for 30 minutes before slicing.
If your glaze is too runny and disappears into the crust, you likely applied it while the bars were still warm. Or, you may need to add a bit more powdered sugar. The glaze should sit on top of the bars like a crown, not soak into them. If it’s too thick, a few extra drops of cream will thin it right out.
Managing Moisture in High-Humidity Kitchens
Baking in a humid environment can be tricky for shortbread. If your kitchen is particularly steamy, the crust might absorb moisture from the air. To combat this, you can extend the par-bake time by 2 or 3 minutes to ensure the base is extra crisp. You might also add an extra teaspoon of cornstarch to the filling.
Another tip for humid climates is to store the bars in a container but leave the lid slightly cracked for the first few hours. This prevents steam from building up inside the container, which can soften the crust. Once they are fully stabilized, you can seal them up tight.
Make-Ahead Strategies and Storage Solutions
These bars are actually better the second day. As they sit, the moisture levels between the crust and the filling equalize, and the almond flavor in the glaze mellows and melds with the cherries. This makes them the perfect make-ahead dessert for parties or potlucks.
To store them, place the sliced bars in an airtight container. If you need to stack them, always place a sheet of parchment paper between the layers. This prevents the glaze from sticking to the bottom of the bar above it. They will stay fresh at room temperature for up to three days, or in the fridge for five.
Freezing and Thawing for Long-Term Freshness
You can freeze these bars for up to three months. For the best results, use the “flash-freeze” method. Place the sliced, unglazed bars on a baking sheet in the freezer for an hour until they are firm. Then, wrap them individually in plastic wrap and place them in a freezer bag.
When you’re ready to eat, thaw them at room temperature. I highly recommend waiting to apply the glazes until after the bars have thawed. This ensures the glaze looks fresh and doesn’t get “weepy” from the moisture of the thawing process. It takes five minutes to whisk up the glaze, and it makes a huge difference in the final quality.
Expert Tips for Clean Slicing
To get those perfectly sharp, professional edges, use a long chef’s knife rather than a serrated one. A serrated knife will saw through the crust and cause it to shatter. A sharp chef’s knife allows you to press straight down through all three layers in one clean motion.
The real secret, however, is wiping the blade. Between every single cut, wipe the knife clean with a damp paper towel. This prevents the sticky cherry filling from the previous cut from smearing onto the top of the next bar. It’s a bit tedious, but the visual result is a tray of bars that look like they were cut with a laser.
Frequently Asked Questions
Can I use fresh cherries instead of canned filling?
Yes, you can make a quick fresh cherry reduction. Pit and halve 3 cups of fresh cherries and simmer them in a saucepan with 1/4 cup sugar, 1 tablespoon of lemon juice, and 2 tablespoons of water. Once they soften, stir in a cornstarch slurry (1 tablespoon cornstarch mixed with 1 tablespoon water) and cook until thickened. Let this cool completely before using it in the recipe.
How do I prevent the parchment paper from slipping?
Parchment paper can be frustrating when it slides around while you’re trying to press in the dough. To fix this, take a tiny bit of softened butter and dab it into the four corners of the baking pan. Press the parchment paper onto the butter dabs; they act like “glue” to hold the paper firmly in place while you work.
What is the best substitute for heavy cream in the glaze?
If you don’t have heavy cream, whole milk is the best substitute. However, milk is thinner than cream, so you will need to use slightly less of it. Start with 1 tablespoon of milk for the cup of powdered sugar and add more drop by drop until you reach the desired consistency. Avoid using water, as it lacks the fat needed to make the glaze creamy and opaque.
Why did my red drizzle bleed into the white glaze?
This usually happens if the white glaze is too thin or if the red drizzle is too hot. Ensure your white glaze is thick enough to hold its shape. Also, let the white glaze set for about 2 to 3 minutes so a very thin “skin” forms on top before you add the red cherry drizzle. This creates a physical barrier that keeps the colors distinct.
Can this recipe be doubled for a half-sheet pan?
You can easily double this recipe for a standard 18×13 inch half-sheet pan. The ingredient ratios remain the same. However, keep an eye on the bake times. The par-bake might need an extra 2 to 4 minutes, and the final bake might take closer to 40 minutes because of the larger surface area. The structural integrity remains excellent even when doubled.
Cherry Pie Bars
Course: DessertCuisine: AmericanDifficulty: medium12
bars20
minutes45
minutes265
kcal65
MinutesThese Glazed Cherry Pie Bars feature a firm shortbread base, a thick cherry filling enhanced with cornstarch, and a dual almond and cherry glaze. The par-baking technique ensures the crust remains crisp and buttery.
Ingredients
1 cup unsalted butter, softened
2 cups all-purpose flour
3/4 cup granulated sugar
1/2 teaspoon salt
1 teaspoon vanilla extract
2 eggs, room temperature
21 ounces cherry pie filling
1 tablespoon cornstarch
1/4 cup cherry preserves (for the red drizzle)
1 cup powdered sugar
2 tablespoons heavy cream
1/2 teaspoon almond extract
Directions
- Preheat your oven to 350°F (175°C). Grease a 9×13 inch baking pan and line with parchment paper for easy removal.
- In a large bowl, cream together the softened butter and granulated sugar until light and fluffy. Beat in the eggs one at a time, then stir in the vanilla extract.
- Gradually add the flour and salt to the butter mixture. Mix until a soft, cohesive dough forms.
- Reserve 1 cup of the dough for the topping. Press the remaining dough firmly and evenly into the bottom of the prepared pan.
- To solve the soggy bottom issue, par-bake this base layer alone for 12-15 minutes until the edges are just barely golden. This creates a firm, heat-sealed foundation.
- While the base bakes, place the cherry pie filling in a small bowl and stir in 1 tablespoon of cornstarch. This extra thickener ensures the fruit juices stay suspended in the filling rather than soaking into the crust.
- Spread the cherry mixture over the par-baked crust. Take the reserved dough and drop small, flattened spoonfuls over the top of the cherries, leaving some fruit visible.
- Return to the oven and bake for another 30-35 minutes until the top crust is golden brown and the filling is bubbling.
- Let the bars cool completely in the pan. This is crucial for the starches to set so the bars can be sliced cleanly.
- Prepare the glazes:
- For the white glaze: Whisk together powdered sugar, heavy cream, and almond extract until thick and smooth.
- For the red drizzle: Warm the cherry preserves in the microwave for 15 seconds and strain out any large fruit pieces.
- Drizzle the white almond glaze in a zig-zag pattern over the bars, followed by a secondary drizzle of the red cherry reduction to match the visual finish. Slice into squares and serve.
Notes
- Par-baking the crust for 12 to 15 minutes is the key to preventing a soggy bottom. Ensure the bars are completely cool before slicing to allow the filling to set properly.