Nothing ruins a cozy morning faster than biting into a cinnamon roll only to find a gummy, underbaked mess at the bottom. You know the type—the top looks golden and gorgeous, but the base is a saturated, greyish pool of raw dough and melted sugar. It’s a common heartbreak for home bakers, but it doesn’t have to be your reality.
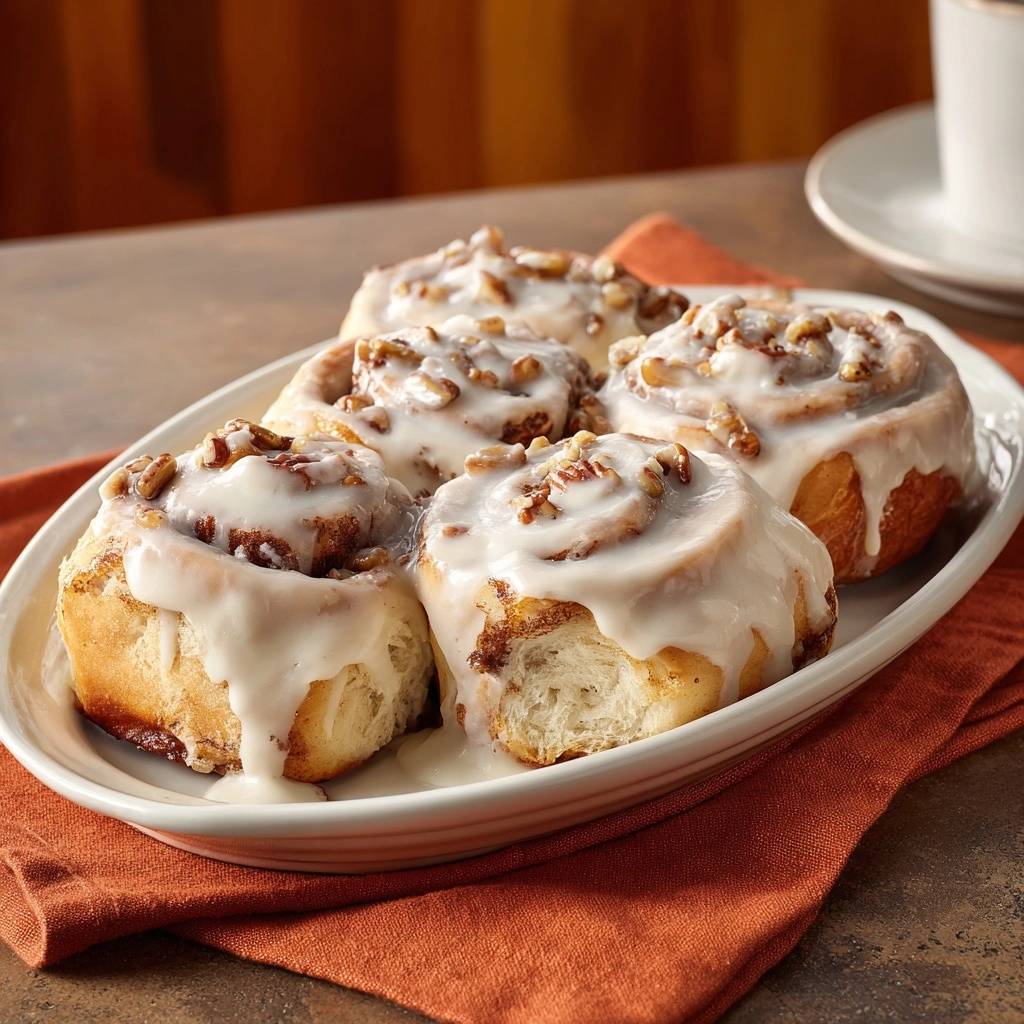
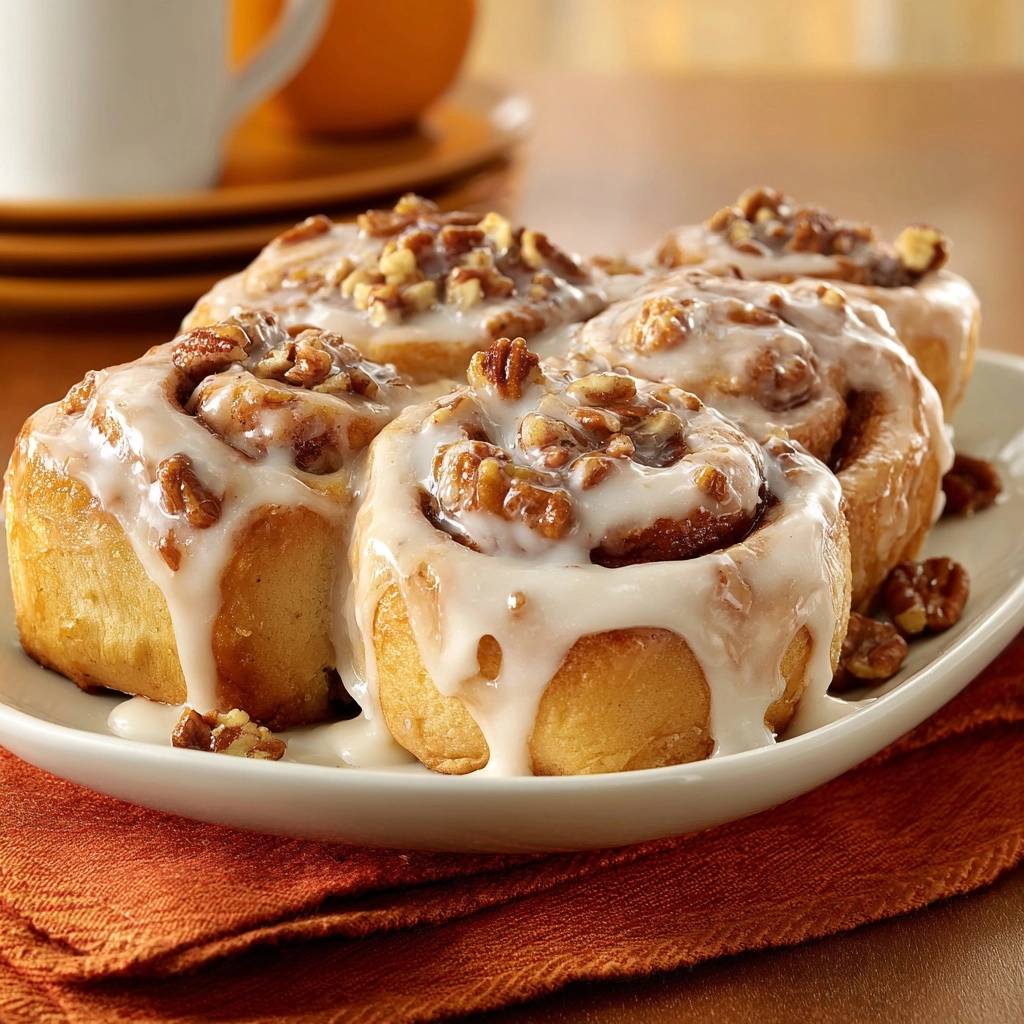
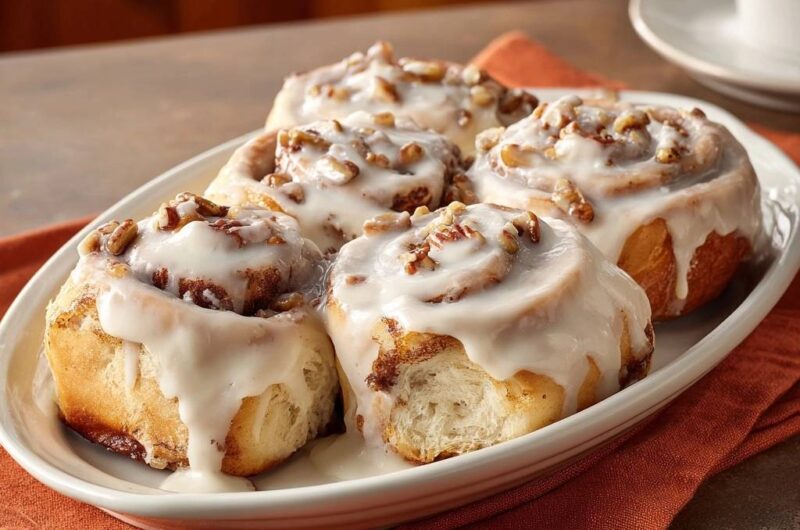
The secret to these Glazed Pecan Cinnamon Rolls lies in a specific “Anti-Soggy Bottom” technique that protects the dough from the heavy syrup. When you pull these from the oven, you’ll experience a pillowy, cloud-like crumb that holds its shape perfectly. The toasted pecans add a sophisticated crunch that cuts through the rich, buttery spirals, while the professional glaze sets with a stunning, high-gloss sheen.
I’ve found that the real trick to bakery-level success is monitoring the internal temperature of the dough. Most people guess when their rolls are done based on the color of the tops, but that’s a trap. By using a simple thermometer to hit a specific target, you ensure the starches are fully set, leaving you with a roll that is light, airy, and completely cooked through every single time.
The Science of the Anti-Soggy Barrier
To understand why cinnamon rolls often fail, we have to look at what happens inside the pan. As the rolls bake, the brown sugar and butter in the filling liquefy. This heavy syrup naturally gravitates toward the bottom of the pan, where it begins to boil. Instead of the dough baking against the heat of the metal, it essentially “poaches” in sugar water, which prevents the crust from ever forming.
This recipe solves that physics problem with a structural barrier. By dusting the greased pan with a 1:1 mixture of flour and cornstarch, you create a microscopic “sponge” layer. The cornstarch is incredibly efficient at absorbing excess moisture without becoming heavy or gummy itself. Meanwhile, the flour helps the base of the roll develop a slight, golden crust that can stand up to the moisture.
Therefore, instead of a soggy puddle, you get a caramelized, slightly crisp bottom that mimics the texture of a high-end pastry. This barrier doesn’t change the flavor of the rolls, but it completely transforms the mouthfeel. It allows the heat of the oven to penetrate the dough from the bottom up, ensuring the entire roll expands evenly rather than collapsing under the weight of its own filling.
For a similar crispness, explore these glazed sweet potato bites.
Essential Components for Glazed Pecan Cinnamon Rolls
Quality ingredients are the foundation of any enriched dough, but temperature is the real commander here. When you warm your whole milk, aim for exactly 110°F. If the milk is too cold, the yeast won’t wake up; if it’s over 120°F, you risk killing the yeast entirely. Think of it as the “Goldilocks” zone where the yeast feels most active and ready to work.
I always recommend using room temperature eggs for this dough. If you drop a cold egg into your warm milk and yeast mixture, it can shock the yeast and slow down your rise time significantly. Simply set your egg on the counter for thirty minutes before you start, or place it in a bowl of warm water for five minutes if you’re in a rush.
For the flour, all-purpose is actually the preferred choice over bread flour for this specific recipe. While bread flour provides more chew, all-purpose flour keeps the rolls tender and “shreddable.” You want that classic pull-apart texture where the dough feels like silk, and the lower protein content of all-purpose flour helps achieve that delicate balance without becoming tough.
Selecting the Right Pecans and Cinnamon
Not all cinnamon is created equal, and for these rolls, Cassia cinnamon is usually the winner. It has that bold, spicy “red hot” flavor that stands up well to the heavy butter and sugar. Ceylon cinnamon is more delicate and floral, which can sometimes get lost in a rich, baked dough. However, feel free to use a blend if you want a more complex spice profile.
When it comes to the pecans, skip the large halves and go for a fine chop. Finely chopped pecans integrate into the cinnamon-sugar swirl much better, ensuring you get a bit of nutty crunch in every single bite. Large chunks can actually cause the dough to tear or create gaps in the spiral where the filling can leak out during the bake.
Precision Tools for Bakery-Quality Results
While you can knead this dough by hand, a stand mixer is a game-changer for enriched breads. The seven-minute knead time is crucial for developing the gluten network that traps air bubbles. A mixer handles this consistently without the temptation to add too much extra flour, which is the number one cause of dry, heavy rolls.
An instant-read thermometer is your best friend in the kitchen. To guarantee the “Anti-Soggy” promise, the center of the middle roll must reach 190°F. This is the only way to know for sure that the dough is fully baked. Additionally, use unflavored dental floss to cut your rolls. It slices through the soft dough without squishing the layers, keeping those beautiful spirals perfectly intact.
Step-by-Step: Crafting the Perfect Enriched Dough
Start by combining your warm milk, sugar, and yeast in the mixer bowl. You’re looking for a foamy, bubbly surface after about five minutes, which tells you the yeast is alive and hungry. Once you add the flour and start the mixer, watch the dough closely. It will look shaggy at first, but as the gluten develops, it will transform into a smooth, elastic ball.
You can check your progress using the “windowpane test.” Tear off a small piece of dough and gently stretch it between your fingers. If you can stretch it thin enough to see light through it without it tearing, your gluten is perfectly developed. If it snaps immediately, keep kneading for another minute or two. This strength is what allows the rolls to rise high and fluffy.
For the first rise, find a warm, draft-free spot in your kitchen. I often use the inside of my oven with just the oven light turned on. This provides a consistent, gentle warmth that encourages the yeast to thrive. You want the dough to double in size, which usually takes about an hour, depending on the temperature of your home.
The Rolling and Filling Technique
Once the dough has risen, punch it down to release the air and roll it into a 12×18 inch rectangle. Accuracy matters here because the dimensions determine how many swirls you’ll get in your final product. Use a ruler if you have to! Spread your softened butter all the way to the edges, but leave a 1/2 inch “clean border” at the top long edge.
This clean border is vital because it acts as a seal. When you finish rolling the log, that strip of plain dough will stick to the outside of the roll, preventing it from unraveling in the oven. Sprinkle your cinnamon sugar and pecans evenly, pressing them lightly into the butter so they stay put when you start rolling.
Roll the log as tightly as possible starting from the long edge closest to you. A tight roll prevents the “volcano effect,” where the centers of the rolls pop up like a cone during baking. If the log feels too soft or floppy, you can pop it in the fridge for ten minutes to firm up the butter before you slice it into twelve even pieces.
Baking for Structural Integrity and Color
After placing the rolls in your prepared pan, they need a second rise. This “proofing” stage is where the texture happens. They should look puffy and be touching each other slightly. If you poke the dough gently with a finger, the indentation should spring back slowly. If it springs back instantly, they need more time; if it collapses, they’ve gone too long.
Position your oven rack in the middle to ensure even heat distribution. If the rack is too low, the bottoms might brown too fast; if it’s too high, the tops will burn before the centers are set. Remember to check that internal temperature at the 22-minute mark. Once you hit 190°F, pull them out immediately to keep them moist and tender.
Achieving the Professional Glaze Sheen
The difference between a mediocre glaze and a professional one is the fat content. Using heavy cream instead of milk creates a much richer mouthfeel and a thicker consistency that stays white rather than turning translucent. Adding a tablespoon of melted butter gives the glaze a beautiful sheen that looks like it came straight from a high-end bakery case.
Timing is everything when it comes to glazing. Follow the “5-minute cooling rule.” If you glaze the rolls the second they hit the counter, the icing will melt into a thin liquid and disappear. If you wait until they are cold, the glaze will just sit on top like a puck. At the five-minute mark, the rolls are warm enough to melt the base of the glaze so it “drapes” down the sides, but cool enough that the top stays thick and creamy.
Don’t forget that tiny pinch of salt in the glaze. It might seem counterintuitive, but salt is essential to balance the two cups of powdered sugar. It cuts through the cloying sweetness and actually enhances the flavor of the vanilla and butter, making the entire roll taste more complex and less like a sugar bomb.
Troubleshooting Common Cinnamon Roll Failures
If your dough fails to rise, the most likely culprit is the temperature of your milk. If it was too hot, it likely killed the yeast. However, if your kitchen is just very cold, the rise might simply take twice as long. You can try moving the bowl to a warmer spot, like on top of a running dishwasher, to give the yeast a little boost.
For dough that feels too sticky to handle, resist the urge to dump in cups of extra flour. This will make your rolls dry and tough. Instead, try chilling the dough for thirty minutes. Cold dough is much easier to roll out and requires far less flour on the work surface. If you must add flour, do it one tablespoon at a time until the dough just barely clears the sides of the bowl.
If you notice the tops of your rolls are getting very dark but the timer still has ten minutes left, don’t panic. Simply lay a piece of aluminum foil loosely over the top of the pan. This “foil tent” reflects the direct heat, allowing the centers to continue baking to that 190°F goal without burning the beautiful pecan topping.
Why are my rolls dry?
Dry rolls are almost always the result of over-flouring or over-baking. When you roll out the dough, use the smallest amount of flour possible to keep it from sticking. More importantly, watch that internal temperature. Every degree past 190°F is moisture leaving the bread. Once you hit 200°F, the bread starts to take on a more “bready” and dry texture rather than a soft, pastry-like one.
How to prevent the filling from leaking out?
The secret here is using softened butter, not melted butter, for the filling. Melted butter carries the sugar right out of the spirals and onto the bottom of the pan before the dough has a chance to set. Softened butter stays in place, creating a thick paste with the cinnamon and sugar that clings to the dough as it expands in the oven.
Make-Ahead Strategies and Storage
You can easily prep these the night before for a stress-free morning. After cutting the rolls and placing them in the pan, cover them tightly with plastic wrap and put them straight into the refrigerator. The cold temperature slows the yeast down. In the morning, let them sit on the counter for about 45 minutes to take the chill off and finish their rise before baking as directed.
Leftover rolls should be stored in an airtight container at room temperature for up to two days. For longer storage, you can freeze the baked rolls for up to a month. To reheat, avoid the microwave if possible, as it can make the dough rubbery. Instead, wrap a roll in foil and pop it into a 350°F oven for 10 minutes to restore that “just baked” texture and pecan crunch.
Optimal Pairings for a Morning Spread
Because these rolls are incredibly rich and sweet, they pair beautifully with beverages that have a bit of an acidic or bitter edge. A dark roast coffee is the classic choice, but a sharp ginger tea or a hot lemon water can also provide a refreshing contrast. These drinks help cleanse the palate between bites of buttery dough and sugary glaze.
If you are serving these as part of a full brunch, balance the sugar profile with savory proteins. A simple vegetable frittata with spinach and feta or a side of crispy turkey bacon works wonders. The saltiness of the protein balances the sweetness of the Glazed Pecan Cinnamon Rolls, making for a much more satisfying and well-rounded meal that won’t lead to a mid-morning sugar crash.
How do I know if my yeast is still good?
You can test your yeast by “proofing” it in the warm milk and sugar. If the mixture doesn’t become foamy and emit a distinct bready aroma within five to ten minutes, the yeast is likely dead. This can happen if the yeast is expired or was stored in a warm place. Always keep your yeast in the refrigerator or freezer to extend its shelf life and ensure a strong rise.
Can I use a different nut instead of pecans?
Absolutely. While pecans offer a classic Southern flavor profile, walnuts are an excellent substitute and provide a similar crunch. If you have a nut allergy, you can omit them entirely or replace them with a sprinkle of rolled oats on top of the filling for a bit of texture. Just ensure whatever you use is finely chopped so it doesn’t interfere with the rolling process.
What is the best way to measure flour for this recipe?
The most accurate way to measure flour without a scale is the “spoon and level” method. Use a spoon to fluff up the flour in the bag, then gently spoon it into your measuring cup until it overflows. Use the back of a knife to level it off. Never scoop the cup directly into the flour bag, as this packs the flour down and can result in using up to 25% more flour than the recipe intends, leading to heavy rolls.
Can I make these rolls smaller?
Yes, you can cut the log into 15 or 18 smaller rolls if you prefer mini versions. However, you will need to reduce the baking time. Start checking the internal temperature around the 15-minute mark. Smaller rolls have more surface area relative to their size, so they can dry out much faster than the standard 12-roll count.
Why did my glaze turn out runny?
A runny glaze usually happens if the heavy cream was added too quickly or if the rolls were too hot when glazed. To fix a runny glaze, simply whisk in more powdered sugar, one tablespoon at a time, until it reaches your desired thickness. It should be thick enough to coat the back of a spoon but thin enough to pour slowly.
Can I use whole wheat flour?
You can substitute up to half of the all-purpose flour with whole wheat flour, but keep in mind that the rolls will be denser and less fluffy. Whole wheat flour absorbs more liquid, so you may need to add an extra tablespoon or two of milk to keep the dough supple. For the best texture, stick with all-purpose or a “white whole wheat” variety.
Cinnamon Rolls
Course: Breakfast and DessertCuisine: AmericanDifficulty: medium12
rolls25
minutes25
minutes410
kcal50
MinutesA premium cinnamon roll recipe featuring a temperature-staged baking method and a flour-cornstarch dusting technique to ensure a perfectly baked, non-gummy base. These rolls are filled with cinnamon, sugar, and pecans, then finished with a buttery vanilla glaze.
Ingredients
For the Dough:
4 cups all-purpose flour
1/4 cup granulated sugar
1 teaspoon salt
1 packet (2 1/4 tsp) instant yeast
1 cup warm whole milk (110°F)
1/4 cup melted unsalted butter
1 large egg, room temperature
For the Filling:
1/2 cup unsalted butter, very soft
1 cup packed light brown sugar
2 tablespoons ground cinnamon
1/2 cup finely chopped pecans
For the Glaze:
2 cups powdered sugar
3-4 tablespoons heavy cream
1 teaspoon vanilla extract
2 tablespoons melted butter
Pinch of salt
Directions
- In the bowl of a stand mixer, combine warm milk, sugar, and yeast. Let sit for 5 minutes until foamy. Add the melted butter, egg, salt, and 2 cups of flour. Using the dough hook, mix on low. Gradually add the remaining flour until the dough pulls away from the sides of the bowl. Knead for 5 to 7 minutes until smooth and elastic. Cover and let rise in a warm spot for 1 hour or until doubled in size.
- To prevent the soggy bottom: Lightly grease a 9×13 inch baking pan with butter. Dust the bottom of the pan with a 1:1 mixture of flour and cornstarch, tapping out the excess. This creates a dry barrier that prevents the sugar syrup from pooling and soaking into the base of the dough.
- Punch down the risen dough and roll it out on a lightly floured surface into a 12×18 inch rectangle. Spread the 1/2 cup softened butter evenly across the dough, leaving a 1/2 inch border at the top. Mix the brown sugar and cinnamon together, then sprinkle evenly over the butter. Top with the chopped pecans.
- Roll the dough tightly into a log starting from the long edge. Use unflavored dental floss or a sharp serrated knife to cut into 12 even pieces. Place them in the prepared pan. Cover and let rise for another 30-45 minutes until puffy.
- Preheat your oven to 350°F (175°C). Bake for 22 to 25 minutes on the middle rack. To ensure the “Anti-Soggy” promise, use an instant-read thermometer to check the center of a middle roll; it must reach 190°F. This ensures the starches are fully set and the center isn’t doughy.
- While the rolls bake, whisk the powdered sugar, heavy cream, vanilla, melted butter, and salt until thick but pourable. If too thick, add cream one teaspoon at a time.
- Remove the rolls from the oven. Let them cool for exactly 5 minutes. Pour the glaze over the warm rolls while they are still in the pan; the heat will help the glaze drape down the sides as seen in the image, while the butter in the glaze ensures it sets with a professional sheen. Serve immediately.
Notes
- To ensure the center is not doughy, use an instant-read thermometer to confirm the middle roll has reached 190 degrees Fahrenheit. The flour and cornstarch barrier in the pan is essential for preventing the sugar syrup from soaking into the dough base.