Stop settling for flat, dense, or rock-hard homemade bagels that feel more like circular dinner rolls than actual deli-style treats. Most home bakers struggle with bagels because they treat the dough like standard bread, but the secret to that iconic bakery-style puff and chewy interior lies in the “Fail-Safe Rise” and a specific boiling method. When you bite into a bagel made with this technique, you’ll immediately notice the difference: a glossy, crackly crust that gives way to a dense, satisfyingly chewy center.
The transition from a disappointing, bread-like texture to a professional-grade bagel happens during the temperature-controlled rise and the alkaline bath. If your yeast isn’t happy or your water isn’t the right pH, you’ll end up with a dull, sunken mess. However, by following this structured approach, you’ll control the fermentation and gelatinization processes like a seasoned pro. You’re about to create a bagel that rivals any shop in New York or Montreal right in your own kitchen.
I’ve found that the absolute non-negotiable for success is the water temperature for your yeast. It must be between 105 and 110 degrees F; anything cooler won’t wake the yeast up, and anything hotter will kill it instantly. Use a digital thermometer to be certain, because “warm to the touch” is often too subjective for a dough this stiff. This precision ensures your bagels have the structural integrity to stand tall during the boil and the bake.
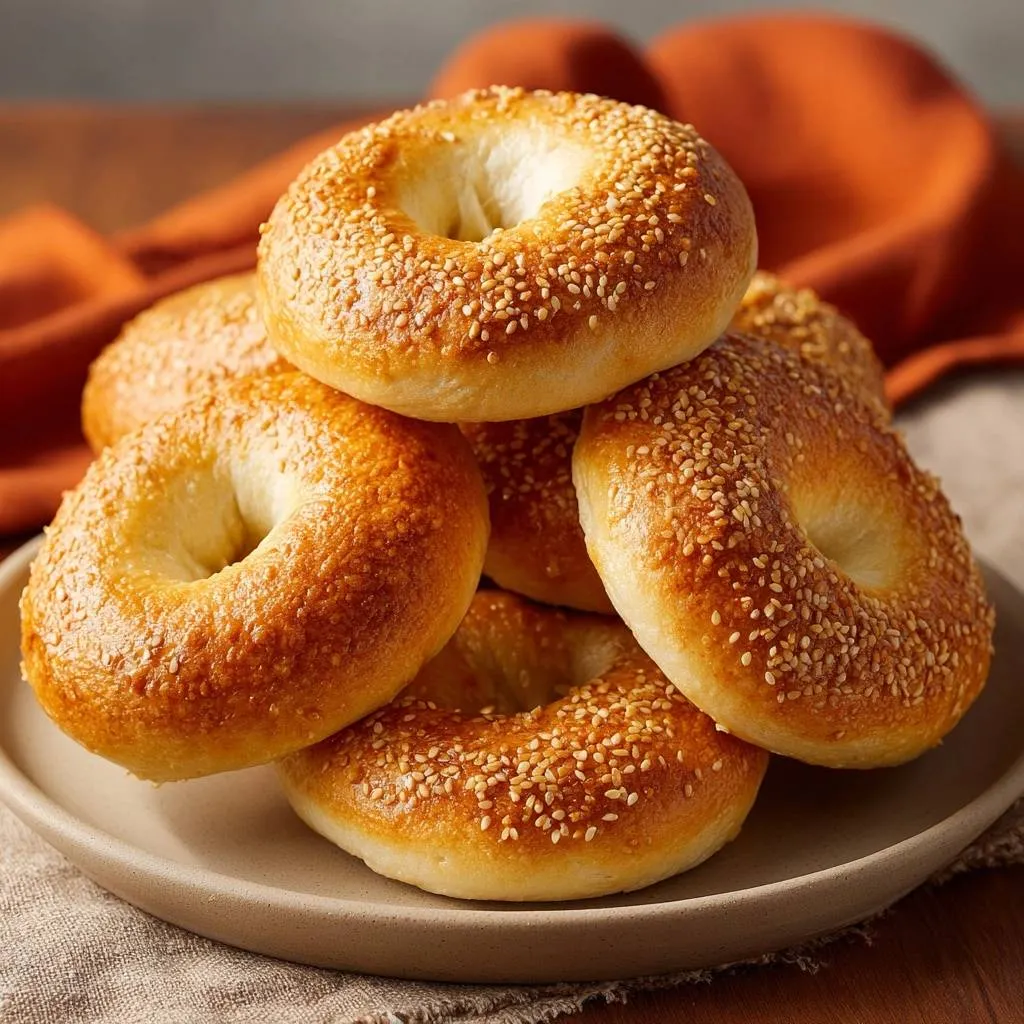
The Anatomy of a Perfect Sesame Seed Bagel
A high-quality bagel is defined by its unique structural requirements, specifically the “Crust-to-Crumb” ratio. Unlike a baguette or a sourdough loaf, a bagel needs a tight, fine crumb with very few large air pockets. This density provides the “chew” that makes a bagel a bagel. If the interior is too airy, it won’t hold up to a thick schmear of cream cheese or a heavy breakfast sandwich filling.
The exterior must be gelatinized, which is a fancy way of saying the starches on the surface need to be cooked before the bagel ever hits the oven. This is why we boil them. The boiling process sets the outside of the dough, preventing it from rising too much in the oven and creating that specific, shiny, leathery crust. Without the boil, you’re just making a round piece of bread with a hole in the middle.
Essential Components for the Golden Sesame Seed Bagels
You must use high-protein bread flour for this recipe, ideally something with a 12-14% protein content. All-purpose flour simply doesn’t have enough gluten strength to support the heavy, dense structure of a bagel. If you use all-purpose, your bagels will likely turn out soft and fluffy like a brioche bun, which is the opposite of what we want here. The high protein ensures the dough stays elastic and tough enough to handle the boiling process.
Honey or barley malt syrup serves a dual purpose in this dough. Firstly, it provides a gentle sugar source for the yeast to feast on during the rise. Secondly, it contributes to the Maillard reaction, which is the chemical process that browns the crust. While honey is easier to find in most US pantries, it adds a subtle floral sweetness that pairs beautifully with the nutty toasted sesame seeds.
The Role of Alkalinity in the Boiling Liquid
Adding baking soda and sugar to your boiling water is a game-changer for home bakers. In professional settings, bakers often use a lye bath to achieve a deep, dark crust, but baking soda provides a safer, accessible way to mimic that alkalinity. The alkaline environment breaks down the proteins on the surface of the dough more quickly, allowing them to brown deeply in the oven.
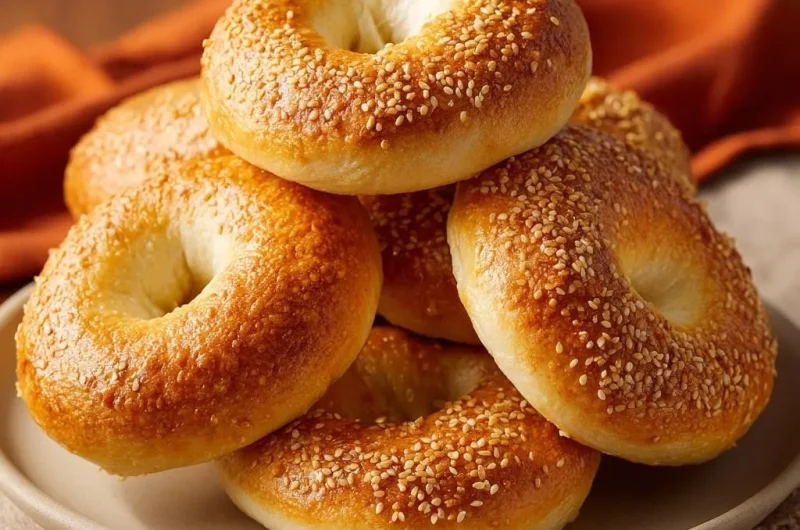
The sugar in the water adds a slight tackiness to the surface, which helps the sesame seeds stick and provides a hint of shine. When the bagels hit the oven, this combination of alkalinity and sugar creates a professional, golden-brown hue that looks like it came straight from a high-end bakery. It’s the difference between a pale, matte bagel and one that looks truly artisanal.
Required Tools for Professional Bagel Shaping
While you can eyeball your dough portions, I highly recommend using a digital kitchen scale. For this recipe, you want each bagel to weigh approximately 115 grams. Uniformity isn’t just about aesthetics; it ensures that every bagel boils and bakes at the exact same rate. If you have one giant bagel and one tiny one, the small one will be overcooked and dry by the time the large one is finished.
You’ll also need a wide, shallow pot for the boiling stage. A wide pot allows you to boil three or four bagels at once without them crowding each other. Finally, always use parchment paper on your baking sheets. Bagels are naturally sticky after their bath, and parchment paper prevents the bottoms from scorching or sticking to the metal, which can happen even with well-greased pans.
Phase One: Activating the Yeast and Mixing
The “blooming” process is your first insurance policy against failure. After you whisk the honey into the warm water and sprinkle the yeast on top, wait the full 10 minutes. You’re looking for a thick, creamy foam to develop on the surface. If the water stays clear or only has a few bubbles, your yeast is dead. Stop right there and get fresh yeast, or your bagels will be as hard as hockey pucks.
Once the yeast is active, pour it into your flour and salt. As you begin to mix, the dough will feel much stiffer than a standard pizza or sandwich dough. Don’t be tempted to add more water! A stiff dough is necessary for that signature bagel density. It should come together into a shaggy mass that eventually cleans the sides of the bowl as you work it.
The 10-Minute Knead: Developing Gluten Strength
Kneading is where the magic happens. If you’re doing this by hand, prepare for a workout. You need to push, fold, and turn the dough for a solid 10 minutes. You’ll watch the texture transform from a lumpy, rough ball into a smooth, elastic sphere. If you’re using a stand mixer, keep it on a low speed for about 7 minutes to avoid straining the motor on this heavy dough.
To check if you’ve kneaded enough, try the “Windowpane Test.” Tear off a small piece of dough and gently stretch it between your fingers. If you can stretch it thin enough to see light through it without it tearing, the gluten is fully developed. If it snaps immediately, keep kneading. Under-kneaded dough won’t have the strength to hold its shape, leading to flat, sad bagels.
Phase Two: The Temperature-Controlled First Rise
Bagel dough needs a warm, draft-free environment to rise properly. If your kitchen is chilly, your dough will take forever to double in size, and the texture might become sluggish. A great trick is to put the bowl in your oven (while it’s turned off) and just turn on the oven light. The heat from that tiny bulb is usually enough to create a perfect proofing chamber.
Don’t rush this hour-long fermentation. This is when the yeast produces carbon dioxide, creating the tiny bubbles that will eventually become the bagel’s crumb. It’s also when the flavor develops. A slow, steady rise results in a much more complex, “yeasty” flavor than a rushed rise in a hot spot. You’ll know it’s ready when the dough has visibly doubled and feels soft and pillowy when you poke it.
Phase Three: Precision Shaping and the Second Rest
After punching the dough down to release the large gas bubbles, divide it into your 8 portions. Roll each piece into a tight, smooth ball by cupping your hand over it and moving in a circular motion on the counter. To create the hole, I prefer the “Thumb-Poke” method. Push your thumb through the center of the ball and then use two fingers to twirl and stretch the hole until it’s about 2 inches wide.
It might feel like the hole is too big, but remember that the dough will “spring” back and puff up during the boil and bake. If the hole is too small, it will close up entirely, leaving you with a bun. Let the shaped bagels rest on the counter for 15 minutes. This allows the gluten to relax after all that stretching, which prevents them from shrinking back when they hit the boiling water.
Phase Four: The Boiling Process for Maximum Chew
Once your water is at a rolling boil with the baking soda and sugar, carefully drop the bagels in. Do not overcrowd the pot. They should float within a few seconds. Boil them for exactly 60 seconds per side. This is the “sweet spot” for a classic chew. If you boil them for too long, the crust will become excessively thick and tough; too short, and they’ll just taste like regular bread.
Use a slotted spoon or a spider skimmer to flip them gently. You’ll notice the bagels puff up and the skin becomes slightly wrinkled and yellowed—this is exactly what you want to see. After the second minute is up, lift them out and let them drain for just a few seconds on a wire rack. You want them to be damp so the toppings stick, but not dripping wet, or they’ll steam rather than bake.
Phase Five: Achieving the Golden Sesame Seed Crust
While the bagels are still warm and damp from their bath, brush them thoroughly with your egg wash. Don’t just hit the tops; make sure you get the sides as well. The egg wash acts as the “glue” for your sesame seeds and provides that high-gloss finish. If you skip the egg wash, your seeds will likely fall off the moment you try to slice the bagel later.
For the best sesame coverage, I use the “Dipping Method.” Fill a shallow bowl with your toasted sesame seeds and press the egg-washed side of the bagel directly into the seeds. This ensures a thick, even layer without any bald spots. If you prefer a lighter coating, you can sprinkle them on, but dipping gives you that professional, fully-loaded look that makes these bagels so irresistible.
For a similar sesame flavor, consider these shiny sesame dinner rolls.
Phase Six: High-Heat Baking and Cooling
Preheat your oven to 425°F. This high heat is essential for a quick “oven spring” and for setting that golden crust. Place your seeded bagels on the parchment-lined sheet and slide them into the center rack. About 12 minutes in, rotate the pan 180 degrees. Most home ovens have hot spots, and rotating ensures that the bagels in the back don’t get burnt while the ones in the front stay pale.
Bake for 20 to 25 minutes until they are a deep, rich golden brown. When you take them out, resist the urge to slice into one immediately! The bagels need at least 20 minutes on a wire rack to cool. During this time, the internal steam finishes cooking the crumb. If you cut them too early, the inside will feel gummy and underdone. Patience here is the final step to perfection.
Troubleshooting Common Bagel Texture Issues
If your bagels come out flat or deflated, you likely over-proofed them during the first or second rise. When the dough rises too much, the air bubbles become fragile and collapse when they hit the boiling water. Next time, keep a closer eye on the size and move to the next step as soon as they’ve doubled. Also, ensure your water isn’t boiling too violently, which can physically beat the air out of the dough.
Wrinkled bagels are usually a sign of over-boiling. If they stay in the water too long, the structure weakens. On the flip side, if your bagels are too dense and didn’t puff at all, your yeast might have been sluggish or your flour protein was too low. Always check the expiration date on your yeast and stick to bread flour for the best results. If the crust is dull, you might have forgotten the sugar or baking soda in the boiling water.
Flavor Variations and Seed Substitutions
Once you’ve mastered the sesame seed classic, you can easily branch out. Black sesame seeds offer a striking visual contrast and a slightly more intense, earthy flavor. Poppy seeds are another traditional favorite, though they can be messy. If you want to make your own “everything” blend, mix sesame seeds, poppy seeds, dried minced garlic, dried minced onion, and a pinch of coarse salt.
For those who enjoy experimenting with unique flavors, you might also enjoy this hot honey jalapeño cornbread.
Avoid using fresh toppings like raw onion or wet garlic before baking, as the moisture will prevent the crust from getting crispy and might lead to soggy spots. If you want a cinnamon raisin version, you’ll need to fold the raisins into the dough during the final stages of kneading, but keep in mind that the sugar in the raisins can sometimes slow down the yeast rise slightly.
What else to bake and enjoy?
Since you’ve mastered golden sesame seed bagels, here are a couple more options that complement a home baking spirit.
- For a sweet morning treat, try these Pumpkin Pecan Cinnamon Rolls, featuring a similar focus on dough texture.
- If you’re looking for a savory main, consider this Glazed Chicken Dinner for a juicy result that pairs well with baked goods.
Storage Solutions and Reheating Techniques
Homemade bagels have no preservatives, so they will go stale faster than store-bought versions. Never store your bagels in the refrigerator! The cold temperature actually accelerates “starch retrogradation,” which makes the bread turn tough and dry. Keep them in a paper bag on the counter for the first 24 hours. If you aren’t going to eat them all by day two, it’s time to freeze them.
The best way to freeze bagels is to slice them first. Place the halves back together and store them in a heavy-duty freezer bag. When you’re ready for breakfast, you can pop the frozen slices directly into the toaster. This “shocks” the bagel back to life, restoring the crispy exterior and soft interior. A toasted frozen bagel often tastes better than a two-day-old room-temperature one.
Expert Tips for Bakery-Quality Results
For an even better crust, try the “Ice Cube Trick.” When you put your bagels in the oven, toss three or four ice cubes onto the bottom of the oven floor (or into a preheated cast iron pan on the bottom rack). The immediate burst of steam keeps the bagel surface moist for the first few minutes of baking, allowing for maximum expansion and an even shinier crust.
When boiling, use a spider skimmer instead of a regular slotted spoon. The wire mesh allows the water to drain away much faster, so you don’t accidentally transfer too much liquid to your baking sheet. Finally, always weigh your flour. A “cup” of flour can vary by as much as 20 grams depending on how tightly it’s packed, and in a stiff dough like this, that extra flour can make the difference between a chewy bagel and a dry one.
Frequently Asked Questions
Can I use All-Purpose flour if I add Vital Wheat Gluten?
Yes, you can! If you only have all-purpose flour, you can mimic bread flour by adding about 1 tablespoon of vital wheat gluten for every 2-3 cups of flour. Whisk it thoroughly into the dry flour before adding the liquids. This will provide the necessary protein boost to give the bagels their characteristic chew and prevent them from becoming too soft or cake-like.
Why did my sesame seeds fall off after baking?
This usually happens for two reasons: the bagels were too dry when the seeds were applied, or the egg wash was too thin. Make sure you dip the bagels into the seeds immediately after brushing them with the egg wash while the surface is still tacky. If the bagels have cooled down or dried out after the boil, the seeds won’t have anything to grip onto. Using a full egg white rather than just water also provides a stronger “glue.”
Can I do an overnight cold-ferment in the fridge?
Absolutely, and many pros prefer this! After shaping the bagels in Phase Three, place them on a baking sheet, cover tightly with plastic wrap, and put them in the fridge for 12-24 hours. The cold environment slows down the yeast, allowing for a much deeper, more complex flavor to develop. When you’re ready to bake, take them out and let them sit at room temperature for 30 minutes before proceeding to the boiling step.
What is the difference between using honey and barley malt syrup?
Barley malt syrup is the traditional choice for New York-style bagels. It has a distinct, malty, almost earthy sweetness that is less intense than honey. Honey is a great substitute because it’s widely available and still provides the necessary sugars for browning and yeast activity. Honey will result in a slightly sweeter bagel, while barley malt syrup gives that classic “old-school” deli flavor profile.
My bagels didn’t float during the boil; are they ruined?
If your bagels sink and stay at the bottom, it means the dough didn’t proof long enough and isn’t aerated enough to be buoyant. They aren’t necessarily ruined, but they will be very dense. Give them a few more minutes in the boiling water to see if they lift. If they don’t, proceed with the recipe, but expect a much heavier texture. For the next batch, ensure your “Fail-Safe Rise” is fully completed before shaping.
Bagels
Course: BreadsCuisine: AmericanDifficulty: medium8
servings20
minutes25
minutes240
kcal120
MinutesA professional-grade bagel recipe focusing on temperature-controlled rising and a specific boiling method to ensure a perfect puff and chewy texture every time.
Ingredients
4 cups high-protein bread flour (plus extra for dusting)
1.5 cups warm water (105 to 110 degrees F)
2 tablespoons honey (or barley malt syrup)
1 packet (2 1/4 tsp) active dry yeast
2 teaspoons salt
1 egg white + 1 tablespoon water (for egg wash)
1/2 cup toasted sesame seeds
1 tablespoon baking soda (for the boiling water)
1 tablespoon granulated sugar (for the boiling water)
Directions
- To ensure the fail-safe rise, whisk the honey and warm water in a small bowl before sprinkling the yeast on top. Let it sit for 10 minutes until it is foamy. If it does not foam, your yeast is inactive and the bagels will not rise.
- In a large bowl or stand mixer, combine the flour and salt. Pour in the yeast mixture. Knead the dough for 10 minutes by hand or 7 minutes in a stand mixer with a dough hook until the dough is stiff, smooth, and elastic.
- Place the dough in a lightly oiled bowl, cover with a damp cloth, and let it rise in a warm, draft-free spot for 1 hour or until doubled in size. This warm environment is critical for the texture.
- Punch the dough down and divide into 8 equal pieces (approx. 115g each). Roll each into a tight, smooth ball. Use your thumb to poke a hole through the center and rotate your fingers within the hole to stretch it to about 2 inches wide. Cover the shaped bagels and let them rest for 15 minutes to puff slightly.
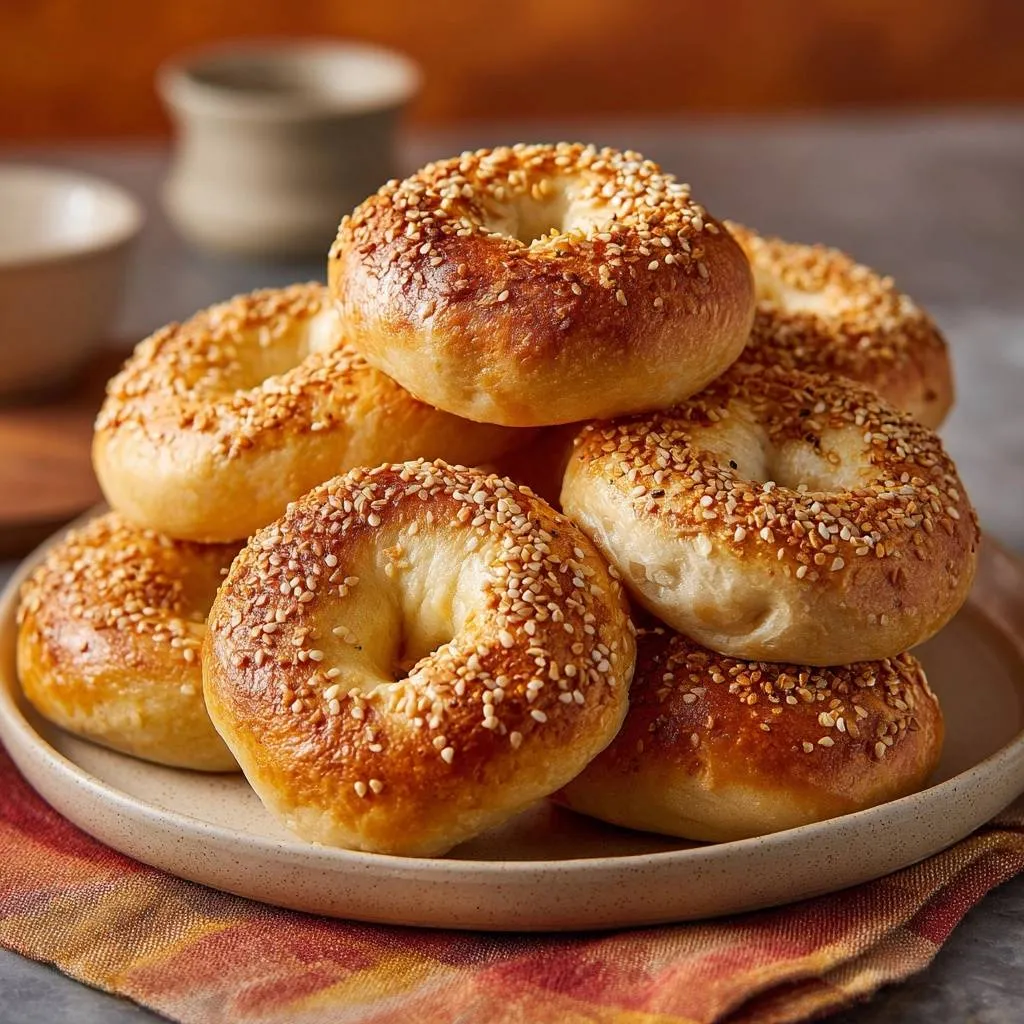
- Preheat your oven to 425°F (220°C). Bring a large, wide pot of water to a boil and add the baking soda and sugar. This combination creates the deep golden, professional crust shown in the image.
- Boil the bagels in batches for 1 minute per side. Use a slotted spoon to remove them and drain briefly on a wire rack.
- Place the boiled bagels on a parchment-lined baking sheet. Brush the tops and sides thoroughly with the egg wash. Dip the damp tops into a bowl of sesame seeds or sprinkle them generously to achieve the full coverage seen in the photo.
- Bake at 425°F for 20 to 25 minutes, rotating the pan halfway through, until they are deeply golden brown and have a firm crust. Let them cool on a wire rack for at least 20 minutes to allow the interior crumb to set.
Notes
- The secret to the professional golden crust is the combination of baking soda and sugar in the boiling water. Ensure yeast is foamy before proceeding to guarantee a proper rise.