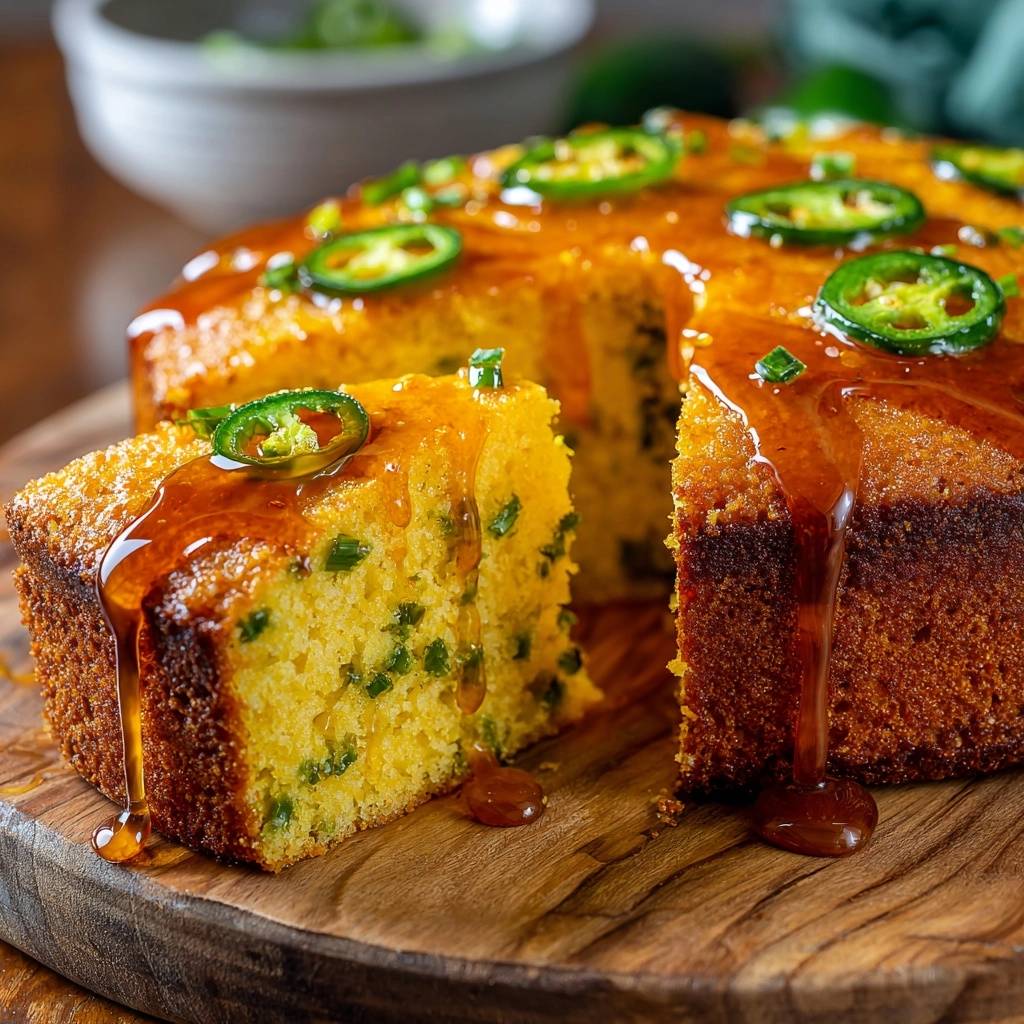
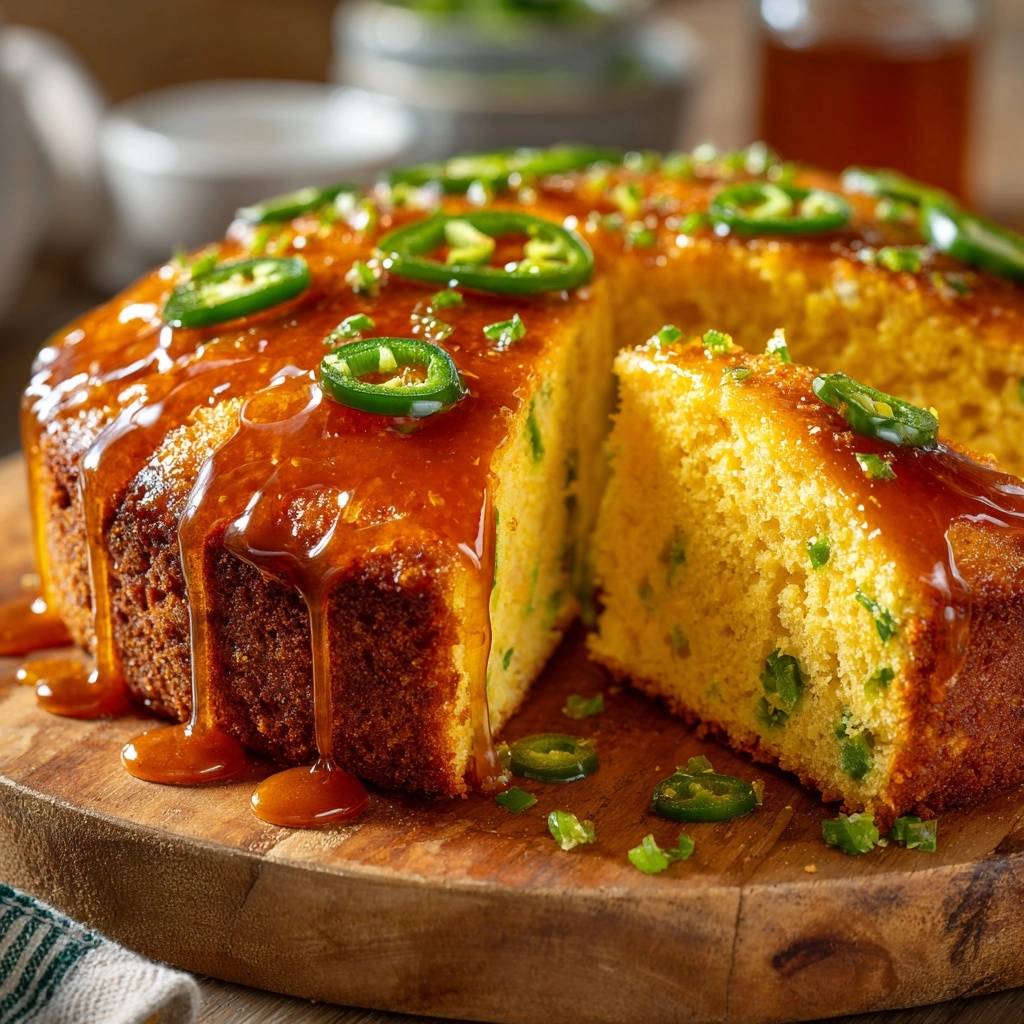
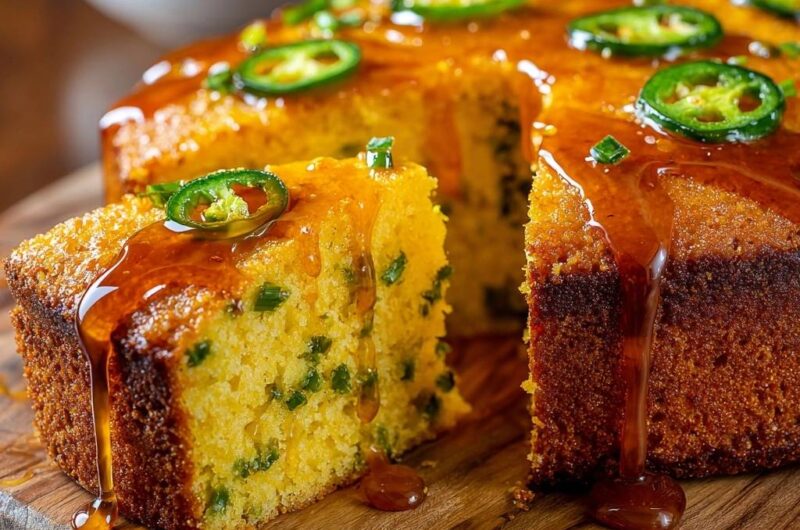
Imagine pulling a heavy cast iron skillet from the oven, the edges of the cornbread sizzling in a shallow pool of golden oil. You drizzle a spicy, vinegar-spiked honey over the top, watching it disappear into the nooks and crannies of a perfectly golden crust. This isn’t that dry, crumbly stuff from a box; it’s a texture-heavy masterpiece that balances a soft, tender center with a bottom so crispy it almost snaps.
Most home cooks struggle with the dreaded “soggy bottom” when adding fresh vegetables like jalapeños to their batter. The peppers release moisture as they bake, often turning the base of the bread into a mushy mess. We’re going to fix that today by focusing on a specific searing technique that creates a moisture-proof barrier, ensuring every slice holds its shape and crunch.
The secret to this bakery-style crumb lies in the temperature of your pan. You aren’t just baking this bread; you’re essentially frying the bottom crust the moment the batter hits the skillet. By preheating the cast iron until it’s screaming hot, you lock in the structure of the bread before the jalapeño juices have a chance to migrate downward. It’s a game-changer for anyone who loves the contrast of sweet heat and savory corn.
The Science of the Anti-Soggy Bottom
Achieving a crisp base requires an understanding of thermodynamics in the kitchen. When you place a cold batter into a cold pan, the heat penetrates slowly, allowing moisture to settle at the bottom. However, when you use a preheated cast iron skillet, you trigger an immediate Maillard reaction. This chemical reaction between amino acids and reducing sugars creates that deep brown, flavorful crust that acts as a shield.
This instant sear creates a physical barrier that prevents the steam from the jalapeños from softening the bottom layer. In addition to the pan temperature, the temperature of your ingredients plays a massive role. Using room temperature buttermilk is essential because cold liquids will cause your melted butter to seize into tiny clumps. When the butter is evenly emulsified, it creates a uniform crumb that supports the weight of the peppers without collapsing.
Furthermore, the vegetable oil in the pan serves as a heat conductor. It fills the microscopic pores of the cast iron, ensuring the heat is distributed evenly across the entire surface of the cornbread. This results in a uniform, fried-edge texture that stays crispy even after you pour the hot honey glaze over the top. It’s the difference between a side dish and the star of the show.
Essential Components for Hot Honey Jalapeño Cornbread
The foundation of great cornbread is the cornmeal itself. I recommend using a medium-grind yellow cornmeal rather than a fine-grind flour. The medium grind provides that classic “toothsome” texture and a robust corn flavor that doesn’t get lost under the heat of the peppers. When you mix it with all-purpose flour, you get the perfect balance of structure and tenderness.
Quality honey is another non-negotiable element here. Since we are infusing it with red pepper flakes and apple cider vinegar, you want a honey that has a clean, floral sweetness. The apple cider vinegar is the “secret” ingredient in the glaze. Its sharp acidity cuts right through the richness of the butter and the sugar in the cornmeal, brightening the entire flavor profile and making the heat of the jalapeños pop.
Don’t overlook the salt. A full teaspoon might seem like a lot, but cornmeal is naturally bland and needs a significant amount of seasoning to bring out its earthy notes. Use a high-quality kosher salt for the best results, as it dissolves more evenly into the batter than standard table salt. These small choices in ingredient quality are what elevate a simple quick bread into something truly memorable.
Selecting and Preparing Fresh Jalapeños
When you’re at the grocery store, look for jalapeños that are firm and shiny. If you see small white “stretch marks” on the skin, that’s often a sign that the pepper is older and significantly spicier. For this recipe, we use two different preparation styles to maximize both flavor and visual appeal. Dicing the peppers finely for the batter ensures you get a little bit of heat in every single bite.
If you’re worried about the heat level, you can easily control it during the dicing process. Most of the capsaicin—the compound that makes peppers hot—is found in the white pith and the seeds. By scraping those out before dicing, you keep the fresh, vegetal flavor of the jalapeño without the stinging burn. For the topping, slicing the third pepper into thin rounds provides a beautiful, professional look that hints at the flavors inside.
The Role of Buttermilk and Leavening Agents
Buttermilk is the workhorse of this recipe. Its lactic acid reacts vigorously with the baking powder to create carbon dioxide bubbles, which provide the necessary lift. This reaction is what keeps the cornbread from turning into a dense, heavy brick. If you don’t have buttermilk on hand, you can make a quick substitute by adding a tablespoon of lemon juice to a cup of whole milk and letting it sit for five minutes.
However, real buttermilk is thicker and adds a subtle tang that complements the honey perfectly. Because we are using a full tablespoon of baking powder, the bread will rise quickly once it hits the heat. This rapid expansion, combined with the steam from the buttermilk, creates a light, airy interior that provides a beautiful contrast to the crunchy, seared exterior of the loaf.
Step-by-Step: Achieving the Perfect Sizzle
The most critical moment of this recipe happens when you pull that 400°F skillet out of the oven. You need to work quickly but safely. Once you add the oil to the hot pan, swirl it around so it coats the bottom and at least an inch up the sides. When you pour the batter in, you should hear a loud, aggressive sizzle. If you don’t hear that sound, your pan wasn’t hot enough, and you won’t get that signature crust.
As you pour the batter, use a spatula to spread it toward the edges. The batter will start to set almost instantly at the perimeter. This is exactly what you want. Quickly arrange your jalapeño rounds on top, pressing them very lightly so they stay put but don’t sink. Then, get that skillet back into the oven as fast as possible to maintain the heat. You’ll notice the edges start to pull away from the pan as it bakes, which is a great visual cue for doneness.
While it’s in the oven, keep an eye on the color. You’re looking for a deep golden brown on top and a dark, caramelized brown around the edges. A toothpick inserted into the center should come out clean, but don’t overbake it. Even a few extra minutes can turn a moist cornbread dry. The carryover heat from the cast iron will continue to cook the center for a few minutes after you take it out, so err on the side of caution.
Preparing the Infused Hot Honey Glaze
Making your own hot honey is incredibly simple and far superior to store-bought versions. By simmering the honey with red pepper flakes, you control the infusion level. The goal is a “back-of-the-throat” heat that lingers without overpowering the sweetness. Adding the apple cider vinegar at the end is crucial; it thins the honey slightly so it can soak into the warm bread more effectively.
For a different take on cornbread flavor, explore golden orange glazed cornbread.
Let the honey steep for at least five minutes while the cornbread is in its final stages of baking. This allows the oils from the pepper flakes to fully marry with the honey. When you drizzle it over the hot cornbread, the heat from the bread will help the glaze penetrate the top layer, creating a sticky, flavorful “lid” that keeps the moisture locked inside the crumb.
Equipment: Why Cast Iron is Non-Negotiable
You might be tempted to reach for a glass 9×9 baking dish, but I’m telling you, it won’t yield the same results. Glass and aluminum simply don’t have the heat retention capabilities of seasoned cast iron. Cast iron acts as a heat reservoir, maintaining a consistent temperature even when the relatively cool batter is added. This is the only way to get those “fried” edges that make southern-style cornbread so addictive.
A 9-inch skillet is the ideal size for this recipe. If you use a 10-inch skillet, the cornbread will be thinner and will bake faster, so you’ll need to reduce the oven time by about 5 minutes. Conversely, a smaller skillet will result in a very thick loaf that might remain gummy in the center. If your skillet is well-seasoned, the cornbread should slide right out, but that initial coating of oil is still necessary for the texture.
Troubleshooting Common Cornbread Failures
If your cornbread turns out like a “crumbly mess” that falls apart the moment you slice it, you likely over-mixed the batter. Over-mixing develops the gluten in the flour, making the bread tough and brittle. You want to fold the ingredients together until the flour streaks just disappear. A few small lumps are perfectly fine and will disappear during the baking process.
A “gummy center” is usually the result of one of two things: under-baking or using cold ingredients. If the center feels damp or heavy, try tenting the skillet with foil and baking for another 5-7 minutes. To prevent this next time, ensure your buttermilk and eggs are at room temperature so the batter starts at a higher baseline temperature before it even enters the oven.
If you find the bottom is burning before the top is done, check your oven rack position. The skillet should be on the middle rack. If it’s too low, the direct heat from the bottom element will scorch the crust. Every oven is different, so if you know yours runs hot on the bottom, move the rack up one notch to balance the browning.
Flavor Variations and Ingredient Swaps
This recipe is a fantastic canvas for experimentation. For a “Cheesy Hot Honey Jalapeño Cornbread,” fold in a cup of extra-sharp shredded cheddar. The cheese will melt into little pockets of saltiness that play beautifully against the honey. If you prefer a deeper, more earthy sweetness, you can swap the granulated sugar in the batter for an equal amount of maple syrup.
For those who need a gluten-free option, this recipe adapts well. Use a high-quality 1-to-1 gluten-free flour blend that contains xanthan gum. Because cornmeal is naturally gluten-free, the flour swap doesn’t drastically change the texture. You might find the batter needs an extra tablespoon of buttermilk, as gluten-free flours tend to be a bit more absorbent.
Optimal Pairings for Spicy Cornbread
This cornbread is bold enough to stand on its own, but it truly shines when paired with smoky, savory dishes. It is the ultimate companion for a slow-simmered beef chili or a smoky vegetarian black bean soup. The sweetness of the honey glaze provides a cooling counterpoint to the spices in the chili, while the jalapeños echo the heat.
It also works beautifully alongside roasted meats. Try serving a thick wedge with some slow-cooked brisket or roasted chicken. The honey and corn flavors complement the natural sweetness of the meat, and the crispy crust provides a much-needed textural contrast to tender, fall-off-the-bone proteins. It’s a versatile side that elevates a simple weeknight dinner into a feast.
Storage, Reheating, and Make-Ahead Tips
To keep that crispy bottom intact, never wrap warm cornbread in plastic wrap. The trapped steam will turn your beautiful crust soft and soggy in minutes. Instead, let it cool completely on a wire rack. Once cool, store it in an airtight container with a piece of parchment paper between layers. It will stay fresh at room temperature for about two days.
When you’re ready for leftovers, avoid the microwave. It will make the bread rubbery. Instead, heat a dry skillet over medium heat and place the cornbread slice-side down for a minute or two. This revives the crispy edges and warms the center perfectly. Alternatively, a toaster oven at 350°F for five minutes will do a great job of restoring that “just-baked” feel.
Expert Troubleshooting and FAQ
Why did my jalapeños sink to the bottom?
Jalapeños usually sink because the batter is too thin or has been over-whisked, breaking down the air bubbles that provide support. Ensure you are measuring your flour and cornmeal correctly using the “spoon and level” method. When you fold in the diced peppers, use a gentle hand. If the batter has the right thick, pourable consistency, the peppers will stay suspended throughout the bread.
Can I use frozen corn or canned peppers?
I strongly advise against using canned jalapeños for this specific recipe. They are packed in brine, which adds too much moisture and acidity, potentially ruining the “anti-soggy” goal. If you want to add frozen corn kernels to the batter for extra texture, make sure to thaw them completely and pat them very dry with paper towels before folding them in. Any excess water will create steam pockets that can make the bread crumbly.
How do I prevent the honey from burning?
The honey should never go into the oven. If you mix honey into the batter or pour it on before baking, the high sugar content will cause the top of the bread to scorch before the center is cooked. The honey is strictly a post-bake glaze. By drizzling it on while the cornbread is fresh out of the oven, the bread is hot enough to absorb the flavor without the risk of burning the sugars.
What is the best oil for searing the crust?
You need an oil with a high smoke point because the skillet is preheated to 400°F. Vegetable oil, canola oil, or grapeseed oil are all excellent choices. Avoid using butter in the pan for the initial sear; the milk solids in butter will burn at that temperature, leaving you with a bitter, blackened crust. If you want that buttery flavor on the outside, you can brush a little extra melted butter on the sides after the bread is finished baking.
How do I achieve a level rise without a domed top?
A heavily domed top is usually caused by the oven being too hot or the rack being too high, which causes the edges to set before the center has finished rising. Make sure your oven is properly calibrated and keep the skillet on the center rack. If you still get a slight dome, don’t worry—it provides more surface area for that delicious hot honey to pool and soak in!
Cornbread
Course: Side DishCuisine: AmericanDifficulty: easy8
servings15
minutes30
minutes340
kcal45
MinutesThis recipe solves the common issue of soggy cornbread by using a screaming hot cast iron skillet to sear the crust instantly. Topped with fresh jalapeño rounds and a spicy, tangy hot honey glaze, it offers a perfect balance of sweet and heat.
Ingredients
1.5 cups yellow cornmeal
1 cup all-purpose flour
1/4 cup granulated sugar
1 tablespoon baking powder
1 teaspoon salt
1 cup buttermilk, room temperature
2 large eggs
1/2 cup unsalted butter, melted and slightly cooled
3 large jalapeños (2 finely diced for the batter, 1 thinly sliced into rounds for topping)
1/3 cup honey
1 teaspoon red pepper flakes
1/2 teaspoon apple cider vinegar (to brighten the honey)
3 tablespoons vegetable oil or lard (for the pan)
Directions
- Place a 9-inch cast iron skillet inside the oven and preheat to 400°F (200°C). This is the secret to the anti-soggy bottom; the pan must be screaming hot before the batter hits it to create a fried, golden crust.
- In a large bowl, whisk together the cornmeal, flour, sugar, baking powder, and salt.
- In a separate bowl, beat the eggs into the buttermilk and stir in the melted butter.
- Fold the wet ingredients into the dry ingredients until just combined. Do not overmix, as this makes the bread tough. Gently fold in the diced jalapeños.
- Carefully remove the hot skillet from the oven using a heavy mitt. Add the vegetable oil and swirl to coat the bottom and the sides of the pan thoroughly.
- Immediately pour the batter into the hot oil. You should hear a loud sizzle. This instant sear creates a moisture barrier that prevents the bread from becoming soggy and ensures the deep golden-brown sides seen in the image.
- Arrange the jalapeño rounds on top of the batter.
- Bake for 20 to 25 minutes, or until the top is golden and a toothpick inserted into the center comes out clean.
- While the cornbread bakes, prepare the hot honey: In a small saucepan or microwave-safe bowl, combine the honey, red pepper flakes, and apple cider vinegar. Heat until bubbling, then let steep for at least 5 minutes.
- Remove the cornbread from the oven. While still hot, generously drizzle the warm hot honey over the entire surface, allowing it to pool slightly and drip down the sides.
- Let the cornbread sit in the skillet for 10 minutes. This allows the honey to glaze the crust and the bottom to finish setting for a perfect, clean slice.
Notes
- The secret to the anti-soggy bottom is the pre-heated skillet and oil; the loud sizzle when pouring the batter indicates the moisture barrier is forming correctly. Let the bread rest for 10 minutes after drizzling with honey to allow the crust to set.