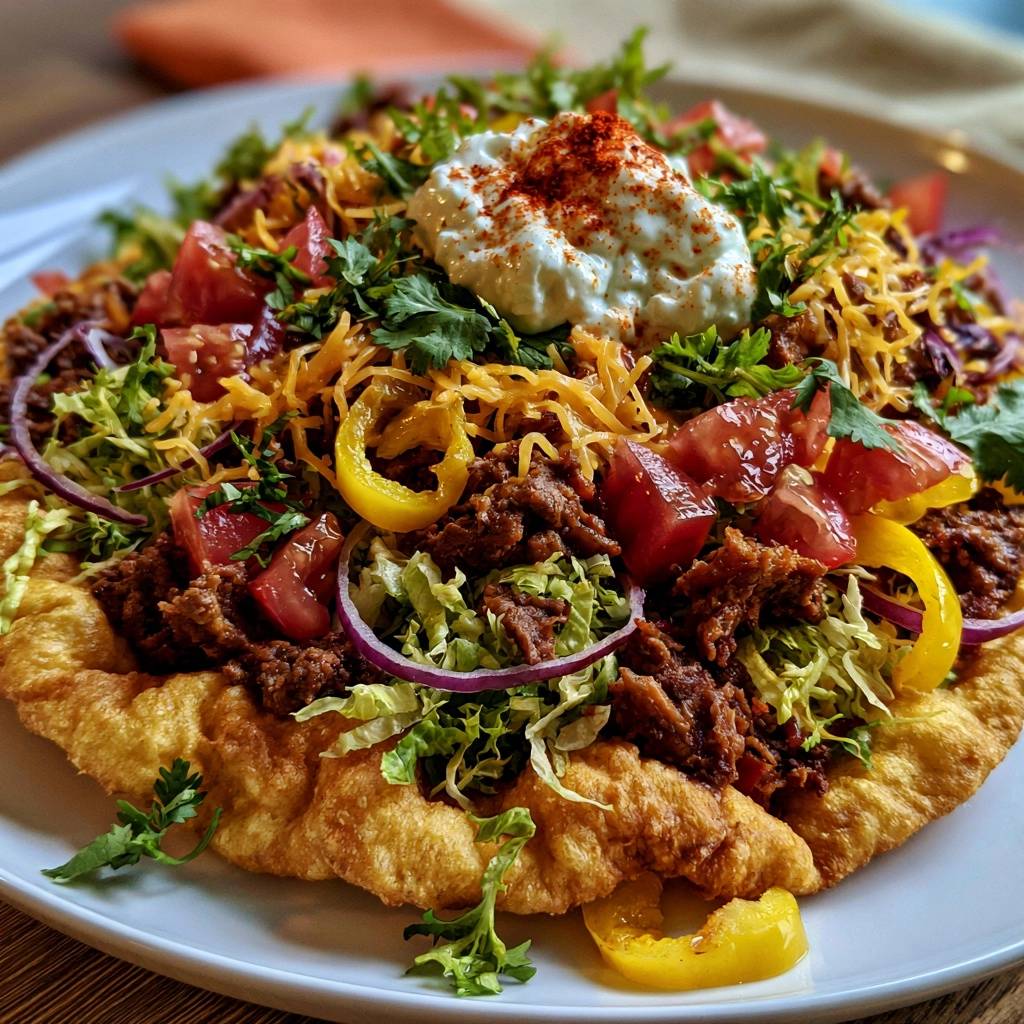
Nothing ruins a beautiful taco faster than a greasy, limp piece of fry bread that collapses under the weight of the toppings. You know the disappointment when that first bite turns into a heavy, soggy mess because the dough absorbed too much oil. It’s a common frustration that makes many home cooks shy away from frying at home.
This recipe changes the game by using a specific temperature-shock method and a moisture-barrier layering technique. We’re ensuring your bread stays light, airy, and crisp until the very last bite. By controlling the heat and the assembly order, you’ll achieve a golden crust that stands up to a mountain of seasoned beef and fresh vegetables.
The secret to this success lies in the precise 375°F oil temperature. Most people fry too low, which turns the dough into a sponge for grease. When you hit that high-heat sweet spot, the exterior sears instantly, creating a steam barrier that keeps the oil out and the inside fluffy. I’ve found that using a wire rack for cooling, rather than paper towels, is the final step to preventing that dreaded “sweating” effect.
The Cultural Heritage of Indigenous Fry Bread
Fry bread holds a complex and significant place in the history of Indigenous peoples across North America. It originated in the mid-1800s when the US government forced tribes onto land that couldn’t support their traditional diets. Provided with meager rations of flour, sugar, and shortening, resourceful cooks created this resilient staple to survive.
Over the decades, it has evolved from a food of necessity into a symbol of endurance and communal pride. You’ll find it at the heart of every powwow and tribal gathering, often served as the base for “Navajo Tacos” or “Indian Tacos.” It represents the ability to take limited resources and transform them into something warm, comforting, and deeply delicious.
Today, this dish is a celebrated centerpiece of community markets and family reunions. While the toppings have become more elaborate, the core of the dish remains the same. It’s a testament to the power of food to tell a story of resilience while bringing people together around a shared table.
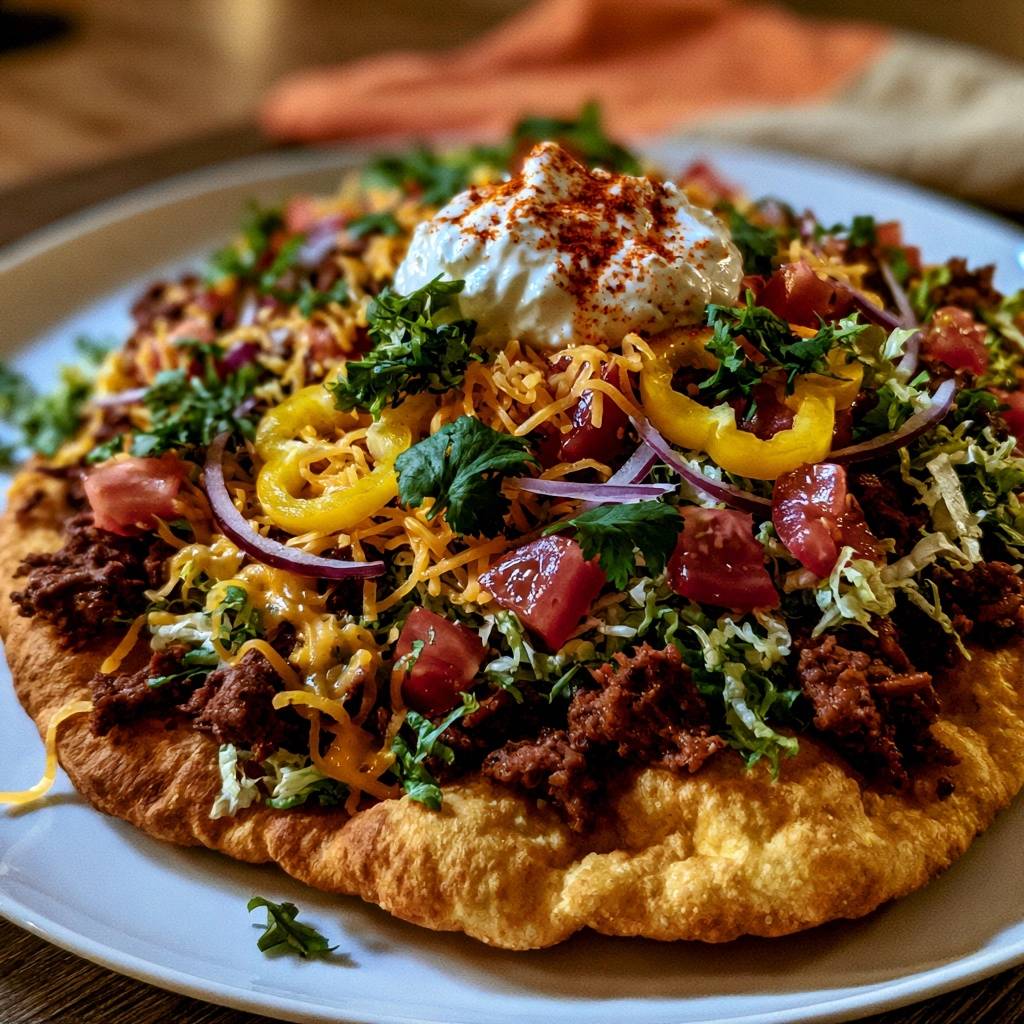
Essential Components for Loaded Beef Indian Fry Bread
Success starts with the right flour, and standard all-purpose flour is the undisputed champion here. It provides just enough protein to give the bread structure without making it as tough as a pizza crust. Since we aren’t using yeast, the baking powder acts as the sole leavening agent, creating those iconic bubbles and airy pockets.
For the protein, I recommend using lean ground beef, specifically a 90/10 or 80/20 blend. You want enough fat for flavor, but excess grease is the enemy of a crisp fry bread. If you use a higher fat content, you must be diligent about draining the skillet thoroughly before adding your seasonings.
Warm water is another non-negotiable component for the dough. It helps the flour hydrate quickly and keeps the fats in the dough pliable. If you use cold water, the dough often feels tight and resists stretching, leading to a dense, chewy finished product rather than a light puff.
Selecting the Right Frying Oil
You need an oil that can handle the heat without breaking down or smoking you out of the kitchen. Vegetable oil and canola oil are excellent, affordable choices with high smoke points. They provide a neutral flavor that lets the taste of the dough shine through.
If you want a slightly richer profile, peanut oil is a fantastic alternative because it stays stable at high temperatures. Avoid olive oil or butter for the frying stage. They have low smoke points and will burn long before you reach the 375°F required for that perfect sear.
Fresh Produce and Texture Contrast
The toppings aren’t just for flavor; they provide the structural and textural contrast that makes the dish work. I prefer Roma tomatoes because they have a lower water content than beefsteak varieties. This prevents extra juice from running down into the bread and softening the crust.
Iceberg lettuce is the traditional choice for a reason. Its high water content and sturdy ribbing provide a cooling crunch that cuts through the richness of the fried dough. Thinly sliced red onions and banana peppers add a necessary hit of acidity and brightness to balance the savory beef.
The Science of the Anti-Soggy Bottom
Understanding the thermodynamics of frying will completely change how you cook. When you drop dough into 375°F oil, the moisture inside the dough immediately turns to steam. This steam creates an outward pressure that acts as a physical barrier, preventing the oil from soaking into the bread.
If your oil is too cool, say around 325°F, that steam pressure is too weak. Instead of pushing back, the dough acts like a sponge, drawing the oil into the center. This results in a heavy, greasy bread that feels like a lead weight in your stomach and collapses under the weight of the beef.
By maintaining that high heat, you ensure the exterior sears and crisps in seconds. This creates a structural shell that supports the toppings. It’s the difference between a professional-grade taco and a soggy mess that requires a fork and knife to eat.
Step-by-Step: Crafting the Perfect Dough Base
When you mix your flour, baking powder, and salt, make sure the distribution is even before adding the water. Gradually pour in the warm water and stir until a soft, slightly tacky dough forms. You’re looking for a texture that just barely sticks to your fingers but pulls away from the bowl cleanly.
The biggest mistake you can make here is overworking the dough. If you knead it like bread dough, you’ll develop too much gluten. This results in a rubbery, tough texture that’s hard to chew. Mix just until the flour is hydrated, then stop immediately to keep the gluten relaxed and tender.
You’ll notice the dough looks a bit shaggy at first, but don’t worry. As it sits, the flour will fully absorb the moisture, and the texture will smooth out on its own. Trust the process and resist the urge to keep stirring or kneading.
The Importance of the Resting Phase
Never skip the 15-minute rest period. During this time, the gluten strands you created during mixing have a chance to relax. If you try to shape the dough immediately, it will likely snap back like a rubber band, making it impossible to get a thin, even circle.
Cover the bowl with a clean kitchen towel to prevent a dry skin from forming on the surface. After fifteen minutes, you’ll find the dough is much more cooperative. It will stretch easily without tearing, allowing you to achieve that perfect 1/4-inch thickness for frying.
Shaping for Even Heat Distribution
When you divide the dough into four portions, pat them into circles rather than using a rolling pin. Using your fingers helps maintain the air pockets inside the dough. I always suggest making a slight depression in the center of each circle with your thumb.
This little “dimple” prevents the bread from ballooning into a giant ball in the oil. It ensures the center stays relatively flat so your toppings don’t slide off. It also helps the center cook at the same rate as the edges, preventing a doughy middle.
Precision Frying and the Wire Rack Secret
A heavy cast-iron skillet is your best friend for frying because it holds heat better than thin stainless steel. Once your oil hits 375°F, carefully slide the dough in. You’ll see it puff up almost instantly, which is exactly what you want to see for a light texture.
Fry for about two minutes per side until it reaches a deep, mahogany gold. When you remove the bread, place it on a wire rack set over a baking sheet. Most people use paper towels, but that’s a mistake. Paper towels trap steam against the bottom of the bread, which softens the crust you just worked so hard to crisp.
The wire rack allows air to circulate all the way around the bread. This lets the steam escape freely, keeping the bottom as crunchy as the top. It’s a small professional trick that makes a massive difference in the final structural integrity of your taco.
Preparing the Dry-Finish Seasoned Beef
While your bread is resting, get your beef started in a separate skillet. Brown it thoroughly over medium-high heat, breaking it into small crumbles. Once it’s cooked through, you must drain every drop of excess fat. This is crucial for preventing a soggy taco.
Add your taco seasoning and a splash of water, then keep cooking until the liquid has completely evaporated. This “dry-finish” technique ensures the flavor is concentrated on the meat rather than sitting in a puddle of sauce. If the meat is too wet, that moisture will migrate straight into your bread.
The goal is seasoned, juicy meat that doesn’t have standing liquid. This keeps the beef flavorful and savory while protecting the crispness of the fried base. You want the spices to coat the meat like a thick paste rather than a soup.
Strategic Layering for Maximum Structural Integrity
The order in which you stack your toppings is the final secret to the “Anti-Soggy” method. Never put the hot meat directly onto the bread. Instead, start with a generous layer of shredded iceberg lettuce. This acts as a thermal insulation barrier between the hot beef and the fried dough.
The lettuce protects the bread from the heat and any residual moisture from the meat. Next, add your seasoned beef, followed immediately by the shredded cheese so it can melt slightly from the residual heat. This layering creates a stable foundation for the rest of your toppings.
Finish with your cold items: tomatoes, onions, and peppers. By following this specific order—Bread, Lettuce, Meat, Cheese, then Veggies—you ensure the bread stays crunchy for the duration of the meal. It’s a simple engineering fix for a common culinary problem.
Troubleshooting Common Fry Bread Failures
If your bread doesn’t puff up when it hits the oil, your baking powder might be expired. Baking powder loses its potency over time, so always check the date. Another culprit could be oil that isn’t hot enough; if the oil is cool, the leavening agent won’t react quickly enough to create those air pockets.
If the bread is golden on the outside but raw in the middle, your oil is likely too hot. This causes the exterior to burn before the heat can penetrate the center. Use a thermometer to stay right at 375°F. If the bread feels tough or leathery, you probably overworked the dough during the mixing stage.
Remember that the dough should be handled as little as possible. If you find the bread is too greasy, it almost always points back to the oil temperature dropping too low during the frying process. Keep a close eye on that thermometer between batches.
Managing Oil Temperature Fluctuations
Every time you add a piece of cold dough to the skillet, the oil temperature will drop. Don’t rush the process by crowding the pan. Fry one piece at a time to give yourself better control over the heat and the movement of the bread.
Wait a minute or two between pieces to let the oil climb back up to 375°F. If you see the temperature dipping toward 350°F, turn the heat up slightly and wait. Patience here is the difference between a crisp masterpiece and a greasy disappointment.
Expert Tips for Flavor Enhancements
To take the flavor to the next level, try dusting the finished taco with a bit of smoked paprika. It adds a beautiful red color and a hint of wood-fired depth that complements the seasoned beef perfectly. It’s a small touch that makes the dish look and taste professional.
Instead of standard sour cream, try using Mexican crema. It has a slightly thinner consistency and a tangier flavor profile that drizzles beautifully over the toppings. You can also add a squeeze of fresh lime juice over the meat just before serving to brighten all the heavy flavors.
Serving Suggestions and Side Pairings
This is a heavy, filling meal on its own, so I like to pair it with something light and acidic. A roasted corn salad, or esquites, with lime and cilantro is a perfect match. The sweetness of the corn and the zing of the lime help balance the richness of the fried bread.
For beverages, stay away from anything too heavy. A hibiscus tea or a sparkling water infused with fresh lime and mint is incredibly refreshing. These drinks cleanse the palate between bites, making every mouthful of the loaded fry bread taste as good as the first.
How should I store leftover fry bread?
Fry bread is best eaten fresh, but you can store leftovers in an airtight container at room temperature for up to two days. To reheat, avoid the microwave as it will make the bread rubbery. Instead, place it in a 350°F oven or a dry skillet for a few minutes until it regains its crispness. Do not freeze the assembled tacos, as the vegetables will turn to mush and the bread will become soggy.
Why is my fry bread tough and chewy instead of fluffy?
Toughness is almost always caused by overworking the dough. When you mix the flour and water, gluten begins to develop. If you knead it too much, those gluten strands become tight and elastic. Mix only until the ingredients are combined and let the dough rest for the full 15 minutes to allow the gluten to relax, ensuring a tender bite.
Can I use whole wheat flour for this recipe?
You can substitute up to half of the all-purpose flour with whole wheat flour, but be aware that it will result in a much denser, heavier bread. Whole wheat flour contains the bran and germ, which can cut through gluten strands and prevent the bread from puffing as much. If you make this swap, you may need to add a tablespoon or two of extra water as whole wheat is more absorbent.
What is the best way to keep the oil at the right temperature?
The most reliable way is to use a clip-on deep-fry thermometer. Visual cues like “shimmering oil” can be deceiving. If you don’t have a thermometer, you can test the oil by dropping a small piece of dough into the pan. If it sinks and stays at the bottom, the oil is too cold. If it bubbles vigorously and floats to the top immediately, you are ready to fry.
Can I make the dough in advance?
Yes, you can prepare the dough up to 4 hours in advance. Keep it in a bowl covered tightly with plastic wrap in the refrigerator to prevent it from rising too much or drying out. When you are ready to fry, let the dough sit at room temperature for about 20 minutes so it becomes pliable again before shaping and frying.
My beef is very oily, how do I fix this?
If your beef is still greasy after browning, place the cooked meat into a fine-mesh strainer over a bowl and let it sit for a few minutes. You can even pat the meat with paper towels to soak up the remaining fat. Ensuring the meat is as dry as possible before adding it to the taco is the best way to protect the integrity of the fry bread.
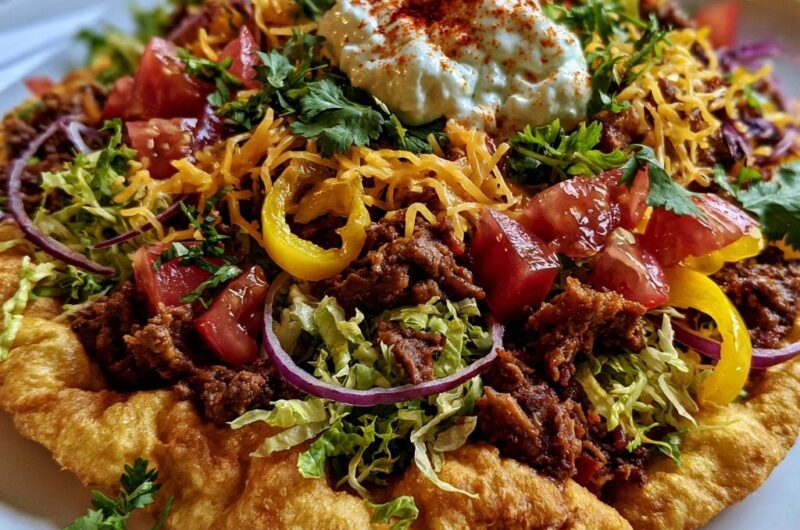
Loaded Beef Indian Fry Bread
Course: Main CourseCuisine: AmericanDifficulty: easy4
servings20
minutes15
minutes35
Minutes640
kcalAmerican
Ingredients
2 cups all-purpose flour
1 tablespoon baking powder
1/2 teaspoon salt
1 cup warm water
Vegetable oil for frying
1 pound lean ground beef
2 tablespoons taco seasoning
1/4 cup water (for beef seasoning)
2 cups shredded iceberg lettuce
1 cup diced Roma tomatoes
1/2 cup thinly sliced red onion rings
1/2 cup sliced yellow banana peppers
1 cup shredded sharp cheddar cheese
1/2 cup thick sour cream or Mexican crema
1/4 cup chopped fresh cilantro
1 teaspoon smoked paprika
Directions
- In a large bowl, whisk together flour, baking powder, and salt. Gradually add warm water and stir until a soft, slightly tacky dough forms. Do not overwork the dough; mix just until combined to keep the gluten relaxed. Let the dough rest, covered, for 15 minutes.
- Divide the dough into 4 equal portions. On a lightly floured surface, pat each ball into a flat circle about 1/4 to 1/2 inch thick. Use your fingers to create a slight depression in the center of each circle to prevent it from ballooning too much in the oil.
- Heat 1 inch of vegetable oil in a heavy skillet (cast iron is preferred) to exactly 375°F. This high temperature is the secret to the Anti-Soggy Bottom. If the oil is too cool, the dough acts like a sponge. At 375°F, the exterior sears instantly, creating a steam-barrier that keeps the oil out.
- Carefully slide one dough circle into the oil. Fry for about 1.5 to 2 minutes per side until deep golden brown and puffed. Drain on a wire rack set over a baking sheet rather than paper towels; this allows air to circulate under the bread, preventing trapped steam from softening the bottom.
- While the bread rests, brown the ground beef in a separate skillet over medium-high heat. Drain all excess fat thoroughly. Add the taco seasoning and 1/4 cup water, simmering until the liquid is fully evaporated. This “dry-finish” meat prevents moisture from seeping into the bread. Cook until no pink remains and it reaches 160°F (71°C).
- To assemble, place the hot fry bread on a plate. Add a generous layer of shredded lettuce first. This acts as a physical thermal barrier between the warm meat and the bread, protecting the crunch.
- Layer the seasoned beef over the lettuce, followed by the shredded cheddar cheese, diced tomatoes, red onion rings, and banana peppers.
- Top with a large dollop of sour cream in the center. Garnish heavily with fresh cilantro and a final dusting of smoked paprika for visual contrast and a hint of wood-fired flavor. Serve immediately.
Notes
- Draining the bread on a wire rack instead of paper towels prevents trapped steam from softening the crust. Always layer the lettuce before the meat to protect the bread’s crunch.