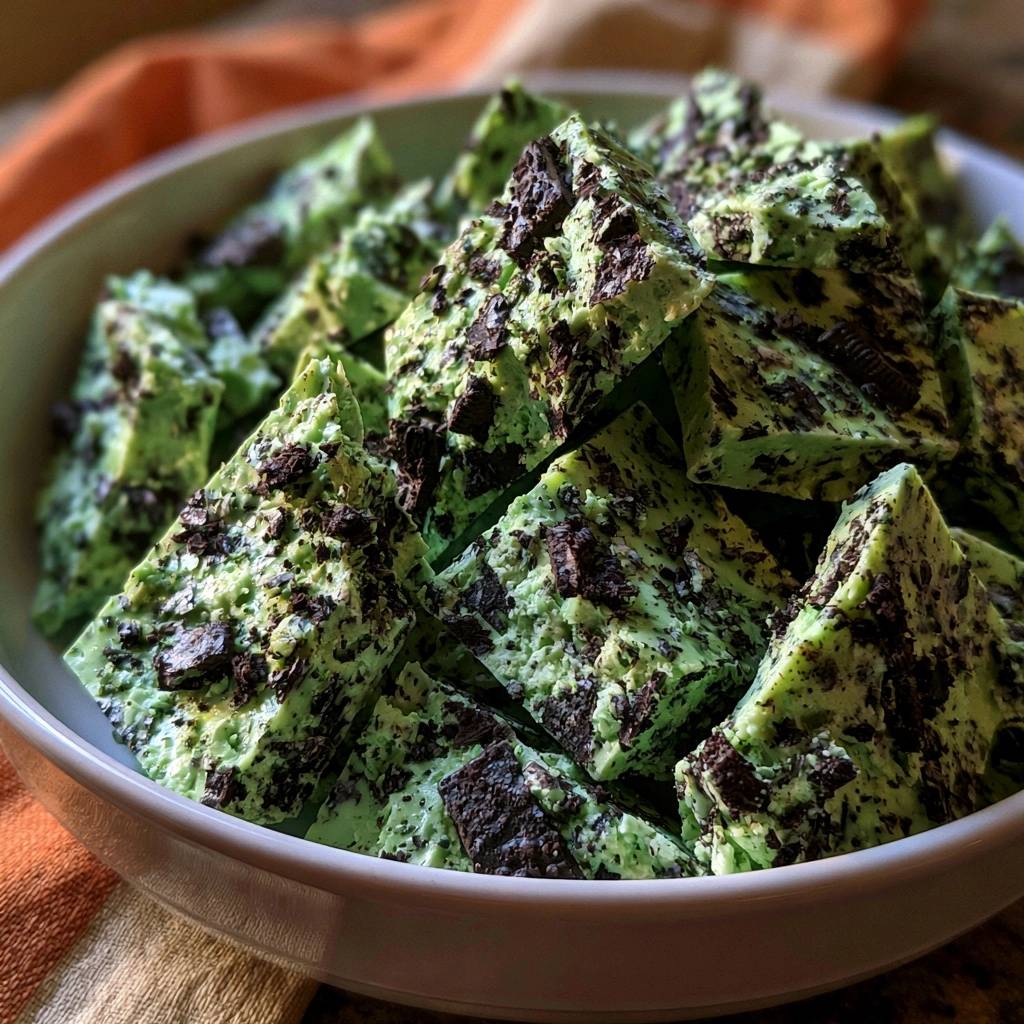
Imagine biting into a square of fudge that feels like pure velvet on your tongue. You get that immediate hit of cool peppermint, followed by the satisfying crunch of dark, cocoa-rich cookies. It’s a sensory powerhouse that balances creamy sweetness with a refreshing finish. Most people expect homemade fudge to be a bit gritty or crumbly, but this version changes the game entirely. We’re aiming for a professional, candy-shop texture that melts away without a single grain of sugar left behind.
The secret to this recipe isn’t just the ingredients; it’s the way we handle the heat. White chocolate is notoriously finicky and can turn into a clump of dry paste if you look at it wrong. By using a specific emulsion technique, we protect the delicate fats and ensure a glossy, stable result. You’re not just making a snack here. You’re mastering the art of chocolate stability to create a treat that looks as stunning as it tastes.
If you’ve ever had fudge seize up on you, it’s likely because the chocolate was “shocked” by a temperature change or a stray drop of water. I’ve found that the absolute best way to prevent this is to warm your condensed milk and butter first. This creates a cozy, warm bath for the chocolate chips, allowing them to melt gently rather than forcing them to liquefy over direct, harsh heat. This one small shift in workflow guarantees that signature silky mouthfeel every single time.
The Chemistry of Smooth Mint Chocolate Cookie Fudge
Fudge is essentially a controlled crystallization of sugar. When you use traditional methods involving boiling sugar and water, one tiny mistake can cause the sugar to recrystallize into large, sandy grains. This recipe bypasses that risk by using sweetened condensed milk. Since the sugar is already dissolved into a thick, stable syrup, we’re halfway to a perfect texture before we even turn on the stove.
However, white chocolate introduces its own set of challenges. Unlike dark chocolate, white chocolate contains no cocoa solids. It’s a blend of cocoa butter, milk solids, and sugar. Because it has a very low burn point, it can seize or “split” if it gets too hot. When chocolate splits, the fat separates from the solids, leaving you with an oily mess and a grainy residue. We prevent this by maintaining a low, consistent temperature throughout the process.
The magic happens through emulsion. By stirring the butter and milk together first, you create a uniform base of fats and liquids. When the white chocolate hits this mixture, the existing fats help the cocoa butter integrate smoothly. This creates a tight molecular bond that stays flexible even after the fudge cools and sets in the fridge.
Why Traditional Fudge Often Turns Gritty
Grittiness usually happens when sucrose crystals find a “seed” to grow on. If you scrape the sides of a pan where sugar has dried, those hard bits fall back into the mix and turn the whole batch sandy. Our method avoids this because we never reach a boiling point. By keeping the heat at the lowest possible setting, we ensure the sugar stays perfectly suspended in the milk fats.
The Role of Fats in Stabilizing White Chocolate
Butter isn’t just in this recipe for the flavor. The extra lipids in the butter act as a buffer for the white chocolate. They coat the chocolate particles, making them less sensitive to heat spikes. This extra layer of fat ensures that the mixture remains an emulsion rather than a broken sauce, giving you that professional, fudge-shop “snap” when you bite into it.
Essential Components for Mint Chocolate Cookie Fudge
Since this recipe relies on just a few items, the quality of each one will shine through. You can’t hide poor-quality chocolate behind a mountain of flour or eggs here. I always recommend choosing the best brands you can find because the fat content varies wildly between budget and premium options. Higher fat content always leads to a smoother melt and a richer flavor profile.
Don’t forget the salt! It might seem strange to add salt to a minty dessert, but it’s the most important flavor balancer you have. A tiny pinch cuts through the intense sweetness of the white chocolate and makes the peppermint taste cleaner. Without it, the fudge can feel one-dimensional and overly sugary. The salt wakes up your taste buds so you can actually “hear” the mint and chocolate notes.
When it comes to the cookies, freshness is king. You want that distinct “snap” when you hit a cookie piece inside the fudge. If your cookies have been sitting in an open package, they might be slightly soft. Use a fresh pack to ensure the contrast between the creamy mint base and the crunchy chocolate cookie is as sharp as possible.
Selecting High-Quality White Chocolate Chips
Check the label on your chocolate. You want to see “cocoa butter” listed as a primary ingredient. Many cheap “baking chips” use palm oil or other vegetable fats instead. These oil-based chips don’t melt as smoothly and often have a waxy texture that coats the roof of your mouth. Real white chocolate will melt almost instantly when it touches your tongue.
The Importance of Gel vs. Liquid Coloring
Water is the enemy of melted chocolate. Even a single drop of liquid food coloring can cause a whole pot of chocolate to seize into a hard, grainy lump. Always use gel food coloring or oil-based candy colors. Gels are highly concentrated, so you only need a tiny bit to get that vibrant minty green without thinning out your fudge or ruining the texture.
Peppermint Extract Potency and Ratios
Peppermint extract is incredibly strong. It’s easy to go overboard and end up with fudge that tastes like toothpaste. Start with the recommended half-teaspoon and smell the mixture. The aroma should be refreshing, not stinging. Remember that the flavor will mellow slightly as the fudge sets, but it’s always better to be subtle than overpowering.
Equipment: Tools for a Professional Finish
You don’t need a kitchen full of gadgets, but a heavy-bottomed saucepan is a must. Thin pots develop “hot spots” that will scorch the milk and chocolate before the rest of the pot even gets warm. A heavy pot distributes heat evenly, giving you a much wider margin for error. If you only have thin pots, you’ll need to be extra vigilant with your stirring.
I also swear by silicone spatulas for this job. Unlike wooden spoons, silicone won’t hold onto moisture or old flavors from last night’s dinner. It also allows you to scrape every single bit of fudge from the corners of the pan. For the pan lining, use parchment paper rather than foil. Fudge sticks to foil like glue, but it peels away from parchment with zero effort, leaving your edges perfectly clean.
Step-by-Step: The Low-Heat Emulsion Method
Success with this fudge is all about the “low and slow” approach. You aren’t really “cooking” the mixture as much as you are gently melting and marrying the ingredients together. If you see steam rising from the pot, your heat is too high. Keep it low, keep it moving, and you’ll be rewarded with a flawless batch.
Phase 1: Preparing the Fat-and-Sugar Base
Start by adding your condensed milk, butter, and salt to the pan. As the butter melts, you’ll see yellow streaks swirling through the white milk. Stir gently until the mixture looks like a single, pale yellow liquid. This step is crucial because it ensures the fat is evenly distributed before the chocolate enters the equation. It should feel warm to the touch, but never hot enough to simmer.
Phase 2: Integrating the Chocolate Without Seizing
Dump all the white chocolate chips in at once. Now, don’t walk away! You need to stir constantly. At first, it will look chunky and awkward. Within a minute or two, the chips will lose their shape and the mixture will turn into a thick, glossy ribbon. As soon as the last tiny lump disappears, pull that pan off the heat immediately. Residual heat will finish the job without risking a burn.
Phase 3: Folding Techniques to Prevent Color Bleeding
Once you’ve added your mint extract and green color, it’s time for the cookies. Use a “J-fold” motion: cut down through the center with your spatula, scrape across the bottom, and fold the mixture over the top. Do this only a few times. If you stir too much, the dark cocoa dust from the cookies will mix into the green fudge, turning it a muddy, unappealing grey color.
Phase 4: The Compression Top and Setting
After pouring the fudge into your lined pan, smooth the top with your spatula. Sprinkle the remaining cookie chunks over the surface. Here’s the pro move: use the flat of your hand or a piece of parchment to gently press those cookies down into the fudge. This ensures they stay attached when you slice it later. Let it sit on the counter for 20 minutes before moving it to the fridge to prevent condensation from forming on the surface.
Troubleshooting Common Fudge Texture Issues
Even with the best intentions, things can go sideways. The most common issue is the chocolate getting too hot and looking “curdled.” If this happens, don’t panic and throw it away. You can often save a broken emulsion by adding a teaspoon of room-temperature condensed milk and whisking vigorously off the heat. This can help pull the fats back together into a smooth state.
If your fudge feels oily on top after it sets, it usually means the mixture got a little too warm during the melting phase. You can blot the excess oil with a paper towel. It will still taste delicious, even if the texture isn’t 100% perfect. Next time, try using a slightly lower heat setting or moving the pan off the burner more frequently while stirring.
Fixing Seized or Oily Chocolate
If the chocolate turns hard and grainy while melting, it has seized. This usually happens if a drop of water got into the pot. You can sometimes fix this by stirring in a tiny bit of neutral oil or more melted butter. Stir quickly and gently. If it doesn’t smooth out, you can still use the mixture as a topping for ice cream, so nothing goes to waste!
What to Do if Fudge Stays Soft
If your fudge is still gooey after four hours in the fridge, it might be due to high humidity in your kitchen or using a brand of chocolate with too little cocoa butter. You can try moving it to the freezer for an hour to firm it up. If it’s still too soft to slice, it makes an incredible cake filling or a base for rolled truffles.
Storage, Slicing, and Make-Ahead Strategies
Presentation is everything with a two-toned treat like this. To get those sharp, clean squares you see in professional photos, you need to manage the temperature of your knife. If the knife is cold, it will crack the fudge. If it’s dirty, it will smear green fudge all over the dark cookie pieces. A little patience during the slicing phase goes a long way.
This fudge is a fantastic make-ahead dessert because the peppermint flavor actually deepens after a day or two. The cookies will soften slightly over time as they absorb a little moisture from the fudge, but they still provide a nice textural contrast. I like to make a batch on a Thursday for a Saturday event; it’s one less thing to worry about on the day of the party.
The Hot-Knife Technique for Clean Edges
Fill a tall glass with hot water. Dip your knife in, let it warm up for a few seconds, and then wipe it completely dry with a clean towel. Make one long, smooth cut through the fudge. Wipe the knife clean, dip it back in the hot water, and repeat for every single slice. This prevents the fudge from sticking to the blade and gives you those beautiful, crisp edges.
Freezing and Long-Term Preservation
You can store this fudge in an airtight container in the fridge for up to two weeks. For longer storage, wrap the entire block or individual squares tightly in plastic wrap, then place them in a freezer bag. It will stay fresh for up to three months. When you’re ready to eat it, thaw it in the refrigerator overnight rather than on the counter to prevent sweating.
Expert Tips for Mint Chocolate Cookie Fudge Success
Can I use dark chocolate instead of white?
You can, but you’ll need to adjust the ratios. Dark chocolate has more cocoa solids and less fat, so it sets much harder. If you swap one-for-one, the fudge might be too firm to bite. You would also lose the vibrant green color. If you want a dark chocolate version, it’s better to use a recipe specifically balanced for dark chocolate’s higher melting point.
How do I achieve a more vibrant green?
The color of the liquid fudge is usually a shade or two lighter than the final set product. Don’t go too dark while it’s in the pot. Use a toothpick to add gel coloring one tiny dot at a time. Remember that the dark chocolate cookies will provide a heavy contrast, which naturally makes the green look more vivid once the fudge is sliced.
Why did my cookies get soggy inside the fudge?
Cookies naturally draw moisture from the condensed milk over time. To keep them as crunchy as possible, make sure your fudge mixture has cooled slightly before you fold the cookies in. Also, ensure you are using high-quality, crunchy sandwich cookies rather than a soft-baked variety. Storing the fudge in the fridge also helps maintain cookie integrity longer than room temperature storage.
Is there a substitute for sweetened condensed milk?
In this specific no-boil method, there isn’t a good substitute for sweetened condensed milk. Evaporated milk is too thin and lacks the sugar concentration needed to make the fudge set. Heavy cream requires a completely different cooking method involving candy thermometers and specific sugar stages. Stick to the condensed milk for the easiest, most reliable results.
How do I store leftovers?
Keep your fudge in an airtight container with parchment paper between the layers to prevent sticking. It stays perfect in the refrigerator for about two weeks. If you leave it out at room temperature for too long, it can become a bit too soft, especially in warm weather. For the best texture, serve it straight from the fridge or let it sit out for just ten minutes before eating.
Why is my fudge oily on the surface?
Oil on the surface is a sign that the emulsion broke, usually because the heat was too high. The cocoa butter separated from the other ingredients. You can usually fix the appearance by blotting it with a paper towel. To prevent this next time, ensure your heat is on the lowest possible setting and remove the pan from the burner the moment the chocolate is mostly melted.
Mint Chocolate Cookie Fudge
Course: DessertCuisine: AmericanDifficulty: easy24
pieces10
minutes5
minutes15
Minutes145
kcalAmerican
Ingredients
3 cups high-quality white chocolate chips
1 can (14 ounces) sweetened condensed milk
1 tablespoon unsalted butter
1/2 teaspoon peppermint extract
4-6 drops green gel food coloring (for a vibrant mint hue)
2 cups chocolate sandwich cookies, coarsely chopped (divided)
Pinch of salt
Directions
- Prepare the Pan: Line an 8×8 inch baking pan with parchment paper, leaving an overhang on two sides for easy removal.
- The Emulsion Base: In a heavy-bottomed saucepan over the lowest heat setting possible, combine the sweetened condensed milk, butter, and a pinch of salt. Stir gently until the butter is fully melted and incorporated into the milk. This warm fat-and-sugar base prevents the white chocolate from “shocking” and seizing.
- Melting the Chocolate: Add the white chocolate chips to the warm milk mixture. Stir constantly with a silicone spatula. Do not increase the heat; white chocolate has a low burn point and will become grainy if overheated. Stir until the mixture is completely smooth and glossy.
- Flavor and Color: Immediately remove the pan from the heat. Stir in the peppermint extract and green food coloring. Mix until the color is uniform and vibrant.
- The Fold: Gently fold in 1 cup of the chopped chocolate sandwich cookies. Do not over-mix, or the dark cookie crumbs will “bleed” and muddy the green color.
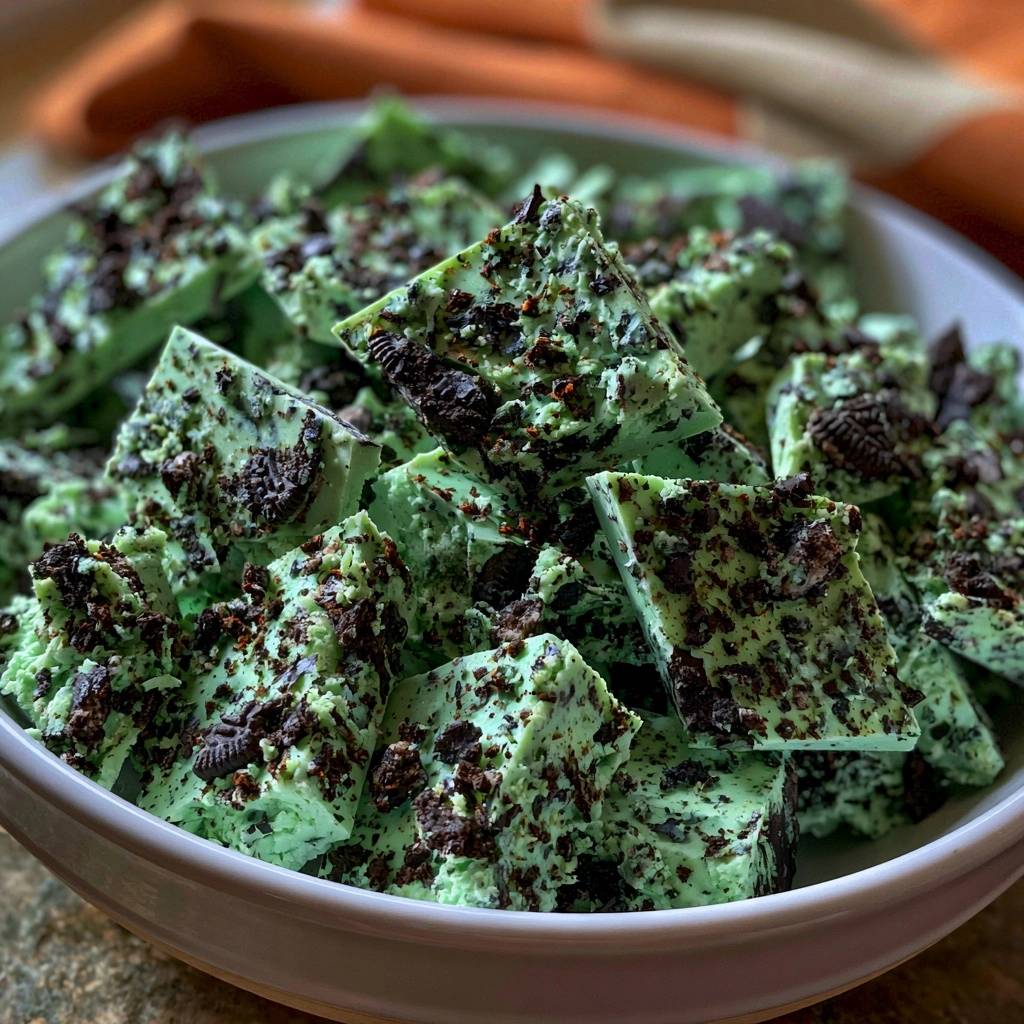
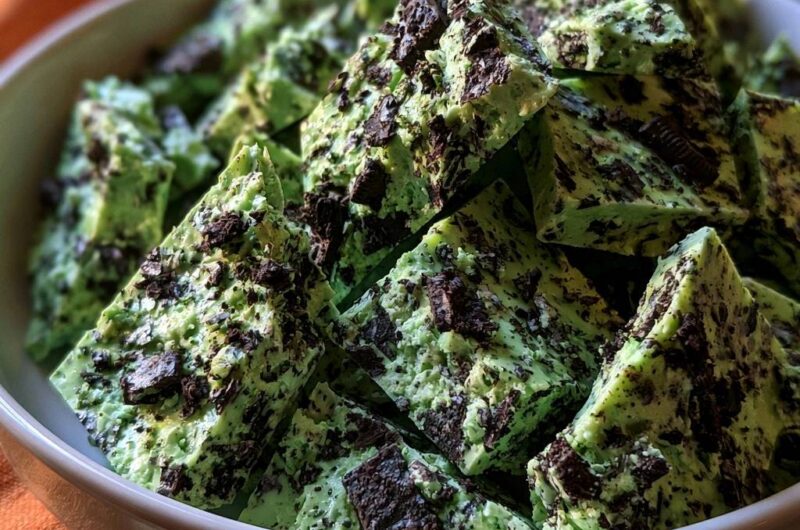
- Setting the Visuals: Pour the mixture into the prepared pan and spread it evenly. To match the visual texture in the image, generously top the fudge with the remaining 1 cup of chopped cookies. Press them down firmly with your palms so they are embedded into the surface.
- Chill: Refrigerate for at least 3 to 4 hours, or until the fudge is completely firm to the touch.
- Slice: Use the parchment overhang to lift the fudge block onto a cutting board. For the cleanest edges, use a large sharp knife dipped in hot water and wiped dry between each cut. Slice into squares and serve chilled.
Notes
- To ensure the smoothest texture, use the lowest heat setting possible and stir constantly. For clean slices, dip your knife in hot water and wipe it dry between each cut.