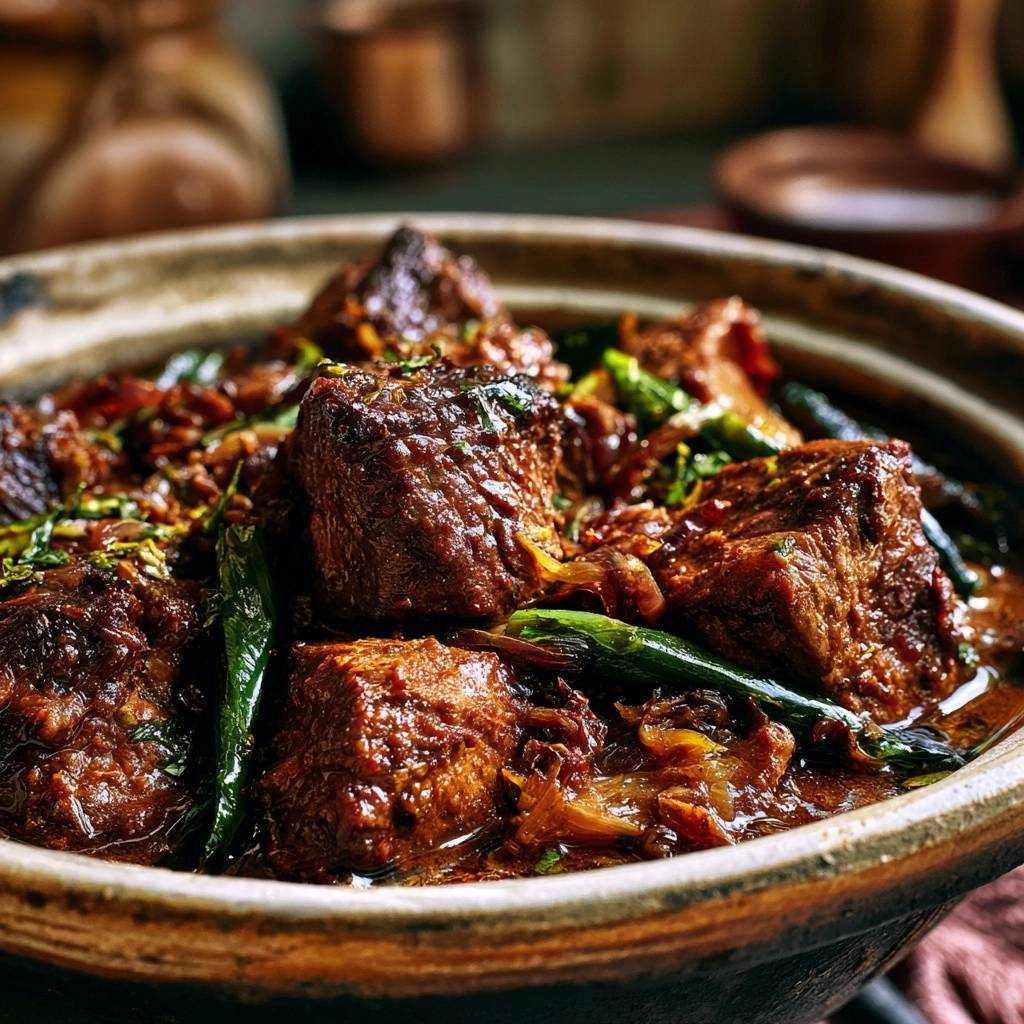
You know that moment when you press a fork into a piece of beef and it simply gives way without any resistance? That is the hallmark of perfectly executed Slow-Braised Savory Beef Tips. This dish isn’t about fancy gadgets or expensive cuts; it is about the beautiful transformation of a humble, tough chuck roast into something that feels like a luxury. The deep, caramelized crust on the outside yields to an interior so soft it practically melts on your tongue.
Most people struggle with beef tips because they rush the process, resulting in chewy, grey nuggets of meat swimming in a thin, watery broth. We are doing things differently here. By focusing on a heavy sear and a controlled, low-temperature simmer, you create a rich, glossy glaze that clings to every fiber. It is the kind of meal that fills your kitchen with a savory, mouth-watering aroma that promises a truly comforting dinner.
The real secret to success lies in the moisture control before the meat even hits the pan. If your beef is damp, it will steam rather than sear, and you will lose that vital Maillard reaction that builds deep flavor. I always tell my friends to spend an extra two minutes patting the beef cubes bone-dry with paper towels. It is the single most important step to ensure your beef tips have that professional, dark mahogany finish rather than a dull, boiled appearance.
The Science of Breaking Down Tough Fibers
Beef chuck is a hardworking muscle filled with connective tissue and collagen. If you were to cook this quickly over high heat, like a ribeye, the muscle fibers would tighten up and become as tough as a rubber band. However, when you subject that collagen to low, consistent heat over several hours, a chemical miracle occurs. The tough fibers break down and dissolve into gelatin, which provides that silky, lip-smacking mouthfeel we all crave.
Temperature control is your best friend during this three-hour window. If the liquid in your pot reaches a rolling boil, the protein fibers will contract violently, squeezing out all their internal juices and leaving the meat dry and stringy. By maintaining a “lazy simmer,” you allow the heat to gently coax the collagen into melting without traumatizing the meat. This is why braising is a game of patience rather than power.
Think of the braising liquid as a protective bath. As the collagen turns to gelatin, it enriches the sauce, giving it a natural body and thickness that you just can’t get from a quick-cook recipe. You aren’t just cooking the meat; you are fundamentally changing its structure. This slow transition ensures that every bite remains succulent and infused with the surrounding flavors of the pot.
Essential Components for Deep Umami Flavor
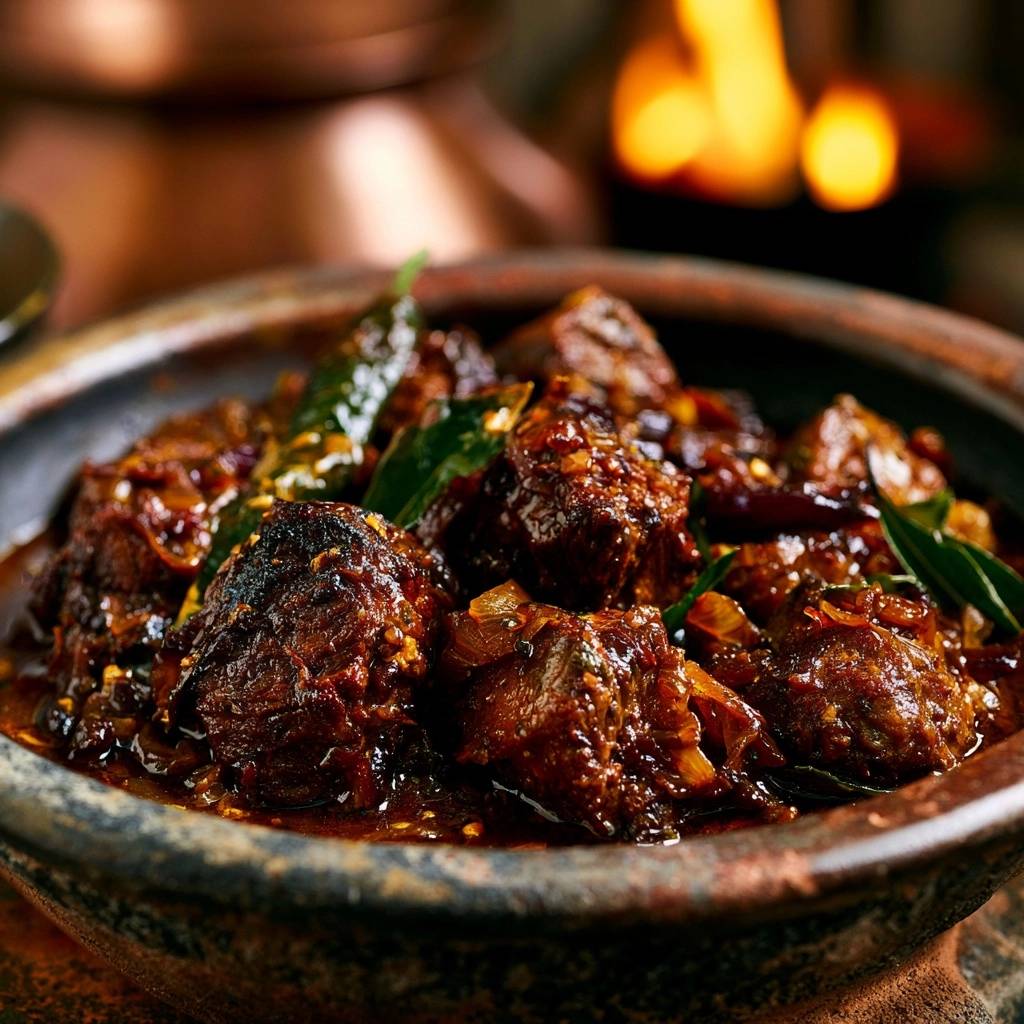
Building a complex flavor profile without using alcohol requires a strategic approach to umami. We use a trio of powerhouses: soy sauce, Worcestershire sauce, and tomato paste. The soy sauce provides a deep, salty backbone and helps achieve a dark color, while the Worcestershire adds a tangy, fermented complexity. The tomato paste, once sautéed, provides a concentrated sweetness and acidity that balances the richness of the beef.
The choice of liquid is equally important. While water or standard stock works in a pinch, bone broth is the superior choice here. Bone broth is naturally packed with extra gelatin, which contributes to the glossy, “velvet” texture of the final glaze. When combined with the thinly sliced yellow onions that melt into the sauce, you create a foundational sweetness that rounds out the savory notes.
Selecting the Right Cut of Beef
Always reach for a well-marbled chuck roast when making beef tips. It has the perfect ratio of fat to lean meat, which is essential for long cooking times. Avoid those pre-packaged “stew meat” containers at the grocery store. Those packs often contain scraps from various cuts like round or sirloin, which cook at different rates, meaning some pieces will be tender while others stay tough. Buying a whole roast and cubing it yourself ensures consistency.
Fresh vs. Dried Herbs in Long Braises
Timing your herbs is a pro move that changes the entire dish. Dried thyme is sturdy and can handle three hours of heat without losing its earthy punch. However, fresh herbs like parsley and the green onions added at the end provide a necessary “enzymatic lift.” These fresh additions cut through the heavy, savory fats and brighten the overall flavor profile just before the dish hits the table.
Step-by-Step: Achieving the Perfect Maillard Sear
The sear is where you build the soul of the dish. After you’ve patted the beef dry, season it generously. When the oil is shimmering and just starting to wisps of smoke, add the beef in batches. If you crowd the pan, the temperature will drop instantly, the meat will release its juices, and you’ll end up boiling the beef in its own liquid. You want space between the cubes so the moisture can evaporate immediately.
Don’t be afraid of a dark crust. You are looking for a deep, mahogany brown color, not a light tan. This caramelized exterior is the Maillard reaction in action, creating hundreds of new flavor compounds that don’t exist in raw meat. Use tongs to turn the pieces, ensuring at least two or three sides get that beautiful crust. Once seared, move the beef to a plate and let it rest while you work on the aromatics.
Deglazing and Building the Braising Base
After searing the meat, you’ll notice dark, stuck-on bits at the bottom of your pot. This is called “fond,” and it is concentrated flavor gold. When you add your sliced onions, their natural moisture will help loosen these bits. Use a wooden spoon to scrape the bottom of the pot as the onions soften. This incorporates all that toasted beef flavor directly into your sauce base.
Once the onions are translucent and golden, add your garlic and tomato paste. You only need about a minute here. You want the garlic to become fragrant and the tomato paste to darken slightly, which removes its raw, metallic edge. Be careful not to let the garlic turn dark brown or black, as burnt garlic will introduce a bitter flavor that can ruin the entire three-hour braise.
The Low-and-Slow Simmering Phase
Now comes the most critical part of the process: the simmer. After you return the beef to the pot and add your liquids, bring it to a boil just for a second, then immediately drop the heat to the lowest setting. You are looking for a “lazy bubble”—one or two bubbles breaking the surface every few seconds. If the liquid is dancing or churning, your heat is too high.
Cover the pot with a tight-fitting lid to trap the moisture. This creates a small, pressurized environment that helps the heat penetrate the center of the beef cubes. Check the pot every hour to ensure the liquid hasn’t evaporated too much and that the simmer remains gentle. After two and a half hours, test a piece of meat with a fork. If it doesn’t flake apart with gentle pressure, give it another thirty minutes. Patience is the only way to reach perfection.
Finishing with a Glossy Reduction Glaze
Once the beef is tender, the sauce might still look a bit thin. This is where the cornstarch slurry comes in. Always mix your cornstarch with cold water before adding it to the hot pot. If you drop dry cornstarch into the hot liquid, it will clump instantly into little white balls that are impossible to dissolve. The cold water allows the starch granules to separate so they can thicken the sauce evenly.
Stir the slurry into the simmering pot and watch the transformation. Within a couple of minutes, the sauce will turn from a thin broth into a thick, translucent glaze that coats the back of a spoon. This is the “nappe” stage. Finally, fold in your green onions. They only need a few minutes to soften, providing a pop of color and a mild onion crunch that contrasts beautifully with the soft beef.
Troubleshooting Common Braising Obstacles
If your meat is still tough after three hours, don’t panic. It almost always means the collagen hasn’t finished breaking down yet. Simply put the lid back on and keep simmering. Every cow is different, and some cuts just need an extra thirty minutes to reach that butter-soft stage. Never turn up the heat to “speed it up,” as that will only dry out the muscle fibers.
If you find the sauce is a bit too salty due to the reduction, you can balance it out easily. A tiny splash of water or a little extra unsalted broth can thin it out. Alternatively, a small pinch of sugar or a teaspoon of honey can help counteract the saltiness without making the dish sweet. If the sauce won’t thicken, ensure the liquid is actually simmering when you add the slurry, as cornstarch needs heat to activate its thickening properties.
Optimal Pairings for Savory Beef Tips
You need a “sauce sponge” to make the most of that glossy glaze. Garlic mashed potatoes are the classic choice, providing a creamy backdrop for the rich beef. If you prefer noodles, wide buttered egg noodles are fantastic at catching the sauce in their folds. For a lighter option, a simple bed of polenta or even white rice works perfectly to soak up every drop of umami.
To balance the richness, serve something with a bit of snap. Steamed green beans with a squeeze of lemon or roasted carrots provide a nice textural contrast. And don’t forget a piece of crusty bread. You will definitely want to swipe the plate clean once the meat is gone. The contrast between the soft beef, the creamy starch, and the crunchy bread makes for a complete sensory experience.
Storage, Reheating, and Make-Ahead Strategies
Braised dishes are famous for tasting even better the next day. As the dish cools, the flavors continue to mingle and mature, and the beef absorbs even more of the savory sauce. If you are making this ahead of time, let it cool completely at room temperature before transferring it to an airtight container and placing it in the fridge. It will stay fresh and delicious for up to four days.
When reheating, avoid the microwave if possible, as it can make the beef rubbery. Instead, place the beef tips in a small saucepan over low heat. The sauce will likely have turned into a thick jelly due to the gelatin; just add a splash of broth or water to loosen it up as it warms. You can also freeze these beef tips for up to three months. Just thaw them in the fridge overnight before reheating on the stove.
Expert Tips for Professional Results
Can I use a slow cooker for this recipe?
Yes, you can definitely use a slow cooker. However, you must still perform the searing step in a pan first. Once the beef is browned and the onions are sautéed, transfer everything to the slow cooker and cook on low for 6 to 8 hours. You will likely need to thicken the sauce in a saucepan at the end, as slow cookers don’t allow for much evaporation.
Why is my sauce dull instead of glossy?
A dull sauce usually happens if you skip the searing step or if you don’t use a thickener like the cornstarch slurry. The sear provides the dark pigments, and the slurry provides the shine. Also, using bone broth instead of water adds natural gelatin which contributes significantly to that professional, glossy finish.
Can I substitute the soy sauce?
If you don’t have soy sauce, you can use liquid aminos or a pinch of mushroom powder for that umami hit. If you use mushroom powder, you may need to add a bit more salt to the dish. The goal is to provide a deep, savory “fifth taste” that complements the beef, so any ingredient rich in glutamates will work.
How do I store leftovers safely?
Store your beef tips in an airtight container in the refrigerator for up to 4 days. Because of the high gelatin content, the sauce will solidify into a jelly-like consistency when cold. This is perfectly normal and a sign of a well-made braise. It will return to a silky liquid state as soon as you gently reheat it on the stovetop.
Why did my meat turn out dry even though it was covered in liquid?
This is almost always caused by the cooking temperature being too high. Even if the meat is submerged, boiling temperatures cause the muscle fibers to shrink and squeeze out their internal moisture. To prevent this, ensure your stove is on the lowest possible setting and that you only see occasional bubbles breaking the surface of the liquid.
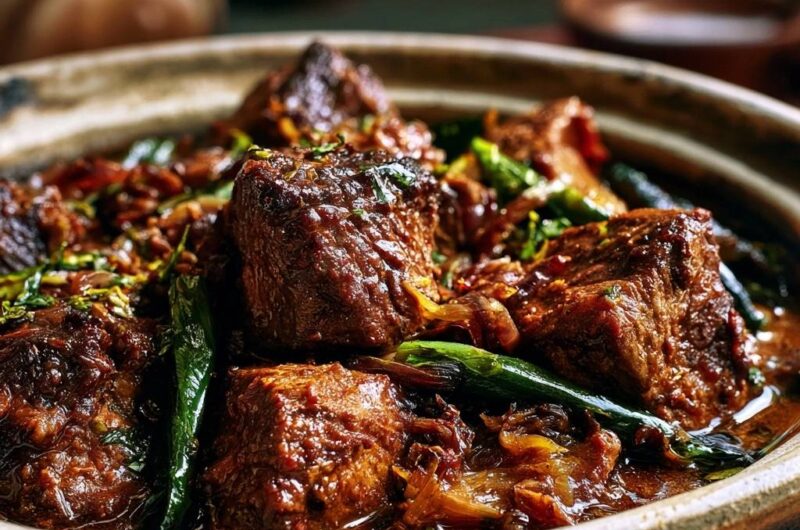
Slow-Braised Savory Beef Tips
Course: Main CourseCuisine: AmericanDifficulty: easy4
servings15
minutes3
hours180
Minutes480
kcalAmerican
Ingredients
2 pounds beef chuck roast, cut into 1.5 inch cubes
2 tablespoons vegetable oil
1 large yellow onion, thinly sliced
3 cloves garlic, minced
1.5 cups beef bone broth
1 tablespoon tomato paste
1 tablespoon Worcestershire sauce
1 tablespoon soy sauce (for deep color and umami)
1 teaspoon dried thyme
1/2 teaspoon red pepper flakes (optional, for subtle heat)
1 bunch green onions, sliced into 2-inch lengths
2 tablespoons cold water mixed with 1 tablespoon cornstarch (slurry)
Salt and black pepper to taste
Fresh parsley, finely chopped for garnish
Directions
- Pat the beef cubes completely dry with paper towels. This is the first step to preventing tough meat; moisture on the surface steams the meat instead of searing it. Season generously with salt and pepper.
- Heat the oil in a heavy-bottomed pot or Dutch oven over medium-high heat. Sear the beef in batches, ensuring you do not crowd the pan. Brown each side deeply for about 3-4 minutes per side until a dark, caramelized crust forms. Remove beef and set aside.
- Lower the heat to medium. Add the sliced onions to the same pot, scraping up the brown bits (fond) from the bottom. Cook until softened and slightly browned, about 6 minutes. Add the garlic, tomato paste, and red pepper flakes, stirring for 1 minute until fragrant.
- Pour in the beef broth, Worcestershire sauce, and soy sauce. Return the beef and any accumulated juices to the pot. Add the thyme.
- The Solution: Bring the liquid to a very gentle simmer, then immediately turn the heat to the lowest setting. Cover with a tight-fitting lid. Maintain a barely-there simmer for 2.5 to 3 hours. Do not let the liquid boil vigorously, as high heat toughens the protein fibers.
- Once the beef is fork-tender, remove the lid. Increase heat to medium-low. Stir in the cornstarch slurry and cook for 2-3 minutes until the sauce thickens into a dark, glossy glaze that coats the meat.
- During the last 5 minutes of cooking, fold in the green onions so they soften but retain their vibrant green color.
- Remove from heat. Let the dish rest for 10 minutes before serving to allow the fibers to reabsorb the sauce. Garnish with fresh parsley and serve directly from the pot for a rustic presentation.
Notes
- Do not let the liquid boil vigorously, as high heat toughens the protein fibers. Patting the meat dry is essential for a proper sear rather than steaming.