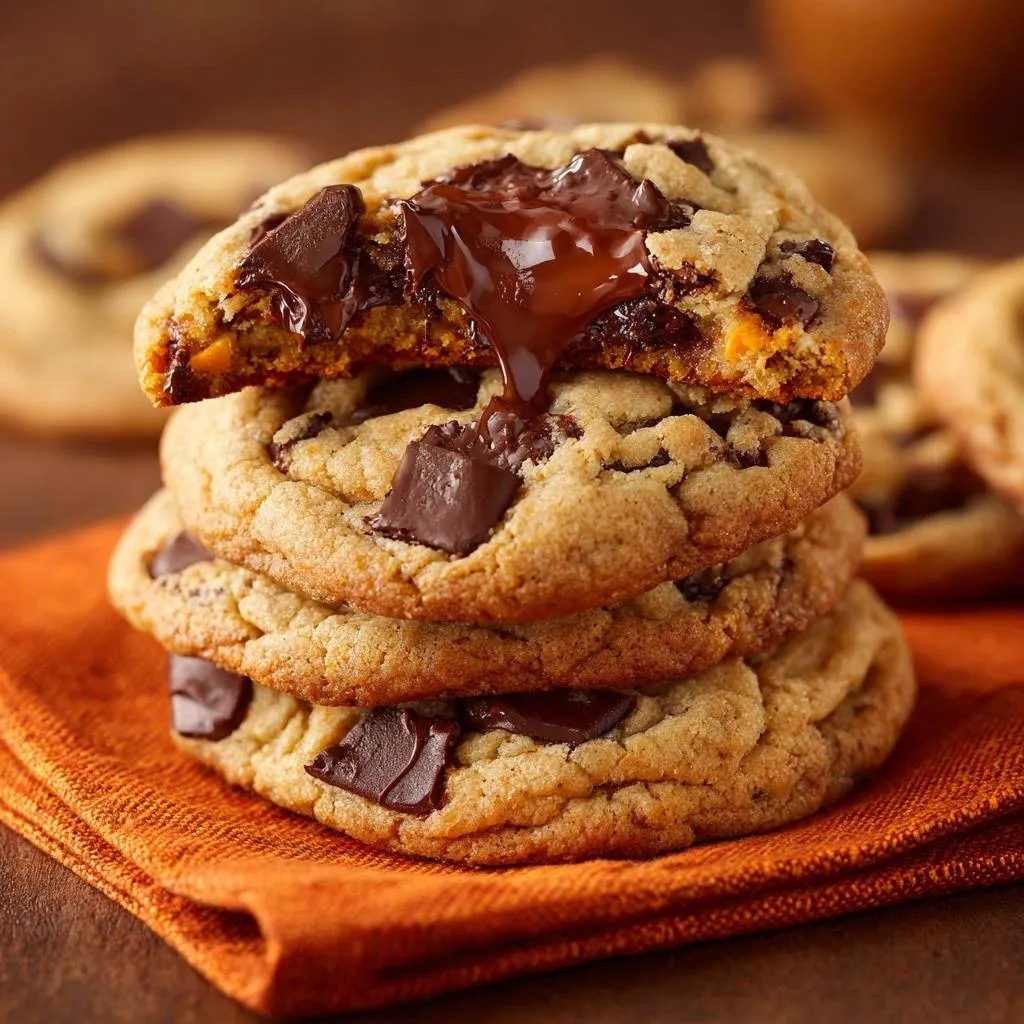
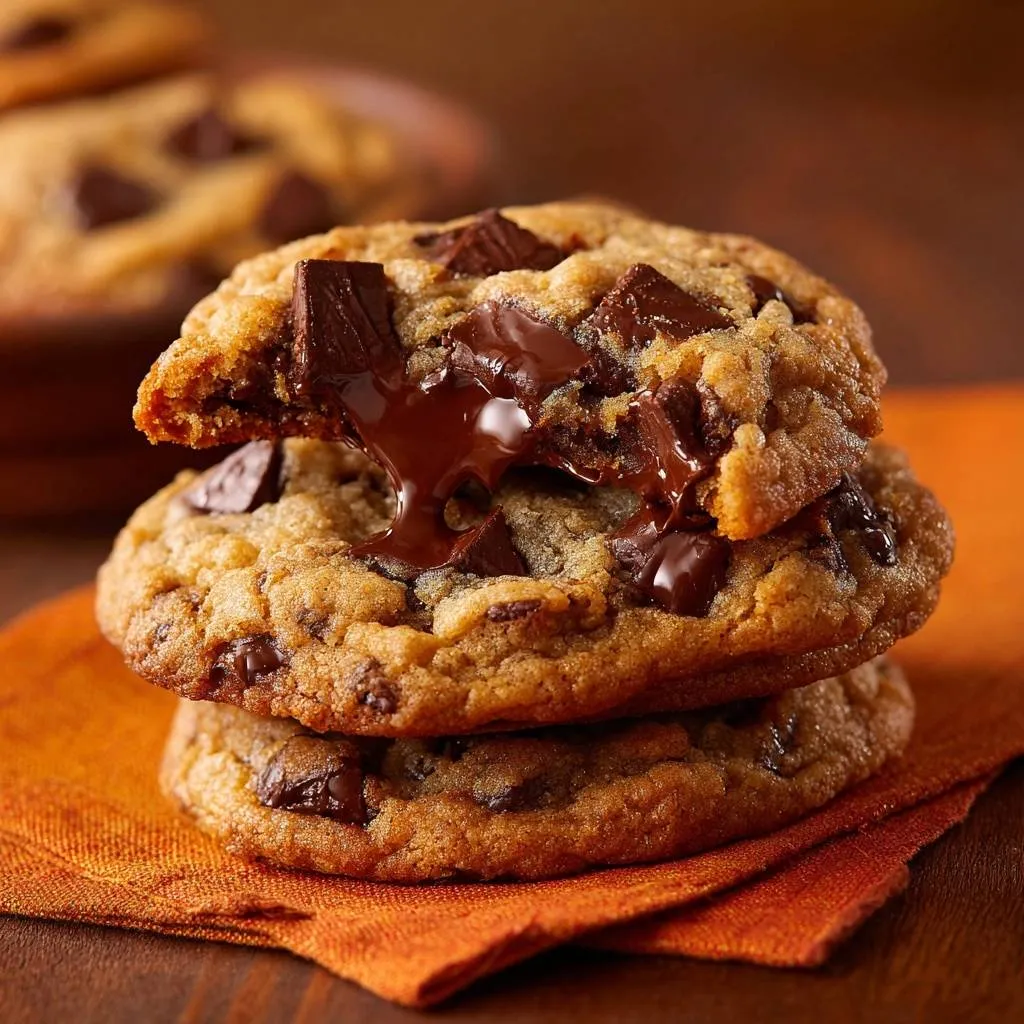
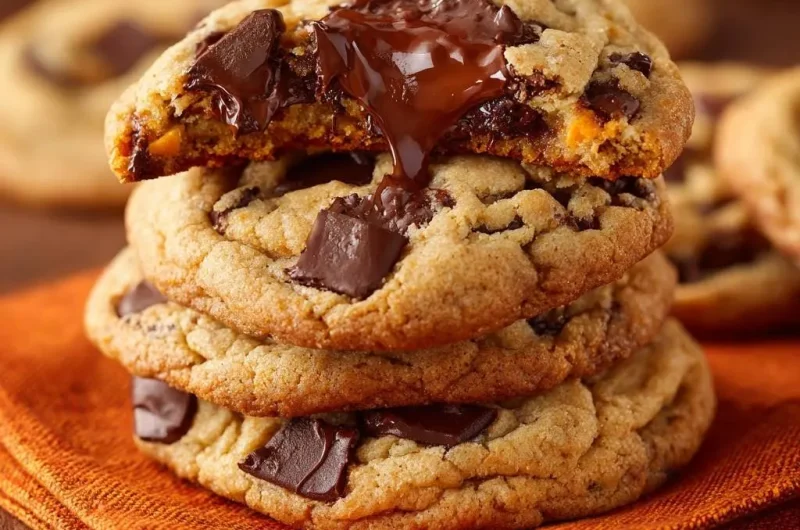
Imagine walking into a high-end pastry shop and seeing those massive, craggy cookies behind the glass. They have golden, crisp edges that shatter when you bite them, yet the centers remain so soft they almost melt on your tongue. You’ve likely tried to recreate this at home, only to watch your expensive chocolate chunks drown in a thin, greasy puddle on the baking sheet.
The frustration of a flat cookie is real, but the fix isn’t just about adding more flour. It’s about mastering the “Anti-Flat” philosophy, which relies on temperature control and structural engineering. We’re moving away from the standard soft-butter approach to create a cookie that stands tall and stays gooey.
The secret to that professional height is using cold, cubed butter and a shockingly high oven temperature. By keeping the fat cold until the very moment it hits a 410°F blast of heat, we lock the cookie’s shape in place before it has a chance to spread. This technique ensures you get those deep chocolate pools and a thick, substantial bite every single time.
The Physics of the Anti-Flat Cookie Secret
Most home recipes call for a standard 350°F oven, but that moderate heat is actually the enemy of a thick cookie. At lower temperatures, the butter melts slowly, allowing the dough to spread across the pan before the structure sets. By the time the edges are brown, the cookie is thin and often overcooked.
However, when you crank the oven to 410°F, you trigger immediate protein coagulation and starch gelatinization. This high-heat blast “shocks” the exterior of the dough mound, creating a firm outer shell in the first few minutes. This shell acts like a scaffold, holding the cookie’s height while the interior gently warms into a molten state.
Therefore, the high temperature isn’t just for browning; it’s a structural tool. It allows the outside to become perfectly caramelized and crisp while the center remains insulated. This temperature differential is exactly how professional bakeries achieve that elusive contrast between a crunchy exterior and a doughy heart.
Why Cold Butter Beats Room Temperature Creaming
Traditional recipes tell you to cream softened butter until it’s fluffy, but that incorporates too much air and creates a cake-like texture. Instead, we use cold, cubed butter straight from the fridge. As the mixer breaks down the cold fat, it creates tiny, solid pockets of butter throughout the dough.
When these cold pockets hit the hot oven, they release steam, which creates lift and a tender, flaky crumb. If the butter is already warm, it simply lubricates the flour and leads to a heavy, dense cookie. Using cold fat ensures the dough remains sturdy enough to support heavy chunks of chocolate without collapsing.
Essential Components for Bakery Style Chocolate Chunk Cookies
Quality ingredients are the foundation of this recipe, but how you handle them matters just as much as the brand you buy. You aren’t just mixing things in a bowl; you’re building a dough that can withstand intense heat. Every ingredient plays a specific role in maintaining that iconic bakery silhouette.
Firstly, the choice of chocolate is paramount. While chips are convenient, they contain stabilizers that prevent them from melting fully. For those signature “chocolate pools,” you need high-quality bars. Secondly, the flour-to-fat ratio must be precise to ensure the cookie doesn’t become a greasy mess under the weight of the inclusions.
If you enjoyed this exploration of chocolate, you might also like these frosted dark chocolate cookies for a different twist.
Selecting High-Quality Chocolate Chunks vs. Chips
Professional chocolate bars have a higher cocoa butter content than standard chips, which allows them to melt into a fluid, silky state. When you hand-chop a bar, you get a variety of sizes, from large chunks to tiny chocolate “dust” that streaks through the dough. These irregular pieces create a much more interesting texture than uniform, waxy chips.
The Structural Role of All-Purpose Flour Density
We use a full 3 cups of all-purpose flour to provide the necessary “backbone” for these cookies. This specific ratio is designed to support the weight of two cups of heavy chocolate chunks. If you have a kitchen scale, I highly recommend weighing your flour to ensure you don’t accidentally pack too much into a measuring cup, which can make the cookies dry.
Sugar Ratios: Balancing Crisp Edges and Chewy Centers
This recipe uses a 1:1 ratio of granulated sugar and light brown sugar for a very specific reason. The granulated sugar is responsible for the crisp, caramelized edges and the golden-brown color. Meanwhile, the molasses in the light brown sugar provides the moisture and acidity needed to keep the center chewy and soft for days.
Step-by-Step: Engineering the Perfect Cookie Structure
Creating a bakery-style cookie is a technical process that requires a gentle touch. You want to move quickly to keep the ingredients cold, but you must be careful not to overwork the dough. The goal is a textured, craggy dough that looks more like a landscape than a smooth ball.
For perfectly shaped dough every time, consider the no-spread method in glazed raspberry thumbprint cookies.
As you work through these phases, pay close attention to the visual cues. The dough will transform from a sandy mixture into a heavy, chunky mass. If at any point the butter starts to feel soft or greasy, pop the bowl in the fridge for ten minutes to reset the temperature.
Phase 1: The Coarse Sand Creaming Method
When you start creaming the cold butter and sugars, don’t expect a smooth paste. After about 4 minutes on medium speed, the mixture should look like coarse, damp sand. You want to see small, visible bits of butter throughout the sugar. This ensures those steam-releasing pockets remain intact for the bake.
Phase 2: Incorporating Cold Eggs and Dry Ingredients
Add your cold eggs one at a time, mixing just until the yellow streaks disappear. When you add the flour mixture, turn the mixer to its lowest setting. Stop the moment you no longer see white streaks of flour. Over-mixing at this stage develops gluten, which will turn your tender cookies into tough, bread-like pucks.
Phase 3: The Craggy Mound Stacking Technique
This is the most important step for the visual “wow” factor. Instead of rolling the dough into a smooth ball, pull apart two pieces of dough and loosely press them together. You want a tall, rough mound with lots of “nooks and crannies” on the surface. These rough edges catch the heat and become the crispy, golden peaks seen in professional bakeries.
The Critical 15-Minute Flash Freeze
Once your craggy mounds are formed, they must go into the freezer for at least 15 minutes. This step is non-negotiable for the “Anti-Flat” method. Freezing the exterior of the dough ensures that the outside stays cold for the first few minutes of baking, giving the crust time to set before the center warms up.
In addition, this flash freeze prevents the chocolate chunks on the surface from burning. It creates a temperature buffer that allows the high-heat oven to do its job without ruining the delicate interior. If you skip this, your cookies will likely spread significantly more, losing that impressive height.
Baking and the Carryover Cooking Window
When you slide the tray into the 410°F oven, keep a close eye on them. Around the 9-minute mark, the edges should be a deep golden brown, but the centers will still look slightly pale and soft. It might be tempting to leave them in longer, but don’t do it! The cookies are finished when the tops are craggy and set.
The real “cooking” happens once you remove them from the oven. Let the cookies rest on the hot baking sheet for a full 10 minutes. This carryover heat gently finishes cooking the center while the base firms up. This window is what allows the chocolate to stay molten while the cookie becomes sturdy enough to hold.
Troubleshooting Common Baking Obstacles
Even with a perfect recipe, variables like oven calibration or humidity can affect your results. If your cookies don’t turn out exactly as pictured, it’s usually a minor temperature or measurement issue. Understanding how the dough reacts to heat will help you master the technique for your specific kitchen environment.
Correcting Excessive Dough Spread
If your cookies still come out flat, your oven might be running cooler than the dial suggests. Use an oven thermometer to verify you’ve actually hit 410°F. Additionally, ensure your butter was truly cold and that you didn’t over-cream the mixture into a smooth paste, which breaks down the structural fat pockets.
Achieving the Molten Center Consistently
A gooey center depends entirely on the height of your dough mound. If you press the dough down or make the mounds too small, the heat will penetrate the center too quickly. Ensure your mounds are at least 3 tablespoons in size and stacked tall rather than wide to keep that interior protected from the direct heat.
Make-Ahead Strategies and Storage Logistics
The beauty of this dough is that it actually improves with time. If you aren’t ready to bake the whole batch, you can prepare the mounds and save them for later. This is a fantastic way to have fresh, bakery-quality cookies on demand without having to pull out the stand mixer every time a craving hits.
Freezing Raw Dough Mounds for Future Use
You can freeze the craggy mounds on a tray until solid, then transfer them to an airtight bag for up to three months. When you’re ready to bake, there’s no need to thaw them. Simply place the frozen mounds on a parchment-lined sheet and add 1-2 minutes to the total baking time for a perfect result.
Maintaining Texture in Stored Cookies
To keep your baked cookies fresh, store them in an airtight container at room temperature for up to 5 days. If the centers start to firm up, you can place a single slice of white bread in the container; the cookies will absorb the moisture from the bread to stay soft. A quick 10-second zap in the microwave will also revive those molten chocolate pools.
How do I store leftover cookies to keep them soft?
Store your cookies in an airtight container at room temperature for up to 5 days. To keep them extra soft, place a slice of plain white bread in the container with them. The cookies will absorb the moisture from the bread, preventing them from becoming stale or crunchy. For the best experience, reheat a cookie for 10 seconds in the microwave before eating to melt the chocolate chunks again.
More Sweet Ideas
Round out your cookie baking with these other sweet treats.
- For a warm, spiced breakfast option, try these Cinnamon Sugar Waffles, perfect with a glass of milk.
- If you love cinnamon, explore the delightful textures of Cinnamon French Toast Stacks.
Why did my cookies turn out flat and greasy?
Flat cookies usually happen for two reasons: the butter was too warm or the oven wasn’t hot enough. Ensure your butter is cold and cubed straight from the fridge. If the butter is soft before it hits the oven, it will melt instantly and cause the dough to spread. Also, verify your oven temperature with a thermometer; if it’s lower than 410°F, the edges won’t set fast enough to hold the cookie’s shape.
Can I use chocolate chips instead of chopped bars?
You can use chips, but the result won’t be exactly the same. Chocolate chips contain stabilizers and less cocoa butter, which means they hold their shape rather than melting into pools. For that authentic bakery look and molten texture, high-quality chocolate bars are essential. Hand-chopping the bars also creates small chocolate shavings that distribute flavor throughout every single bite of the dough.
Can I make the dough ahead of time?
Yes, this dough is perfect for making ahead. You can scoop the craggy mounds and keep them in the refrigerator for up to 48 hours before baking. For longer storage, freeze the mounds on a tray until solid, then move them to a freezer bag. You can bake them directly from the freezer; just add about 2 minutes to the baking time. Chilling the dough longer actually improves the flavor as the flour hydrates.
What if I don’t have a stand mixer?
You can use a hand mixer, but you’ll need to be careful not to overwork the dough. Since the butter is cold and cubed, a hand mixer will require a bit more effort to break the butter down into that “damp sand” texture. Avoid using your hands to mix the dough, as the warmth from your palms will melt the butter and ruin the “Anti-Flat” structure we are trying to build.
Why is the oven temperature so high?
The 410°F temperature is the secret to the “Bakery Style” texture. This intense heat causes the outside of the cookie to set and brown almost immediately. This creates a structural shell that prevents the cookie from spreading thin. While the outside becomes crisp and caramelized, the high heat doesn’t have enough time to reach the very center, leaving it perfectly soft and gooey.
Chocolate Chunk Cookies
Course: DessertCuisine: AmericanDifficulty: medium18
cookies15
minutes10
minutes350
kcal40
MinutesA specialized cookie recipe designed to prevent flattening. By utilizing cold cubed butter, a high baking temperature of 410°F, and a unique stacking method, these cookies achieve a professional bakery height and a gooey, chocolate-filled interior.
Ingredients
1 cup (2 sticks) unsalted butter, cold and cubed
3/4 cup granulated sugar
3/4 cup packed light brown sugar
2 large eggs, cold
2 teaspoons vanilla extract
3 cups all-purpose flour
1 teaspoon baking soda
3/4 teaspoon sea salt
2 cups high-quality semi-sweet chocolate bars, roughly chopped into large chunks (reserve a handful for topping)
Directions
- Preheat your oven to 410°F (210°C). A higher temperature is essential for “Bakery Style” cookies; it sets the edges immediately, preventing spread while leaving the center molten.
- In a stand mixer fitted with the paddle attachment, cream the cold, cubed butter with the granulated and brown sugars for 4 minutes. The mixture should not be smooth; it should look like coarse, damp sand. This cold-fat method creates air pockets that lead to a thicker cookie.
- Add the cold eggs one at a time, followed by the vanilla extract. Mix on medium speed until just combined.
- In a separate bowl, whisk together the flour, baking soda, and salt. Gradually add the dry ingredients to the mixer on the lowest speed. Stop mixing the moment the white streaks of flour disappear to ensure the cookies remain tender.
- Fold in the majority of the chocolate chunks by hand.
- To achieve the visual height shown in the photo, do not roll the dough into smooth balls. Instead, pull apart roughly 3 tablespoons of dough and loosely press them together into a tall, craggy mound. This texture creates the “nooks and crannies” for the chocolate to pool.
- Place the dough mounds on a plate and freeze for 15 minutes. This is the “Anti-Flat” secret: the frozen exterior maintains the shape while the interior stays soft.
- Arrange the chilled mounds on a parchment-lined baking sheet, spaced 3 inches apart. Press the reserved chocolate chunks into the tops of the mounds.
- Bake for 9 to 11 minutes. The tops should be lightly golden and craggy, but the centers must look slightly underbaked.
- Let the cookies rest on the hot baking sheet for at least 10 minutes. This carryover cooking is vital; it firms up the base so you can stack them, while the high-quality chocolate chunks remain in the liquid, molten state pictured.
Notes
- The ‘Anti-Flat’ secret involves using cold butter and freezing the dough mounds for 15 minutes before baking at a high temperature (410°F) to lock in the structure.