If you’ve ever tried to swap pasta for spaghetti squash, you know the heartbreak of a watery plate. You’re expecting a rich, comforting bite, but instead, you get a puddle of liquid that dilutes all your beautiful flavors. This Cheesy Spaghetti Squash Casserole changes that narrative entirely by focusing on a dense, velvety texture that rivals any traditional pasta bake.
The secret lies in the contrast between the al dente squash strands and a thick, savory cheese base. We aren’t just tossing vegetables in a pan; we’re building a structured casserole that holds its shape. When you pull this out of the oven, you’ll see golden, bubbling cheese and smell the sharp aroma of garlic and toasted parmesan, promising a meal that feels truly indulgent.
Most people fail at this dish because they treat the squash like a noodle immediately after roasting. However, the real trick to a professional-grade result is moisture extraction. By using a specific salt-and-squeeze method, you remove the excess water that usually ruins vegetable-based bakes, ensuring your cream sauce stays thick and luscious rather than turning into a soup.
The Science of Squash Moisture Management
Spaghetti squash is a biological marvel, but its cellular structure is roughly 92% water. When you heat the squash in the oven, those cell walls break down and release their internal fluids. If you skip the extraction step, that water has nowhere to go but into your casserole dish, which is why so many recipes end up swimming in a bland liquid.
To fix this, we use the power of osmosis. When you sprinkle salt over the roasted strands, it draws the water out of the plant cells to balance the salinity on the surface. You’ll actually see the squash begin to “sweat” within minutes. This process is non-negotiable if you want a casserole that you can actually slice with a knife.
If you weigh your squash before and after the squeeze, the difference is shocking. A large squash can easily hold nearly a full cup of hidden water. By removing that volume, you’re essentially concentrating the natural sweetness of the squash and making room for the heavy cream and cheeses to coat every single strand without being washed away.
Why Roasting Face-Down Prevents Steaming
When you place your squash halves cut-side down on the baking sheet, you’re creating a controlled cooking environment. The 400°F heat hits the tough outer skin, which acts as a natural shield. This prevents the delicate inner flesh from drying out or becoming scorched before it’s fully tender.
Furthermore, this position traps a small amount of moisture against the parchment paper, which lightly steams the flesh from the inside out. This ensures the strands remain intact and firm. If you roast them face-up, the tips of the strands often become brittle and brown, which ruins the “noodle” texture we’re looking for in the final casserole.
The Salt-and-Squeeze Technique Explained
Once your squash is cool enough to handle, scrape those strands into a bowl and toss them with a teaspoon of salt. Let them sit for about ten minutes. You’ll notice the strands look glossy and wet; this is exactly what you want to see. Now, grab a clean kitchen towel or a nut milk bag and pile the squash inside.
This is where the magic happens. Twist the top of the towel and squeeze with all your might over the sink. You’ll feel the physical sensation of the squash changing in your hands. It starts off slippery and soft, but as the water exits, it becomes “grippy” and much more substantial. Keep squeezing until you can’t get any more liquid out; you should end up with a concentrated ball of squash “noodles.”
Essential Components for a Rich Texture
A great casserole needs a binder that won’t break under heat. We use a combination of heavy cream and softened cream cheese because they provide a high-fat, stable base. Unlike milk or light cream, these ingredients won’t curdle or separate when they hit the acidic environment of the squash and garlic.
The cheese choice is equally important for the structural integrity of the dish. Mozzarella provides that classic, gooey stretch that everyone loves in a bake. Meanwhile, the Parmesan adds a salty, umami punch and helps create a crust on top. Together, they wrap around the squash strands to create a cohesive bite that feels incredibly satisfying.
Selecting the Right Spaghetti Squash
When you’re at the grocery store, don’t just grab the first yellow squash you see. Pick it up and feel the weight; a good squash should feel heavy for its size, indicating it’s full of moisture (which we will later remove). Look for a matte finish on the skin rather than a shiny one, as a shiny coat often means it was picked too early.
Avoid any squash with soft spots or deep bruises, as these can indicate rot on the inside. Remember that the size of the squash dictates your sauce ratio. If you find a massive 5-pounder, you might need to add an extra dollop of cream cheese to ensure the casserole doesn’t end up too dry after you’ve squeezed out the liquid.
The Role of Softened Cream Cheese
It is vital that your cream cheese is completely soft before you start mixing. If it’s cold, it will stubbornly stay in little clumps no matter how hard you whisk. You want it to be the consistency of room-temperature butter so it can emulsify perfectly with the heavy cream.
As you whisk the cream, cream cheese, and garlic together, you’re creating a thick, uniform emulsion. This mixture acts as the “glue” for the casserole. When it bakes, the cream cheese thickens further, ensuring that every forkful of squash is draped in a velvety sauce that doesn’t run all over the plate.
Step-by-Step: Building the Casserole
Assembly is where you ensure the texture stays light rather than mushy. Instead of aggressively stirring the ingredients, you want to use a folding motion. Take a large spatula and cut through the center of the bowl, lifting the bottom ingredients over the top. This keeps the squash strands long and prevents them from breaking into small, grainy bits.
You’re looking for a visual cue where the spinach is evenly speckled throughout the pale yellow squash and the cream sauce is coating everything thinly. It shouldn’t look like a soup; it should look like a thick, chunky mixture. Once it’s well-distributed, transfer it to your greased baking dish and smooth it out gently.
Preparing the Squash Strands
To get those long, beautiful strands, use a sturdy metal fork. Start at the outer edge of the roasted squash and scrape toward the center. If you’ve roasted it correctly, the strands should pull away from the skin with very little effort. If you’re struggling, it might need another five minutes in the oven.
Don’t rush the cooling period. If the squash is steaming hot when you try to squeeze it, you’ll burn your hands and the strands will be too fragile. Letting it sit for ten minutes allows the fibers to firm up slightly, making them much easier to work with during the moisture extraction phase.
Integrating Spinach and Crispy Proteins
Fresh baby spinach adds a lovely pop of color and earthy flavor, but make sure you give it a rough chop first. Long, whole spinach leaves can become stringy and difficult to cut with a fork once they’re wilted. Chopping them ensures you get a bit of green in every single bite without the mess.
For the protein, we use crispy beef or turkey bacon to add a smoky depth. It’s important to add these pieces last, right on top of the cheese. This keeps the protein from getting soggy inside the casserole. By sitting on top, the bacon stays crunchy and provides a fantastic textural contrast to the creamy interior.
If you enjoy the smoky hint from the bacon here, you’ll also appreciate the rich flavors in our creamy chicken gnocchi.
Achieving the Golden Toasted Crust
The final 20 minutes in the oven are where the flavor truly develops. This is when the Maillard reaction takes over, turning the sugars and proteins in the cheese into a complex, toasted crust. You’ll see the edges start to pull away from the dish and turn a deep golden brown, which is a sign of concentrated flavor.
While the 375°F bake cooks the center through, the broiler finish is what gives it that “wow” factor. That high heat creates little charred peaks on the cheese and crisps up the tips of any squash strands poking through the surface. It transforms the dish from a simple bake into a gourmet-style casserole.
Monitoring the Broiler Phase
The broiler is a powerful tool, but it can turn your masterpiece into a charcoal briquette in seconds. Stay by the oven during these last three minutes. You’re looking for the cheese to transition from a pale yellow to a bubbling, spotted gold. If one side is browning faster than the other, don’t be afraid to rotate the dish.
Parmesan has a lower burning point than mozzarella because of its lower moisture content. If you see the parmesan bits turning dark brown too quickly, pull the dish out immediately. A perfect crust should have a variety of colors, from light tan to a rich, toasted amber.
The Importance of the Five-Minute Rest
It’s tempting to scoop into the casserole the second it hits the counter, but patience pays off here. When the dish is bubbling hot, the cream sauce is still quite fluid. As it sits for five minutes, the temperature drops just enough for the fats in the cheese and cream to begin setting back up.
This resting period allows the squash strands to reabsorb a tiny bit of the sauce, making them even more flavorful. When you finally slice into it, the casserole will hold its shape on the spatula. You’ll get a clean serving that looks as good as it tastes, with the sauce clinging to the squash rather than pooling at the bottom.
Flavor Variations and Ingredient Swaps
This recipe is a fantastic canvas for different flavor profiles. If you want something more autumnal, try swapping the red pepper flakes for fresh chopped sage or thyme. The earthiness of sage pairs beautifully with the natural sweetness of the squash and the richness of the cream cheese.
You can also play with the cheese blend. While mozzarella and parmesan are classic, using a sharp Gruyère or a creamy Fontina can elevate the dish for a dinner party. If you want a bit more heat, a pepper jack cheese would provide a nice kick that cuts through the richness of the heavy cream.
Make Ahead and Storage Guidelines
You can easily prep this dish in stages to save time. Roast and squeeze the squash up to 24 hours in advance and keep it in an airtight container in the fridge. When you’re ready to eat, just mix it with the sauce and bake. This actually helps the flavors meld even better.
Leftovers store beautifully for about three days. To reheat, use the oven at 350°F rather than the microwave if you have the time. The oven helps recrisp the cheese topping and prevents the squash from becoming too soft. If you must use a microwave, heat it in short 30-second bursts to avoid breaking the cream sauce.
Troubleshooting Common Casserole Issues
If you find that your sauce is still a bit thinner than you’d like after the initial bake, don’t panic. You can often fix this by extending the broiler time by a minute or two. The intense top-down heat helps evaporate surface moisture and thickens the top layer of the sauce instantly.
Another common issue is overcooking the squash during the first roast. If the strands feel mushy before they even hit the casserole dish, reduce the second bake time by five minutes. This prevents the squash from disintegrating further while still allowing the cheese to melt and the flavors to combine.
Fixing a Runny Sauce Post-Bake
If you pull the casserole out and see liquid at the edges, you can try a quick “rescue” move. Sprinkle an extra tablespoon of finely grated parmesan over the wet areas and pop it back under the broiler. The dry cheese will act as a sponge, absorbing the excess moisture while creating an extra-thick crust.
Adjusting Seasoning for Large Squash
Spaghetti squash varies wildly in size. If you end up with a monster squash that looks like it could feed an army, you must scale your seasonings. Add an extra pinch of salt and another clove of minced garlic to the cream mixture. This ensures the flavor remains bold and doesn’t get lost in the sheer volume of the vegetable.
How do I store leftovers and does this freeze well?
Store any leftovers in an airtight container in the refrigerator for up to 3 to 4 days. When reheating, the oven is your best friend to maintain the texture of the cheese. Unfortunately, this casserole does not freeze well. The cellular structure of the squash breaks down further when frozen and thawed, and the cream-based sauce tends to separate, resulting in a grainy and watery texture upon reheating.
Why is my casserole still watery even after squeezing the squash?
If your casserole is watery, it usually means the squash wasn’t squeezed aggressively enough or the salt didn’t have enough time to draw out the moisture. Ensure you let the salted squash sit for at least 10 minutes before squeezing. You should aim to remove about 1/2 to 3/4 cup of liquid. Additionally, make sure you are using full-fat cream cheese and heavy cream, as lower-fat versions have higher water content and are more likely to “break” during baking.
Can I use a different vegetable if I don’t have spaghetti squash?
While the texture will be different, you can use zucchini noodles (zoodles) as a substitute. However, zucchini is even more watery than spaghetti squash, so you must be extremely diligent with the salt-and-squeeze method. You could also use steamed cauliflower florets, though you would skip the “shredding” step and simply fold the florets into the cheese mixture.
What can I use instead of heavy cream?
If you don’t have heavy cream, the best substitute is a mixture of whole milk and a little extra cream cheese to maintain the thickness. Avoid using skim milk or almond milk, as they lack the fat necessary to create a stable, creamy sauce in the oven. Another option is using a thick Greek yogurt, though this will add a noticeable tang to the flavor profile of the dish.
How do I know when the squash is perfectly roasted?
The squash is ready when the outer skin is easily pierced with a fork and feels slightly givey when pressed. If you overcook it at this stage, the strands will turn to mush when you try to scrape them out. It is better to undercook the squash slightly during the roasting phase, as it will continue to soften during the 20-minute bake in the casserole dish.
Can I make this vegetarian?
Absolutely! Simply omit the beef or turkey bacon. To keep that smoky flavor profile, you can add a teaspoon of smoked paprika to the cream sauce or top the casserole with some smoked provolone cheese along with the mozzarella. You could also add sautéed mushrooms or sun-dried tomatoes to provide a meaty texture without using animal protein.
Spaghetti Squash Casserole
Course: Main CourseCuisine: AmericanDifficulty: medium6
servings20
minutes55
minutes425
kcal75
MinutesThis recipe solves the common problem of watery spaghetti squash by extracting excess moisture before baking. The result is a thick, creamy casserole packed with spinach, crispy bacon, and a blend of mozzarella, parmesan, and cream cheese.
Ingredients
1 large spaghetti squash (about 3-4 lbs)
1 tablespoon olive oil
1 teaspoon salt (for moisture extraction)
4 cups fresh baby spinach, roughly chopped
1 1/2 cups shredded mozzarella cheese, divided
1/2 cup grated parmesan cheese, divided
1/2 cup heavy cream
4 oz cream cheese, softened (to ensure a thick, non-watery sauce)
2 cloves garlic, minced
8 slices thick-cut bacon, cooked until crispy and chopped
1/2 teaspoon black pepper
1/4 teaspoon red pepper flakes (optional)
Directions
- Preheat your oven to 400°F (200°C). Cut the spaghetti squash in half lengthwise and scoop out the seeds. Brush the flesh with olive oil and place face down on a parchment-lined baking sheet. Roast for 35-40 minutes until the shell is easily pierced with a fork.
- Remove from the oven and let cool for 10 minutes. Use a fork to scrape the strands into a large bowl.
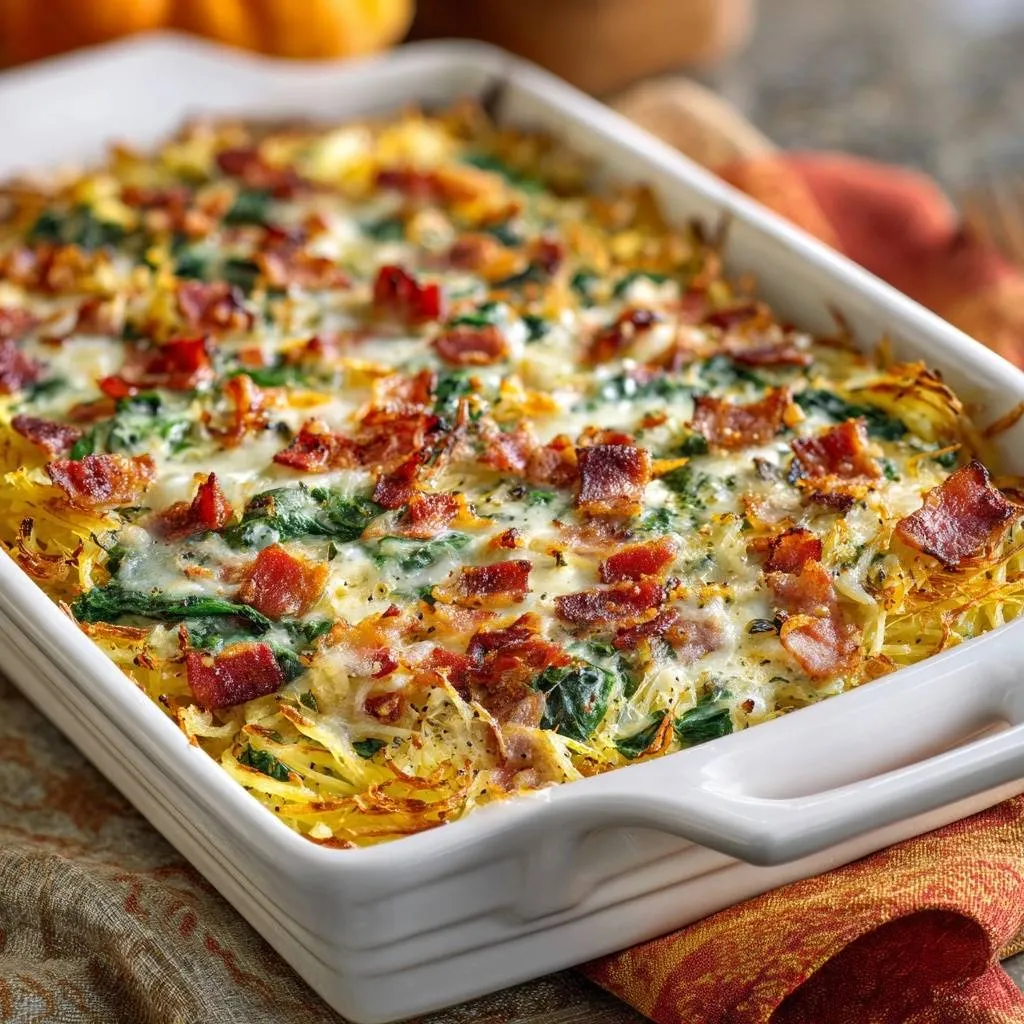
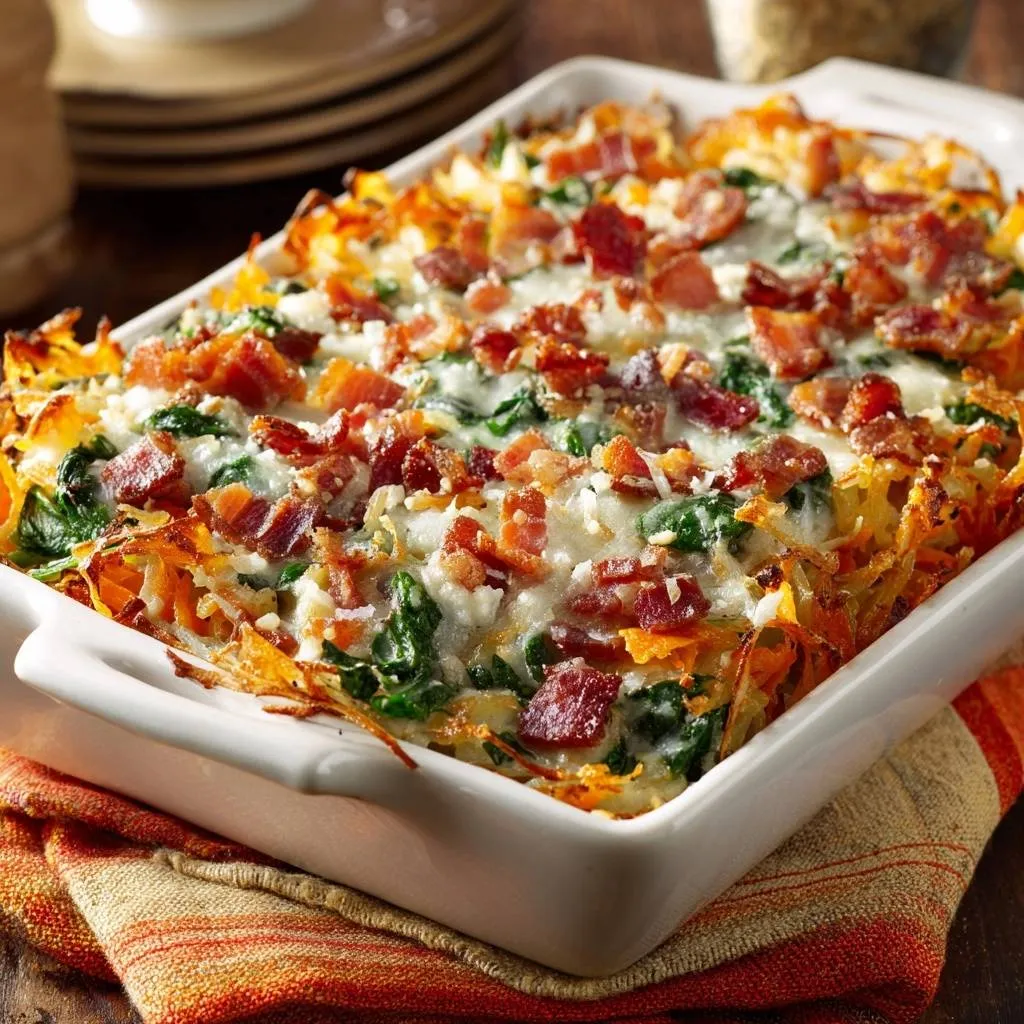
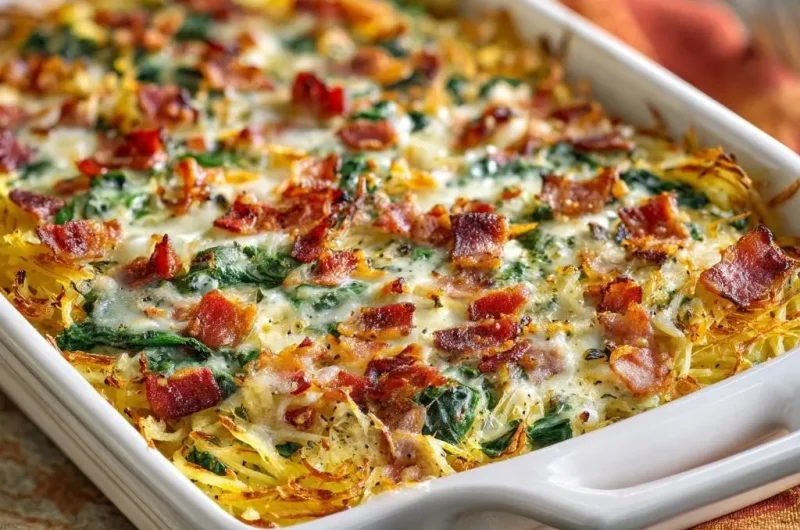
- The Anti-Soggy Step: Sprinkle the squash strands with 1 teaspoon of salt and toss. Let sit for 10 minutes. Transfer the squash to a clean kitchen towel or nut milk bag and squeeze firmly over the sink. You must remove at least 1/2 to 3/4 cup of liquid to achieve the texture shown in the image.
- Lower oven heat to 375°F (190°C).
- In a large mixing bowl, whisk together the heavy cream, softened cream cheese, minced garlic, black pepper, and red pepper flakes until smooth.
- Fold in the squeezed squash strands, chopped spinach, 1 cup of the mozzarella, and 1/4 cup of the parmesan.
- Transfer the mixture into a greased 9×13 inch white ceramic baking dish. Spread it evenly, ensuring the spinach and squash strands are well-distributed.
- Top the casserole with the remaining 1/2 cup mozzarella and 1/4 cup parmesan. Distribute the crispy chopped bacon pieces evenly across the top.
- Bake for 20 minutes. For the golden, toasted edges seen in the image, turn the broiler on high for the final 2-3 minutes until the cheese is bubbling and the squash tips are slightly browned.
- Let rest for 5 minutes before serving to allow the cream sauce to set.
Notes
- The salt-and-squeeze step is mandatory; you must remove at least 1/2 to 3/4 cup of liquid to ensure the sauce stays thick and creamy. For best results, use a kitchen towel or nut milk bag to squeeze the squash strands.