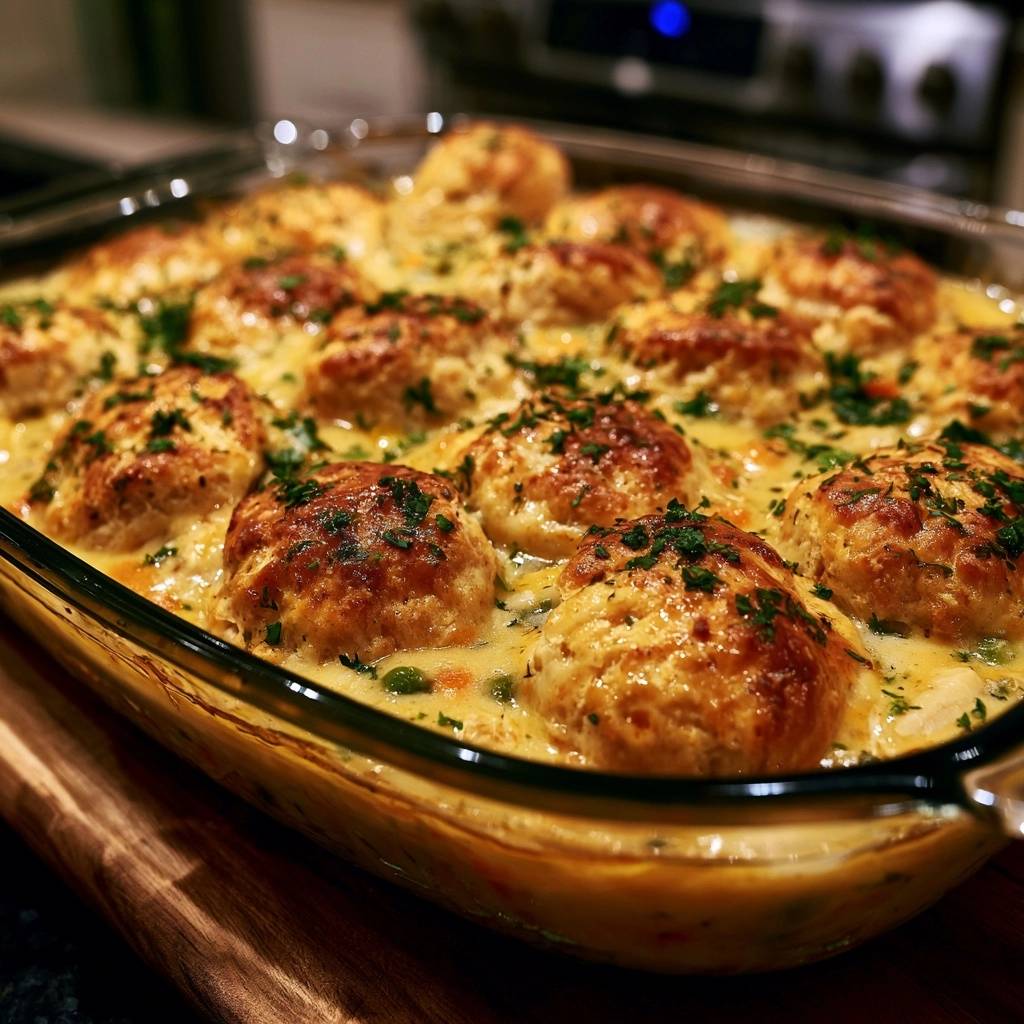
Nothing ruins a cozy dinner faster than a “soggy bottom.” You know the feeling when you bite into a beautiful, golden biscuit only to find the underside is a gummy, raw mess of dough soaking in gravy. It’s the ultimate casserole heartbreak. Most recipes fail because they place cold dough onto cold filling, forcing the biscuit to struggle against moisture while it tries to rise.
This Creamy Chicken and Biscuit Bake solves that structural nightmare with a specific temperature-staggering technique. By treating the filling and the topping as two distinct thermal phases, you ensure the chicken stays velvety while the biscuits achieve a light, airy crumb. We aren’t just tossing ingredients in a pan; we’re engineering a texture contrast that holds up from the first scoop to the last.
The secret to this success lies in the “Thermal Jumpstart.” You must get the filling bubbling hot before the dough ever makes contact. This immediate hit of heat sears the bottom of the biscuit, activating the leavening agents instantly so the dough lifts up rather than sinking into the sauce. It’s a simple shift in timing that makes a massive difference in the final mouthfeel.
The Science of the Anti-Soggy Bottom
Achieving a crisp biscuit base in a sea of gravy requires a basic understanding of heat transfer. When you pre-heat the chicken filling for ten minutes alone, you’re creating a launchpad. The moment those biscuit rounds hit the 200°F liquid, the moisture in the dough turns to steam, pushing the layers apart. If the filling were cold, the dough would simply sit and absorb the liquid like a sponge, resulting in that dreaded leaden texture.
In addition to heat, we use the “Cheese Barrier Method” to protect the dough. By sprinkling a layer of shredded sharp cheddar over the hot filling before adding the biscuits, you create a hydrophobic layer. As the cheese melts, the fats release and form a thin, oily coating on top of the sauce. This barrier prevents the water-based gravy from migrating into the flour, ensuring the biscuit stays bread-like instead of turning into a dumpling.
This dual approach addresses both physics and chemistry. The heat provides the lift, while the fat provides the shield. You’ll notice that the biscuits don’t just sit on top; they almost float. This allows the hot air of the oven to circulate around the sides of each biscuit half, cooking them through much faster than a solid sheet of dough ever could.
Essential Components for a Rich Filling
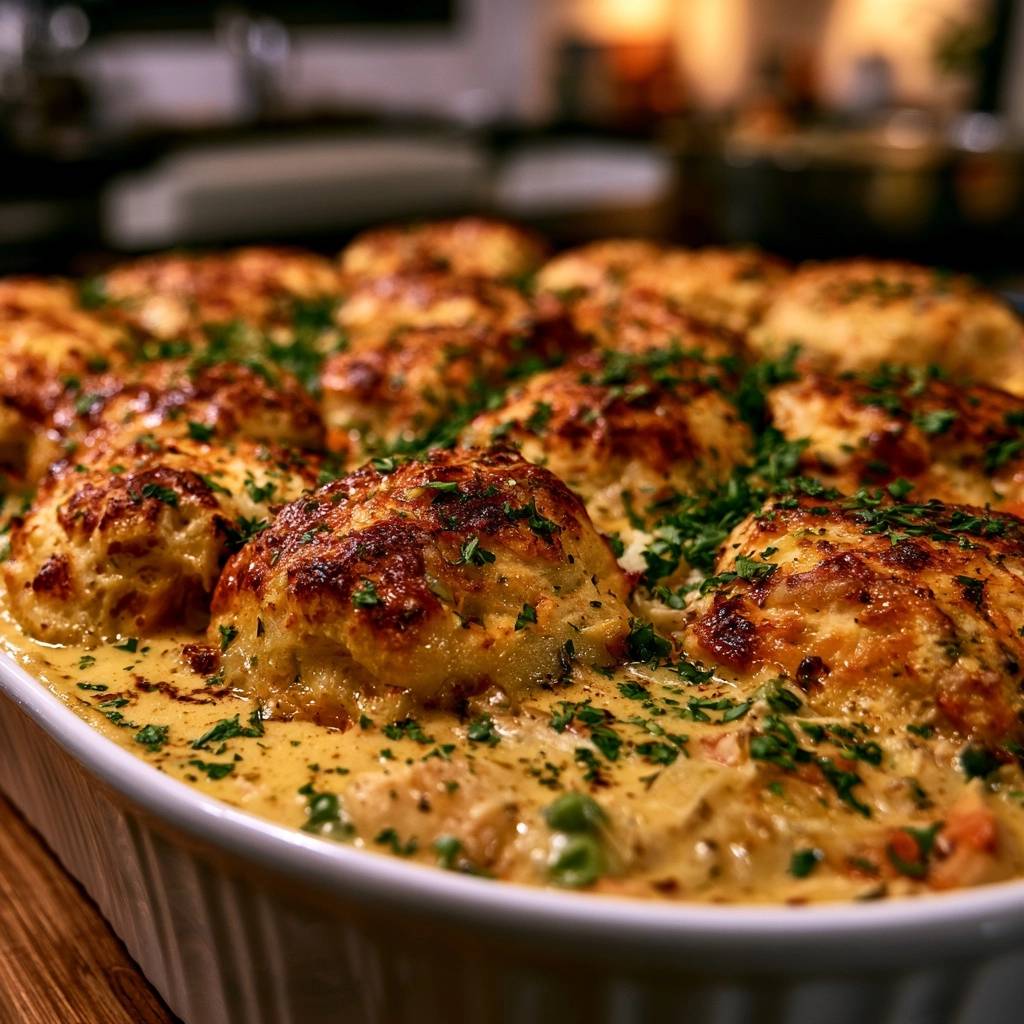
A great bake starts with a stable, flavorful base. While milk is a kitchen staple, heavy cream is the superior choice here because it contains less water and more fat. This higher fat content prevents the sauce from breaking or becoming watery when subjected to the high heat of a 400°F oven. It creates a luxurious, coating consistency that clings to the chicken and vegetables perfectly.
Flavor building happens quickly with the right aromatics. Dried thyme and onion powder are essential because they provide a concentrated, “Sunday roast” flavor profile without the need for hours of simmering. The thyme adds an earthy, floral note that cuts through the richness of the cream, while the garlic and onion powders provide a savory backbone that permeates every bite of the shredded chicken.
Don’t underestimate the importance of salt and black pepper. Because the biscuits are relatively neutral, the filling needs to be seasoned boldly. The frozen peas and carrots add a touch of sweetness and a pop of color, but they also contribute moisture. Using them straight from frozen is actually a benefit, as they thaw rapidly in the pre-heat phase without becoming mushy during the final bake.
Selecting and Preparing the Chicken
You have flexibility with your protein, but the texture changes depending on your choice. A store-bought rotisserie chicken is a fantastic time-saver and offers a mix of dark and white meat for extra moisture. If you prefer a leaner profile, poached chicken breasts work beautifully. The key is to shred the meat rather than cubing it.
Shredded chicken has a much higher surface area than cubes. These jagged edges allow the sauce to cling to the meat, effectively helping to thicken the entire mixture as it bakes. When you take a bite, the shredded strands distribute the creamy gravy more evenly across your palate, creating a more cohesive and satisfying mouthfeel.
The Role of Condensed Aromatics
While food purists might reach for a homemade roux, condensed cream of chicken soup serves a vital technical purpose in this bake. It contains specific stabilizers that maintain a consistent viscosity even when topped with heavy dough. A homemade sauce can sometimes thin out or “weep” moisture as the vegetables cook, but the condensed base keeps everything tightly bound.
Step-by-Step: Engineering the Perfect Bake
Success in this recipe is all about the three distinct phases of cooking. You aren’t just following a list; you’re managing heat and moisture to ensure every component reaches its peak at the same time. If you rush the process, you lose the structural integrity that makes this dish stand out from standard casseroles.
Phase 1: The Thermal Jumpstart
Start by whisking your liquids and spices until they are completely smooth before folding in the chicken. Once you spread this into your glass dish, it goes into the oven for a solo 10-minute session. You are looking for the edges to be bubbling vigorously. This ensures the internal temperature of the filling is high enough to cook the biscuit bottoms from the underside while the oven air cooks the tops.
Phase 2: Constructing the Cheese Barrier
Once the dish is pulled from the oven, work quickly. Sprinkle the first half-cup of cheddar immediately. You want to see that cheese start to glisten and melt into a golden film. Sharp cheddar is the best choice here because its higher oil content creates a more effective moisture barrier than milder, younger cheeses. This step is the “insurance policy” for your biscuits.
Phase 3: Biscuit Placement and Aeration
Instead of placing the 8 biscuits whole, cut each one in half to create 16 smaller rounds. This increases the surface area, allowing more steam to escape from the filling through the gaps. It also ensures the center of each biscuit cooks through at the same rate as the edges. Arrange them in a 4×4 grid, brush with butter, and add the remaining cheese for a salty, crispy crust.
Troubleshooting Common Casserole Pitfalls
If you find your sauce is too thin after the bake, it usually means the filling didn’t reach a high enough temperature to activate the starches. Make sure your oven is truly at 400°F before the first phase. If the sauce looks broken or oily, you might have used a low-fat milk instead of heavy cream. The fat in the cream is what keeps the emulsion stable under high heat.
For those whose biscuits are turning dark brown on top but remain doughy inside, the issue is usually oven rack positioning. Move your rack to the center or lower-middle position. If the tops are browning too fast, simply tent the dish loosely with foil. This traps enough heat to finish the dough without burning the cheese garnish on top.
Make-Ahead Strategies and Storage Logistics
You can easily prep the chicken and sauce mixture up to 24 hours in advance. Store the filling in an airtight container in the fridge, but do not put it in the baking dish yet. When you’re ready to eat, proceed with the pre-heating step, though you may need to add 5 minutes to the “solo bake” time since the filling is starting from a cold, refrigerated state.
Never top the filling with biscuits until the very moment you are ready to bake. If the dough sits on the wet filling in the fridge, it will dissolve and ruin the texture. For leftovers, avoid the microwave if possible. Reheat portions in a 350°F oven or an air fryer for about 10 to 15 minutes. This restores the crunch to the biscuit while gently warming the chicken center.
Vegetable Swaps and Flavor Variations
While peas and carrots are the classic choice, you can elevate the dish with different aromatics. Sautéed leeks or pearl onions add a sophisticated sweetness that pairs perfectly with the cream sauce. If you love earthy flavors, try adding sliced cremini mushrooms that have been browned in a pan beforehand to remove their excess moisture.
You can also customize the biscuit topping. Try mixing a teaspoon of dried rosemary or chopped fresh chives into the melted butter before brushing it on the dough. This adds a fragrant, herbal crust that complements the thyme in the filling. Just remember to keep the vegetable pieces small so they cook through in the short 20-minute baking window.
Expert Tips for Success
1. Use a glass baking dish if you have one. It allows you to see the bubbles in the filling, which is your visual cue that the “Thermal Jumpstart” is working. Glass also holds heat well, helping the bottom of the bake stay warm during serving.
2. Don’t skip the 10-minute rest after the bake. This isn’t just for cooling; it’s for setting. The starches in the sauce need a few minutes to thicken up as the temperature drops slightly, and the biscuit bottoms will finish firming up during this time.
3. Ensure your chicken is at room temperature before mixing it into the sauce. Cold chicken clumps together and can create cold spots in the casserole, which prevents the filling from heating evenly during the first phase of baking.
4. Specifically look for “Flaky Layers” refrigerated biscuits. These are designed with distinct layers that create natural steam vents as they bake. This internal aeration is crucial for ensuring the middle of the dough isn’t heavy or dense.
5. Grate your own cheese from a block. Pre-shredded cheeses are coated in potato starch or cellulose to prevent clumping in the bag. These starches can interfere with the “Cheese Barrier” and may result in a grittier sauce texture.
How do I prevent the edges from burning?
Glass dishes often get hotter at the corners, which can cause the perimeter biscuits to brown faster than the center ones. If you notice the edges getting too dark, you can rotate the pan halfway through the biscuit-baking phase. Alternatively, you can create a simple foil collar by folding strips of aluminum foil and placing them over just the edges of the dish to shield them from the direct heat.
Can I use frozen chicken directly?
It is not recommended to use frozen chicken pieces directly in the bake. Frozen meat releases a significant amount of water as it thaws, which will turn your creamy sauce into a thin, broken soup. Always thaw your chicken completely and pat it dry with paper towels before shredding. This ensures the moisture levels in the recipe remain balanced and the sauce stays thick and rich.
Why is my sauce breaking or curdling?
Sauce separation usually happens when the dairy is boiled too violently or if the fat content is too low. By using heavy cream and condensed soup, you are using ingredients that are naturally resistant to curdling. If you substituted the cream with skim milk or a low-fat alternative, the proteins are more likely to clump together under the 400°F heat, resulting in a grainy appearance.
What is the best way to reheat leftovers?
To keep the biscuits from getting soggy, avoid the microwave. Place your leftovers in an oven-safe dish and cover the top loosely with foil to prevent the biscuits from over-browning. Heat at 350°F for about 15 minutes. For the best results, use an air fryer at 320°F for 8 minutes; the circulating air will perfectly crisp the biscuit top while the chicken filling gets hot and bubbly again.
Creamy Chicken and Biscuit Bake
Course: Main CourseCuisine: AmericanDifficulty: easy6
servings15
minutes30
minutes45
Minutes510
kcalAmerican
Ingredients
1.5 lbs cooked chicken breast, shredded
1 can (10.5 oz) condensed cream of chicken soup
1/2 cup heavy cream
1/2 cup chicken broth
1 cup frozen peas and carrots
1/2 teaspoon garlic powder
1/2 teaspoon dried thyme
1/2 teaspoon onion powder
Salt and black pepper to taste
1 cup shredded sharp cheddar cheese (divided)
1 tube (16 oz) refrigerated flaky layers biscuits (8-count)
2 tablespoons melted butter
3 tablespoons fresh parsley, finely chopped
Directions
- Preheat your oven to 400°F (200°C).
- In a large bowl, whisk together the cream of chicken soup, heavy cream, chicken broth, garlic powder, onion powder, thyme, salt, and pepper until smooth. Fold in the shredded chicken and frozen vegetables.
- Pour the mixture into a 9×13 inch glass baking dish. Spread it into an even layer.
- Place the baking dish in the oven for 10 minutes WITHOUT the biscuits. Heating the filling first is critical; it ensures the bottom of the dough begins searing and steaming immediately upon contact, preventing sogginess.
- Remove the hot dish from the oven. Sprinkle 1/2 cup of the shredded cheddar cheese evenly over the bubbling filling. This creates a fat-based barrier between the sauce and the dough.
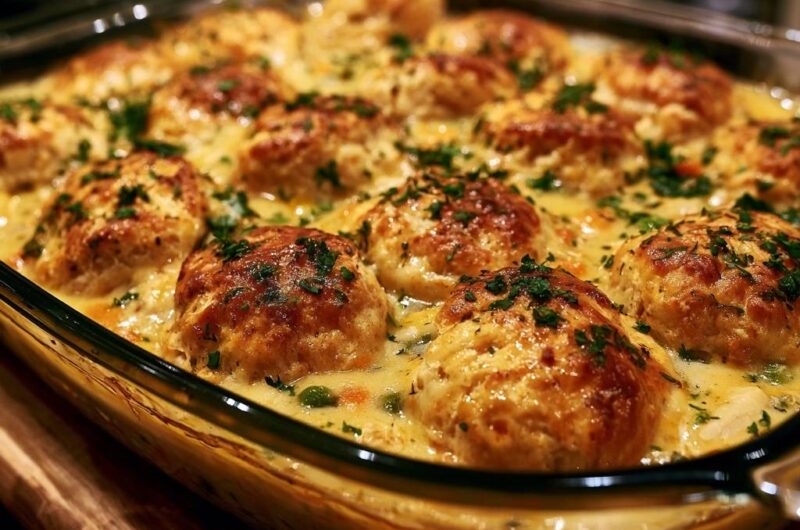
- Cut each of the 8 biscuits in half to create 16 smaller rounds (matching the high-density visual in the image). Arrange them in 4 rows of 4 on top of the hot, cheesy filling.
- Brush the tops of the biscuits generously with melted butter. Sprinkle the remaining 1/2 cup of cheddar cheese and 1 tablespoon of the fresh parsley directly onto the biscuit tops.
- Return to the oven and bake for 18 to 22 minutes. If the tops brown too quickly, tent loosely with foil, but ensure the biscuits are deep golden brown and firm to the touch. The chicken is done when it reaches 165°F (74°C) in the thickest part.
- Let the casserole rest for 5 to 10 minutes before serving. This allows the starch in the sauce to fully set and the biscuit bottoms to finish firming up. Garnish with the remaining fresh parsley.
Notes
- Heating the filling for 10 minutes before adding the biscuits is critical to prevent sogginess. Letting the dish rest for 5 to 10 minutes after baking allows the sauce to set properly.