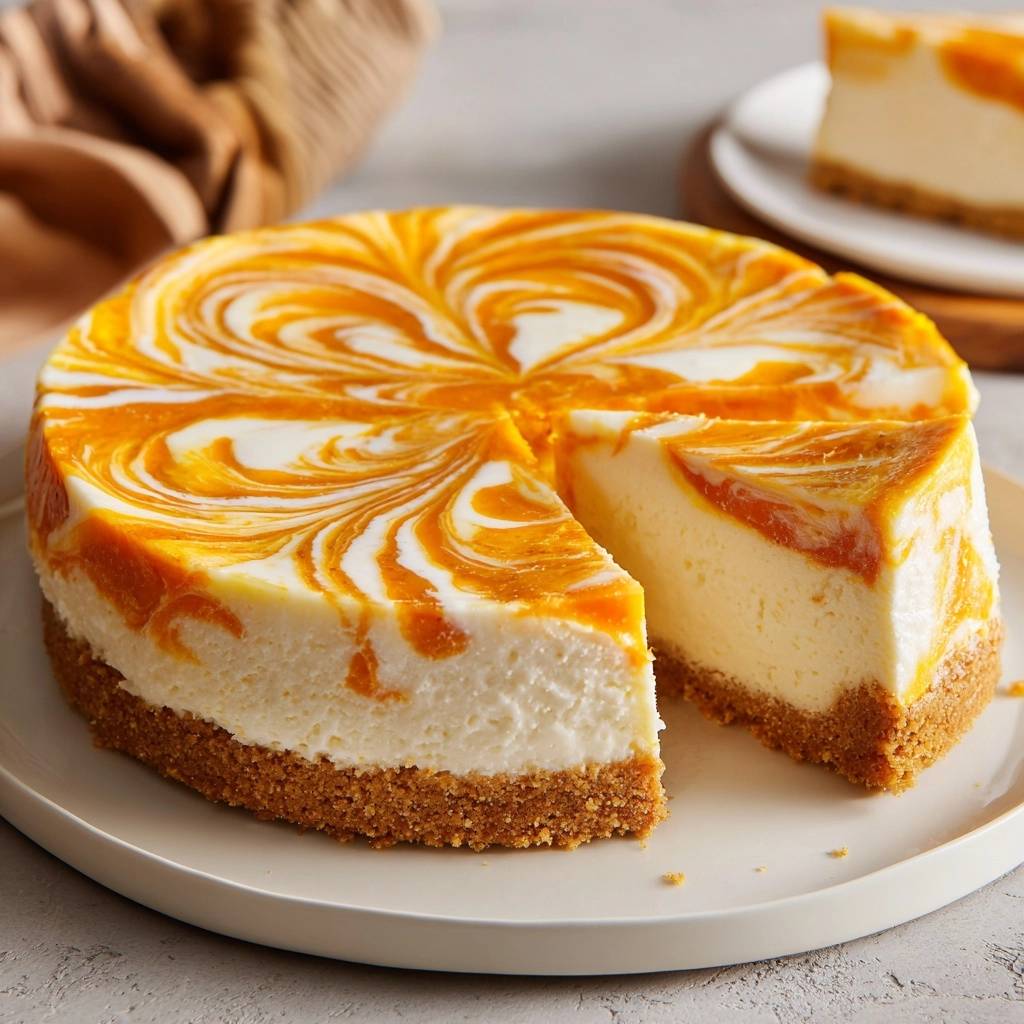
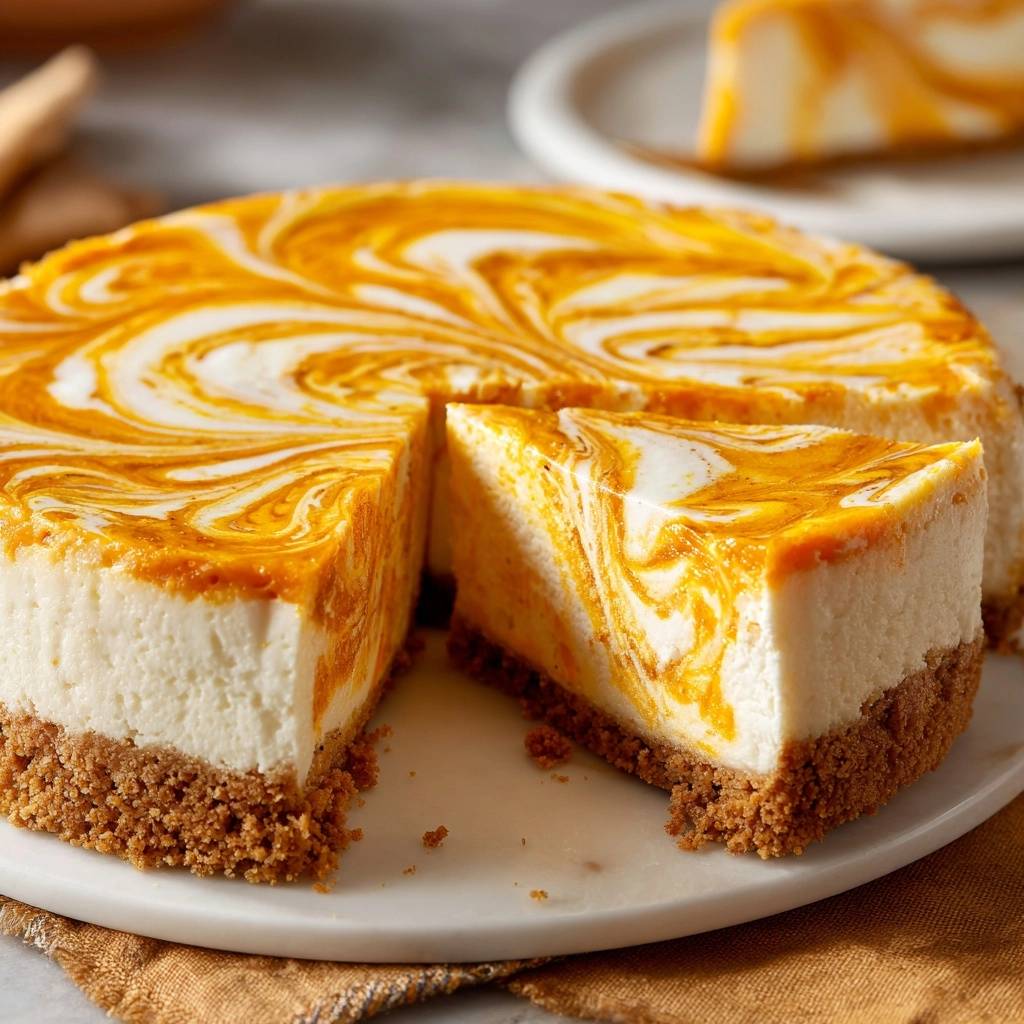
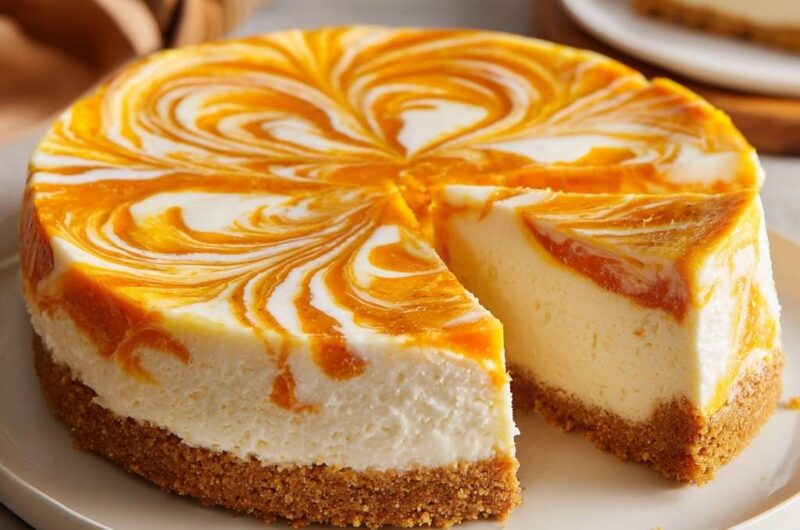
As the leaves begin their vibrant shift to amber and the air turns crisp, my kitchen naturally gravitates toward the warm, earthy scents of autumn baking. There is something undeniably sophisticated about a Creamy Pumpkin Swirl Cheesecake sitting on a dessert pedestal. The intricate marble pattern, with its deep orange ribbons dancing through a snowy white base, makes it the undisputed crown jewel of any holiday spread.
However, many home bakers shy away from this classic because of the dreaded “canyon crack” that often splits the surface during cooling. You don’t need a cumbersome, sloshing water bath to achieve a flawless finish. This recipe focuses on a controlled temperature decline that protects the delicate custard from structural shock.
For those who find cheesecake cracks a challenge, here’s a guide to red velvet cheesecake stuffed cookies without leaks.
The secret to this professional look is actually found in your utility drawer. By propping the oven door open with a simple wooden spoon after the heat is off, you allow the cheesecake to contract slowly. This gradual transition is the ultimate insurance policy against surface tension breaks, ensuring your swirl remains picture-perfect from oven to table.
The Architecture of a Crack-Free Cheesecake
Understanding the science of a cheesecake is the first step toward mastery. Unlike a traditional sponge cake, a cheesecake is actually a baked custard. The proteins in the eggs and cream cheese are highly sensitive to rapid changes in environment. When these proteins are heated, they expand and bond; if they are cooled too quickly, they snap back with such force that the surface literally tears apart.
The Zero-Crack Cooling Method manages this physical contraction with precision. By keeping the cake in the residual heat of the oven, you allow the internal structure to firm up while the edges slowly pull away from the pan. This method mimics the gentle environment of a water bath without the risk of a soggy crust or the hassle of boiling water. It is all about managing the physics of heat loss to maintain structural integrity.
Essential Components for the Graham Cracker Base
A great cheesecake requires a sturdy foundation to support the dense, creamy filling. We use a full 2 cups of graham cracker crumbs to create an extra-thick crust that climbs slightly up the sides of the pan. This provides a beautiful golden frame for the pumpkin filling and adds a much-needed textural crunch to every bite.
Melted butter acts as the glue in this equation, while two tablespoons of sugar help with caramelization during the pre-bake. When you press the crumbs into the pan, use the flat bottom of a measuring cup or a heavy glass. This ensures the base is even and tightly packed, which prevents the crust from crumbling when you eventually slice the cake.
Selecting the Right Cream Cheese and Dairy
Quality ingredients are non-negotiable for a dessert this rich. You must use full-fat, brick-style cream cheese for the proper density. Avoid the spreadable versions sold in tubs, as they contain extra air and water that will cause your cheesecake to collapse or weep. The fat content in the bricks provides the velvety mouthfeel that defines a premium cheesecake.
In addition to the cheese, room-temperature sour cream is the secret to that specific “creamy white” aesthetic. It adds a subtle tang that cuts through the sugar and lightens the texture of the heavy cream cheese. Ensure it is truly at room temperature before mixing, or you will end up with tiny white lumps that are impossible to smooth out later.
The Spice Profile: Beyond Basic Pumpkin Pie Spice
While pre-mixed pumpkin spices are convenient, they often lack the punch of individual aromatics. We use a specific ratio of cinnamon, nutmeg, and ginger to create a vibrant, layered flavor profile. The ginger provides a sharp back-note that balances the sweetness, while the nutmeg adds an earthy warmth that lingers on the palate.
Furthermore, ensure you are using 100% pure pumpkin puree rather than pumpkin pie filling. Pie filling is pre-sweetened and thinned with water, which will ruin the consistency of your swirl batter. Pure puree gives you total control over the moisture levels and the intensity of the orange color in your marble design.
For more ideas on using pumpkin, discover these salted caramel pumpkin cupcakes.
Step-by-Step: Preparing the Foundation and Batter
Start by pre-baking your graham cracker crust at 325°F for exactly 10 minutes. This step is vital because it sets the butter and sugar, creating a moisture barrier. You must let the crust cool completely before pouring in the batter. If the crust is still hot, the bottom of the cheesecake will steam, resulting in a soggy, unappealing base.
When you begin the filling, beat the cream cheese and sugar until the mixture looks fluffy and smooth. You are looking for a texture similar to thick frosting. Once you add the sour cream, vanilla, and cornstarch, mix just until combined. The cornstarch is a silent hero here; it binds to the moisture in the cheese and eggs, acting as a stabilizer that further prevents cracking.
The Low-Speed Egg Integration Technique
The most common mistake in cheesecake baking happens the moment the eggs hit the bowl. You must switch your mixer to the lowest possible speed. If you beat the eggs too vigorously, you incorporate millions of tiny air bubbles into the batter. In the oven, these bubbles expand, causing the cake to rise like a souffle, only to crash and crack as it cools.
Add your eggs one at a time, watching closely as the mixer runs. Stop the moment the yellow yolk disappears into the white batter. It is perfectly fine if the batter looks thick and heavy. In fact, that density is exactly what leads to the creamy, New York-style texture we are aiming for.
Artistry in the Swirl: Creating the Marble Pattern
Creating the floral marble pattern is the most rewarding part of the process. After setting aside a cup of the plain batter and mixing in your pumpkin and spices, pour the white base into the pan. Drop large, distinct spoonfuls of the orange pumpkin mixture on top in a circular pattern. Think of it like a clock face with a few extra dollops in the center.
Take a thin skewer or a paring knife and submerge the tip about half an inch into the batter. Start at the center and pull the tool outward toward the edges in a swirling, loopy motion. Don’t overwork it! If you swirl too much, the colors will muddy together into a dull orange. You want sharp, distinct lines of white and orange to create that professional, high-contrast look.
Precision Baking and the Jiggle Test
Baking a cheesecake is an exercise in patience. After about 55 to 65 minutes, you need to perform the “jiggle test.” Gently shake the pan using an oven mitt. The edges should be slightly puffed and feel firm to the touch, but the center two inches should still wobble like set gelatin. This jiggle is essential because the cake will continue to cook from the inside out as it cools.
Never stick a toothpick or knife into the center to check for doneness. This creates a physical weak point in the custard that will almost certainly turn into a large crack as the cake shrinks. Trust the jiggle and the timer; the residual heat is more powerful than you think.
The Zero-Crack Cooling Method: A Controlled Decline
Once the jiggle test is successful, turn off the oven immediately. Do not open the door fully. Instead, prop it open just two or three inches using the handle of a wooden spoon. This allows the intense heat to escape slowly while keeping the cheesecake in a warm, humid environment. Leave it exactly like this for one hour.
During this hour, you will notice the cheesecake gently sinking back down to its original height. Because the temperature is dropping slowly, the proteins have time to relax and adjust. This “controlled decline” is the secret used by professional pastry chefs to ensure a smooth, glass-like surface without the need for a water bath.
Equipment: Why the Springform Pan is Non-Negotiable
You cannot bake this recipe in a standard cake pan. A 9-inch springform pan is mandatory because it allows you to remove the sides without flipping the cake upside down. Since cheesecake is incredibly delicate and sticky, any attempt to invert it would result in a destroyed dessert. The latch mechanism on the side is the only way to achieve those clean, vertical edges.
Using a 9-inch size is also important for the bake time. If you use a 10-inch pan, the cake will be thinner and will likely overbake. If you use an 8-inch pan, the batter may overflow or the center will remain raw while the edges burn. Stick to the 9-inch standard for the best height-to-width ratio.
Troubleshooting Common Cheesecake Obstacles
If your batter looks lumpy after mixing the cream cheese, it is almost always because the cheese was too cold. You can sometimes fix this by placing the bowl over a pot of warm water for a minute to soften the fats. However, the best prevention is leaving your ingredients on the counter for at least two hours before you start.
If you notice “weeping” or beads of moisture on the surface after chilling, it usually means the sugar didn’t fully dissolve or the cake was refrigerated while still slightly warm. The tablespoon of cornstarch in this recipe helps mitigate this by stabilizing the liquids, but always ensure the cake is completely room temperature before it goes into the fridge.
Make-Ahead Strategies and Proper Chilling
Cheesecake is the ultimate make-ahead dessert because it actually tastes better after 24 hours. The flavors of the cinnamon, nutmeg, and ginger need time to meld with the cream cheese. You must refrigerate the cake for at least 6 hours, but overnight is much better. This time allows the fats to fully solidify, which is what creates that dense, melt-in-your-mouth texture.
Keep the springform ring on while the cake is in the fridge. This protects the edges from drying out and helps the cake maintain its shape. If you have leftovers, this cheesecake freezes beautifully. Wrap individual slices in plastic wrap and foil; they will stay fresh for up to three months. Just thaw them in the fridge for a few hours before serving.
Expert Serving Suggestions and Presentation
To get those clean, restaurant-quality slices, you need a sharp knife and a tall glass of hot water. Dip the knife into the hot water and wipe it dry before every single cut. The heat from the blade will slice through the cold fats like butter, preventing the filling from sticking to the knife and smearing the beautiful swirl pattern.
While the swirl is stunning on its own, a small dollop of lightly sweetened whipped cream on the side can add a nice touch. You might also consider a very light dusting of cinnamon over the plate. Avoid heavy toppings like chocolate syrup or fruit compotes, as they will hide the hard work you put into the marble design.
Complementary Recipes
To round out your dessert experience, consider these sweet additions.
- For a warm, spiced bread that shares pumpkin’s comforting notes, try this Honey Pumpkin Bread.
- Enjoy another delightful texture with these Golden Cottage Cheese Fritters, perfect for a sweet treat.
Frequently Asked Questions
Can I use low-fat cream cheese for this recipe?
It is highly recommended that you stick with full-fat cream cheese. Low-fat or “light” versions have a higher water content and different stabilizers that can prevent the cheesecake from setting properly. This often results in a grainy texture or a cake that collapses once the springform ring is removed.
Why did my graham cracker crust crumble when I sliced the cake?
A crumbling crust usually happens if the crumbs weren’t pressed firmly enough into the pan or if the butter-to-crumb ratio was off. Make sure you use a flat-bottomed tool to pack the base tightly. Also, ensure you are using exactly 6 tablespoons of melted butter to provide enough “glue” for the 2 cups of crumbs.
Can I use homemade pumpkin puree instead of canned?
You can, but you must be careful with the moisture content. Homemade puree is often much more watery than the concentrated canned version. If you use homemade, strain it through cheesecloth for at least two hours to remove excess liquid. Otherwise, the extra moisture will prevent the pumpkin swirl from setting and may cause the cake to crack.
What if I forgot to bring my eggs to room temperature?
If you are in a hurry, you can use the warm water hack. Place your cold eggs in a bowl of warm (not hot) water for about 5 to 10 minutes. This will gently take the chill off the eggs so they emulsify properly with the cream cheese without causing the fats to seize up and create lumps.
How do I know if my oven temperature is actually accurate?
Many home ovens are off by 25 degrees or more, which is a disaster for cheesecake. The best way to ensure success is to use an inexpensive clip-on oven thermometer. If your oven runs hot, your cheesecake will puff and crack; if it runs cold, the center will never set. Adjust your dial based on the thermometer reading rather than the digital display.
Pumpkin Cheesecake
Course: DessertCuisine: AmericanDifficulty: medium12
servings25
minutes1
hour440
kcal85
MinutesThis holiday dessert combines a thick graham cracker crust with a creamy vanilla and pumpkin spiced batter. The recipe utilizes a gradual cooling technique in the oven to prevent surface cracking and ensures a rich, velvety texture.
Ingredients
2 cups graham cracker crumbs (for the extra-thick crust shown)
6 tablespoons melted butter
2 tablespoons sugar
32 ounces (4 blocks) cream cheese, softened to room temperature
1 1/4 cups granulated sugar
1/2 cup sour cream, room temperature (for the creamy white texture)
1 tablespoon cornstarch (to prevent weeping and cracks)
1 teaspoon vanilla extract
4 large eggs, room temperature
1/2 cup pumpkin puree
1 teaspoon ground cinnamon
1/4 teaspoon ground nutmeg
1/4 teaspoon ground ginger
Directions
- Preheat your oven to 325°F (163°C). Mix graham cracker crumbs, melted butter, and 2 tablespoons of sugar. Press firmly into the bottom and slightly up the sides of a 9-inch springform pan. Bake for 10 minutes, then let cool completely.
- In a large bowl, beat the softened cream cheese and 1 1/4 cups sugar until completely smooth and fluffy. Add the sour cream, cornstarch, and vanilla, mixing until combined.
- Add eggs one at a time, mixing on the lowest speed just until the yellow disappears. Do not overbeat, as extra air causes the cake to puff and then crack.
- Remove 1 cup of the plain batter and place it in a small bowl. Stir the pumpkin puree, cinnamon, nutmeg, and ginger into this portion until the color is a vibrant orange.
- Pour the plain white batter over the crust. Drop large spoonfuls of the pumpkin mixture on top in a circular pattern. Use a thin knife or skewer to gently swirl the pumpkin into the white batter, pulling from the center outward to create the floral marble pattern seen in the image.
- Bake for 55 to 65 minutes. The edges should be slightly puffed and set, but the center 2 inches should still have a slight jiggle when the pan is gently shaken.
- To solve the cracking issue, do not remove the cake from the oven. Turn the oven off and prop the door open just 2-3 inches with a wooden spoon. Let the cheesecake sit inside the cooling oven for exactly one hour. This gradual temperature decline prevents the cheesecake from shrinking too quickly and snapping.
- After one hour, remove from the oven and let it cool completely on the counter. Run a thin knife around the edge of the cake to ensure it isn’t sticking to the sides, then refrigerate for at least 6 hours (preferably overnight). Release the springform ring only once the cake is fully chilled.
Notes
- Ensure all ingredients like cream cheese, sour cream, and eggs are at room temperature to prevent lumps. Use a wooden spoon to prop the oven door open during the cooling phase to allow for a gradual temperature drop.