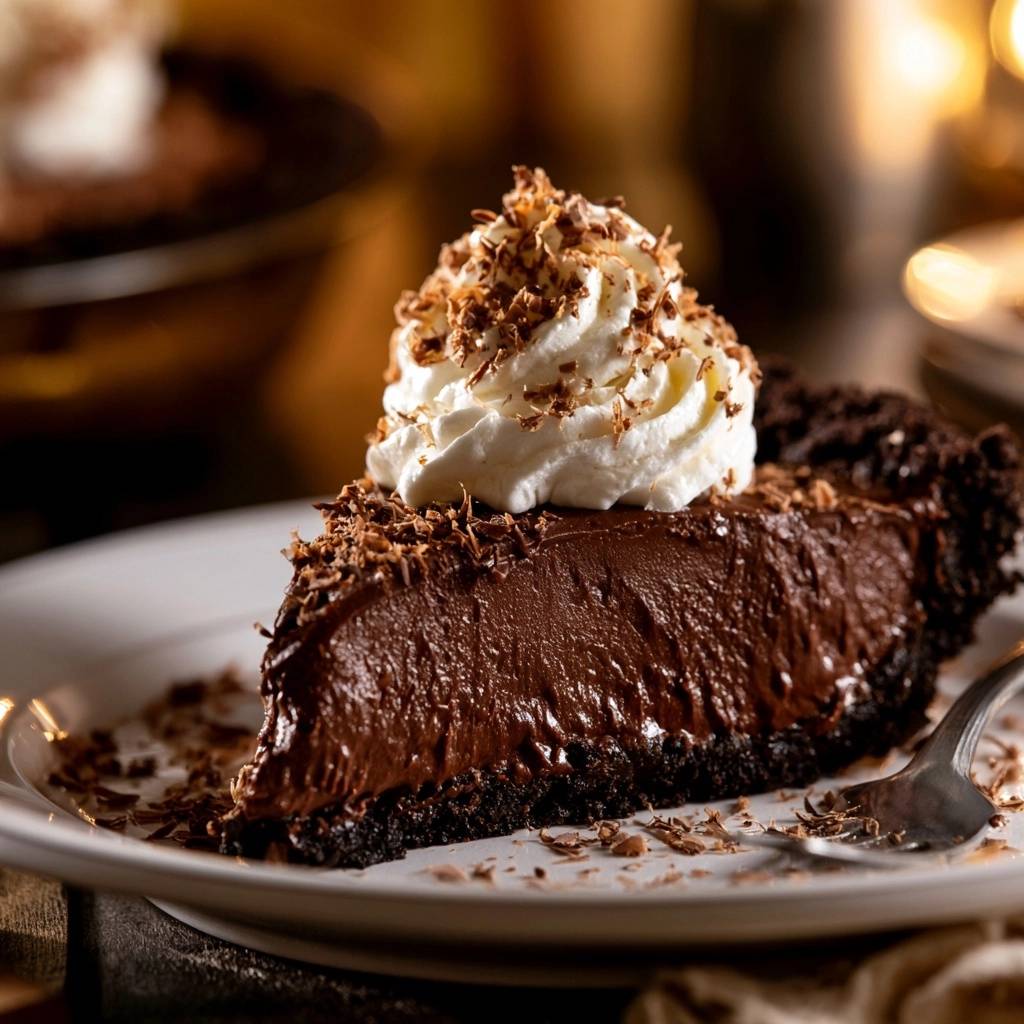
Imagine a dessert where the first bite offers a sharp, rhythmic snap of a dark cocoa crust followed immediately by a wave of dense, velvet chocolate that melts on your tongue. Most silk pies suffer from a tragic flaw: a crust that turns into a damp, crumbly mess within hours of meeting the filling. This recipe solves that heartbreak by utilizing a high-pressure mechanical seal and a stabilized ganache-mousse hybrid that stays firm yet creamy.
The “Anti-Soggy Bottom” philosophy isn’t just a catchy name; it’s a technical approach to dessert engineering. By focusing on the moisture barrier of the crust and the temperature precision of the filling, you create a pie that maintains its structural integrity from the first slice to the last. You’re not just making a pie; you’re mastering the balance of fats and solids to achieve a professional-grade texture.
The secret to this success lies in the “blind bake” of the cookie crumbs. While many recipes suggest a no-bake crust, that’s exactly why they fail. A short, hot stint in the oven caramelizes the sugars in the cookies and fuses them with the butter, creating a waterproof shield that keeps the filling from migrating into the base. It’s the difference between a soggy snack and a gourmet masterpiece.
The Anatomy of a Perfect Chocolate Silk Filling
When you’re aiming for a truly decadent silk, the quality of your chocolate is the most important factor. You must use high-quality dark chocolate chips or chopped bars with a cacao content between 60% and 70%. This specific range provides enough cocoa butter to ensure the pie sets firmly without becoming brittle, while the lower sugar content prevents the dessert from being cloying.
Cocoa butter is the structural backbone of your “silk.” At room temperature, it’s solid, but it melts at body temperature, which is what gives this pie that luxurious, disappearing mouthfeel. If you use cheap chocolate with high vegetable oil content, the filling will feel greasy and may never fully set. Therefore, investing in a premium brand pays off in the final texture.
Furthermore, the higher cacao percentage balances the richness of the heavy cream. Because we are folding a dense ganache into whipped cream, the chocolate needs enough “personality” to shine through the dairy. The result is a filling that tastes intensely of cacao but feels as light as a cloud. It’s a sophisticated profile that appeals to true chocolate lovers.
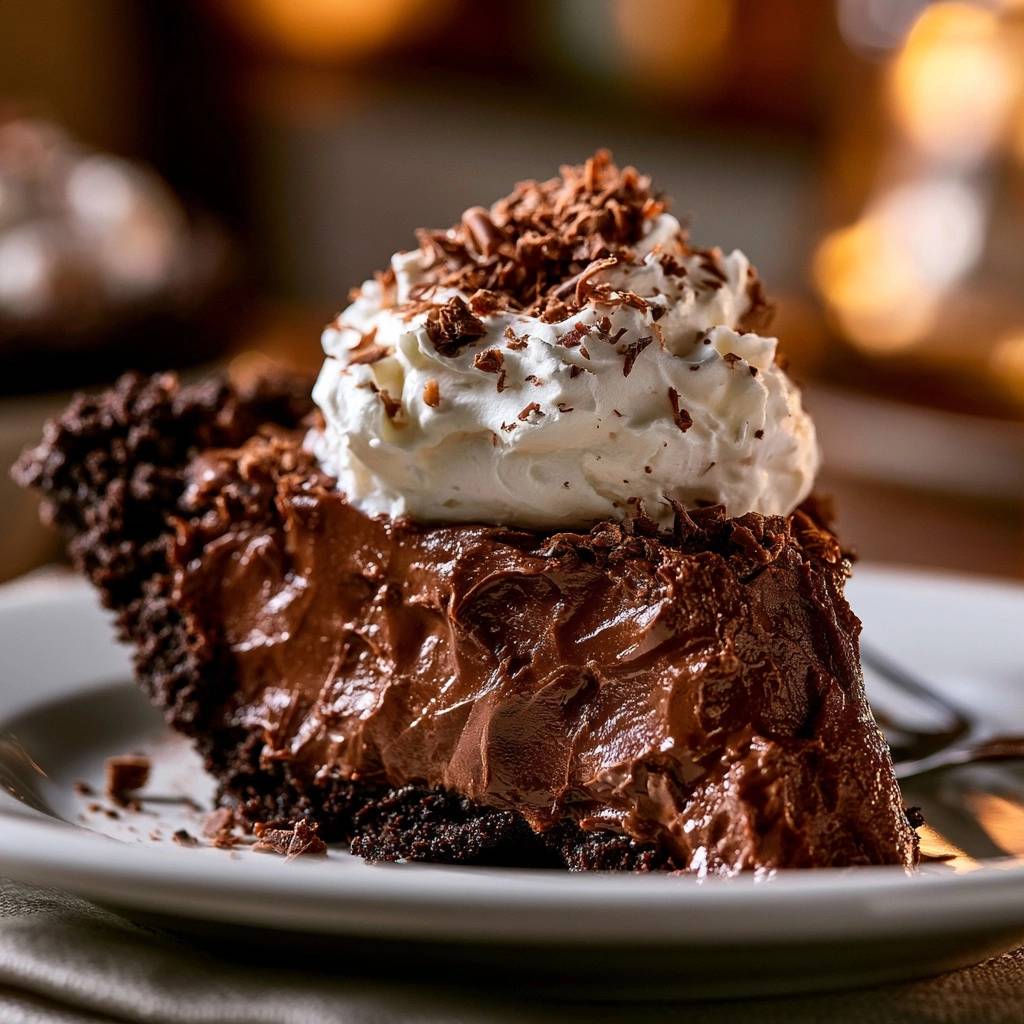
Why Espresso Powder Enhances Dark Chocolate
Adding a teaspoon of espresso powder won’t make your pie taste like a latte. Instead, it acts as a flavor magnifier. Coffee and chocolate share similar earthy and fruity flavor compounds, and the slight bitterness of the espresso cuts through the fat of the cream. This interaction amplifies the deep, roasted notes of the cacao, making the chocolate taste more like “itself.” It’s a subtle trick that adds a professional layer of complexity to every bite.
Essential Components for the Cookie Crust
The crust relies on a trio of simple ingredients: finely pulsed chocolate sandwich cookies, melted unsalted butter, and a pinch of salt. While the cookies provide the bulk of the flavor, the salt is the unsung hero. It balances the sweet cream filling of the cookies and prevents the base from tasting one-dimensional. Without that salt, the crust can feel heavy; with it, the flavors pop.
Texture is everything when it comes to the crumbs. You want a fine, sandy consistency rather than chunky pieces. Fine crumbs pack together more tightly, which is essential for the structural stability of the pie. If the crumbs are too large, the butter won’t be able to bind them effectively, leading to a crust that falls apart the moment your fork hits the plate.
The Science of the Anti-Soggy Bottom
To achieve a truly crisp base, we use a technique called “Mechanical Sealing.” This involves using significant physical pressure to compress the butter-soaked crumbs into a solid wall. When you press the mixture into the pan, you are forcing the fats and sugars into every tiny crevice. This creates a dense barrier that liquid simply cannot penetrate easily.
The 10-minute bake at 350°F is the second half of this defensive strategy. During this time, the melted butter and the sugar in the cookie crumbs undergo a brief “set.” As the crust cools, these ingredients harden into a moisture-proof shield. This shield is what allows the pie to sit in the fridge for days without the crust losing its signature snap.
If you skip the bake, the moisture from the mousse will slowly seep into the crumbs, turning them into a soft paste. By taking those extra ten minutes, you ensure that the contrast between the crunchy base and the silky interior remains distinct. It’s a small step that yields a massive difference in the final eating experience.
Step-by-Step: Engineering the Chocolate Base
Start by pulsing your cookies in a food processor until they look like dark sand. Once you mix in the melted butter, the mixture should feel like wet beach sand that holds its shape when squeezed. If it’s too dry, it won’t seal; if it’s too wet, it will be greasy. This balance is key to a clean release from the pie plate later.
Now, here is the pro move: don’t just use your fingers to press the crust. Grab a flat-bottomed measuring cup or a small glass. Use the flat surface to press the crumbs down into the bottom and firmly against the sides of the dish. You want to apply enough pressure that the crumbs feel like a solid piece of masonry. This compression is what prevents the filling from leaking through.
When you bake the crust, keep a close eye on it. Since it’s already dark, you won’t see it brown. Instead, look for a matte finish and listen for a fragrant, toasted chocolate aroma. Once it’s out, let it cool completely. If you add the filling to a warm crust, you’ll melt the fats and ruin that hard-earned seal.
Creating a Stable Ganache-Mousse Hybrid
The filling starts with a ganache, which is a simple emulsion of chocolate and hot cream. When you pour the hot cream over the chips, let it sit. Don’t touch it for three minutes. This allows the heat to penetrate the center of the chocolate evenly. When you finally whisk, start in the very center and move in small circles. You’ll see a dark, glossy “nucleus” form that eventually spreads to the edges.
Temperature control is the most critical part of this entire recipe. You must let the ganache cool to about 85°F before you even think about adding the whipped cream. This is the “Goldilocks” zone. If the ganache is too hot, it will instantly melt the air bubbles in your whipped cream, leaving you with a flat, runny soup. If it’s too cold, the chocolate will seize into hard lumps the moment it hits the cold cream.
At 85°F, the ganache is still fluid enough to incorporate but cool enough to play nice with the delicate whipped cream. You can test this by dabbing a bit on your inner wrist; it should feel barely warm, almost like room temperature. This precision ensures that your “silk” has the perfect density and a smooth, uniform finish.
Achieving Stiff Peaks Without Over-Whipping
Whipping the remaining two cups of cream requires patience. Use a chilled metal or glass bowl if possible, as the cold helps the fat globules in the cream stay solid and trap air. Start on low speed to build small, stable bubbles, then increase to medium-high. You are looking for “stiff peaks,” which means when you lift the whisk, the cream stands straight up without drooping.
Be careful not to walk away! The transition from perfect stiff peaks to grainy, over-whipped butter happens in a matter of seconds. If the cream starts to look slightly curdled or loses its gloss, you’ve gone too far. You want it to look like thick, smooth shaving cream. This airy structure is what transforms a heavy ganache into a light, ethereal silk.
The Folding Technique for Maximum Aeration
To combine the two mixtures, use the “thirds” method. Take about one-third of your whipped cream and stir it vigorously into the ganache. This “sacrificial” cream lightens the heavy chocolate so it’s easier to fold into the rest. Once that’s combined, pour the chocolate mixture over the remaining whipped cream.
Use a large rubber spatula and a “J-fold” motion. Cut through the center, scrape the bottom, and fold the cream over the top while rotating the bowl. This gentle movement preserves the air you worked so hard to whip in. Stop the moment you see no more white streaks. Over-folding will deflate the mousse, resulting in a dense, heavy pie rather than a silky one.
Setting the Silk: The Crystallization Phase
Once the filling is smoothed into the crust, it needs at least four hours in the refrigerator. This isn’t just about getting the pie cold; it’s about chemistry. The cocoa butter and milk fats need time to realign and crystallize into a solid structure. This process is what gives the pie its “set” and allows you to cut those beautiful, sharp wedges.
If you try to rush this process by putting it in the freezer, the fats won’t crystallize properly, and the texture will be off. Furthermore, a rushed chill often leads to “weeping,” where moisture beads up on the surface of the pie. Patience is your best friend here. If you can leave it overnight, the flavors will meld even further, and the texture will be absolutely perfect.
Troubleshooting Common Texture Issues
If your filling turns out grainy, it’s usually because the cream was over-whipped or the ganache was too cold when you folded it in, causing the chocolate to “seize” into tiny bits. To avoid this, always err on the side of a slightly warmer ganache rather than a cold one. If it’s already grainy, it will still taste delicious, but the “silk” factor will be diminished.
A crumbly crust that falls apart usually stems from a lack of pressure during the packing phase. If you find your crust is too fragile, make sure you really use that measuring cup to compress the crumbs next time. Also, ensure your crumbs are fine; large chunks of cookie don’t have enough surface area for the butter to “glue” them together effectively.
If the interior is runny even after four hours, the ganache was likely too hot when folded, or the cream wasn’t whipped to stiff enough peaks. In this case, you can try chilling it for another few hours. If it still won’t set, you can serve it in bowls as a “deconstructed” silk pie. It will still be the best chocolate mousse your guests have ever had!
Expert Tips for Clean Slices
To get those picture-perfect, sharp edges you see in bakeries, use the “Hot Knife” method. Fill a tall glass with very hot water. Dip a long, thin knife into the water for a few seconds, then wipe it completely dry with a clean towel. Make one decisive cut into the pie, then repeat the dipping and wiping process for every single slice.
The heat from the blade slightly melts the fats in the chocolate as it passes through, preventing the filling from sticking to the knife and tearing. This keeps the dark chocolate layer and the white whipped cream topping perfectly distinct. It takes a little extra time, but the professional presentation is well worth the effort.
Make-Ahead and Storage Protocols
This pie is a fantastic make-ahead dessert because it actually improves after a few hours of chilling. You can store it in the refrigerator for up to 3 to 4 days. However, chocolate and cream are like sponges for “fridge smells.” Always store the pie in a deep, airtight container or a specialized pie carrier to keep it tasting fresh.
I do not recommend freezing this pie. The delicate emulsion of the mousse can break when thawed, leading to a grainy or watery texture. The cookie crust can also lose its crispness during the thawing process. For the best experience, keep it chilled but never frozen. If you have leftovers, they make for a very decadent breakfast with a cup of strong coffee!
Frequently Asked Questions
Can I use milk chocolate instead of dark chocolate?
It is not recommended for this specific recipe. Milk chocolate has a much higher sugar-to-fat ratio and contains more milk solids, which means it won’t set as firmly as dark chocolate. If you use milk chocolate, the filling will likely be too soft to slice and may be overwhelmingly sweet. If you prefer a lighter flavor, look for a “mild” dark chocolate around 50% cacao.
Can I use a store-bought graham cracker or chocolate crust?
You can, but you will lose the “Anti-Soggy” benefits. Store-bought crusts are often loosely packed and not designed to withstand the moisture of a dense mousse. They tend to get soft very quickly. If you are in a pinch, you can still use one, but try to “blind bake” it for 5 minutes first to help create a bit of a barrier.
What should I do if my ganache breaks or looks oily?
A broken ganache happens when the fat separates from the liquid. You can usually fix this by adding a teaspoon of room-temperature heavy cream and whisking vigorously from the center. The extra liquid helps re-emulsify the mixture. Make sure you don’t use cold cream, as the temperature shock could make the problem worse.
Do I have to use a 9-inch pie plate?
This recipe is specifically calibrated for a standard 9-inch pie plate. If you use a deep-dish 9-inch plate, the filling may not reach the top. If you use a 10-inch plate, the pie will be thinner and may require less chilling time. If you change the size, just keep an eye on the volume of the crust to ensure you have enough to cover the larger surface area.
Is the espresso powder mandatory?
Not at all! While it significantly boosts the chocolate flavor, the pie will still be delicious without it. If you don’t have espresso powder, you can simply omit it. Do not substitute with regular coffee grounds, as they are too coarse and will make the filling gritty. Only use instant espresso or instant coffee powder that dissolves completely.
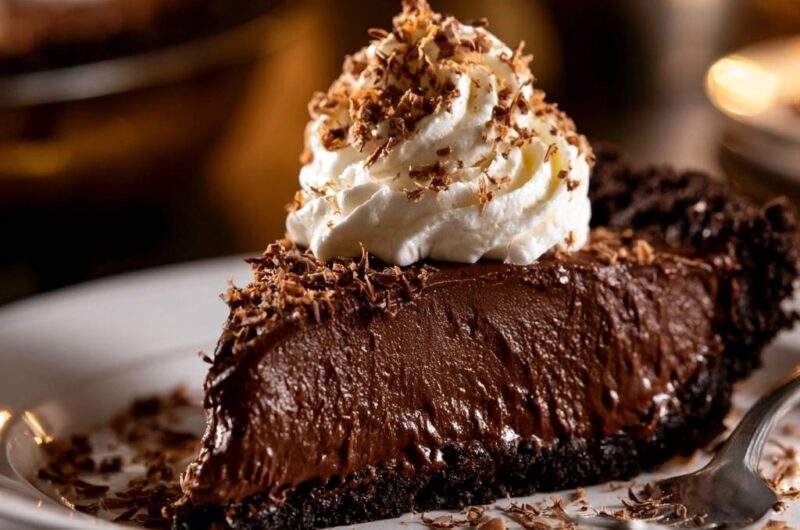
Decadent Dark Chocolate Silk Pie
Course: DessertCuisine: AmericanDifficulty: easy8
servings25
minutes10
minutes240
Minutes480
kcalAmerican
Ingredients
Crust:
2 cups chocolate sandwich cookie crumbs (finely pulsed)
6 tablespoons unsalted butter, melted
1/4 teaspoon salt
Filling:
1.5 cups high-quality dark chocolate chips (60-70% cacao)
2.5 cups heavy whipping cream, divided
1/2 cup powdered sugar
1 teaspoon vanilla extract
1/4 teaspoon espresso powder (optional, to enhance chocolate)
Topping:
1/2 cup heavy whipping cream (whipped to stiff peaks)
2 tablespoons dark chocolate, finely shaved
Directions
- Preheat your oven to 350°F (175°C). In a medium bowl, combine the cookie crumbs, melted butter, and salt. Stir until the mixture resembles wet sand.
- To prevent a soggy bottom, press the mixture very firmly into the bottom and up the sides of a 9-inch pie plate. Use the bottom of a flat measuring cup to pack the crumbs tightly; this mechanical seal prevents the filling from migrating into the crust.
- Bake the crust for 8 to 10 minutes. This “sets” the sugars and fats to create a moisture-proof barrier. Remove from the oven and let the crust cool completely to room temperature.
- Place the chocolate chips and espresso powder in a heat-proof glass bowl. In a small saucepan, heat 1/2 cup of the heavy cream until it just reaches a simmer (do not boil).
- Pour the hot cream over the chocolate. Let it sit undisturbed for 3 minutes, then whisk gently from the center outward until a glossy, smooth ganache forms. Let the ganache cool until it is barely warm to the touch (about 85°F). If it is too hot, it will melt the whipped cream; if too cold, it will create lumps.
- In a separate chilled bowl, whip the remaining 2 cups of heavy cream with the powdered sugar and vanilla until stiff peaks form.
- Gently fold one-third of the whipped cream into the cooled ganache to lighten it. Then, fold the ganache mixture back into the remaining whipped cream using slow, sweeping motions until no white streaks remain.
- Pour the filling into the cooled crust and smooth the top with an offset spatula. Refrigerate for at least 4 hours (or overnight) to allow the fats to crystallize and set the “silk.”
- Before serving, pipe or dollop fresh whipped cream in the center and top with a generous amount of chocolate shavings as shown in the image. The crust will remain crisp and snappy against the dense, silky filling.
Notes
- Ensure the ganache is cooled to approximately 85 degrees Fahrenheit before folding in the whipped cream to prevent melting or lumping. Packing the crust with a flat measuring cup is essential for the moisture-proof seal.