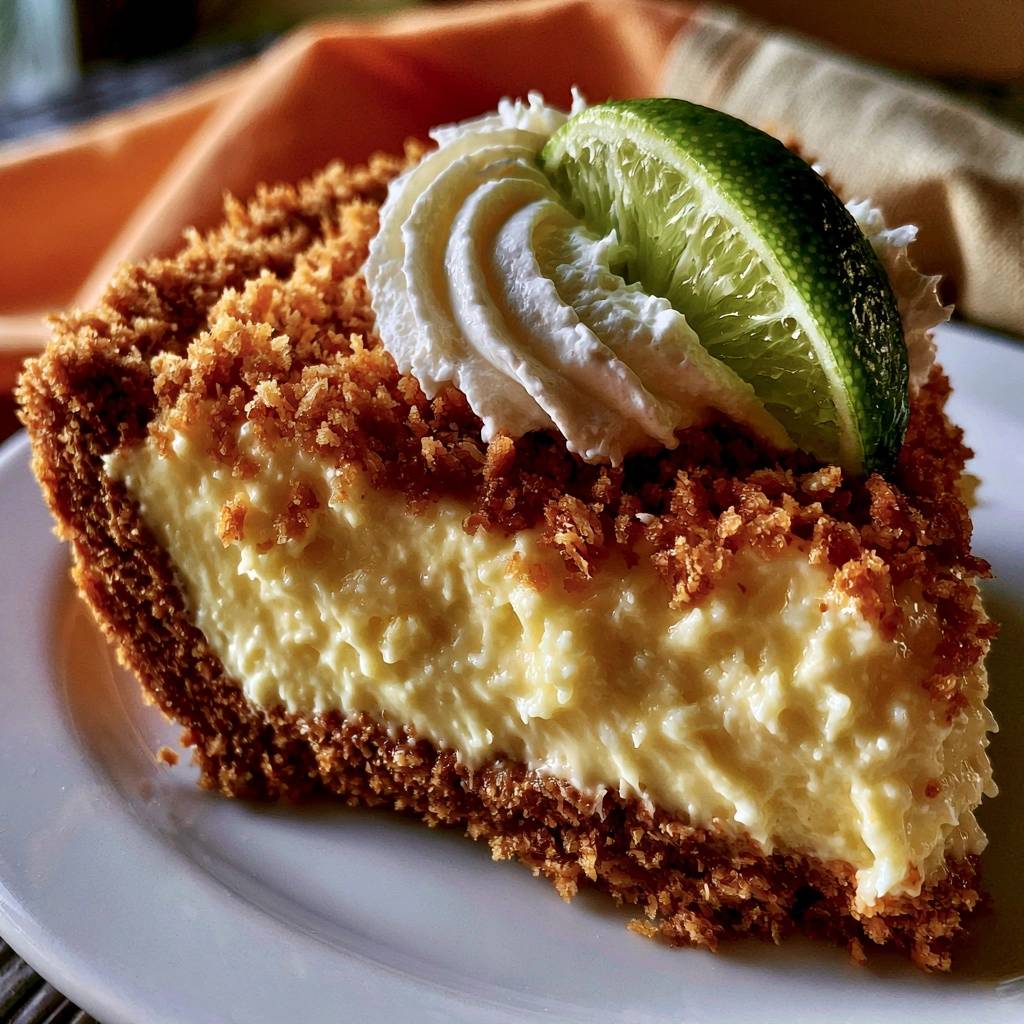
Imagine sinking your fork into a towering slice of citrus heaven where the filling is so dense and creamy it stands tall without a hint of a slump. You get that immediate hit of tart, puckering lime followed by the deep, buttery crunch of a crust that actually stays crispy. Most people struggle with Key Lime pie because the filling turns into a puddle or the crust dissolves into a soggy mess within hours of baking.
This Deep Dish Key Lime Pie solves those heartbreak moments by rethinking the architecture of the dessert. We aren’t making a thin, dainty tart here. We’re building a structural masterpiece with a half-inch thick wall of graham cracker and a high-density custard that relies on extra egg yolks and a splash of heavy cream for stability. It’s the ultimate contrast of textures: silky, sharp, and incredibly crunchy.
The secret to this specific version lies in the “coarse grind” of the crust. If you pulverize your crackers into a fine dust, the butter saturates them too quickly, leading to a greasy, soft base. By hand-crushing the crackers into varied, rustic fragments, you create a jagged landscape that traps the filling without absorbing its moisture. This ensures every bite maintains that satisfying snap you crave.
The Architecture of a Stable Deep Dish Crust
When you’re dealing with a deep-dish format, the crust has to do a lot of heavy lifting. A standard thin crust would simply collapse under the weight of two full cans of condensed milk. You need a structural “wall” that can act as a dam for the custard. By aiming for a half-inch thickness, you create a thermal barrier that protects the filling and a physical barrier that keeps the edges from drooping.
The crumb-to-butter ratio is the most important factor for structural integrity. We use a higher volume of crumbs compared to the fat content to ensure the crust feels like a cookie rather than a paste. When you press this mixture into the pan, you’re essentially building a reinforced foundation that can withstand the long chilling process without losing its bite.
Coarse Crumbs vs. Fine Dust
Put down the food processor for this one. While a machine gives you a uniform powder, hand-crushing the graham crackers in a large zip-top bag with a rolling pin yields a much better result. You want a mix of tiny grains and larger, pea-sized chunks. These larger fragments create a rustic, artisanal look and provide a much more interesting mouthfeel.
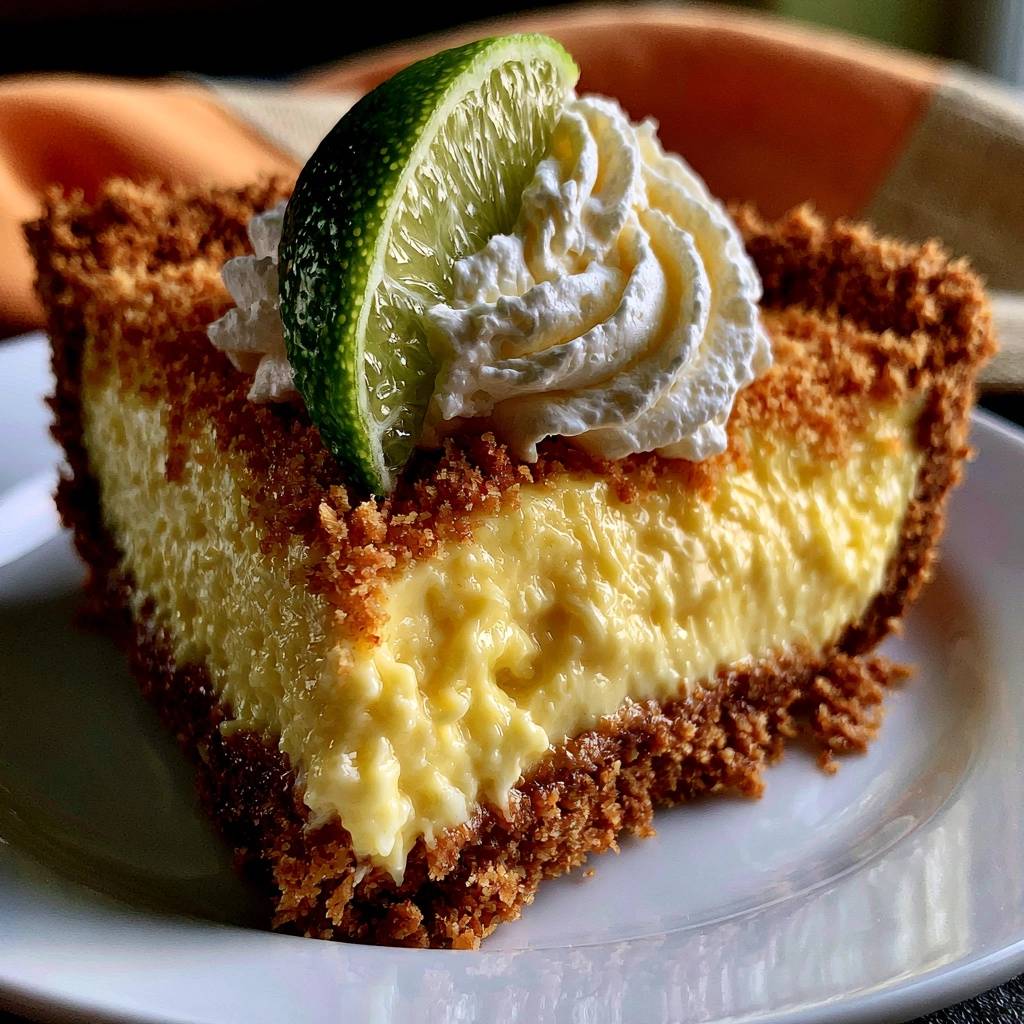
These larger pieces also act as little anchors within the crust. They don’t soak up the butter as fast as fine dust does, which means the crust stays aerated and crisp even after a night in the refrigerator. It’s the difference between a soggy cracker and a fresh, crunchy biscuit.
The Role of Brown Sugar and Sea Salt
Light brown sugar is doing more than just sweetening the base. Because it contains molasses, it acts as a natural binding agent when it hits the heat of the oven. It caramelizes slightly, gluing the coarse crumbs together into a solid, sturdy shell. Without it, the crust would simply fall apart the moment you try to lift a slice out of the pan.
Sea salt is the unsung hero of this recipe. The filling is incredibly rich and sweet due to the condensed milk, so you need those sharp grains of salt in the crust to provide balance. It wakes up your taste buds and makes the lime flavor pop even more intensely. Don’t skip it, or the whole dessert will feel one-note and overly sugary.
Essential Components for the Filling
The chemistry of a Key Lime custard is a fascinating thing. When you mix highly acidic lime juice with sweetened condensed milk, a chemical reaction called “denaturing” occurs. The acid actually begins to cook the proteins in the milk, thickening it before it even touches the oven. However, for a deep-dish version, we need more than just a chemical reaction; we need structural reinforcement.
Using five large egg yolks provides the necessary fat and lecithin to emulsify the mixture into a dense, velvet-like consistency. We also add a touch of heavy cream, which softens the sharp edges of the lime and adds a luxurious weight to the filling. This combination ensures that when you cut into the pie, the edges stay sharp and the center remains perfectly poised.
Selecting and Juicing Key Limes
Key Limes, or Citrus aurantiifolia, are much smaller and seedier than the common Persian limes you find at the grocery store. They have a thinner skin and a much higher acidity level, along with a distinct floral aroma. If you can’t find them fresh, you can use standard limes, but the flavor won’t be quite as complex. Avoid the bottled juice in the green plastic lime if you can, as it often has a bitter, metallic aftertaste.
To get the most juice out of these tiny fruits, roll them firmly on the counter under your palm before cutting them. This breaks the internal membranes and releases the liquid. Since they are so small, a hand-held citrus press is your best friend here. You’ll need quite a few to reach a full cup, but the bright, zingy flavor is worth every second of effort.
Why Five Yolks and Heavy Cream Matter
Most standard recipes use three yolks, but for a deep-dish height, five is the magic number. The yolks act as a stabilizer, creating a custard that is firm enough to slice but soft enough to melt on your tongue. They provide a rich, golden hue and a fatty backbone that carries the lime flavor across your palate.
The heavy cream is our secret weapon for stability. It adds a level of silkiness that prevents the lime juice from making the custard too “tight” or rubbery. Instead of a bouncy texture, you get a dense, creamy finish that feels like a high-end cheesecake. It’s the difference between a simple diner pie and a professional-grade dessert.
Step-by-Step: Building the Deep Dish Foundation
Building the crust is the most physical part of the process. You aren’t just tossing crumbs into a pan; you’re engineering a vessel. Start by mixing your ingredients until the texture feels like wet sand. If you squeeze a handful in your fist, it should hold its shape perfectly without crumbling back into the bowl. If it’s too loose, add a teaspoon of melted butter; if it’s too greasy, add a few more crumbs.
Dump the mixture into your deep-dish plate and start from the center, working your way out. Use your fingers to push the crumbs up the sides of the dish first. This ensures you have enough material to create those thick, rustic walls. Once the sides are established, you can focus on leveling out the bottom.
Achieving the Rustic Half-Inch Wall
To get that professional, clean look, use the flat bottom of a dry measuring cup to press the crumbs into the base and corners. Apply firm pressure to pack the crumbs tightly. For the sides, use the back of a spoon or your thumb to compress the mixture against the rim of the plate. You want the crust to reach all the way to the top edge.
Don’t worry if the top edge looks a little jagged or uneven. That “rustic” look is exactly what we’re going for. It signals to everyone that this is a handmade, thick-crust masterpiece. The thickness is vital because it prevents the lime juice from seeping through and making the bottom of the pie soggy during the long chill time.
The Critical Blind Bake and Cooling Phase
Baking the crust before adding the filling is a non-negotiable step. This ten-minute stint in the oven triggers the Maillard reaction, where the sugar and butter toast the graham crumbs. This creates a moisture-proof seal. You’ll know it’s ready when your kitchen smells like toasted cookies and the edges look a shade darker than when they went in.
You must let the crust cool completely to room temperature before pouring in the filling. If the crust is still hot, it will begin to melt the fats in the custard immediately, which ruins the emulsion. This leads to a greasy film on top of the pie and a crust that loses its crunch. Patience here is the key to a perfect result.
Executing the High-Density Lime Custard
The filling requires a gentle touch and a bit of patience. You want to incorporate air into the yolks to give the pie some lift, but you don’t want so many bubbles that the surface looks like a sponge. Start with your yolks and lime zest in a clean bowl. The zest releases its oils better when beaten directly with the yolks, infusing the entire custard with a deep citrus aroma.
As you whisk, you’ll notice the yolks changing from a deep orange to a pale, creamy yellow. This is the aeration process at work. Once you add the condensed milk and cream, the mixture will become heavy and glossy. This is the foundation of your deep-dish filling, and it should look thick enough to hold a soft peak for a second before disappearing back into the bowl.
Aerating Yolks for Maximum Volume
Set your mixer to medium-high and let it run for a full three minutes. You’re looking for the “ribbon stage.” This is when you lift the whisk and the batter falls back into the bowl in a thick, ribbon-like trail that stays visible on the surface for a few moments. This air is what keeps a deep-dish pie from feeling like a lead weight in your stomach.
This step also ensures that the lime zest is thoroughly distributed. There’s nothing worse than a clump of zest in one bite and none in the next. The pale color is your visual cue that you’ve incorporated enough air to balance the heavy fats in the condensed milk and cream.
The Gentle Incorporation of Citrus
Once it’s time to add the lime juice, turn your mixer down to the lowest setting. Lime juice is a powerful coagulant. If you dump it in all at once and whip it on high, the proteins in the milk will seize up instantly, creating a grainy texture. Pour the juice in a slow, steady stream while the whisk is moving slowly.
Stop mixing the very second the juice is fully incorporated. Over-mixing at this stage can beat out all the lovely air you just worked so hard to put in. The filling should look smooth, shiny, and incredibly inviting. If you see a few small bubbles on the surface, don’t worry; we’ll handle those before the pie goes into the oven.
Precision Baking and the Setting Process
Baking a deep-dish pie is different than a standard one because the heat has further to travel to reach the center. You aren’t looking for a browned top or a bubbling middle. In fact, if the pie starts to brown, you’ve overcooked it. The goal is a gentle set that maintains the vibrant, pale lime color.
The pie will continue to cook for several minutes after you pull it out of the oven due to residual heat. This is why the “jiggle test” is so important. If you wait until the center is completely firm, the pie will likely crack as it cools. You want to catch it at the perfect moment of transition.
Identifying the Perfect Pull Temperature
When the timer goes off, gently shake the pie plate. The edges should be matte and firm, but the center circle (about two inches wide) should still have a slight, rhythmic jiggle, similar to firm gelatin. If the center sloshes like liquid, it needs another two minutes. If it doesn’t move at all, get it out of the oven immediately.
Over-baking is the primary cause of surface cracks. As the eggs overcook, they tighten and pull away from each other, creating unsightly fissures. By pulling the pie while the center is still slightly wobbly, you ensure a smooth, pristine surface that looks like it came from a professional bakery.
The Mandatory Overnight Chill
I know it’s tempting to slice into the pie once it reaches room temperature, but you must resist. A deep-dish pie needs at least six hours, and preferably twelve, in the fridge. During this time, the fats in the cream and yolks solidify, and the lime juice finishes its work of setting the proteins. This is called molecular stabilization.
A long chill is what allows you to get those perfectly clean, sharp edges on every slice. If you cut it too early, the filling will slowly ooze out from the sides, and the crust will crumble. Overnight chilling also allows the flavors to meld, making the lime taste more integrated and less sharp.
Troubleshooting Common Custard Obstacles
Even the best bakers run into issues sometimes. If you notice tiny bubbles on the surface of your filling before baking, simply tap the pie plate firmly on the counter a few times. This will force the air bubbles to the surface where they can pop, leaving you with a smooth finish. If they persist, you can lightly prick them with a toothpick.
If your pie comes out of the fridge and still feels a bit soft, it usually means the lime juice wasn’t acidic enough or the yolks were too small. You can’t really re-bake it at that point, but you can pop it into the freezer for 30 minutes before slicing. This will firm it up enough to get clean cuts without changing the flavor.
Preventing Surface Cracks and Bubbles
Cracks usually happen because the oven was too hot or the pie stayed in too long. Always use an oven thermometer to ensure your 350°F is actually 350°F. If you do get a crack, don’t panic! That is exactly what whipped cream was invented for. A generous swirl of topping covers a multitude of baking sins.
Bubbles are often caused by whisking the filling too vigorously at the very end. Remember to keep the speed low once the lime juice is added. If you see bubbles forming during the bake, it might mean your oven has hot spots. Rotating the pie halfway through the baking time can help the heat distribute more evenly.
Fixing a Runny Filling
A runny filling is heartbreaking, but it’s usually a fixable mistake for next time. Ensure you are using full-fat sweetened condensed milk, not a low-fat version, which lacks the necessary solids to set. Also, make sure you aren’t using “Key Lime Juice Blend,” which is often diluted with water and apple juice, lowering the acidity needed for the set.
If your filling is consistently runny, try adding one extra egg yolk next time. The additional lecithin and fat act as an insurance policy for your custard. Also, double-check that your refrigerator is set to 40°F or lower. If your fridge is too warm, the pie will never reach the internal temperature needed to fully solidify.
Managing Crust Crumbling
If your crust falls apart when you slice it, you likely didn’t press it hard enough into the pan. You really have to use some muscle with that measuring cup! Another culprit is not enough butter. The crumbs should be well-saturated so they can bake into a solid unit. If the mixture feels dry or sandy after adding the butter, add another tablespoon.
Lastly, make sure you are using light brown sugar rather than granulated white sugar. The moisture in the brown sugar is essential for the binding process. If you use white sugar, the crust will be much more prone to shattering because it lacks that sticky molasses component that holds everything together.
Serving and Presentation Techniques
Presentation is the final step in mastering this dish. Because the pie is so deep, a simple dollop of whipped cream in the center can look a bit lost. You want to go big. A thick border of piped cream or individual large swirls on each slice gives the dessert the visual weight it deserves.
Garnish with very thin slices of fresh lime. If you want to get fancy, you can dip the lime slices in a bit of granulated sugar for a frosted look. A little extra lime zest sprinkled over the whipped cream also adds a beautiful pop of green color and a fresh hit of aroma right before the first bite.
Piping Stable Whipped Cream
For a pie this substantial, you need a whipped cream that won’t deflate. Whisk your heavy cream with a bit of powdered sugar and a touch of vanilla until it reaches stiff peaks. The powdered sugar contains a small amount of cornstarch, which helps stabilize the cream so it holds its shape for hours.
Use a large star tip and a piping bag to create generous swirls. Start from the outside of the slice and work your way in. This creates a professional, “bakery-style” look that makes the deep-dish height even more impressive. If you don’t have a piping bag, a large spoon can create beautiful, rustic billows of cream.
Clean Slicing for Deep Desserts
To get those pristine, photo-ready slices, use a long, sharp chef’s knife. Dip the blade into a tall glass of hot water and wipe it completely dry with a clean towel before every single cut. The heat from the blade will glide through the dense custard like butter, preventing it from sticking and tearing.
Make your first cut all the way through the crust, then do the same for the second cut to form your wedge. Use a flexible pie server to lift the slice out from the bottom. The first slice is always the hardest, but with this thick, sturdy crust, you’ll find it much easier to remove than a standard, flimsy pie.
How should I store leftovers?
Store any remaining pie in the refrigerator, loosely covered with plastic wrap or foil. It will stay fresh and delicious for up to 3 days. I don’t recommend freezing this pie, as the creamy custard can become grainy and the graham cracker crust will lose its signature crunch once thawed.
Why did my pie filling turn out grainy?
Graininess usually happens if the lime juice is added too quickly or if the mixture is over-whisked after the acid is introduced. The acid causes the milk proteins to clump together if agitated too much. Next time, stir the lime juice in gently by hand or on the lowest mixer setting just until combined.
Can I use bottled lime juice instead of fresh?
You can use bottled juice in a pinch, but look for a high-quality “100% Key Lime Juice” rather than a generic lime juice blend. Freshly squeezed juice provides a much brighter, more complex flavor and better acidity for the set. If you use bottled, the pie might be slightly less tart and aromatic.
What if I don’t have a deep-dish pie plate?
If you only have a standard 9-inch pie plate, you will have extra filling and crust mixture left over. Do not try to overfill a standard plate, or it will spill over in the oven. You can use the leftovers to make a few mini-pies in a muffin tin or small ramekins using the same baking instructions, just reduced by about 5-8 minutes.
Can I make this recipe gluten-free?
Yes, you can easily swap the graham cracker crumbs for your favorite gluten-free graham cracker brand. Since gluten-free crackers can sometimes be drier, you might need to add an extra tablespoon of melted butter to the crust mixture to ensure it holds together properly when pressed into the pan.
Why is my crust crumbling when I cut it?
This usually happens if the crumbs weren’t packed tightly enough or if the crust wasn’t baked long enough to set the sugars. Make sure to use the bottom of a measuring cup to really compress the mixture into the plate. The “blind bake” is essential for creating that solid, cookie-like structure that holds up to slicing.
Deep Dish Key Lime Pie
Course: DessertCuisine: AmericanDifficulty: easy8
servings25
minutes25
minutes50
Minutes460
kcalAmerican
Ingredients
3 cups coarse graham cracker crumbs (crushed by hand for texture)
3/4 cup unsalted butter, melted
1/3 cup light brown sugar, packed
1/4 teaspoon sea salt
2 cans (14 oz each) sweetened condensed milk
1 cup Key Lime juice (freshly squeezed)
1 tablespoon lime zest
5 large egg yolks
1/4 cup heavy cream
Whipped cream for topping
Fresh lime slices for garnish
Directions
- Preheat your oven to 350°F (175°C). In a large bowl, combine the coarse graham cracker crumbs, brown sugar, salt, and melted butter. The mixture should be thick and hold its shape when squeezed.
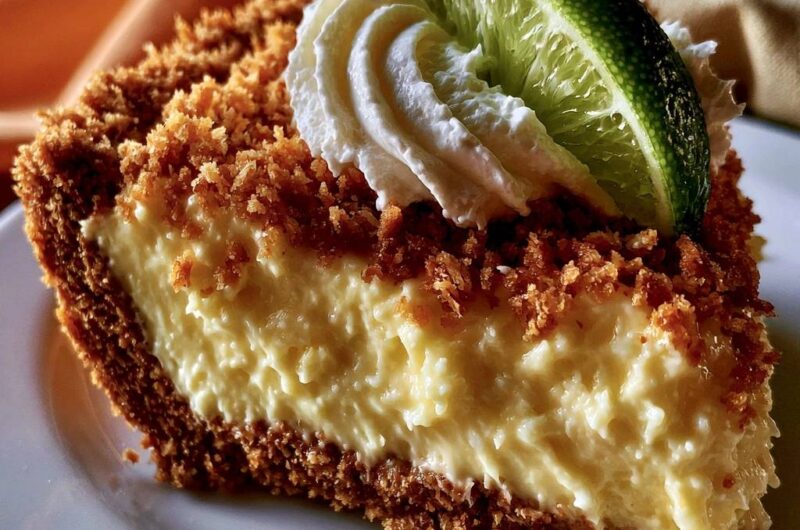
- Press the mixture firmly into a deep-dish pie plate, ensuring the sides are at least 1/2 inch thick to achieve the rustic, chunky look in the image. Use the bottom of a measuring cup to pack the base tightly.
- Bake the crust alone for 10-12 minutes until fragrant and golden brown. This “blind bake” creates the moisture barrier. Let the crust cool completely to room temperature.
- In a stand mixer or large bowl, whisk the 5 egg yolks and lime zest on medium-high speed for 3 minutes until pale and thick.
- Lower the speed and pour in the sweetened condensed milk and heavy cream. Gradually add the lime juice, mixing until just combined. The extra yolk and cream provide the dense, stable structure seen in the photo.
- Pour the filling into the cooled crust. Bake for 15-18 minutes. The pie is done when the edges are set but the center has a very slight, firm jiggle.
- Cool at room temperature for 2 hours, then chill in the refrigerator for at least 6 hours (preferably overnight). This long set time is mandatory for a clean, deep-dish slice.
- Before serving, pipe a generous swirl of whipped cream on each slice and garnish with a fresh lime wheel.
Notes
- The long refrigeration time is mandatory for achieving a clean, deep-dish slice. Using a coarse grind for the crumbs is essential for the rustic and crunchy texture.