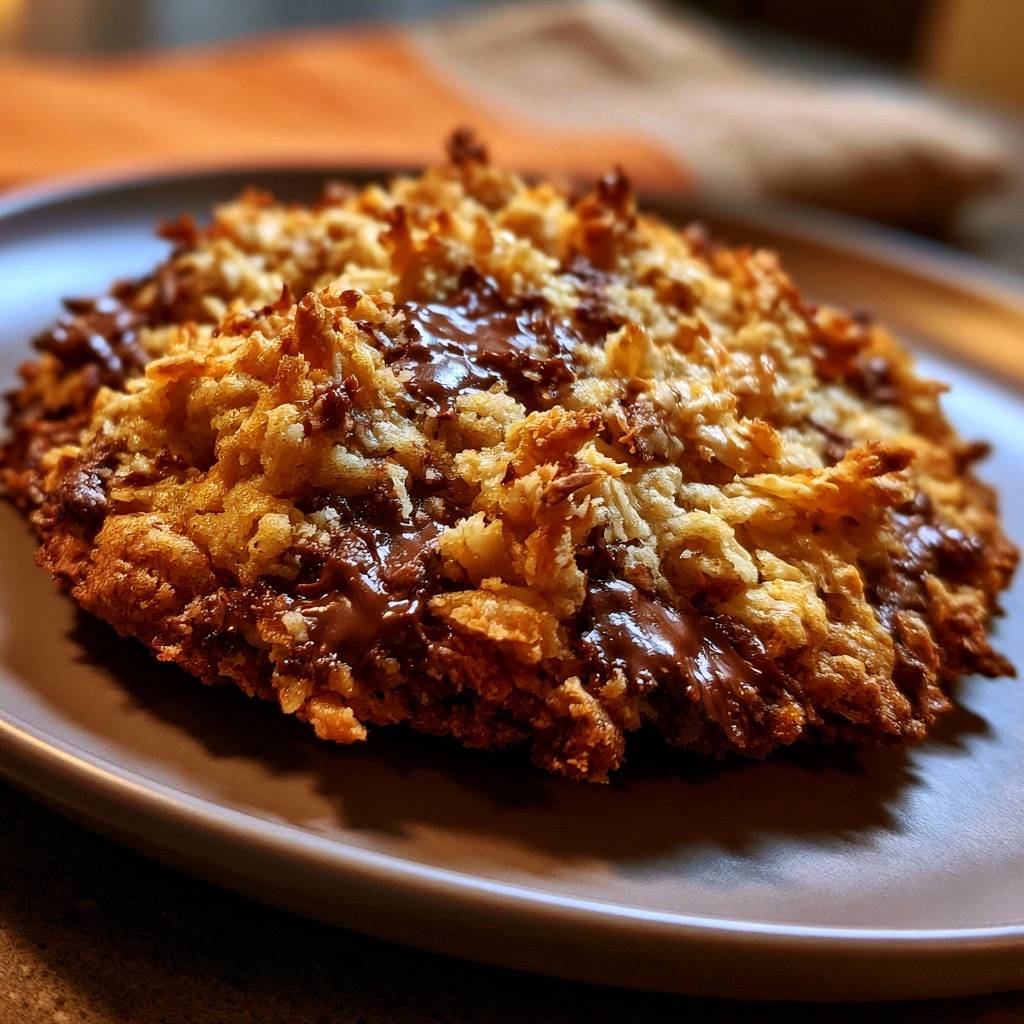
Imagine a dessert that shatters with a satisfying crunch on the outside while revealing a center so chewy it practically melts. Most people struggle with macaroons because they end up with a greasy, pale puddle of sugar that sticks to the parchment paper. This Giant Chocolate Drizzled Coconut Macaroon changes the game by turning a delicate cookie into a rustic, communal masterpiece that stays crisp from the first bite to the last.
The secret to this recipe isn’t just the ingredients; it’s the way we handle the moisture. By moving away from individual scoops and creating one large, airy mound, we allow the oven’s heat to penetrate the coconut shreds more effectively. This prevents the dreaded “soggy bottom” that plagues so many traditional recipes. You’re going to love how the jagged, toasted edges catch the chocolate drizzle, creating a perfect balance of textures.
To ensure success, you must focus on the aeration of your egg whites. While many recipes simply stir the whites in, we whisk them to soft peaks first. This creates a structural “scaffold” that suspends the coconut and sweetened condensed milk. This simple technique prevents the heavy liquids from sinking to the bottom of the pan during baking, ensuring your macaroon is light and crisp rather than dense and oily.
The Physics of the Anti-Soggy Bottom
When you bake with sweetened condensed milk, you’re dealing with a high concentration of sugar and moisture. In a standard macaroon, gravity pulls that heavy liquid downward, where it pools at the base of the cookie. This creates a sticky, candy-like layer that never truly crisps up. It’s a classic case of capillary action where the liquid fills the gaps between the coconut shreds and stays trapped there.
By forming one giant macaroon and using a specific “fluffing” technique, we increase the surface area significantly. Instead of a dense ball, we create a porous structure that allows steam to escape easily. As the water evaporates, the sugars caramelize around each individual shred of coconut. This results in a sturdy, toasted base that can support the weight of the chocolate without becoming mushy or greasy over time.
Essential Components for the Giant Coconut Macaroon
The foundation of this dish is a 14-ounce bag of sweetened shredded coconut. It’s important to use the sweetened variety here because the added sugar helps the coconut strands brown and crisp up. Unsweetened coconut is often too dry and won’t achieve that iconic chewy interior we’re looking for. The moisture in the sweetened shreds works in tandem with the condensed milk to create a luscious mouthfeel.
Salt might seem like a minor addition, but it’s actually the most important flavor balancer in the bowl. Sweetened condensed milk is intensely sugary, and without a generous pinch of salt, the macaroon can taste one-dimensional. Additionally, we use semi-sweet chocolate chips for the drizzle. The higher cocoa content in semi-sweet chocolate provides a slightly bitter contrast to the sweet coconut, and its natural cocoa butter ensures a smooth, glossy finish when melted.
Why Egg White Aeration is Non-Negotiable
Think of egg whites as the glue that holds your giant macaroon together. When you whisk them into soft peaks, you’re essentially trapping air bubbles inside a protein network. This foam acts as a barrier, preventing the sweetened condensed milk from leaking out of the coconut mixture. It’s the difference between a macaroon that stands tall and one that spreads into a flat, sugary pancake.
When you fold the coconut into these aerated whites, you’re creating a light, bouncy batter. As the macaroon bakes, these air pockets expand slightly before the proteins set, leaving you with a center that is airy rather than gummy. If you skip the whisking and just pour the whites in liquid form, you lose that structural integrity entirely. Take the extra two minutes to whisk; your taste buds will thank you.
Selecting the Right Sweetened Condensed Milk
Not all brands of sweetened condensed milk are created equal. Some are quite thin and runny, while others are thick and viscous. For this recipe, a thicker milk is your best friend because it stays put. We’ve also reduced the amount to just 1/3 cup. This is significantly less than what most recipes call for, but it’s the key to a crispier result. You get all the flavor and creaminess without the excess liquid that causes the base to become soggy.
Step-by-Step: Constructing the Giant Macaroon
Before you even touch the ingredients, make sure your baking sheet is up to the task. Use a heavy-duty, light-colored rimmed baking sheet. Thin pans tend to warp in the oven, which can cause the macaroon to bake unevenly. Line it with high-quality parchment paper or a silicone mat. This is a high-sugar recipe, and without a proper liner, the macaroon will bond to the metal pan like industrial glue.
Whisking and Folding for Maximum Airflow
Start by tossing your coconut and salt together so the seasoning is evenly distributed. Once your egg whites are whisked to soft peaks, gently fold in the vanilla and condensed milk. Now comes the delicate part: combining the wet and dry. Use a large spatula to toss the coconut into the egg mixture. You want every shred to be coated, but you don’t want to smash the air out of the whites.
The mixture should feel light and slightly tacky, not heavy or dripping. If you over-mix, the egg whites will deflate, and the liquid will start to pool at the bottom of the bowl. Work quickly and with a light hand. You’re looking for a cohesive mass that still feels “fluffy” to the touch. This lightness is what allows the heat to circulate through the giant macaroon later on.
The “Raking” Technique for Jagged Edges
This is the most critical step for achieving that professional, rustic look. Instead of pressing the coconut into a tight disc, mound it loosely on the parchment paper. Take a dinner fork and gently “rake” the surface of the mound. You want to pull out little strands of coconut so the edges are jagged and uneven. These thin, exposed pieces will toast much faster than the rest of the macaroon.
By creating this high surface-area-to-volume ratio, you’re ensuring that the heat hits the coconut from every angle. These jagged bits become the “mahogany tips” that provide the signature crunch. If you pack the mixture down, you’ll trap steam inside, which leads to a mushy center. Keep it loose, keep it airy, and don’t worry about it looking perfect. The more rustic and “shaggy” it looks, the better the texture will be.
Precision Baking and the High-Heat Finish
We start the bake at 325°F. This moderate temperature allows the interior of the giant macaroon to set without burning the outside. During these first 20 minutes, the egg proteins denature and the sugars begin to caramelize slowly. You’ll notice the kitchen starting to smell like toasted sugar and tropical fruit. Make sure to rotate your pan halfway through to account for any hot spots in your oven.
The 375°F Flash: Achieving Deep Mahogany Tips
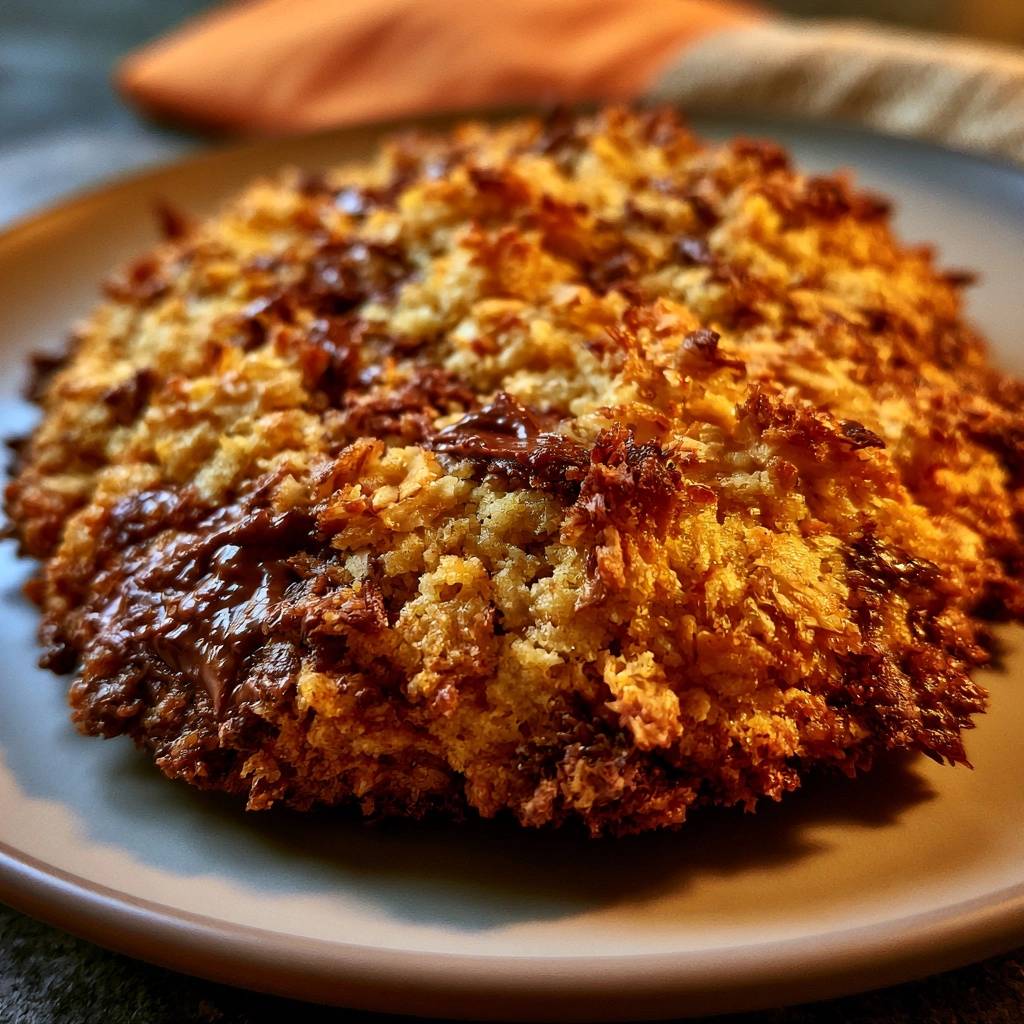
For the final two minutes of baking, we crank the heat up to 375°F. This is where the Maillard reaction really takes over. This brief blast of high heat targets those jagged edges we created with the fork. It transforms them from a pale gold to a deep, rich mahogany. This contrast between the dark, crunchy tips and the creamy, white interior is what makes this macaroon world-class.
Keep a very close eye on the oven during this stage. Coconut can go from perfectly toasted to burnt in a matter of seconds. You’re looking for a bold, dark brown on the very tips of the coconut shreds. As soon as you see that color, pull the pan out. The residual heat will continue to darken the macaroon slightly as it sits on the counter.
The Cooling Phase and Structural Integrity
Patience is your most important ingredient once the pan leaves the oven. When the macaroon is hot, the sugars are still in a molten state, and the structure is very fragile. If you try to move it now, it will likely fall apart. As it cools, the sugars solidify and the coconut shreds “lock” together, creating a sturdy shard that you can eventually break by hand.
Let it sit on the baking sheet for at least 30 minutes. You’ll actually hear the macaroon “crackle” slightly as it cools and the exterior becomes even crispier. This cooling phase is essential for the final texture. If you drizzle the chocolate while the macaroon is still warm, the chocolate won’t set properly and might even cause the coconut to soften again from the trapped heat.
The Art of the Chocolate Drizzle
Melting chocolate requires a gentle touch. Use a microwave-safe bowl and heat the semi-sweet chips in 20-second bursts, stirring well between each one. If you overheat the chocolate, it will lose its shine and become grainy. You want a smooth, pourable consistency. If the chocolate feels too thick, you can stir in a tiny drop of coconut oil to help it flow more easily.
Don’t just do a thin, wispy drizzle. Go for a thick, concentrated pattern. Use a spoon to swing the chocolate back and forth over the macaroon, letting it pool in the deep crevices created by the toasted coconut. These little “chocolate pockets” are a delight to bite into. Let the chocolate set at room temperature for about 15 minutes until it’s firm to the touch before you start breaking the macaroon into serving pieces.
Troubleshooting Common Coconut Baking Obstacles
If you notice the edges of your macaroon are browning too quickly while the center still looks wet, don’t panic. You can loosely “tent” the macaroon with a piece of aluminum foil. This reflects some of the direct heat away from the top while allowing the middle to continue cooking. Just make sure the foil isn’t touching the coconut, or it might stick and pull off those beautiful toasted tips.
Another common issue is a macaroon that stays soft in the middle even after cooling. This usually happens if the egg whites weren’t whisked enough or if too much condensed milk was added. If this happens, you can break the macaroon into smaller chunks and put them back in a 300°F oven for 5-10 minutes. This will help dry out the excess moisture and give you that crunch you’re looking for.
How to Fix a Crumbly Texture
If your giant macaroon is falling apart into a million pieces when you try to break it, it’s likely over-baked. When the sugars are cooked too long, they become brittle rather than chewy. While it might not be the “shard” experience you wanted, it’s far from a failure. You can take those crispy, chocolatey crumbs and use them as a spectacular topping for vanilla yogurt or a bowl of fruit.
Preventing Chocolate Seizing and Bloom
Chocolate is notoriously finicky when it comes to moisture. Even a single drop of water in your melting bowl can cause the chocolate to “seize,” turning it into a dry, clumpy mess. Ensure your bowl and spoon are bone-dry. To keep the chocolate glossy and prevent “bloom” (those white streaks), avoid putting the macaroon in the fridge to set the chocolate. Room temperature is always best for a professional finish.
Storage and Maintaining the Crunch
The biggest mistake people make is putting fresh macaroons into an airtight plastic container. This traps the residual moisture inside, which the coconut quickly reabsorbs, turning your crispy treat soft and spongy within hours. Instead, store your macaroon shards in a cookie tin or a glass jar with a loose-fitting lid. This allows just enough airflow to keep the exterior crisp.
These treats will stay fresh at room temperature for 3 to 5 days. There is absolutely no need to refrigerate them; in fact, the humidity in the fridge is the enemy of a good macaroon. If you live in a very humid climate and they do soften up, you can pop them back into a toaster oven for two minutes to refresh that signature crunch before serving.
Expert Tips for the Giant Chocolate Drizzled Coconut Macaroon
Can I use unsweetened coconut for this recipe?
You can, but you will need to make adjustments. Unsweetened coconut has much less moisture and no sugar, so the macaroon will be significantly less chewy and won’t brown as easily. If you go this route, you may need to add an extra tablespoon of sweetened condensed milk and a tablespoon of honey to help with the binding and caramelization. However, for the best results, stick with the sweetened shredded variety.
Why did my macaroon spread into a puddle on the pan?
This usually happens for one of two reasons: either the egg whites weren’t whisked to soft peaks, or the mixture was packed down too firmly. When you pack the coconut, you squeeze out the air and force the liquid to the bottom. Remember to use the “raking” technique with a fork to keep the structure loose and airy. Also, ensure you aren’t using more than 1/3 cup of condensed milk, as excess liquid is the primary cause of spreading.
Can I make this recipe vegan?
Yes, you can substitute the two egg whites with 6 tablespoons of aquafaba (the liquid from a can of chickpeas). Whisk the aquafaba just like you would egg whites until stiff peaks form. You will also need to use a vegan-friendly sweetened condensed coconut milk. Keep in mind that coconut milk versions are often thinner, so you might need to use slightly less to prevent the base from becoming too soft.
How do I get the chocolate to set faster without ruining the texture?
If you’re in a hurry, you can place the baking sheet in the refrigerator for exactly 5 minutes. This is just enough time to firm up the chocolate without introducing too much moisture to the coconut. As soon as the chocolate is matte and no longer wet, pull it out. Do not leave it in there longer, or condensation will form on the surface of the macaroon as it returns to room temperature, which will ruin the crunch.
How should I store leftovers to keep them from getting soft?
The best way to store these is in a cool, dry place in a container that isn’t 100% airtight. A metal cookie tin is ideal because it protects the shards but doesn’t trap moisture like plastic does. If they do happen to get a bit soft after a few days, a quick 5-minute stint in a 300°F oven will bring that “just-baked” crunch right back. Do not freeze these, as the coconut will become grainy and the chocolate will likely bloom upon thawing.
Giant Chocolate Drizzled Coconut Macaroon
Course: DessertCuisine: AmericanDifficulty: easy4
servings10
minutes25
minutes35
Minutes310
kcalAmerican
Ingredients
1 bag (14 ounces) sweetened shredded coconut
1/3 cup sweetened condensed milk (reduced to prevent pooling)
1 teaspoon vanilla extract
2 large egg whites
1/4 teaspoon salt
1/2 cup semi-sweet chocolate chips, melted
Directions
- Preheat your oven to 325°F (165°C). Line a heavy-duty baking sheet with parchment paper or a silicone baking mat.
- In a large bowl, toss the shredded coconut with the salt. In a separate small bowl, whisk the egg whites vigorously until they form soft peaks. This aeration is the key to binding the coconut without adding heavy liquid that causes sogginess.
- Gently fold the sweetened condensed milk and vanilla into the egg whites, then fold that mixture into the coconut until thoroughly combined.
- To solve the soggy bottom issue, do not pack the mixture down. Mound the coconut mixture onto the parchment paper in one large, loose circle (about 8 inches in diameter). Use a fork to “rake” the surface and fluff the edges so they are airy and jagged. This allows heat to circulate through the coconut shreds rather than trapping steam inside.
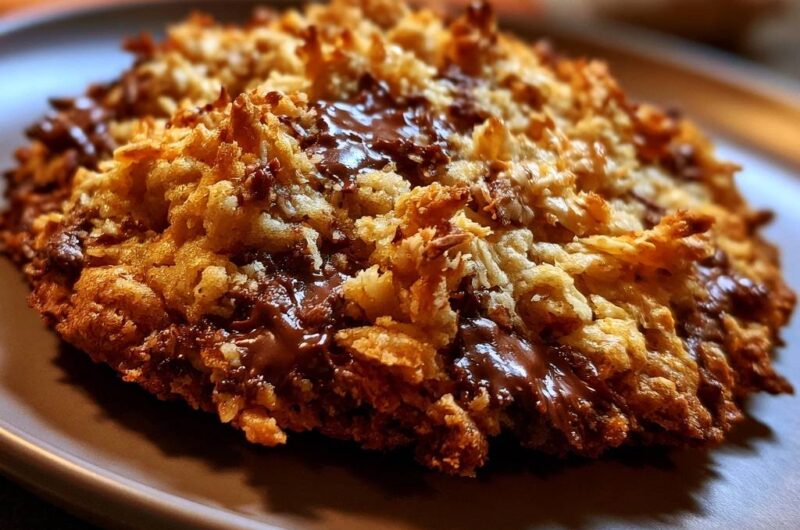
- Bake for 20 to 25 minutes. Halfway through, rotate the pan. For the final 2 minutes, increase the oven temperature to 375°F to ensure the exterior tips achieve the deep mahogany crunch shown in the image.
- Remove from the oven and let it cool completely on the baking sheet. The macaroon will crisp up significantly as it cools and the sugars solidify.
- Once cool, drizzle the melted chocolate over the top in a thick, concentrated pattern, allowing it to pool slightly in the crevices of the toasted coconut. Let the chocolate set for 15 minutes before breaking into large, crispy shards to serve.
Notes
- To ensure the best texture, do not pack the coconut mixture down; keep it loose and airy to allow heat circulation. Increasing the heat for the final two minutes is essential for the mahogany crunch.