Imagine a dessert so light it feels like a cloud, yet so rich it satisfies your deepest chocolate cravings. This Loaded Peanut Butter Chocolate Mousse delivers a velvet-smooth mouthfeel that contrasts beautifully with a dense, fudgy ganache. Most homemade mousses fall flat because they lack the structural integrity to hold up heavy nut butters, but this version stays airy and decadent.
The real magic happens when you hit that first layer of salty, roasted peanuts and mini chocolate chips. You get a satisfying crunch followed by the silky melt of the peanut butter base. It is a sophisticated balance of salt, sugar, and fat that feels like something from a high-end bistro rather than a quick home kitchen project.
The secret to this professional finish is all about the temperature of your fats. If your cream cheese is even slightly chilly, it will create tiny beads of fat that feel like sand on the tongue. By ensuring your base ingredients are truly room temperature, you create a perfect emulsion that stays smooth even after it chills in the fridge.
The Physics of a Silky Peanut Butter Base
Creating a stable mousse requires a delicate dance between different types of fats. Peanut butter is packed with dense oils, while cream cheese provides a lactic acid tang and a solid fat structure. When you mix them, you are essentially creating a reinforced emulsion that can trap air bubbles without collapsing.
Room temperature is a strict chemical requirement here, not just a suggestion. When the cream cheese and peanut butter are warm, their molecular bonds loosen, allowing them to mesh into a singular, glossy mixture. If they are cold, the cocoa butter in the chocolate and the oils in the nuts will seize up, leading to a broken, curdled appearance.
Therefore, you must plan ahead and leave these ingredients on the counter for at least two hours. This patience ensures that when you finally whip in the heavy cream, the base is soft enough to accept the air without requiring heavy stirring. Gentle mixing is the only way to keep those tiny nitrogen bubbles intact for that signature lift.
Why Sifting Powdered Sugar is Non-Negotiable
Powdered sugar is notorious for developing small, hard pebbles during storage because of the cornstarch used to prevent caking. If you dump the sugar straight from the bag into your bowl, those clumps will survive the mixing process. You will end up with a “gritty” mousse that ruins the luxury of the dish.
Sifting the sugar ensures a uniform particle size that dissolves instantly into the moisture of the cream cheese. This step creates a perfectly homogenous syrup-like base within the fats. It is the difference between a grainy “home-style” pudding and a professional-grade mousse that glides across the palate.
The Role of Stabilized Cream Cheese
Traditional mousses often rely on egg whites or gelatin, but this recipe uses cream cheese as the structural skeleton. The high fat content and proteins in the cheese provide a sturdy framework that supports the heavy peanut butter. Without this stabilizer, the weight of the nut oils would cause the whipped cream to deflate within minutes.
In addition to structure, the cream cheese adds a subtle acidity. This brightness cuts through the intense richness of the sugar and chocolate. It ensures that the dessert feels balanced rather than cloyingly sweet, allowing you to enjoy a full serving without feeling overwhelmed.
Essential Components for Loaded Peanut Butter Chocolate Mousse
Quality ingredients are the foundation of this dish, starting with the peanut butter. I highly recommend using a “no-stir” creamy variety rather than the natural “oil-on-top” versions. The stabilizers in commercial creamy peanut butter help maintain the emulsion, whereas natural oils tend to weep and separate when chilled.
Your heavy whipping cream must have a minimum fat content of 36% to achieve the necessary volume. Cold cream is essential because the fat globules stay firm and trap air more efficiently. If your cream is lukewarm, it will simply turn into a liquid mess rather than stiff, billowy peaks.
Selecting the Right Chocolate for Ganache
Semi-sweet chocolate chips are the standard choice because they offer a middle-ground cocoa intensity. However, if you prefer a more sophisticated profile, bittersweet chocolate (around 60% cocoa) provides a lovely contrast to the sweet mousse. The bitterness highlights the roasted notes of the peanuts perfectly.
Milk chocolate is an option, but keep in mind it contains more sugar and dairy solids. This can make the final dish feel a bit heavy. Regardless of the type, ensure you use a brand that melts smoothly to avoid any lumps in your final drizzle.
The Importance of Roasted Peanuts for Texture
Texture is just as important as flavor in a “loaded” dessert. Dry roasted peanuts are the best choice here because they offer a clean, toasted crunch without adding extra grease to the topping. The salt on the peanuts is vital as it acts as a flavor enhancer, making the chocolate taste deeper and the peanut butter more vibrant.
Chopping the peanuts into varied sizes creates a more interesting eating experience. Some tiny dust-like pieces will coat the ganache, while larger chunks provide a hearty snap. This variety keeps every spoonful exciting and prevents the mousse from feeling one-dimensional.
Step-by-Step: Achieving the Aerated Texture
Achieving the perfect texture requires a three-phase approach. You start by building a dense, flavorful base, then you create the air, and finally, you marry the two together. If you rush any of these stages, you risk losing the “cloud-like” quality that defines a true mousse.
Phase 1: Emulsifying the Peanut Butter and Cheese
Start by beating your softened cream cheese and sifted sugar until the mixture looks aerated and pale. Once you add the peanut butter, watch for the transformation. The mixture should turn from a matte tan to a glossy, uniform brown. Use a medium speed on your mixer; going too fast at this stage can actually break the emulsion before it fully forms.
Phase 2: The Science of Stiff Peaks
Whipping the cream is where the volume happens. Use a chilled metal bowl and whisk attachment to keep the fat cold. Start on low speed to create small, stable bubbles, then increase to medium-high. You are looking for “stiff peaks,” which means when you lift the whisk, the cream stands straight up without drooping. Be careful not to over-whip, or you will end up with peanut butter-flavored butter.
For an even smoother texture, check out this dreamy chocolate mousse that guarantees no separation.
Phase 3: The Sacrifice Fold Technique
This is the most critical technical step. Take about one-third of your whipped cream and stir it vigorously into the heavy peanut butter base. This “sacrifices” a bit of air to lighten the base’s density. Now, gently fold in the remaining cream using a spatula. Cut through the center, scrape the bottom, and turn the mixture over. Stop the moment the white streaks disappear to preserve every possible bubble.
Crafting the Ganache and Peanut Butter Drizzle
The ganache should be fluid but thick enough to coat a spoon. When microwaving the chocolate and cream, use 20-second intervals and stir thoroughly between each. Chocolate holds its shape even when it is melted, so stirring is the only way to know if it is truly ready. This prevents scorching, which can happen in a matter of seconds.
For the peanut butter drizzle, a quick 15-second zap in the microwave makes it pourable. You want it to fall off the spoon in “ribbons.” If it is too thick, it will land in heavy clumps that sink into the mousse rather than sitting beautifully on top of the ganache.
Troubleshooting Common Mousse Texture Issues
Even experienced cooks can run into trouble with emulsions. If your mixture looks curdled or “broken,” it is usually because the ingredients were at different temperatures. You can often fix this by placing the bowl over a pot of simmering water for 10 seconds and whisking rapidly to bring the fats back together.
Fixing a Grainy or Separated Mixture
If the graininess comes from undissolved sugar, there isn’t much you can do once the cream is folded in. However, if the separation is oil-based, a tablespoon of warm heavy cream can sometimes act as a bridge to re-emulsify the fats. Always err on the side of over-softening your cream cheese before you start.
What to Do if the Mousse is Too Soft
Don’t panic if the mousse looks like thick pudding right after mixing. The saturated fats in the cream cheese and the cocoa butter in the chocolate need time to crystallize. A minimum of 30 minutes in the fridge is required, but two hours is better. The cold temperature will firm up the structure significantly.
Flavor Variations and Ingredient Swaps
While peanut butter is the star, you can easily swap it for almond or cashew butter. Note that almond butter is often runnier, so you might need an extra two ounces of cream cheese to maintain the height. For a darker profile, use a 70% cocoa chocolate for the ganache to create a “grown-up” version of a Reese’s cup.
If you want to add more depth, a pinch of espresso powder in the chocolate ganache will make the cocoa flavor pop. You could also swap the roasted peanuts for toasted hazelnuts if you are using a chocolate-hazelnut spread as your base. The possibilities for customization are endless once you master the basic folding technique.
Make-Ahead Strategies and Storage Standards
This mousse is a fantastic make-ahead dessert because it stays stable in the refrigerator for up to three days. In fact, the flavor often improves after 24 hours as the salt and sugar meld. Keep the bowls tightly covered with plastic wrap to prevent the mousse from absorbing any “fridge smells.”
I do not recommend freezing this dish. The water in the cream and cream cheese will form ice crystals. When these crystals melt during thawing, they destroy the delicate air pockets you worked so hard to create, leaving you with a grainy, watery mess. If you are serving this the next day, add the crunchy peanut topping right before serving to ensure they stay crisp.
Expert Tips for Professional Presentation
For a clean, restaurant-style look, use a piping bag to fill your serving glasses. A large round tip allows you to swirl the mousse in without smudging the sides of the glass. This keeps the presentation sharp and highlights the contrast between the light mousse and the dark ganache.
When applying the ganache and peanut butter drizzle, use a toothpick to gently swirl them together. This creates a marbled effect that looks stunning under the light. Finish with a precise sprinkle of mini chips and peanuts in the center rather than scattering them everywhere for a more intentional, polished aesthetic.
Frequently Asked Questions
Can I use natural “oil-on-top” peanut butter?
You can, but it is much riskier. Natural peanut butter lacks the emulsifiers found in brands like Jif or Skippy. This often leads to the oil separating from the mousse as it sits, creating a greasy film. If you must use natural, ensure you stir it extremely well before measuring and accept that the texture may be slightly less “fluffy.”
How do I prevent the chocolate ganache from hardening too much?
The key is the ratio of cream to chocolate. By adding two tablespoons of heavy cream to the chips, you lower the melting point of the chocolate. This ensures the ganache stays soft and fudgy even when chilled, rather than turning into a hard shell that is difficult to break with a spoon.
Is there a sugar-free alternative for the powdered sugar?
Yes, you can use a powdered erythritol or monk fruit sweetener. However, be aware that these can sometimes leave a slight “cooling” sensation on the tongue. Make sure the alternative is finely powdered; if it is granular, it will not dissolve into the cream cheese and will result in a gritty texture.
Why did my whipped cream deflate after folding?
This usually happens for two reasons: either the peanut butter base was too heavy/cold, or you folded too aggressively. If the base is stiff, it acts like a weight that crushes the air bubbles. Always use the “sacrifice fold” method to lighten the base first, and use a slow, circular motion with your spatula.
Can I make this recipe vegan?
You can substitute the cream cheese with a vegan almond-based version and use chilled coconut cream (the thick part from the top of the can) instead of heavy whipping cream. Note that coconut cream deflates faster than dairy cream, so the mousse will be denser and should be served immediately after chilling.
Peanut Butter Chocolate Mousse
Course: DessertCuisine: AmericanDifficulty: easy4
servings15
minutes5
minutes550
kcal20
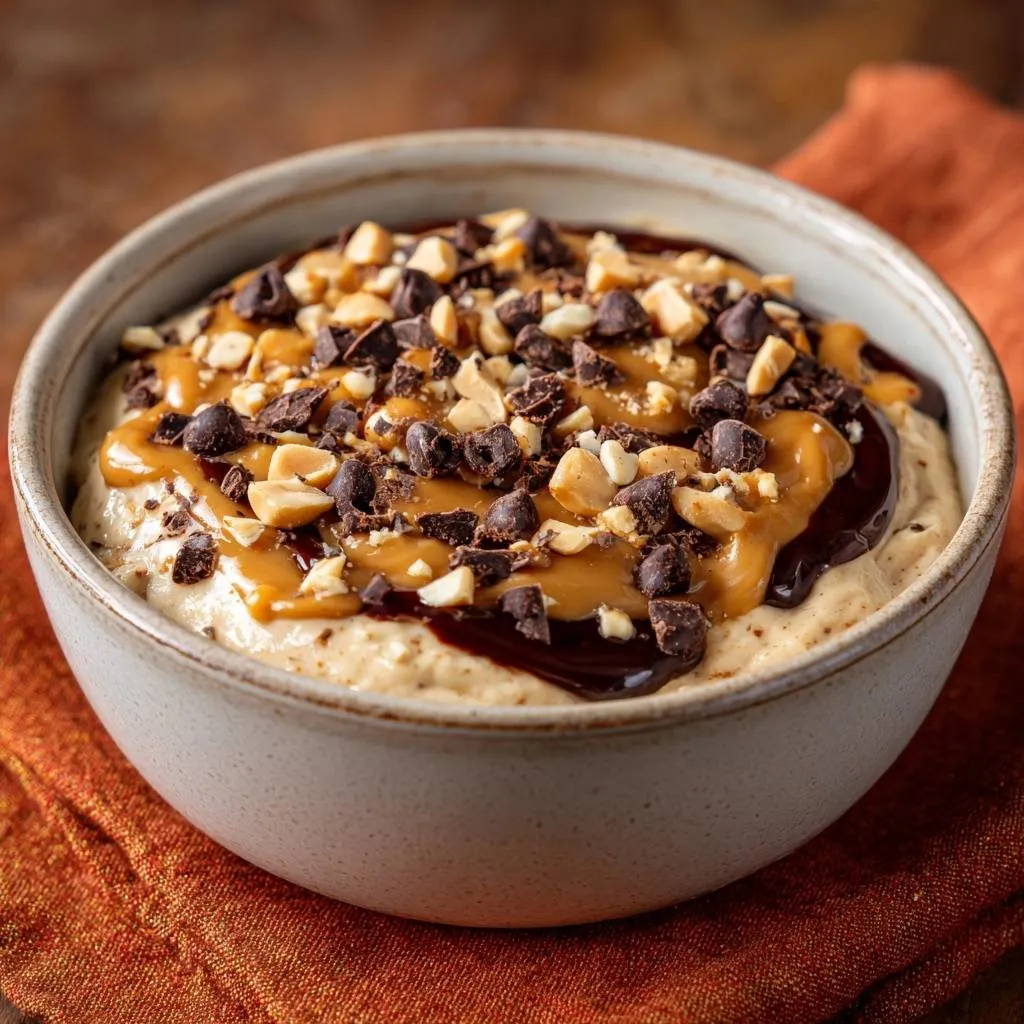
MinutesThis decadent dessert features a cloud-like peanut butter base topped with rich chocolate ganache, a peanut butter drizzle, and crunchy roasted peanuts. The recipe focuses on sifting and temperature management to ensure a perfectly smooth finish.
Ingredients
1 cup creamy peanut butter (room temperature)
8 ounces cream cheese, softened to room temperature
1 cup powdered sugar, sifted
1 teaspoon vanilla extract
1.5 cups heavy whipping cream, chilled
1/2 cup semi-sweet chocolate chips
2 tablespoons heavy cream (for ganache)
1/4 cup creamy peanut butter (for topping drizzle)
1/4 cup roasted peanuts, roughly chopped
2 tablespoons mini chocolate chips or chopped chocolate chunks
Directions
- To solve the grit problem, start by beating the softened cream cheese and sifted powdered sugar together in a large bowl until completely aerated and smooth. Sifting the sugar is a non-negotiable step to prevent tiny clumps.
- Gradually add the 1 cup of peanut butter and vanilla to the cream cheese mixture. The key to preventing separation is ensuring both the cream cheese and peanut butter are at room temperature before mixing. Beat on medium speed until the mixture is glossy and uniform.
- In a separate chilled bowl, whip the 1.5 cups of heavy cream until stiff peaks form.
- Gently fold one-third of the whipped cream into the peanut butter base using a spatula. This lightens the base so the remaining cream doesn’t deflate. Fold in the rest of the cream until no white streaks remain.
- Transfer the mousse to serving bowls.
- Prepare the chocolate ganache: Place the 1/2 cup chocolate chips and 2 tablespoons of heavy cream in a microwave-safe bowl. Heat in 20-second intervals, stirring until completely smooth and glossy.
- Prepare the peanut butter drizzle: Warm the 1/4 cup of peanut butter in the microwave for 15-20 seconds until it reaches a pourable, fluid consistency.
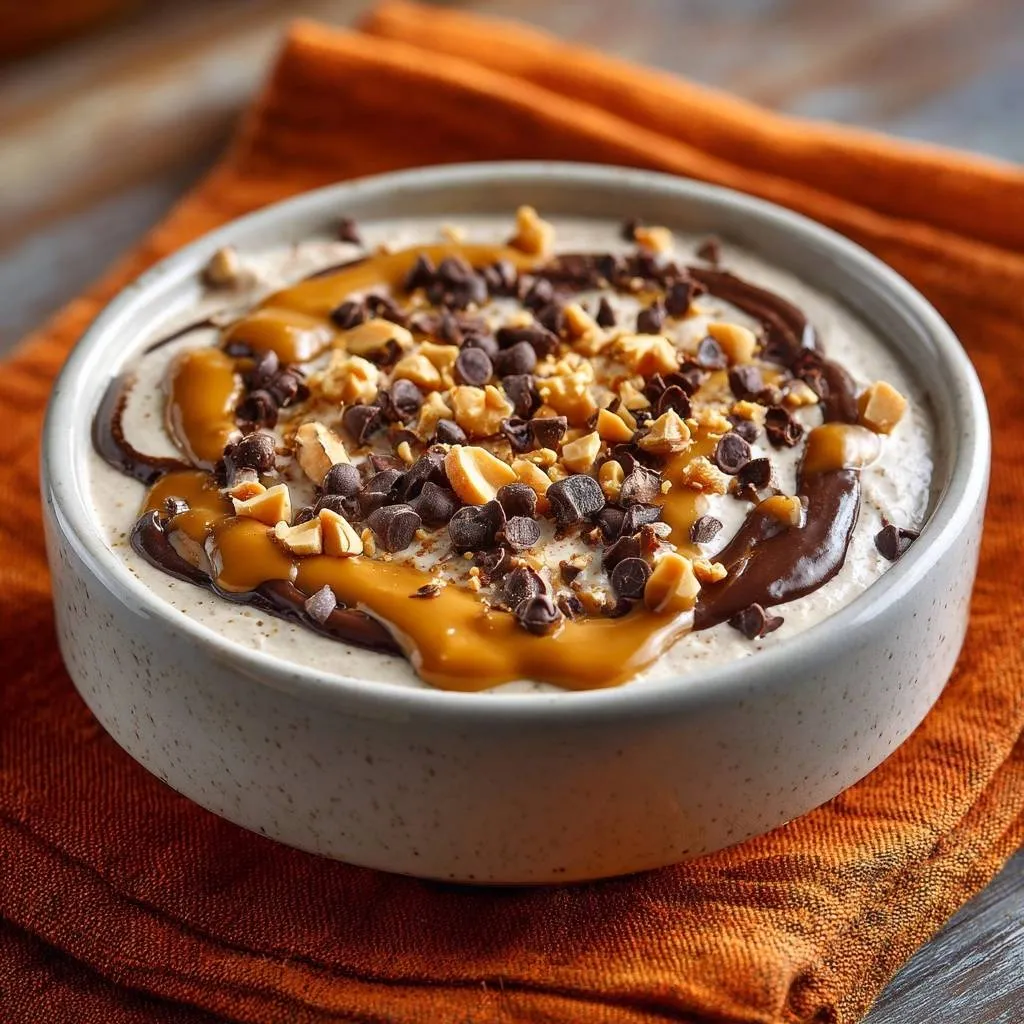
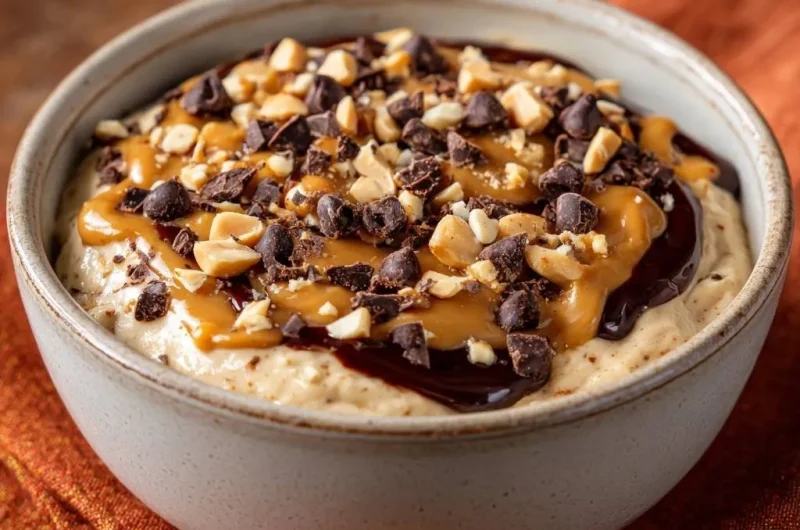
- To match the visual presentation: Spoon a thick layer of the warm chocolate ganache over the mousse, followed by a generous swirl of the melted peanut butter. Top with the chopped roasted peanuts and the mini chocolate chips for a perfect crunch.
- Chill for at least 30 minutes before serving to allow the texture to set into a firm, silky mousse.
Notes
- To prevent a gritty texture, ensure the cream cheese and peanut butter are at room temperature and always sift the powdered sugar. Chill for at least 30 minutes to allow the mousse to set properly.