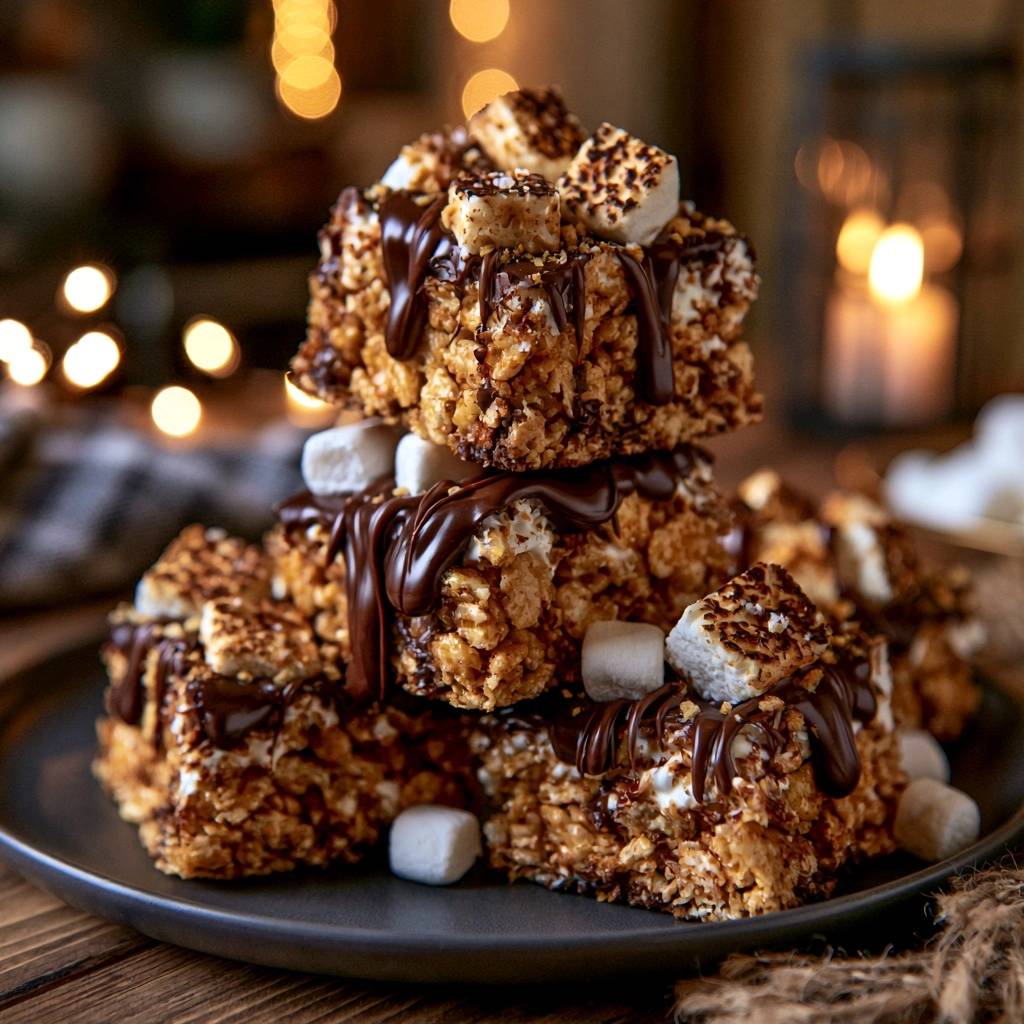
We have all been there. You reach for a cereal treat, expecting a soft, gooey bite, but instead, you get something so hard it practically breaks a tooth. It is a common disappointment that turns a nostalgic snack into a chore to eat. These Toasted S’mores Cereal Treats change that narrative by focusing on the science of the “soft-pull” rather than just piling on sugar.
The secret to a bakery-style treat lies in how you handle the marshmallow base. Most recipes result in a brick-like texture because the sugar is overheated, but we are going to fix that. By introducing a few professional techniques, you can create a bar that stays flexible, chewy, and decadent for days. It is about capturing that campfire essence without the mess of an actual fire.
I have found that the real magic happens when you stop thinking of these as just a quick snack and start treating them like a delicate confection. The addition of heavy cream and a specific melting point ensures the sugar never crystallizes. This results in a treat that stretches when you pull it apart, just like the center of a perfectly toasted s’more. Oh man, the first time you pull these apart, you will see exactly what I mean!
The Science of Softness in Marshmallow Treats
To understand why cereal treats get hard, we have to look at the chemistry of sugar. Marshmallows are essentially a stabilized sugar foam. When you apply high heat, you are evaporating the moisture and pushing the sugar toward the “hard crack” stage. If you crank up the stove to melt things faster, you are actually turning your treats into hard candy. This is why your bars become brittle once they cool down.
Therefore, we use lipids to interfere with that crystallization process. By adding extra butter and a splash of heavy cream, we create a buffer. These fats coat the sugar molecules, preventing them from bonding into a rigid structure. The result is a marshmallow matrix that remains fluid and soft even at room temperature. It is a simple trick that makes a massive difference in the final mouthfeel.
Temperature control is your best friend here. You want to use the lowest heat setting possible on your stove. It might take a minute longer, but the payoff is a bar that doesn’t require a hammer to break. When you keep the temperature low, the marshmallows melt into a smooth, velvety ribbon rather than a sticky, scorched mess. This gentle approach preserves the air bubbles, which are vital for that light, airy texture we all crave.
Essential Components for Toasted S’mores Cereal Treats
Quality ingredients are the foundation of this recipe. I always recommend using unsalted butter because it gives you total control over the flavor profile. Since marshmallows are incredibly sweet, you need that specific amount of salt to balance the palate. If you use salted butter, you might end up with a treat that tastes more like a salt lick than a dessert.
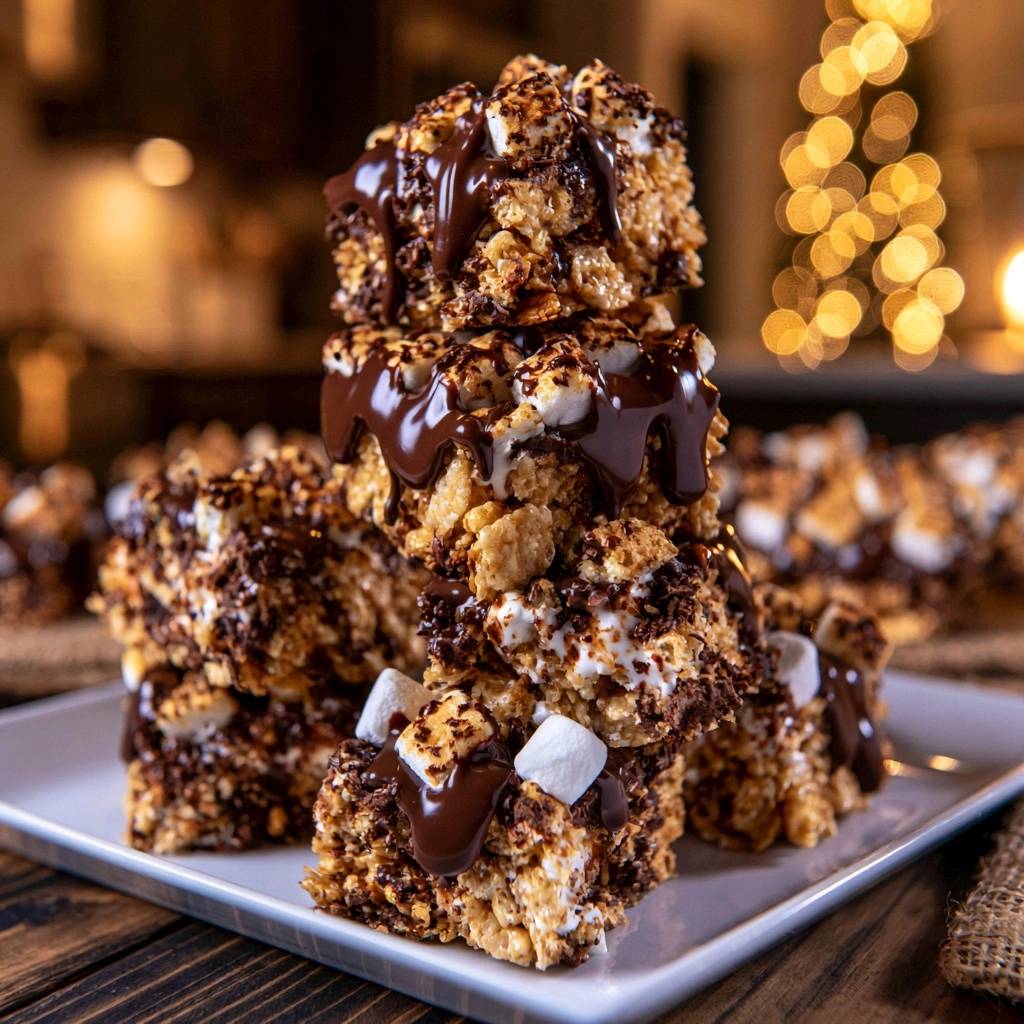
The division of your marshmallows is also a critical step. We use 10 ounces for the base to create the structural “glue” and reserve 2 ounces for the topping. This ensures you get that gooey interior while still having those distinct, charred marshmallow pillows on top. It provides a contrast in textures that mimics a real s’more perfectly.
Selecting the Right Cereal and Graham Texture
While toasted rice cereal provides the classic crunch, the graham crackers are what bring the s’mores identity to life. However, do not pulse them in a food processor until they are fine crumbs. Fine crumbs will simply disappear into the marshmallow mixture, making the treats taste gritty rather than crunchy.
Instead, you should roughly crush the graham crackers by hand. Aim for half-inch chunks. These larger pieces provide a satisfying snap and a distinct honey-wheat flavor that stands up against the sweetness of the chocolate and marshmallow. It creates a much more interesting landscape for your taste buds.
The Role of Heavy Cream and Sea Salt
Heavy cream is the “secret weapon” in this recipe. It acts as a humectant, which is just a fancy way of saying it helps the treats retain moisture. Without it, the marshmallows can dry out quickly. The cream keeps the bars flexible and prevents that “stale” feeling that often plagues homemade treats after just a few hours.
In addition, sea salt is mandatory. It isn’t just there for a “salty-sweet” trend; it actually cuts through the cloying nature of the marshmallow. The salt highlights the toasted notes of the rice cereal and the richness of the butter. It makes the whole flavor profile feel more sophisticated and less like a kids’ lunchbox item.
Step-by-Step: Achieving the Perfect Marshmallow Melt
Start by melting your butter in a large, heavy-bottomed pot. Once it is liquid gold, add in your 10 ounces of marshmallows and the heavy cream. Now, here is the part where you must be patient. Keep your heat on the lowest setting and stir constantly with a silicone spatula. You are looking for a specific visual cue: the “90% melt.”
The marshmallows should look mostly melted, but you should still see the faint outlines of a few lumps. At this exact moment, remove the pot from the heat. The residual heat from the pot and the melted butter will finish the job as you stir. This prevents the sugar from ever reaching a temperature that would cause it to harden later. It should look like a thick, glossy cloud.
Once it is smooth, quickly stir in your vanilla and sea salt. The aroma at this stage is incredible! The vanilla adds a floral depth that makes the marshmallows taste homemade. Work efficiently here, as the mixture will start to set as it cools, and you want it at its most fluid when you add the dry ingredients.
Folding Techniques to Preserve Air Pockets
When you add the cereal and graham crackers, use a gentle folding motion. Do not stir aggressively. You want to coat every piece of cereal without crushing the delicate puffs. Think of it like folding egg whites into a cake batter. You are trying to maintain as much air as possible within the mixture.
The most important rule comes next: the “Light Press.” When you transfer the mixture to your 8×8 pan, do not pack it down with force. If you press too hard, you crush the air pockets and create a dense, tough bar. Instead, use buttered fingers to gently nudge the mixture into the corners. It should look a little craggy on top, not perfectly flat and compressed.
Creating the Signature Charred S’mores Aesthetic
To get that authentic campfire look, scatter your reserved mini marshmallows over the top of the pressed mixture. Now, grab your kitchen torch. This is the fun part! Move the flame in a circular motion about two inches away from the marshmallows. You want them to catch a bit of char and turn a deep, dark golden brown.
The charring isn’t just for looks; it adds a bitter, smoky note that balances the sugar. If you don’t have a torch, you can use a broiler, but you have to be extremely careful. Watch it like a hawk because marshmallows can go from golden to a kitchen fire in about three seconds. The goal is a toasted marshmallow that is soft and melty on the bottom and crisp on top.
Whisking a Glossy Two-Ingredient Chocolate Ganache
A simple chocolate drizzle isn’t enough for these treats; we want a rich ganache. Place your chocolate chips in a small bowl and heat your remaining heavy cream until it just starts to simmer. Pour that hot cream over the chips and let it sit undisturbed for two minutes. This allows the chocolate to melt evenly without seizing.
After two minutes, whisk it gently starting from the center. You will see it transform from a muddy mess into a thick, glossy, dark ribbon. Drizzle this generously over your toasted marshmallows. The ganache will seep into the nooks and crannies, ensuring every bite has a hit of rich chocolate. It stays soft even after it sets, which complements the chewy base perfectly.
Troubleshooting Common Cereal Bar Failures
If your treats still turn out hard, the most likely culprit is the age of your marshmallows. Stale marshmallows have already lost their moisture and will never melt into a smooth, soft base. Always buy a fresh bag specifically for this recipe. Also, avoid the microwave for melting. It heats unevenly and almost always overcooks the sugar in spots.
Another common mistake is over-mixing. The more you work the marshmallow mixture as it cools, the tougher it becomes. Once the cereal is coated, stop. If you find the mixture is too sticky to handle, grease your tools or hands with a little extra butter. Never use water to dampen your hands, as water is the enemy of chocolate and can cause your ganache to seize later.
Storage Protocols: Why the Refrigerator is the Enemy
Whatever you do, do not put these in the fridge! Cold air is the absolute enemy of a soft cereal treat. The refrigerator causes the butter to seize and the sugar to crystallize, turning your beautiful, chewy bars into rocks. They are best kept at room temperature in an airtight container. This keeps the moisture locked in and the texture perfect.
If you store them correctly, they will stay fresh and soft for up to three days. I like to place a piece of parchment paper between layers so the ganache doesn’t stick to the bottom of the other bars. If you find they have firmed up more than you like on day three, a quick five-second zap in the microwave can revive that “just-made” gooeyness.
Expert Tips for Customizing Your Treats
If you want to take these even further, try browning the butter first. Cook the butter until it smells nutty and you see little brown specks at the bottom of the pan. This adds a toasted, savory depth that pairs beautifully with the graham crackers. It makes the treats taste like they came from a high-end pastry shop.
You can also experiment with the chocolate. While semi-sweet is classic, a dark chocolate ganache (70% cocoa) provides a sophisticated bitterness that adults often prefer. For an extra crunch, sprinkle a little more flaky sea salt over the wet ganache. That hit of salt against the charred marshmallow and rich chocolate is absolutely addictive!
Frequently Asked Questions
Can I use marshmallow fluff instead of mini marshmallows?
I don’t recommend it for this specific recipe. Marshmallow fluff contains egg whites and stabilizers that behave differently when heated. While it is very soft, it lacks the structural integrity needed to hold the cereal together in a bar shape. Your treats will likely “slump” and lose their form, becoming a sticky mess that is hard to slice and serve.
What if I don’t own a kitchen torch?
You can use your oven’s broiler, but proceed with extreme caution. Place the pan on the top rack and leave the door cracked so you can watch it. It only takes 30 to 60 seconds to toast. Be very careful with the parchment paper overhang, as it can easily catch fire under a broiler. Trim the parchment so it is flush with the pan before sliding it in.
How do I get clean slices without sticking?
The trick is a greased knife. Take a large chef’s knife and rub a tiny bit of butter or neutral oil along the blade. Make firm, downward cuts rather than a sawing motion. Wipe the blade clean and re-grease it between every single cut. This prevents the marshmallow from dragging and keeps your ganache drizzle looking beautiful and professional.
Why did my chocolate ganache turn grainy?
Grainy ganache usually happens because of “seizing.” This occurs if a drop of water gets into the chocolate or if the cream was too hot when added. If it looks broken or grainy, you can often fix it by adding one teaspoon of warm (not boiling) heavy cream and whisking vigorously. The extra liquid helps the fat and cocoa solids re-emulsify into a smooth sauce.
Can I make these gluten-free?
Yes, you absolutely can. You will need to swap the toasted rice cereal for a certified gluten-free version, as some mainstream brands use malt flavoring derived from barley. Additionally, use gluten-free graham crackers. Most marshmallows and chocolate chips are naturally gluten-free, but always check the labels for cross-contamination warnings to be safe.
Toasted S’mores Cereal Treats
Course: DessertCuisine: AmericanDifficulty: easy12
servings15
minutes10
minutes25
Minutes265
kcalAmerican
Ingredients
6 cups toasted rice cereal
12 ounces mini marshmallows (divided: 10oz for melting, 2oz for topping)
6 tablespoons unsalted butter (extra fat ensures softness)
2 tablespoons heavy cream
1 teaspoon vanilla extract
1/4 teaspoon sea salt (to balance the sugar)
1 cup graham crackers, roughly crushed (not fine crumbs, for texture)
1/2 cup semi-sweet chocolate chips
1/4 cup heavy cream (for the ganache drizzle)
Optional: Flaky sea salt for finishing
Directions
- Prepare the Pan: Line an 8×8 inch square pan with parchment paper, leaving an overhang on the sides for easy removal. Lightly grease the parchment with butter.
- Low-Heat Melt: In a large heavy-bottomed pot over the lowest heat setting, melt the 6 tablespoons of butter. Once melted, add 10 ounces of the mini marshmallows and 2 tablespoons of heavy cream.
- The Secret to Softness: Stir constantly with a silicone spatula until the marshmallows are 90% melted. Remove from heat immediately; the residual heat will finish the job. Overheating the marshmallows is what causes the sugar to turn into hard candy. Stir in the vanilla and sea salt.
- The Fold: Add the rice cereal and the crushed graham crackers to the pot. Gently fold until every piece of cereal is coated in the marshmallow mixture.
- The Light Press: Transfer the mixture to the prepared pan. Using buttered fingers or a greased spatula, very lightly pat the mixture into the corners. Do not pack it down. Pressing firmly crushes the air pockets and results in a dense, hard bar.
- The Toasted Topping: Scatter the remaining 2 ounces of mini marshmallows over the top. Use a kitchen torch to toast the marshmallows until they are dark golden brown and charred in spots, matching the visual aesthetic of a campfire s’more.
- The Ganache Drizzle: Place the chocolate chips in a small bowl. Heat the 1/4 cup of heavy cream in the microwave until it just begins to simmer (about 30-45 seconds). Pour the hot cream over the chocolate chips and let sit for 2 minutes, then whisk until a thick, glossy ganache forms.
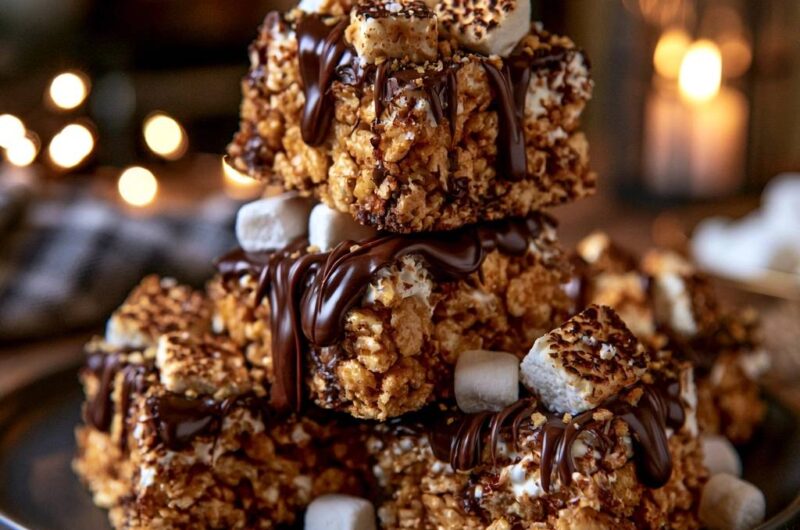
- Finish: Drizzle the thick chocolate ganache generously over the toasted marshmallows, allowing it to drip down the sides as seen in the image. Sprinkle with a pinch of flaky sea salt if desired.
- Set and Serve: Let the bars sit at room temperature for at least 1 hour to allow the marshmallow structure to stabilize and the ganache to set. Never refrigerate these treats, as the cold air crystallizes the sugar and hardens the butter, destroying the signature soft pull. Slice with a greased knife.
Notes
- Never refrigerate these treats as the cold air crystallizes the sugar and hardens the butter. Use a greased knife for clean slices.