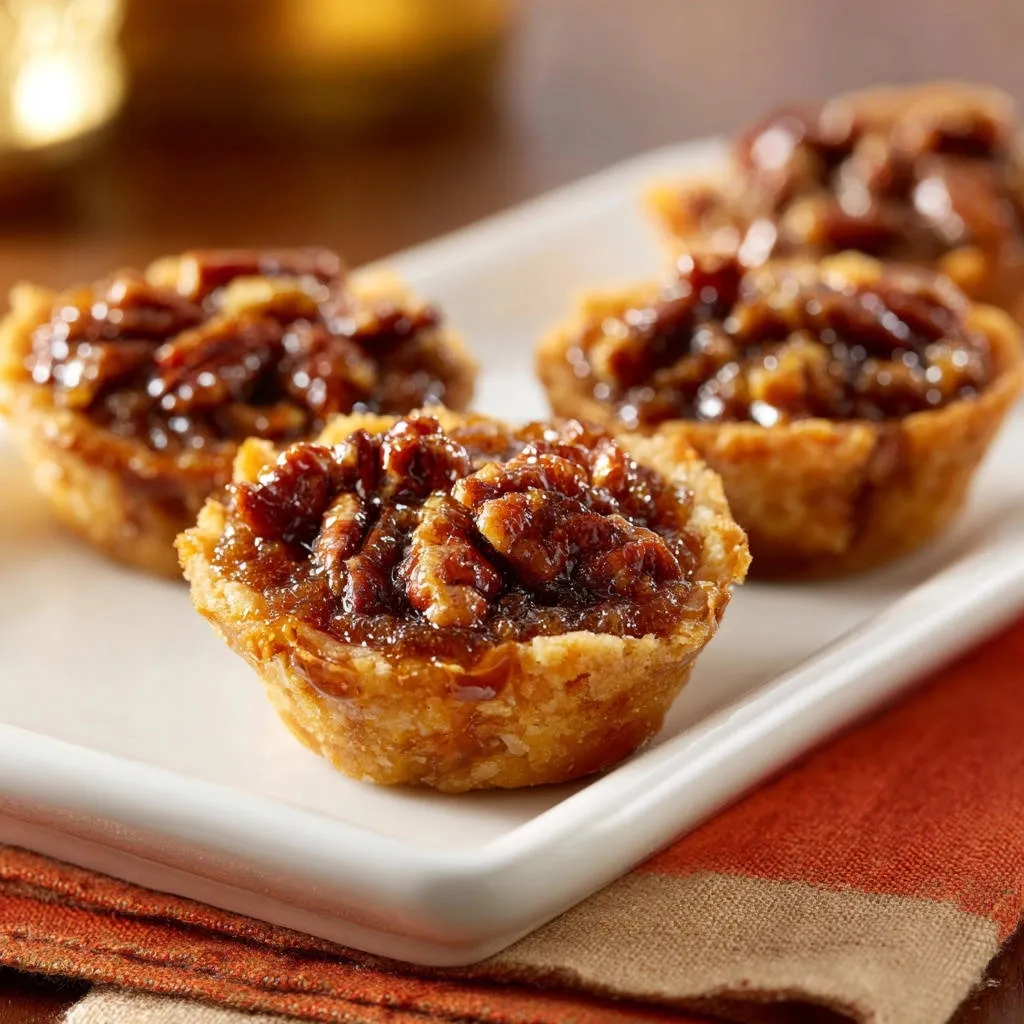
There’s nothing quite like the warmth of freshly baked goods, but nothing more disheartening than a beautiful batch of Mini Pecan Tarts with a filling that’s either too dry or disappointingly runny. I’ve spent years perfecting that elusive, melt-in-your-mouth texture, and I’m thrilled to share my tried-and-true method that guarantees a perfectly set, yet lusciously gooey filling every single time.
This recipe transforms a classic dessert into bite-sized marvels, making it effortless to achieve that golden crust and rich, caramelized pecan filling. Get ready to impress with these irresistible treats that will become a staple in your baking repertoire.
For more festive baking ideas, check out these cranberry muffins with no sinking berries.
Why This Mini Pecan Tarts Recipe Belongs in Your Collection
This isn’t just another pecan tart recipe; it’s a masterclass in achieving ideal texture and flavor in miniature form.
We’re tackling common baking frustrations head-on, ensuring every bite is a testament to your culinary prowess.
The Secret to That Ideal, Perfectly Set Filling
The magic truly lies in the baking technique, specifically the “jiggle test” that prevents overbaking.
This precise timing ensures a filling that sets beautifully as it cools, maintaining its delightful gooeyness without any runniness.
Effortless Elegance for Any Occasion
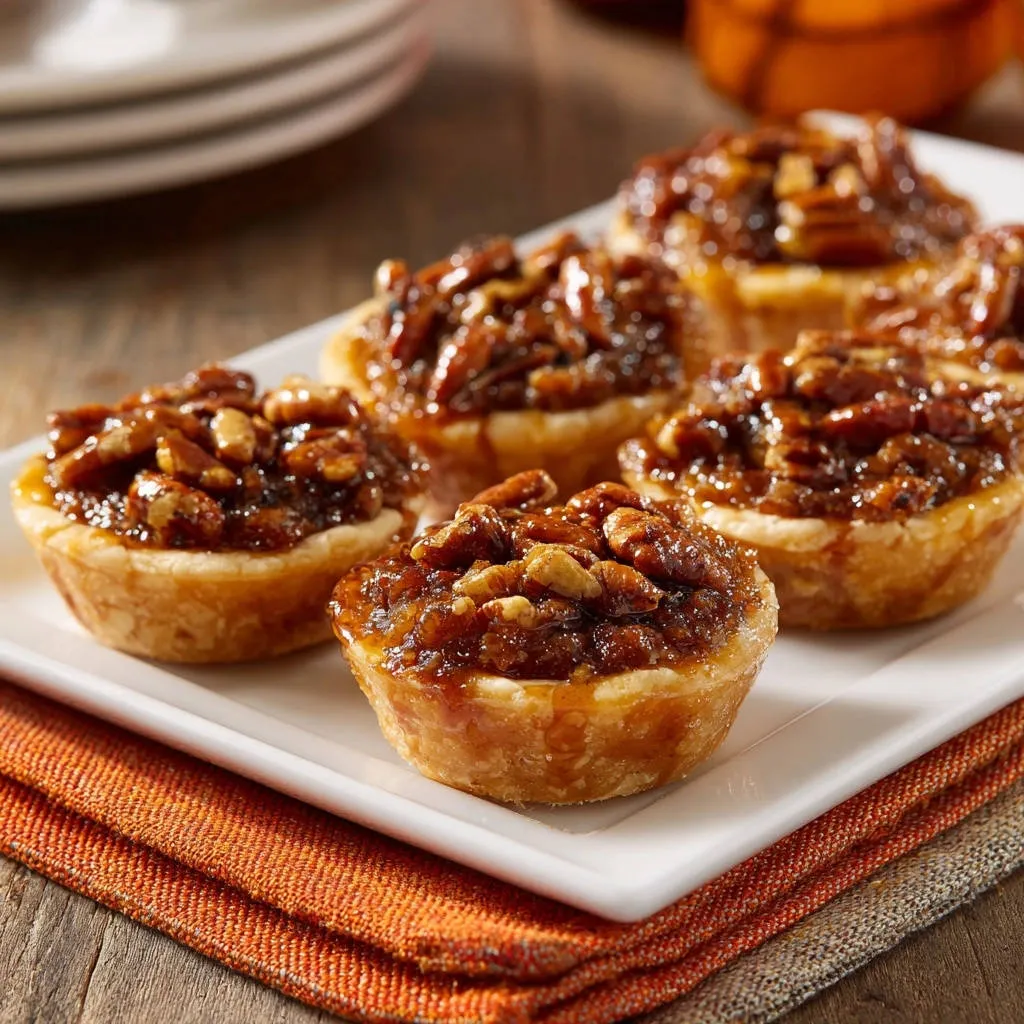
Their individual size makes these mini pecan tarts perfect for gatherings, holiday dessert tables, or a sophisticated afternoon tea.
They offer a charming, portion-controlled indulgence that’s easy to serve and even easier to enjoy.
Foolproof Method for Stunning Results Every Time
Every step in this guide is designed for clarity and success, even if you’re new to baking.
With careful instructions and key visual cues, you’ll consistently achieve bakery-quality results.
Essential Ingredients for Irresistible Mini Pecan Tarts
Quality ingredients are the cornerstone of any exceptional dessert. Understanding their role elevates your baking from good to extraordinary.
The Foundation: Crafting Your Flaky Crust
All-Purpose Flour: Provides the structure for your tender, flaky crust. Sifting ensures a lighter texture.
Salt: A small amount of salt in the crust balances the richness of the filling and enhances overall flavor.
Cold Unsalted Butter: This is crucial! Cold butter creates pockets of steam during baking, leading to an incredibly flaky texture. Cut it into small cubes for easier incorporation.
Ice Water: Keeping the dough cold is paramount. Ice water helps bind the dough without developing too much gluten, which would result in a tough crust.
The Heart: Mastering the Gooey Pecan Filling
Pecan Halves or Pieces: The star of the show! Use fresh pecans for the best flavor and crunch. Halves offer a more classic look, while pieces integrate more smoothly into the filling.
Large Eggs (Room Temperature): Eggs bind the filling, provide richness, and help with the set. Room temperature eggs emulsify better with other ingredients, ensuring a smooth custard.
Light Corn Syrup: The unsung hero for texture, corn syrup prevents sugar crystallization, contributing to that signature gooey, smooth filling that isn’t grainy. It also adds a subtle sweetness and sheen.
Packed Light Brown Sugar: Adds depth of flavor with its molasses notes, complementing the pecans beautifully. Packing it ensures accurate measurement.
Unsalted Butter (Melted and Cooled): Provides richness and contributes to the smooth texture of the filling. Cooling it prevents scrambling the eggs.
Vanilla Extract: Essential for rounding out the flavors, vanilla adds warmth and aromatic complexity to the sweet, nutty profile.
Salt: Just a pinch in the filling enhances all the sweet flavors, preventing the tarts from tasting one-dimensionally sugary.
Your Kitchen Arsenal: Tools for Perfect Mini Pecan Tarts
Having the right tools can make all the difference, simplifying the baking process and ensuring a successful outcome.
Must-Have Baking Equipment
Mini Muffin Tin: Essential for shaping your individual mini pecan tarts. A non-stick tin is highly recommended.
Large and Medium Mixing Bowls: For preparing the crust and the filling separately, ensuring proper mixing and minimal mess.
Whisk: Perfect for combining dry ingredients and achieving a smooth, well-emulsified filling.
Rolling Pin: For evenly rolling out your pie dough to the perfect thickness.
2 ½ to 3-inch Round Cookie Cutter: Ensures uniformly shaped crusts for a professional finish.
Helpful Gadgets for Precision
Pastry Blender or Fingertips: Ideal for cutting cold butter into flour, creating those crucial pea-sized pieces for flakiness.
Measuring Cups and Spoons: Accuracy in baking is key, so precise measurements are non-negotiable.
Wire Rack: Crucial for cooling the tarts completely, allowing air circulation to prevent soggy bottoms and ensure proper setting of the filling.
Your Detailed Guide: Baking Flawless Mini Pecan Tarts
Each step is crafted to guide you to success, with clear instructions and insights into the “why” behind each action.
Mastering the Flaky Crust
Start by preparing your crust: In a large bowl, whisk together the flour and salt. Add the cold, cubed butter and cut it in using a pastry blender or your fingertips. Work quickly until the mixture resembles coarse crumbs with some pea-sized pieces of butter still visible; these butter pieces are what create flakiness. Gradually add ice water, one tablespoon at a time, mixing just until the dough comes together. Avoid overmixing, as this develops gluten and can lead to a tough crust.
Form the dough into a disc, wrap it tightly in plastic, and refrigerate for at least 30 minutes. This chilling time allows the gluten to relax, makes the dough easier to roll, and keeps the butter solid, which is essential for flakiness.
Once chilled, lightly flour your work surface and roll out the dough to about 1/8-inch thickness. Use a 2 ½ to 3-inch round cookie cutter to cut out circles. Gently press each circle into the prepared mini muffin tin cups, ensuring they line the bottom and sides evenly. If the dough tears, simply patch it smoothly with your fingers.
Whipping Up the Luscious Filling
In a medium bowl, lightly whisk the room temperature eggs. Incorporate the light corn syrup, packed light brown sugar, cooled melted butter, vanilla extract, and a pinch of salt. Whisk everything until the mixture is completely smooth and well combined, ensuring no lumps of brown sugar remain. This careful whisking helps create a uniform custard that will set evenly.
Finally, stir in your pecan halves or pieces. Make sure they are evenly distributed throughout the filling, so every tart gets a good nutty bite.
The Crucial Bake: Achieving “The Jiggle Test” Perfection
Preheat your oven to 375°F (190°C). Lightly grease your mini muffin tin or line with paper liners if you prefer. This ensures easy removal and a clean presentation for your Mini Pecan Tarts.
Spoon the pecan filling evenly into each prepared crust in the muffin tin, filling them about two-thirds full. Be careful not to overfill, as the filling will puff slightly during baking.
Place the muffin tin in the preheated oven and bake for 18-22 minutes. Now for the secret to a perfect set: watch for the edges of the filling to be set and the crust to be golden brown. The very center of the filling should still have a slight, delicate jiggle when you gently shake the pan. This is your visual cue for a luscious, gooey texture. If the center is completely firm, it means it’s overbaked and will result in a dry filling.
The “jiggle test” works because the residual heat will continue to cook the center as the tarts cool, firming it up perfectly without drying it out. This ensures that delightful balance of set edges and a gooey middle. Remove the muffin tin from the oven and let the tarts cool in the tin for 10-15 minutes before carefully transferring them to a wire rack to cool completely. The filling will continue to set as it reaches room temperature. Serve once fully cooled for the best texture and structure.
Pro Tips & Tricks for Your Best Mini Pecan Tarts Yet
Elevate your baking with these expert insights, ensuring every batch of Mini Pecan Tarts is a masterpiece.
And for another delightfully soft bake, explore gooey cinnamon rolls made with tangzhong.
Dough Handling Secrets
Keep it Cold: Always use cold butter and ice water for your crust. If the dough gets too warm during rolling, pop it back into the fridge for 10-15 minutes.
Don’t Overwork: Mix the dough just until it comes together. Overmixing develops gluten, leading to a tough, less flaky crust.
Patching Tears: If your rolled-out dough tears when pressing into the muffin tin, simply pinch the edges together or press a small piece of excess dough over the tear. It’s forgiving!
Flavor Boosters & Variations
Citrus Zest: A teaspoon of finely grated orange or lemon zest in the filling can add a bright, zesty counterpoint to the sweetness. This works wonders, much like how a touch of citrus enhances a creamy orange crumble cheesecake.
Chocolate Chips: Stir in a handful of mini chocolate chips (dark or milk) with the pecans for an extra layer of decadence. They melt beautifully into the gooey filling.
Toasted Pecans: Lightly toast your pecans before adding them to the filling for an intensified, deeper nutty flavor.
Achieving Consistent Baking
Oven Thermometer: Invest in an oven thermometer to ensure your oven’s temperature is accurate. Many ovens run hot or cold, impacting baking times and results.
Rotate Trays: For even baking, rotate your muffin tin halfway through the baking time. This helps prevent some tarts from browning faster than others.
Cool Completely: Resist the urge to cut into them hot! The filling needs time to fully set and firm up as it cools, ensuring that perfect texture.
Solving Pecan Tart Woes: Common Problems & Quick Fixes
Even seasoned bakers encounter challenges. Here’s how to troubleshoot common Mini Pecan Tart issues like an expert.
Runny Filling Solutions
If your filling doesn’t seem to be setting, it likely needs more time in the oven. Return the tarts to the oven for 3-5 minute intervals, checking for the “delicate jiggle” in the center each time. Ensure your oven temperature is accurate with an oven thermometer.
Another reason for a runny filling could be under-measurement of eggs or corn syrup, which are critical for structure. Always measure precisely!
Crust Concerns: Too Hard or Crumbly
A hard crust usually indicates overworking the dough, which develops too much gluten. Ensure you mix just until the dough comes together and no more. A crumbly crust might mean it’s too dry; next time, add ice water one tablespoon at a time until the dough just holds its shape, but is not sticky.
For doughs, maintaining the right consistency is key. Similar principles apply when making fluffy homemade cinnamon rolls, where tender dough is paramount.
Pecans Sinking to the Bottom
To prevent pecans from sinking, try lightly dusting them with a teaspoon of flour before stirring them into the filling. The flour helps create a slight barrier, allowing them to suspend more evenly.
Alternatively, fill the tart shells two-thirds full with filling, then gently place the pecan halves on top, arranging them artfully before baking.
Enjoying Your Mini Pecan Tarts: From Plate to Pantry
These delightful treats are versatile and store beautifully, making them perfect for planned indulgence or spontaneous cravings.
What to Pair with Your Pecan Tarts
Enjoy more nutty sweetness with these complementary recipes.
- For a breakfast treat that echoes the warm spice notes, consider these fluffy pumpkin spice pancakes.
- If you adore the rich, gooey texture of your tarts, you’ll want to try this gooey layered pecan bake for another satisfying dessert.
Elegant Serving Suggestions
Serve your mini pecan tarts slightly warm with a scoop of vanilla bean ice cream or a dollop of freshly whipped cream. A light dusting of powdered sugar adds a refined touch.
They also pair wonderfully with a strong cup of coffee or a comforting spiced tea, making them ideal for an after-dinner treat or a special brunch spread.
Optimal Storage for Freshness
Store cooled mini pecan tarts in an airtight container at room temperature for up to 2-3 days. For longer freshness, refrigerate for up to a week.
Always ensure they are completely cool before storing to prevent condensation, which can make the crust soggy.
Can You Make Them Ahead?
Absolutely! The pie crust dough can be made up to 2 days in advance and stored in the refrigerator, or frozen for up to 3 months. Thaw frozen dough in the refrigerator overnight.
Baked Mini Pecan Tarts freeze exceptionally well. Arrange cooled tarts in a single layer on a baking sheet and freeze until solid. Transfer them to an airtight freezer bag or container and freeze for up to 1-2 months. Thaw at room temperature or gently warm in a low oven.
Your Questions Answered: FAQs About Mini Pecan Tarts
We’ve gathered the most common questions to ensure you feel confident and prepared for your baking adventure.
Can I use pre-made pie crust?
Yes, you can absolutely use pre-made pie crust dough for these mini pecan tarts! It’s a great time-saver. Simply roll it out according to package directions and cut with your cookie cutter. Be aware that the flavor and flakiness might differ slightly from a homemade crust.
What if I don’t have corn syrup?
While light corn syrup is highly recommended for its anti-crystallization properties and unique gooey texture, you can substitute with pure maple syrup or golden syrup. Be aware that these substitutions will impart their own distinct flavor and may result in a slightly different texture than the classic pecan tart filling.
How do I prevent the crust from shrinking?
Several factors contribute to crust shrinkage. Ensure your dough is properly chilled for at least 30 minutes, which helps the butter stay firm and the gluten relax. Avoid overworking the dough, as excess gluten development can cause shrinkage. Lastly, gently pressing the dough firmly into the muffin tin cups (without stretching) helps it hold its shape.
Are these freezer-friendly?
Yes, mini pecan tarts are wonderfully freezer-friendly! Once completely cooled, place them in a single layer on a baking sheet and freeze until firm. Then transfer them to an airtight freezer-safe container or bag. They will keep well for up to 1-2 months. Thaw them in the refrigerator overnight or at room temperature, or warm gently in a low oven for a fresh-baked feel.
Ready to Bake? Share Your Mini Pecan Tarts Masterpiece!
There’s immense satisfaction in creating something delicious with your own hands, especially when it turns out perfectly. These Mini Pecan Tarts are more than just a dessert; they are a delightful testament to thoughtful baking and a truly irresistible treat.
I encourage you to embrace the “jiggle test” and enjoy the process of bringing these miniature wonders to life. Don’t forget to tag me in your creations – I can’t wait to see your perfectly gooey, never-runny Mini Pecan Tarts!
Pecan Tarts
Course: DessertCuisine: AmericanDifficulty: medium24
mini tarts1
hour20
minutes20
minutes40
kcal120
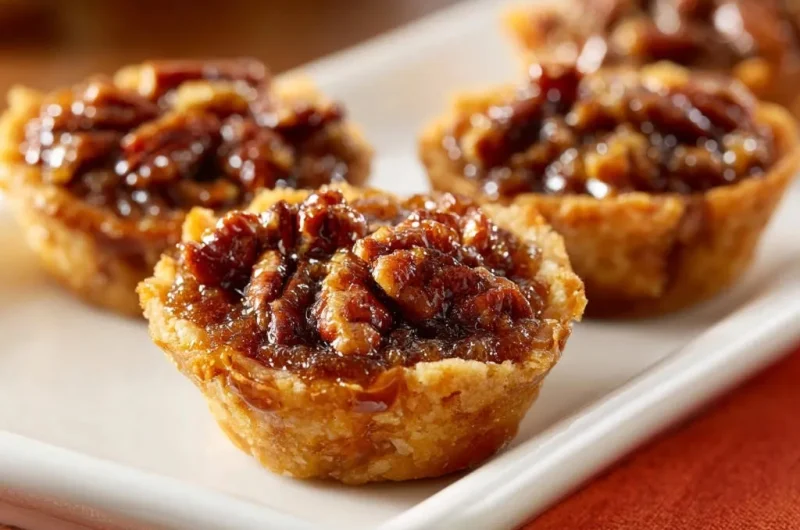
minutesDiscover the secret to perfectly set, slightly gooey Mini Pecan Tarts. This recipe ensures a luscious filling that holds its shape, eliminating frustrating runny messes. Enjoy these delightful bite-sized desserts every time.
Ingredients
For the Crust:
1 1/4 cups all-purpose flour
1/2 teaspoon salt
1/2 cup cold unsalted butter, cut into small cubes
3-4 tablespoons ice water
For the Filling:
1 1/2 cups pecan halves or pieces
2 large eggs, at room temperature
1/2 cup light corn syrup
1/2 cup packed light brown sugar
1/4 cup unsalted butter, melted and cooled
1 teaspoon vanilla extract
1/4 teaspoon salt
Directions
- Prepare the Crust: In a large bowl, whisk together the flour and salt. Cut in the cold butter with a pastry blender or your fingertips until the mixture resembles coarse crumbs with some pea-sized pieces of butter remaining. Gradually add ice water, one tablespoon at a time, mixing until the dough just comes together. Do not overmix. Form into a disc, wrap in plastic, and refrigerate for at least 30 minutes.
- Preheat Oven & Prepare Muffin Tin: Preheat your oven to 375°F (190°C). Lightly grease a mini muffin tin or line with paper liners if preferred.
- Roll and Cut Dough: On a lightly floured surface, roll out the chilled dough to about 1/8-inch thickness. Using a 2 1/2 to 3-inch round cookie cutter, cut out circles. Gently press each circle into the prepared muffin tin cups, shaping them to fit the bottom and sides.
- Prepare the Filling: In a medium bowl, whisk together the eggs until lightly beaten. Add the light corn syrup, brown sugar, melted butter, vanilla extract, and salt. Whisk until well combined and smooth. Stir in the pecan halves or pieces.
- Fill the Tarts: Spoon the pecan filling evenly into each prepared crust in the muffin tin, filling them about two-thirds full.
- Bake with Precision for a Perfect Set: Place the muffin tin in the preheated oven. Bake for 18-22 minutes. The secret to a perfectly set filling is to watch for the edges of the filling to be set and the crust to be golden brown, but the very center of the filling should still have a slight, delicate jiggle when you gently shake the pan. This indicates a luscious, gooey texture that will firm up beautifully as it cools without becoming hard or runny. If you bake until completely firm, it risks being dry.
- Cool Completely: Remove the muffin tin from the oven and let the tarts cool in the tin for 10-15 minutes before carefully transferring them to a wire rack to cool completely. The filling will continue to set as it cools. Serve once fully cooled for the best texture.
Notes
- The key to a perfectly set filling is removing the tarts when the center still has a slight jiggle; it will firm up beautifully as it cools.