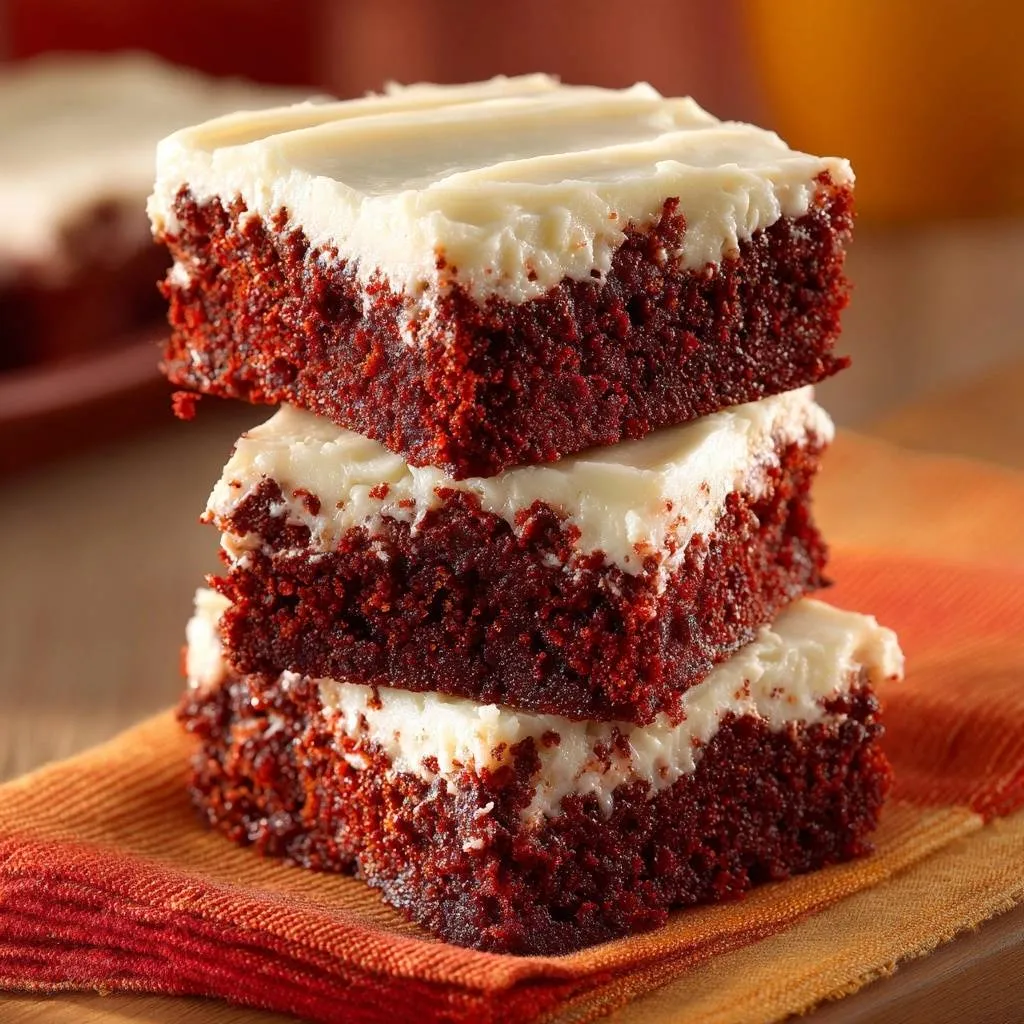
Why Red Velvet Cake Bars Stay Ultra-Tender
Ever bitten into a red velvet cake that’s dry as cardboard? Most recipes fail because they rely on butter, which solidifies and sucks moisture right out during baking. These red velvet cake bars fix that with oil and buttermilk for a tender, bakery-style crumb that stays lush for days.
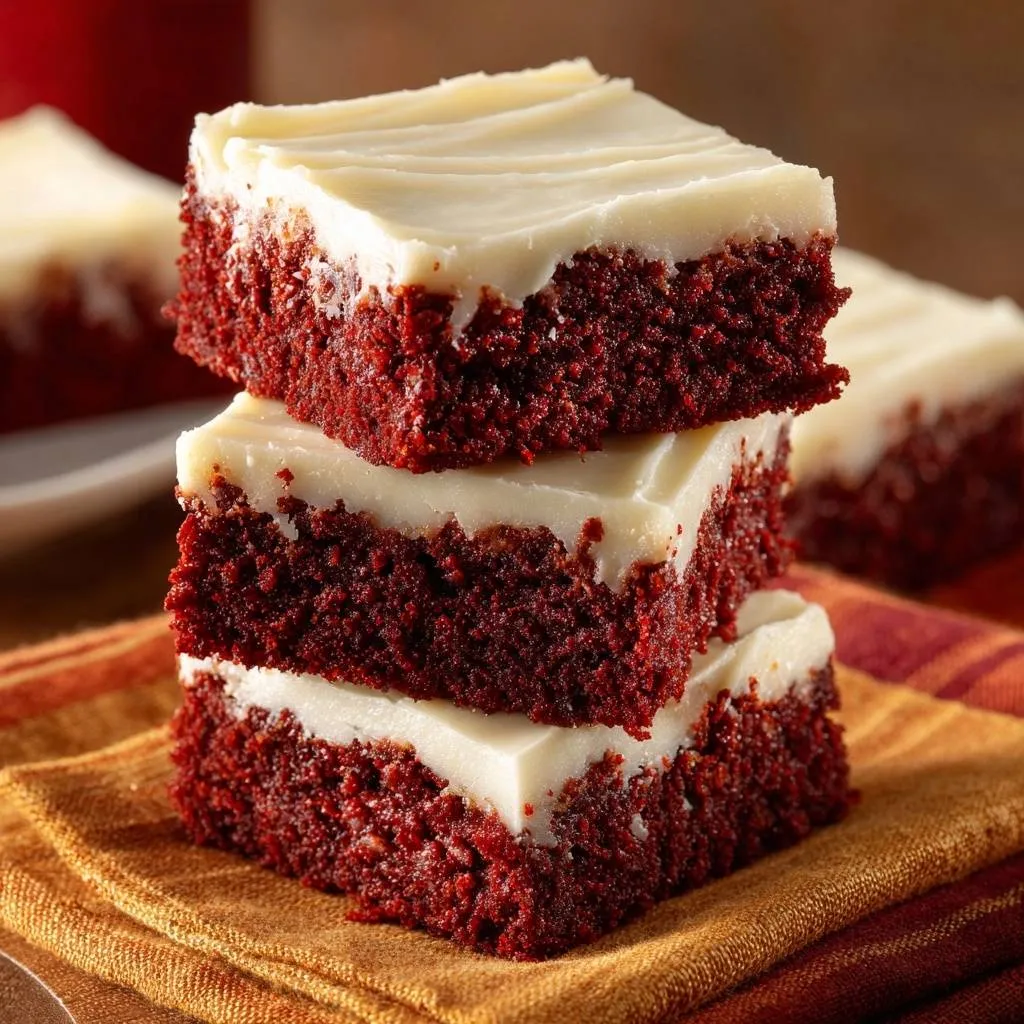
That’s why this version shines. Oil keeps everything liquid and moist, while buttermilk tenderizes the batter with its acidity. Plus, born from Southern roots where red velvet meant celebration, these bars make sharing easy, no slicing drama.
The real secret? Gentle mixing, just 50 strokes max. It prevents tough gluten from forming, so you get that soft, stackable texture every time. You’ll crave stacking these vibrant squares high.
For a truly perfect crumb, consider engineering the three-layer carrot cake with attention to every flour detail.
Essential Ingredients for Moist Red Velvet Cake Bars
Start with 2 1/2 cups all-purpose flour. It gives structure without heaviness, unlike cake flour that can make bars too fragile. In addition, 1 1/2 cups granulated sugar sweetens evenly and helps with browning.
Two tablespoons unsweetened cocoa powder adds authentic red velvet hue and subtle chocolate depth. Don’t skip it; more muddies the flavor. Then, 1 teaspoon baking soda and salt balance the rise and taste.
For the wet side, 2 large eggs bind everything. However, 1 1/2 cups vegetable oil is your moisture hero, staying liquid post-bake. One cup buttermilk brings tang and tenderness, 2 teaspoons vanilla flavor, 1 teaspoon white vinegar activates lift, and 1 ounce red food coloring delivers that pop.
Cream cheese frosting needs 8 ounces softened cream cheese, 1/2 cup unsalted butter, 4 cups powdered sugar, and 1 teaspoon vanilla. Freshly softened versions whip fluffier.
For a similar creamy filling experience, check out these red velvet cheesecake cookies.
Oil and Buttermilk: Moisture-Locking Duo
Oil coats flour proteins and never hardens like butter, so your red velvet cake bars stay ultra-moist. Buttermilk’s acidity breaks down gluten for tenderness. Use full-fat for best results; substitute full-fat yogurt or milk plus lemon juice if needed.
Cocoa Powder and Red Food Coloring Balance
Two tablespoons cocoa gives true red velvet color and mild chocolate without overpowering sweetness. Gel food coloring, about 2 tablespoons, packs vibrant red punch without watery batter or bitterness from liquid types.
Science of Red Velvet Cake Bars Tenderness
Vinegar reacts with baking soda to release CO2 bubbles, creating lift for light texture. Buttermilk lowers pH, tenderizing further. Therefore, you avoid dense, dry results from traditional butter recipes.
Gentle mixing keeps gluten dormant, ensuring soft crumb. Overmixing activates it, toughening everything. In addition, oil’s fat molecules trap moisture through baking and beyond.
Gentle Mixing to Prevent Gluten Formation
Stir wet into dry with a spatula, max 50 strokes until no flour streaks show. Overmixing builds gluten networks that toughen bars. Stop when batter looks smooth but thick; it’ll bake tender.
Oil’s Role in Ultimate Moisture Retention
Oil stays liquid, coating starches to lock in water molecules. Butter crystallizes and releases moisture when heated. That’s why these red velvet cake bars taste fresh days later.
Equipment Choices for Perfect Red Velvet Cake Bars
A 9×13-inch pan bakes even layers for ideal bar thickness. Line with parchment overhanging sides for clean lifts and cuts. In addition, a wire rack cools evenly, preventing soggy bottoms.
Preheat to 350°F for steady rise without drying edges. Use a hand mixer for frosting; it creams butter and cream cheese fluffier than a spoon. Whisk dry ingredients in a big bowl for lump-free start.
9×13 Pan and Parchment Precision
9×13 dimensions yield 16 stackable bars with perfect chew. Parchment prevents sticking and eases removal for sharp edges. Grease first for grip.
Step-by-Step: Building Moist Red Velvet Cake Bars
Phase 1: Dry Ingredients Uniform Blend
Whisk flour, sugar, cocoa, baking soda, and salt in a large bowl. Whisk vigorously 30 seconds until airy and lump-free. Even distribution means no bitter cocoa pockets.
Phase 2: Wet Mix Smooth Incorporation
Beat eggs, oil, buttermilk, vanilla, vinegar, and food coloring until uniform and silky, about 1 minute. Vinegar fizzes slightly with soda later for lift. No streaks here sets up vibrant color.
Phase 3: Gentle Combine and Pan Pour
Pour wet into dry. Fold gently with spatula, 50 strokes max until just combined. Smooth batter evenly in greased, parchment-lined 9×13 pan.
Phase 4: Bake Timing and Toothpick Test
Bake at 350°F for 22-25 minutes. Toothpick should show moist crumbs, not batter. Check at 22 to dodge dry edges; rotate if oven hotspots exist.
Phase 5: Cooling and Cream Cheese Frosting Whip
Cool in pan on wire rack 1 hour until firm. Beat cream cheese and butter creamy, add powdered sugar and vanilla gradually until fluffy. Spread thick over top, then chill briefly before cutting.
Avoiding Dry Red Velvet Cake Bars Pitfalls
Overmixing creates tough bars; stick to 50 strokes. Overbaking dries them out, so toothpick-test early. Skipping vinegar flattens rise; always include it.
Packing flour too tight adds density. Spoon and level for accuracy. Therefore, measure precisely to nail moisture every time.
Overmixing and Overbaking Fixes
Batter looks stringy if overmixed; toss and start fresh next time. Bars pull from edges but center’s gummy? You’ve overbaked; slice outer moist parts. Prevent with timer alarms.
Flavor Twists on Red Velvet Cake Bars
Swap vegetable oil for coconut oil for subtle tropical vibe that complements cream cheese. Almond extract instead of vanilla adds nutty warmth without overpowering red velvet charm.
Fold in white chocolate chips for melty pockets. For frosting, blend in raspberry puree for tangy fruit lift. These keep the classic moist while personalizing.
Extract and Add-In Customizations
Almond extract heightens elegance; use 1 teaspoon. Coconut oil brings beachy hint, solidifies less. Add 1/2 cup mini chocolate chips for gooey surprises in every bite.
Pairing Sides with Red Velvet Cake Bars
Coffee cuts the sweetness perfectly, hot or iced. Cold milk balances richness too. In addition, fresh strawberries add juicy contrast.
Serve nut brittle for crunch against soft bars. Stack squares high on a platter for parties; guests grab easy bites. Pairs great with fruit platters.
More Great Things to Make
Since you’ve mastered these red velvet cake bars, consider these other satisfying recipes.
- For a hearty start to your day, try this Loaded Sausage Gravy Tater Tot Bowl, which uses similar comfort food elements.
- If you enjoyed the rich flavors of the cake bars, this Cheesy Ham Croissant Bake offers a different kind of satisfying, layered goodness.
Storage Guide for Lasting Red Velvet Cake Bars
Store frosted bars in an airtight container in the fridge up to 5 days. They stay moist thanks to oil. For freezing, wrap unfrosted bars tightly in plastic, then foil; freeze up to 2 months.
Frost after thawing overnight in fridge. Make batter ahead, bake same day for peak tenderness. Thaw at room temp 30 minutes before serving.
Troubleshooting Red Velvet Cake Bars Issues
Batter Color and Texture Fixes
Batter Color and Texture Fixes
Why isn’t my batter red enough? Gel coloring is potent; start with 1 ounce and add more. Liquid needs double, but dilutes batter. Mix thoroughly for even hue.
Why are bars dense? Forgot vinegar? It sparks the rise. Measure baking soda accurately too; old stuff fizzles weakly.
Frosting Consistency Solutions
Why is frosting runny? Ingredients weren’t softened enough; beat longer or chill 15 minutes to firm. Too much sugar fixes fast.
Why does color fade after baking? Overbaking bleaches it; pull at moist crumb stage. Store away from light to preserve vibrancy.
Why do bars sink in middle? Underbaked center collapses on cooling. Test multiple spots; bake longer if wet batter clings.
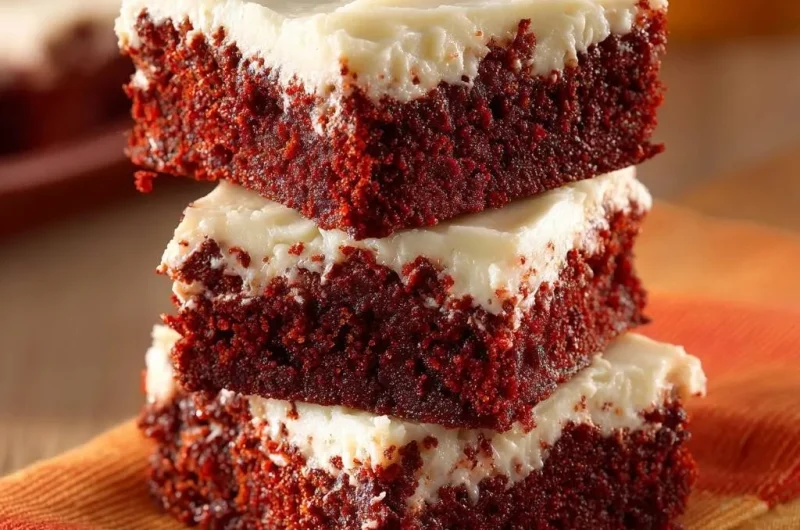
Red Velvet Cake Bars
Course: DessertCuisine: AmericanDifficulty: easy16
bars20
minutes25
minutes450
kcal60
MinutesDry red velvet cake is a total buzzkill, but our foolproof moisture-lock technique using oil, buttermilk, and precise mixing delivers ultra-tender, bakery-style crumb every single time. Perfect for stacking and sharing!
Ingredients
2 1/2 cups all-purpose flour
1 1/2 cups granulated sugar
2 tablespoons unsweetened cocoa powder
1 teaspoon baking soda
1 teaspoon salt
2 large eggs
1 1/2 cups vegetable oil
1 cup buttermilk
2 teaspoons vanilla extract
1 teaspoon white vinegar
1 ounce red food coloring (or 2 tablespoons gel)
Cream Cheese Frosting:
8 ounces cream cheese, softened
1/2 cup unsalted butter, softened
4 cups powdered sugar
1 teaspoon vanilla extract
Directions
- Preheat oven to 350 degrees F. Grease a 9×13-inch baking pan and line with parchment paper for easy release.
- In a large bowl, whisk together flour, sugar, cocoa powder, baking soda, and salt. Set aside. This dry mix base ensures even distribution without toughness.
- In another bowl, beat eggs, vegetable oil, buttermilk, vanilla, vinegar, and red food coloring until smooth. Oil is the star here: it stays liquid for unbeatable moisture retention, unlike butter that can dry out during baking.
- Pour wet ingredients into dry. Stir gently with a spatula just until combined, about 50 strokes max. Overmixing develops gluten and dries out the cake, so stop when no flour streaks remain. This precise gentle mix locks in tenderness.
- Pour batter into prepared pan. Bake 22 to 25 minutes until a toothpick inserted in center comes out with moist crumbs, not wet batter. Overbaking dries it out, so check early. Cool completely in pan on wire rack, about 1 hour.
- For frosting, beat cream cheese and butter until creamy. Gradually add powdered sugar and vanilla, beating until fluffy and spreadable.
- Spread frosting evenly over cooled cake. Cut into 16 squares. Stack for that wow-factor presentation. Store in fridge up to 5 days. Enjoy the moistest red velvet ever!
Notes
- Oil ensures unbeatable moisture retention. Stir batter gently just until combined (50 strokes max) to avoid toughness. Check early to prevent overbaking. Store in fridge up to 5 days.