If you’ve ever tried to make warm caramelized bananas and ended up with brown, sticky sludge instead of firm, glossy slices, you know the frustration. This specialized technique for making Skillet Caramelized Bananas relies on a unique high-heat sear that instantly locks the shape and prevents the dreaded collapse.
I’m sharing the secret to achieving those perfect, deeply caramelized edges every single time, guaranteeing success even for the novice cook.
Why Most Caramelized Bananas Fail (And How This Recipe Succeeds)
The Dreaded “Sludge” Effect: Common Pitfalls
The primary culprit behind mushy bananas is internal moisture mixing with low-temperature sugar. If the pan isn’t hot enough, the fruit begins to steam and release liquid instead of searing.
Using bananas that are slightly too ripe or spotted also exacerbates this issue, as softer fruit breaks down immediately under any applied heat.
The Crucial Difference: High-Heat Sear and Setting the Crust
Our method focuses on the rapid formation of a hard caramel shell around the banana slice.
Preheating the pan to medium-high heat allows the brown sugar to almost instantly transform into a vigorous caramel base. When the firm banana slices hit this hot surface, the exterior moisture cooks off immediately, and the sugars adhere, setting the shape before the interior can break down.
The Foundation of Flavor: Essential Ingredients & Crucial Prep
Selecting the Perfect Bananas: The Firmness Rule
The success of this technique hinges entirely on ingredient selection. Choose bright yellow bananas that are noticeably firm to the touch, free from brown spots.
Overripe, softer bananas contain higher natural sugar and moisture, causing them to collapse and turn to paste before the caramel has a chance to set their structural integrity.
Achieving Deep Caramelization: Butter and Dark Brown Sugar
We prefer dark brown sugar over light brown or white granulated sugar because the higher molasses content provides a richer, deeper, and more complex caramel flavor.
Unsalted butter forms the necessary emulsified base with the sugar, ensuring the caramel coats the pan evenly and begins the process of melting efficiently.
Flavor Enhancers: Cinnamon and Coconut
A small addition of ground cinnamon imparts a cozy warmth that perfectly complements the rich flavor of the dark brown sugar caramel.
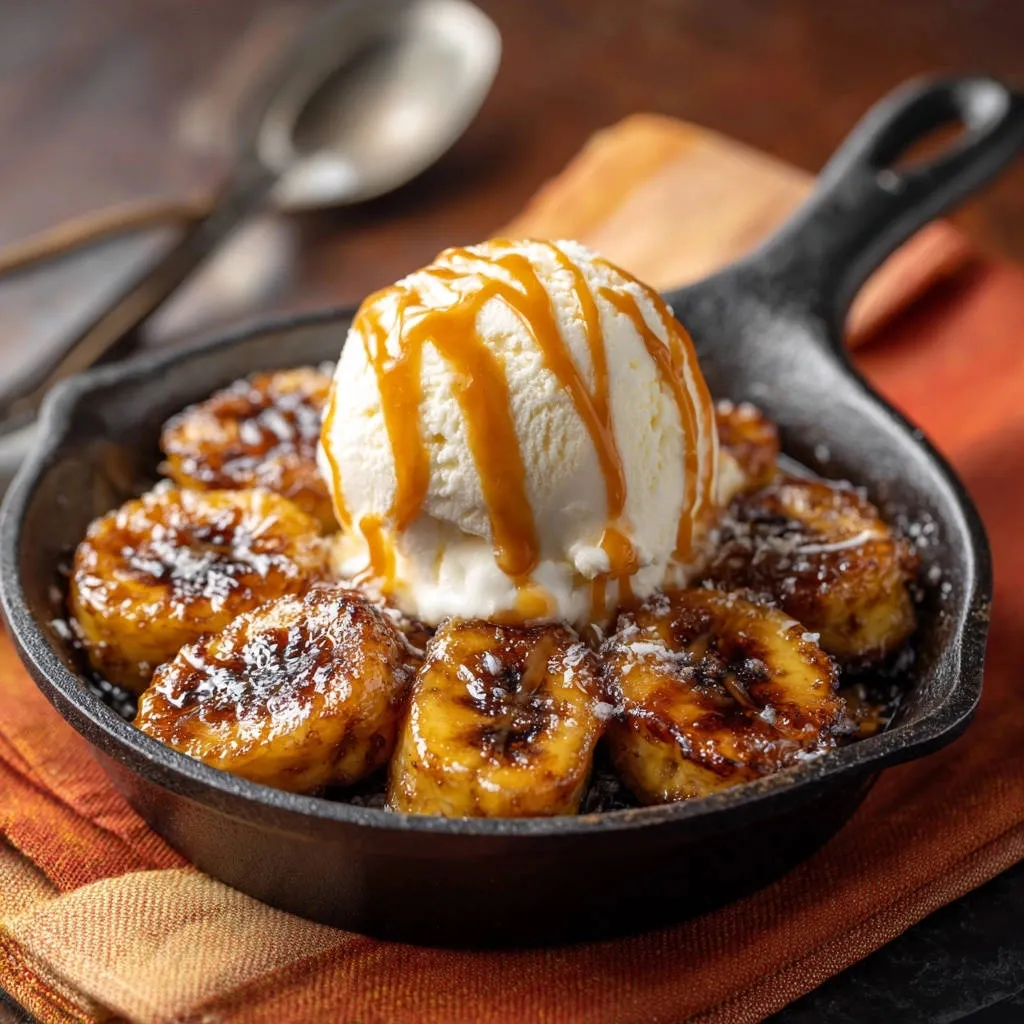
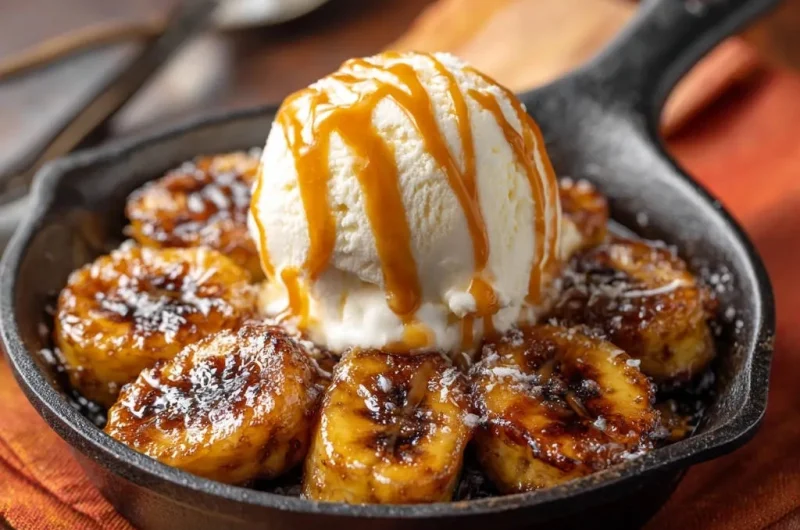
Shredded sweetened coconut adds a fantastic textural contrast and tropical note, which is especially satisfying when paired with cool vanilla ice cream.
Choosing Your Weapon: The Ideal Skillet for Caramelization
Why a Small Cast Iron Skillet is Non-Negotiable
Cast iron is the ideal cooking surface for Skillet Caramelized Bananas because of its superior heat retention and even distribution.
A small, sturdy skillet (6 to 8 inches) concentrates the heat, preventing cold spots and ensuring every banana slice achieves that deep, hard sear simultaneously.
Essential Tools for Precision Flipping
Using the right tools prevents unnecessary damage when handling the delicate, caramelized fruit.
- Thin Offset Spatula: Necessary for gently sliding under the set crust for a clean release without tearing the banana.
- Sharp Paring Knife: Ensures uniform, clean cuts of the 3/4-inch rounds, promoting even cooking.
- Heat-Proof Tongs: Useful for precise placement and rearrangement if needed, though minimal movement is best.
Mastering the Skillet Caramelized Bananas: Step-by-Step Method
-
Preparation is Key: Slice to Consistency:
Slice the firm bananas into uniform rounds, targeting approximately 3/4 inch thickness. Consistent slicing is paramount to ensure that every piece cooks at the exact same rate and caramelizes uniformly during the brief searing process.
-
The Crucial Preheat: Establishing High Heat:
Place your sturdy skillet over medium-high heat and allow it to preheat empty for a full two minutes until visibly hot. This foundational step is absolutely critical; if the pan is cold, you will boil the bananas instead of searing them.
-
Establishing the Caramel Base: Melting and Bubbling:
Add the butter to the hot skillet, allowing it to melt completely and immediately start bubbling. Sprinkle the brown sugar and cinnamon evenly over the butter.
Let the mixture cook undisturbed for 30 to 45 seconds, watching until the sugar starts to dissolve, bubble vigorously, and form a quick, glossy caramel base. Do not let it cook so long that it burns or darkens past a deep amber.
-
The Non-Mush Technique: Arranging and Reducing Heat:
Immediately and swiftly arrange the prepared banana slices in a single layer across the hot caramel base. Crucially, ensure there is absolutely no overlap between slices, as this traps moisture.
As soon as the bananas are placed, slightly reduce the heat to medium. This prevents the delicate sugar base from burning while the bananas sear.
-
The Undisturbed Sear: Setting the Crust:
Allow the bananas to cook completely undisturbed for 2 to 3 minutes. Resist the temptation to move or nudge them.
This time allows the surface moisture to cook off entirely, enabling the sugars to adhere firmly and form that hard, structurally sound caramelized crust necessary to lock in the shape.
-
The Careful Flip: Releasing the Gold:
After the sear time is complete, use a thin, offset spatula to flip each slice carefully, one by one.
The slices should release easily and exhibit a deep golden-brown, glossy crust. If they stick, let them cook for another 30 seconds before attempting the flip again.
-
Finishing the Cook and Immediate Removal:
Cook the second side for a shorter duration-only 1 to 2 minutes-until caramelized. The second side sets much faster than the first.
Remove the skillet from the heat immediately. This step stops the cooking process and prevents the rich caramel sauce from seizing up or hardening as it cools.
Chef’s Secrets: Elevate Your Skillet Caramelized Bananas Game
Preventing Sticky Situations: Why You Can’t Rush the Flip
If a banana slice resists the spatula, do not force it. Sticking means the sugar has not fully solidified into the crust yet.
Give the slice an extra 30 to 45 seconds; once the crust is fully set and firm, it will naturally release from the pan cleanly.
Achieving the Deepest, Non-Bitter Caramel Color
Keep a close eye on the heat. Caramel should deepen to a rich amber or dark golden brown, but if you see smoke or smell a burnt aroma, the pan is too hot.
Dark caramelization provides intense flavor, but pushing it too far will result in bitter notes. Adjust the heat down quickly if necessary.
Substitutions: Alternative Sweeteners (Maple or Honey)
If substituting dark brown sugar with a liquid sweetener like maple syrup, use slightly less, as it is sweeter, and be prepared for a slightly different texture.
Liquid sugar requires a longer reduction time before adding the bananas to ensure sufficient thickness, otherwise, the resulting sauce will be thin.
Flavor Boost: A Splash of Liquor (Rum or Bourbon)
For an incredible depth of flavor, deglaze the skillet with one tablespoon of dark rum or bourbon immediately after removing the bananas from the heat.
Let the residual heat burn off the alcohol for about 15 seconds, thickening the sauce slightly, and then serve immediately.
Troubleshooting Common Challenges
Problem: The Bananas Turned Out Mushy Despite the Firmness Rule
This almost always indicates a temperature failure at Step 3 or 4. You likely added the fruit before the caramel base was vigorous, hot, and established.
The heat might also have been reduced too quickly or too low, causing the pan to drop below searing temperature and enabling the bananas to steam rather than caramelize.
Problem: The Caramel Base Hardened Immediately After Removal
Caramel hardens rapidly when it is cooked past the desired temperature or if it is held in a heavy, hot pan like cast iron for too long after the heat is off.
Ensure you serve the bananas and accompanying sauce immediately while the skillet is still sizzling hot to maintain the perfect glossy, liquid consistency.
Beyond Vanilla: Creative Ways to Serve Your Caramelized Treat
Perfect Pairings: Dessert Combinations
While vanilla ice cream is classic, elevate the dish with complementary flavors such as salted caramel gelato, spiced chai ice cream, or rich coffee flavor.
Try serving the Skillet Caramelized Bananas alongside crumbled Biscoff cookies, a sprinkle of sea salt flakes, or shaved dark chocolate for textural complexity.
Breakfast & Brunch Ideas: Elevating Your Morning
These caramelized treats transform simple morning fare into an indulgent breakfast experience.
They are phenomenal as a decadent topping for thick-cut French toast, stacks of buttermilk pancakes, or swirled into warm coconut yogurt or hearty oatmeal.
Make-Ahead, Storage, and Reheating Guidance
Storage: Keeping Leftovers Fresh
Store any leftover cooked bananas in an airtight container within the refrigerator. They typically retain their flavor and structural integrity for two to three days.
Reheating Without Losing the Crust
Do not reheat the bananas in the microwave, as this reintroduces moisture and instantly turns the crust soft and mushy.
The best method is to gently warm them back up in a dry, preheated skillet over medium-low heat for 60 seconds, or spread them on a baking sheet and heat briefly in a 300°F oven.
Quick Answers: Frequently Asked Questions
Can I use a non-stick pan instead of cast iron?
It is possible, but a non-stick pan typically lacks the necessary mass to hold the high, consistent heat required for the quick sear and crust formation.
If you must use non-stick, ensure you preheat the pan fully, but watch the sugar carefully as non-stick pans can develop unpredictable hot spots.
Is this recipe suitable for dietary restrictions (vegan, gluten-free)?
This recipe is naturally gluten-free and can be easily made vegan by substituting the unsalted dairy butter with a high-quality plant-based butter substitute.
How do I know when the caramel is ready for the bananas?
The caramel is ready when the sugar is fully dissolved into the melted butter, bubbling vigorously across the surface, and beginning to darken slightly to a rich amber color around the edges of the skillet.
Ready to Impress? Share Your Skillet Caramelized Bananas Masterpiece!
The secret to perfect, non-mushy Skillet Caramelized Bananas is now yours-it’s all about heat and speed.
Stop settling for soggy fruit and start creating dessert magic in minutes. Apply this expert technique tonight, pair it with your favorite ice cream, and share your masterpiece!
Skillet Caramelized Bananas
Course: DessertCuisine: International CuisineDifficulty: easy2
servings5
minutes10
minutes15
minutesInternational Cuisine
Ingredients
2 medium bananas (Crucial: They must be firm and bright yellow, not spotted or overripe)
1 tablespoon unsalted butter
2 tablespoons dark brown sugar (packed)
1/4 teaspoon ground cinnamon (optional, for flavor depth)
1/4 cup shredded sweetened coconut (optional topping)
2 scoops vanilla bean ice cream
2 tablespoons caramel sauce
Directions
- Preparation is Key: Slice the firm bananas into rounds approximately 3/4 inch thick. Set aside.
- Heat the Pan: Place a small 6-inch cast iron skillet or a comparable small, sturdy skillet over medium-high heat. Allow the pan to preheat for 2 minutes until it is hot. This high heat is essential for the crust development.
- Establish the Base: Add the butter to the hot skillet. As soon as the butter is completely melted and bubbling, sprinkle the brown sugar and cinnamon (if using) evenly over the butter. Let the sugar melt for 30 to 45 seconds until it starts to bubble vigorously and form a quick caramel base.
- The Non-Mush Technique: Immediately arrange the banana slices in a single layer in the hot sugar mixture. Do not overlap them. Reduce the heat slightly to medium.
- Sear and Set: Let the bananas cook undisturbed for 2 to 3 minutes. Do not move or touch them. This allows the moisture to cook off and the sugars to adhere and form a firm, dark, caramelized crust, locking in the shape.
- Flip Carefully: After the time has passed, use a thin, offset spatula to flip the slices carefully, one by one. They should release easily and have a deep golden-brown crust.
- Finish Cooking: Cook the second side for another 1 to 2 minutes until caramelized. Remove the skillet from the heat immediately.
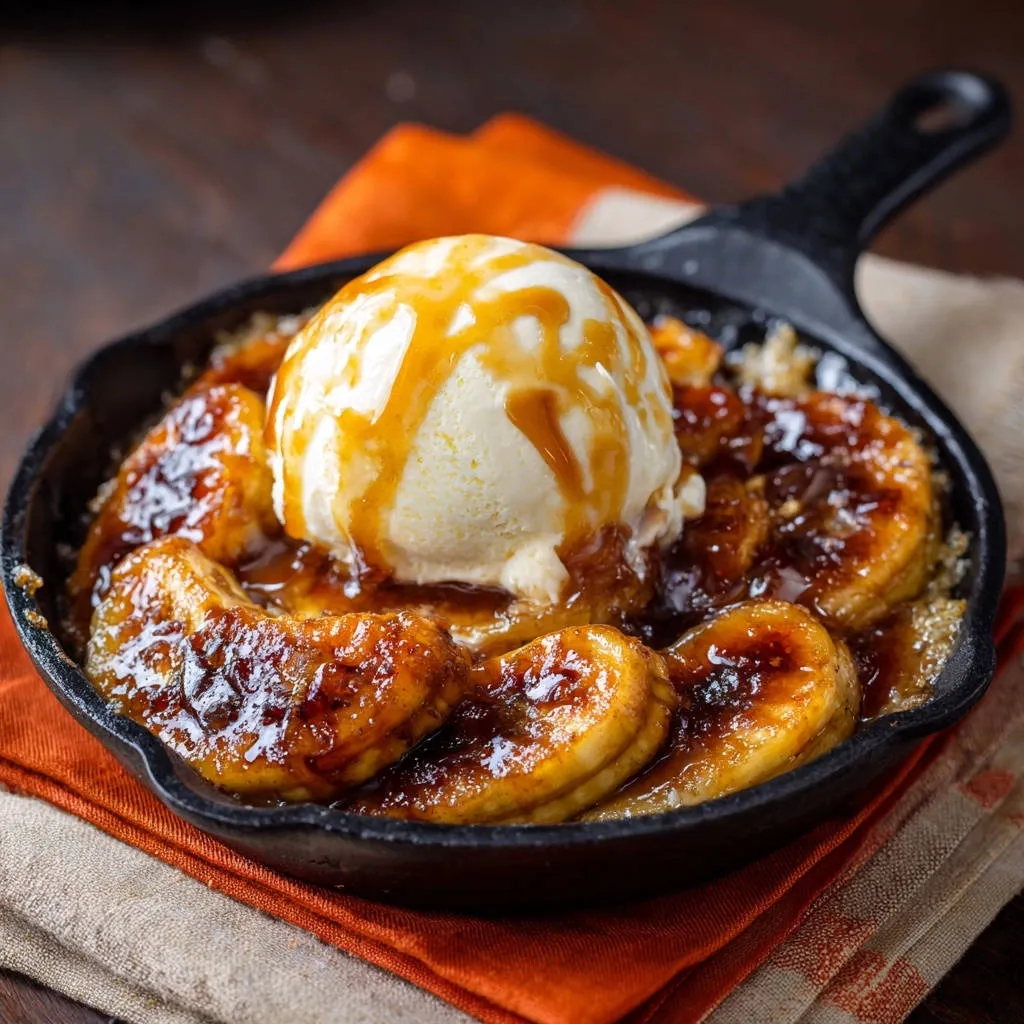
- Serve: Quickly sprinkle the bananas with shredded coconut, place a large scoop of vanilla ice cream right in the center, and drizzle generously with caramel sauce. Serve immediately while the bananas are sizzling hot.
Notes
- Bananas must be firm and bright yellow, not spotted or overripe, for best results.