
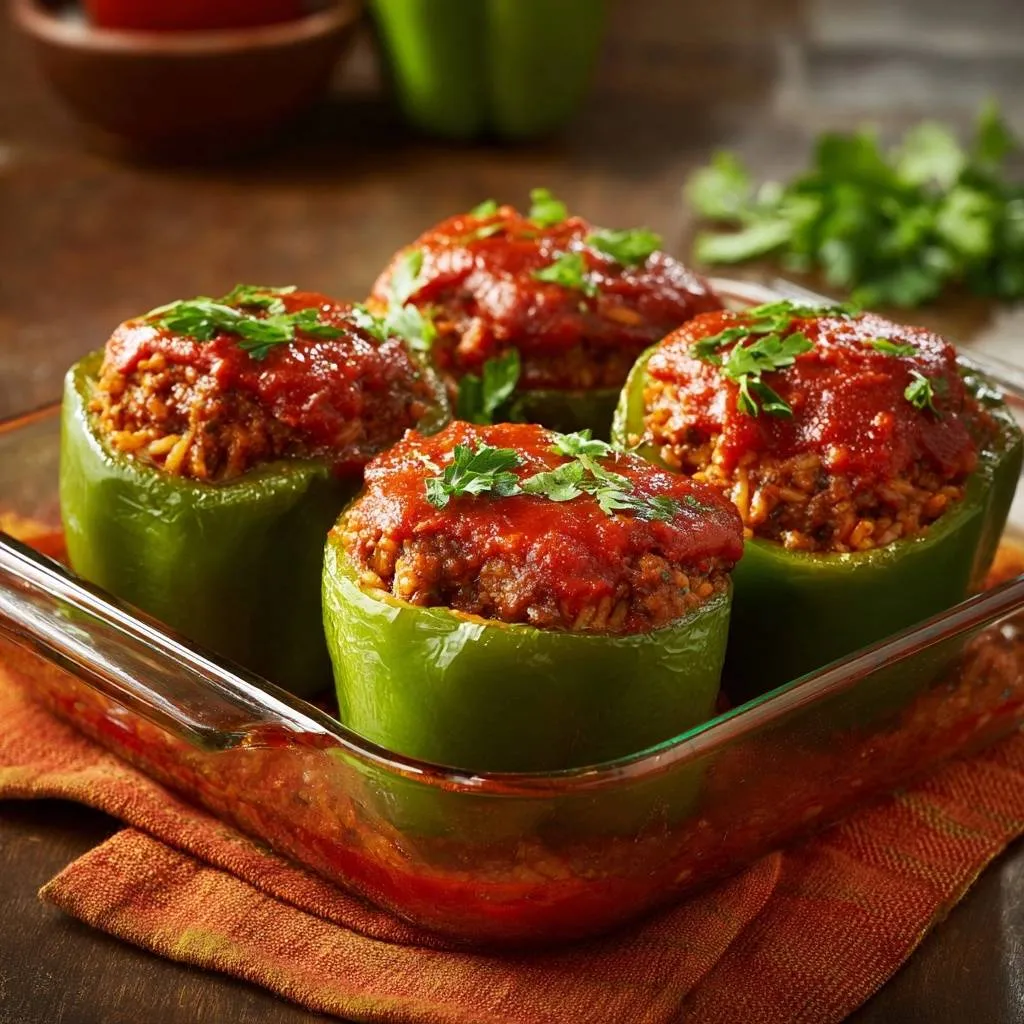
Oh man, nothing ruins stuffed bell peppers faster than that watery, soggy mess at the bottom of the dish. You’ve been there, right? Peppers that collapse into mush after baking, turning your dinner into a disappointing puddle. But this stuffed bell peppers recipe fixes it all with a simple salting-and-drain trick that pulls out the excess moisture first.
That’s why most home cooks end up with stuffed bell peppers that leak bitter juices during baking. The peppers’ high water content releases under heat, diluting the filling and softening everything. However, this method guarantees tender-crisp stuffed bell peppers every time, keeping that perfect bite.
The secret lies in generously salting the cavities and letting them drain for 30 minutes on a wire rack. It draws out the liquid via osmosis, so your stuffed bell peppers stay firm. Trust me, this one tweak makes all the difference.
For another take on this concept, explore beef and rice stuffed peppers.
Why Stuffed Bell Peppers Fail
Watery Peppers Exposed
Bell peppers hold tons of water in their cells. When you bake stuffed bell peppers without prep, heat breaks those cells open, and osmosis pushes out juices. Therefore, you get a soupy dish instead of crisp stuffed bell peppers.
Picture this: undrained peppers wilt and wrinkle, releasing bitter liquid that pools. In contrast, drained ones hold shape with a snappy texture. That’s the transformation you crave.
Common Filling Pitfalls
Greasy ground beef from skipping the fat drain makes stuffed bell peppers oily. Bland rice happens without enough seasoning or sauce. Plus, poor moisture balance turns the whole thing dry or watery.
Many skip draining beef fat, leading to heavy fillings. However, proper ratios fix it. In addition, under-seasoning hides flavors, so taste as you go.
Science of Crisp Stuffed Bell Peppers
Salt Osmosis Magic
Salt creates a hypertonic solution inside the pepper cavity. Water rushes out through cell walls via osmosis, a process called plasmolysis. This pulls bitter juices from stuffed bell peppers, just like pre-salting eggplant.
After 30 minutes, cells shrink slightly but rebound in the oven. Therefore, you achieve firm, crisp stuffed bell peppers. No more mush; it’s biology at work.
Compare to unsalted peppers: they steam in their own liquid. Drained ones brown beautifully instead.
Baking Heat Dynamics
Foil cover first steams stuffed bell peppers gently at 375°F, cooking the filling evenly. Then, uncovering triggers the Maillard reaction on skins for color and crispness. It’s the perfect two-phase approach.
This temp sweet spot tenderizes without overcooking. However, go higher, and skins toughen. In addition, the sauce bastes everything during baking.
Essential Ingredients for Stuffed Bell Peppers
Selecting Firm Bell Peppers
Choose large green bell peppers for structure; they’re firmer than sweet reds. Pick heavy ones that feel crisp when squeezed. Large size holds 1 pound beef and 2 cups rice without collapsing.
Green bells have thick walls ideal for stuffed bell peppers. Poblanos work as subs for mild spice. Avoid soft or wrinkled ones; they’ll never crisp up.
Ground Beef and Rice Balance
The 1-pound beef to 2-cups brown rice ratio keeps stuffed bell peppers hearty yet light. Brown rice adds chew and absorbs sauce without mush. Tomato sauce’s acidity tenderizes meat perfectly.
For an equally hearty protein, explore the juicy sear technique for your next steak.
Fresh parsley brings bright flavor at the end; dried lacks punch. Therefore, this balance prevents greasy or dry fillings. Pro tip: cook rice firm for best texture.
Salt and Seasoning Precision
Use 1/2 teaspoon salt per pepper cavity, rubbed in well. Freshly cracked black pepper adds bite. Divide tomato sauce: 1 cup in filling, 1 cup on top for moisture control in stuffed bell peppers.
This precision seasons evenly without sogginess. In addition, it enhances natural flavors.
Equipment for Perfect Stuffed Bell Peppers
Wire Rack Draining Setup
A wire rack over a baking sheet allows airflow for even drainage in stuffed bell peppers. Paper towels alone trap moisture. Air circulates, speeding osmosis.
No rack? Use a colander over a bowl. However, rack’s elevation prevents pooling.
Baking Dish Choices
An 8×8 greased dish keeps stuffed bell peppers upright snugly. Glass retains heat evenly; metal conducts faster for crisp bases. Grease with oil to avoid sticking.
Tent foil loosely to steam without sogginess. In addition, it fits four peppers perfectly.
Step-by-Step: Drain and Prep Stuffed Bell Peppers
Prepping Pepper Cavities
Preheat oven to 375°F. Slice tops evenly off peppers; use a sharp knife for clean cuts. Remove seeds and membranes with a spoon; rinse if needed.
Rub 1/2 teaspoon salt inside each cavity. Place cut-side down on wire rack over baking sheet. Let drain 30 minutes; you’ll see liquid drip out, banishing sogginess from stuffed bell peppers.
Pat dry thoroughly. This step ensures crisp results. Don’t rush it.
Browning Beef Filling
Heat skillet to medium; add ground beef. Cook 8 minutes until browned, breaking it up. Drain fat well; greasy filling ruins texture.
Stir in 2 cups cooked brown rice, 1 cup tomato sauce, 1 teaspoon salt, 1/2 teaspoon pepper. Simmer 2-3 minutes until combined and fragrant. Taste and adjust; it should be savory.
Rice soaks up flavors without clumping. Pro tip: cool slightly before stuffing.
Step-by-Step: Stuffing and Baking Stuffed Bell Peppers
Filling and Standing Upright
Stuff filling evenly into peppers; press gently to fill without tearing. Stand upright in greased 8×8 dish. Pour remaining 1 cup tomato sauce over tops for basting.
This keeps stuffed bell peppers moist inside, crisp outside. Grease sides prevent sticking.
Two-Phase Oven Method
Cover with foil; bake 30 minutes at 375°F. Filling heats through, peppers soften slightly. Uncover; bake 15 more minutes until skins are tender-crisp.
Test doneness: fork pierces skin easily, but it holds shape. Internal beef temp hits 160°F safely. Garnish with parsley for freshness.
Smell that savory aroma? That’s success.
Avoiding Mistakes in Stuffed Bell Peppers
Skipping the Drain Step
No drain means watery stuffed bell peppers; juices dilute filling into soup. It’s not a time-saver; 30 minutes prevents waste. Always salt and wait.
Firm bite beats mush every time. Therefore, commit to this step.
Overcooking Risks
Wrinkled, mushy skins signal overcooking. Pull at 45 minutes total. Cool on rack post-bake to set crispness.
However, undercooking leaves raw filling. Check temps.
Flavor Variations for Stuffed Bell Peppers
Turkey or Veggie Swaps
Swap beef for ground turkey; it’s leaner, cooks faster. Use quinoa or cauliflower rice for low-carb stuffed bell peppers. Add cheese 10 minutes before end for melt.
These keep texture crisp. In addition, boost protein without heaviness.
Spice and Herb Twists
Add cumin and chili for Tex-Mex stuffed bell peppers. Italian herbs like oregano suit tomato sauce. Start mild; chilies build heat.
Fresh twists elevate basics. Taste filling first.
Make-Ahead Guide for Stuffed Bell Peppers
Prep and Freeze Strategy
Drain and stuff peppers; freeze upright in dish, then transfer to bags. Prep filling separately. Thaw overnight in fridge; bake as directed.
This avoids sogginess. However, don’t freeze assembled if skipping drain. Reheat at 350°F covered.
Storage and Reheating
Fridge leftovers 3-4 days airtight. Reheat oven at 325°F with extra sauce; microwave steams them soft. Oven revives crisp best.
Pro tip: refresh with parsley.
Pairing Sides with Stuffed Bell Peppers
Crisp Green Salads
A simple vinaigrette salad cuts richness of stuffed bell peppers. Add cucumber and tomatoes for pepper harmony. Light and refreshing.
Garlic Bread Alternatives
Herbed flatbread or quinoa pilaf balances starch. Avoid heavy sides; crisp complements shine. Keeps meal fresh.
Complementary Dishes
Round out your meal with these fresh and vibrant options.
- For a light and satisfying addition to your stuffed bell peppers, consider this loaded chicken chickpea spinach salad, featuring hearty chickpeas and tender chicken.
- Add a burst of bright flavors with this zesty couscous veggie salad, a perfect balance of grains and crisp vegetables.
Troubleshooting Stuffed Bell Peppers
Why Peppers Still Soggy?
Check salt amount or drain time; use more salt, extend to 45 minutes. Verify oven temp accuracy. Next batch, pat extra dry.
Low heat also causes it. Fix with precision.
Fixing Greasy Fillings
Drain fat twice; tilt skillet. Choose 90% lean beef. Blot with towels if needed.
Filling Too Dry?
Add more tomato sauce or broth to rice mix. Ensure rice isn’t overcooked dry. Simmer longer next time.
Peppers Not Standing?
Trim thin slice off bottoms. Pack dish tightly. Slice unevenly causes tips.
Stuffed Bell Peppers FAQ
Can I Use Red Bell Peppers?
Yes, red bell peppers work for stuffed bell peppers, but they’re sweeter and softer. Reduce uncovered bake to 10 minutes to avoid mush. Greens hold shape best; reds add color and mild flavor.
How Long Do Leftovers Last?
Store stuffed bell peppers in airtight container in fridge for 3-4 days. Freeze up to 2 months; thaw in fridge before reheating to 165°F internal. Discard if smell off or slimy.
Vegetarian Stuffed Bell Peppers Work?
Absolutely; sub beef with lentils, black beans, or mushrooms for protein-packed stuffed bell peppers. Use 2 cups cooked lentils to match texture. Add extra seasoning for savoriness.
Can I Make Them Spicy?
Yes, mix diced jalapeños into filling, use spicy tomato sauce, or top with chili flakes for heat in stuffed bell peppers. Start with 1-2 peppers; scale to taste. Garnish with cilantro.
Best Rice Type Here?
Brown rice gives chewy texture to stuffed bell peppers; cook al dente. White rice softens more; use if preferring tender. Always 2 cups cooked; day-old absorbs sauce best without sogginess.
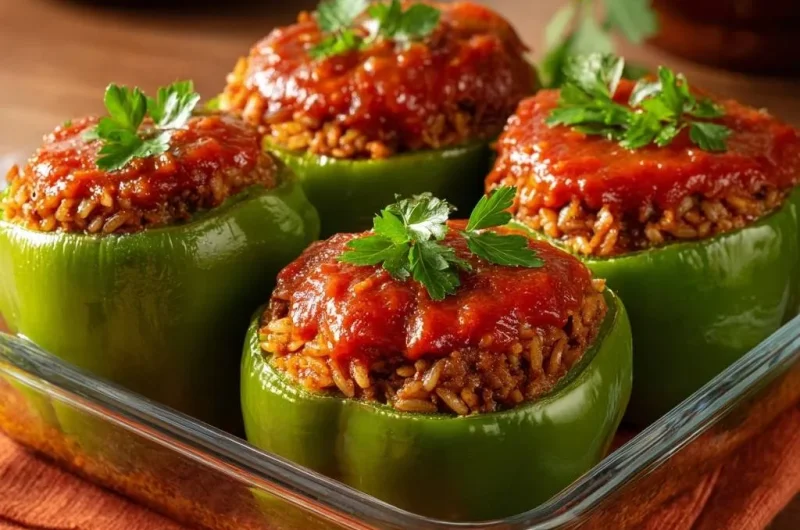
Stuffed Bell Peppers
Course: Main CourseCuisine: AmericanDifficulty: medium4
servings40
minutes53
minutes450
kcal60
MinutesSick of stuffed peppers swimming in their own watery juices? This genius salting-and-drain trick pulls out excess moisture for tender-crisp peppers that stay firm, never mushy.
Ingredients
4 large green bell peppers
1 pound ground beef
2 cups cooked brown rice
2 cups tomato sauce, divided
1 teaspoon salt (plus more for peppers)
1/2 teaspoon black pepper
1/4 cup chopped fresh parsley, for garnish
Directions
- Preheat oven to 375 degrees F. Slice tops off peppers and remove seeds and membranes. Rub salt generously inside each pepper cavity. Place peppers cut-side down on a wire rack over a baking sheet. Let drain 30 minutes. This key step draws out bitter water, preventing soggy peppers guaranteed. Pat dry inside with paper towels.
- In a skillet over medium heat, cook ground beef until browned, about 8 minutes. Drain fat. Stir in cooked rice, 1 cup tomato sauce, salt, and pepper. Mix until combined.
- Stuff filling evenly into drained peppers. Stand upright in a greased 8×8-inch baking dish. Pour remaining 1 cup tomato sauce over tops.
- Cover dish with foil and bake 30 minutes. Uncover and bake 15 more minutes until peppers are tender-crisp. Garnish with parsley. Serve hot.
Notes
- The key salting-and-drain step draws out bitter water, preventing soggy peppers guaranteed.