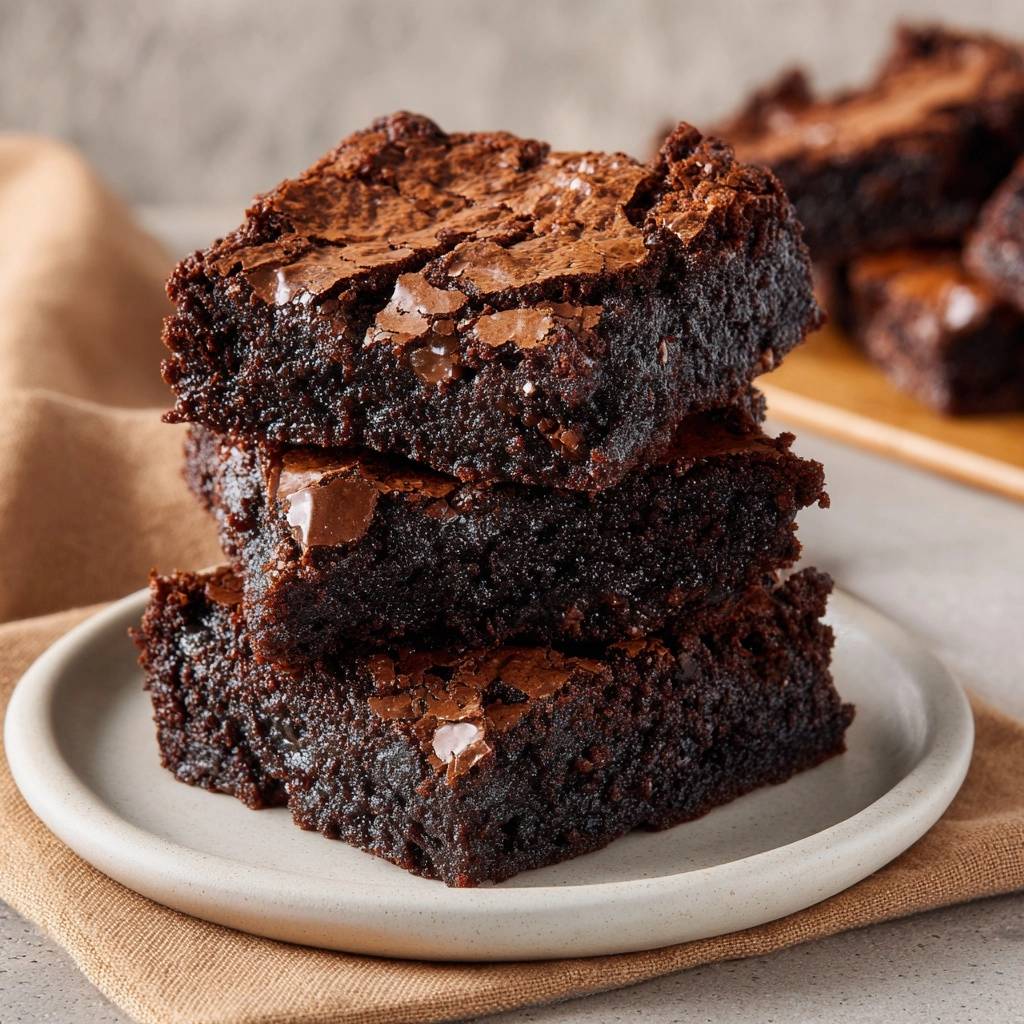
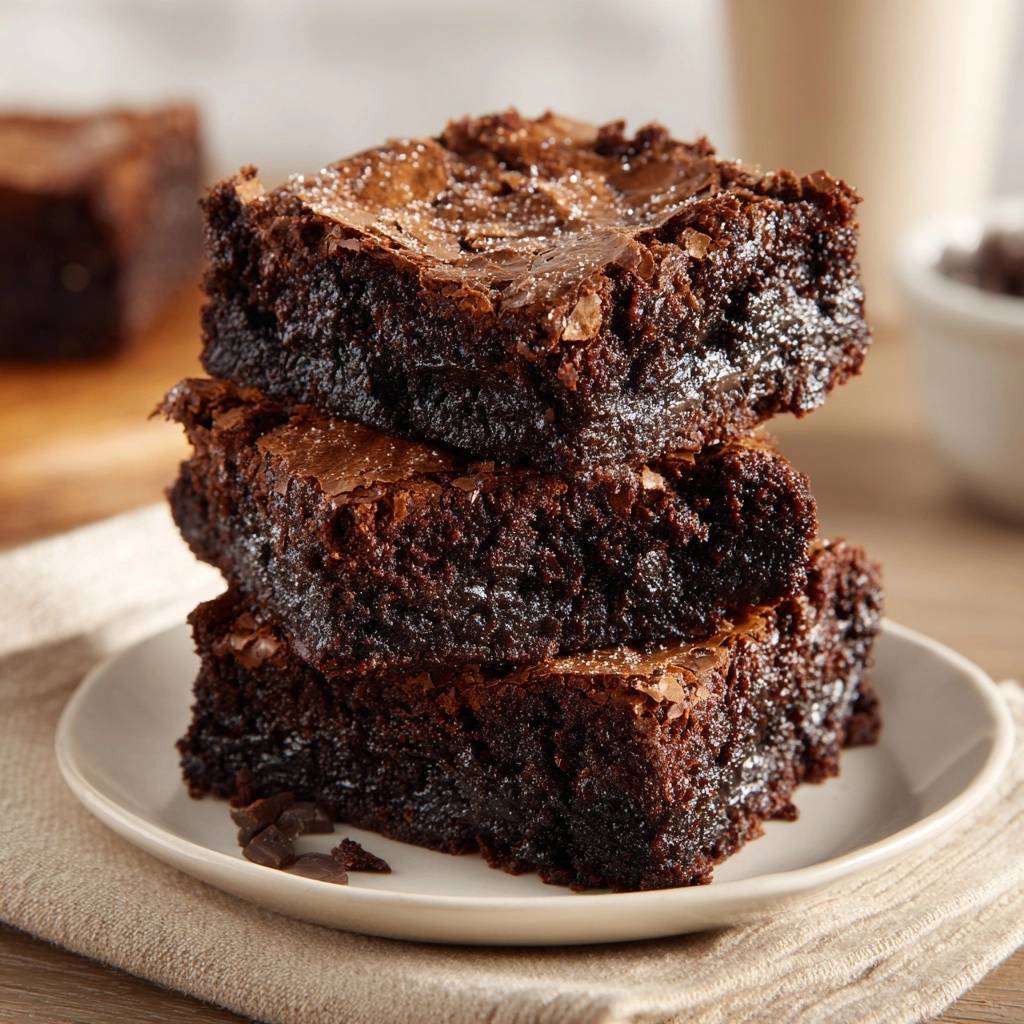
Stop settling for brownies that turn out dry, crumbly, or like a piece of chocolate cake. Most recipes rely on chemical leaveners that create a spongy, airy crumb, but a true brownie should be dense, rich, and intensely chocolatey. The sensory experience of biting through a paper-thin, crackly crust into a center that feels like ganache is what sets this version apart from the rest.
The secret to that iconic texture isn’t a special ingredient, but rather a specific technique involving the sugar and eggs. By creating a meringue-like structure through vigorous whisking, you ensure a moist interior while developing that beautiful, shiny top. It’s the definitive method for anyone who believes a brownie should be fudgy enough to stick to your teeth.
I’ve found that the temperature of your butter and the timing of your whisking are the two most critical factors here. If you skip the arm workout during the mixing phase, you’ll lose that signature crust. However, if you follow these steps precisely, you’ll produce a batch that looks like it came straight from a high-end pastry shop every single time.
The Anatomy of a Crackly Brownie Crust
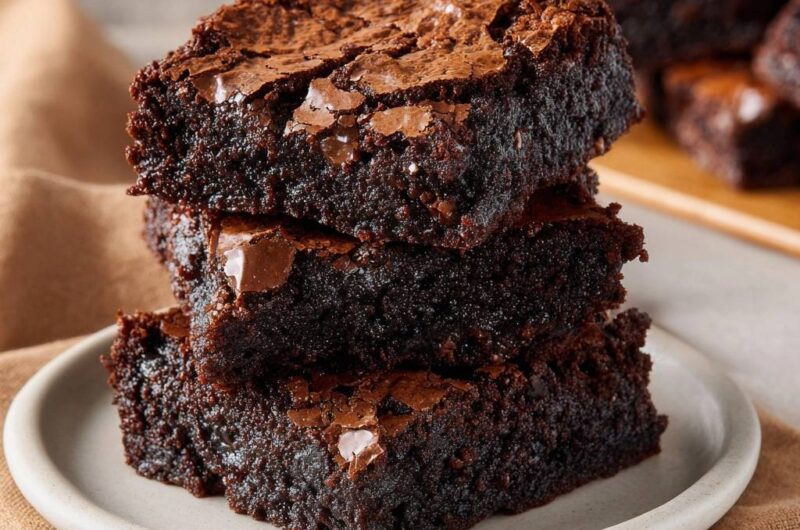
That coveted, tissue-paper crust is actually a thin layer of meringue that forms during the baking process. When you whisk granulated sugar into warm butter and then beat in the eggs, the sugar begins to dissolve and bond with the egg proteins. This creates a stable film that rises to the surface as the brownies bake, drying out into a crisp, shiny flake.
Using Dutch-processed cocoa powder is essential for this chemical reaction to work perfectly. Unlike natural cocoa, which is acidic, Dutch-processed cocoa has been treated with an alkalizing agent to neutralize its pH. This results in a darker color and a smoother flavor that doesn’t interfere with the sugar’s ability to form that beautiful crust.
Essential Components for Ultimate Fudgy Cocoa Brownies
The ratio of fat to flour is what determines whether a brownie is fudgy or cakey. In this recipe, we use 3/4 cup of butter for just 1/2 cup of flour. This high fat content ensures the structure remains dense and moist rather than bready. Butter provides the richness, while the flour acts only as a binder to hold the chocolate together.
You must use room-temperature eggs to achieve a proper emulsion. Cold eggs will cause the melted butter to seize and clump, preventing the sugar from dissolving evenly. When the ingredients are at the right temperature, they blend into a smooth, glossy batter that traps just enough air for a slight lift without becoming fluffy.
Don’t skip the espresso powder, even if you aren’t a coffee fan. It doesn’t make the brownies taste like mocha; instead, it targets specific bitterness receptors on your tongue that make the chocolate taste “darker” and more complex. It’s the ultimate flavor booster that bridges the gap between sweet and decadent.
Selecting High-Quality Dutch-Processed Cocoa
Since cocoa powder is the primary flavor driver here, quality matters immensely. Look for brands labeled “Dutch-processed” or “alkalized,” which have a deep, reddish-brown hue. This type of cocoa dissolves more easily into the fat and provides a mellow, earthy chocolate profile that mimics the taste of expensive dark chocolate bars.
Why We Skip Leavening Agents
Baking powder and baking soda are the enemies of a truly fudgy brownie. These agents create carbon dioxide bubbles that lift the batter, resulting in a crumbly, cake-like texture. By omitting them, we rely solely on the air incorporated during the egg-whisking phase to provide a tiny bit of structural integrity while maintaining a heavy, fudgy core.
The Temperature Precision Method
Most people bake at 350°F, but for the Ultimate Fudgy Cocoa Brownies, 325°F is the mandatory setting. A lower temperature allows the brownies to bake evenly from the edges to the center. At higher heats, the edges often become “bready” or burnt before the middle has a chance to set, ruining the uniform fudgy texture.
You are aiming for an internal temperature of roughly 190°F. Baking low and slow prevents the moisture from evaporating too quickly. This precision ensures that every single square, from the corner to the center, has that melt-in-your-mouth quality we’re looking for.
Step-by-Step: Mastering the Emulsion Phase
Phase one begins with the two-minute butter and sugar whisk. You want the butter to be warm, not boiling, as the heat helps the sugar crystals break down. Use a sturdy hand whisk and keep going until the mixture looks like a gritty paste; the friction here is your friend for building that crust later.
Phase two is the three-minute egg aeration. Once you add the eggs and vanilla, whisk vigorously until the batter reaches the “ribbon stage.” This means when you lift the whisk, the batter falls back into the bowl in thick, pale ribbons that hold their shape for a few seconds. This is where the magic happens for the brownie’s structure.
Phase three is the gentle fold. Switch to a rubber spatula when adding the dry ingredients. You want to fold the cocoa and flour in just until the last white streak disappears. Over-mixing at this point develops gluten, which will turn your fudgy masterpiece into something tough and chewy like a loaf of bread.
Achieving the Perfect “Moist Crumb” Finish
The biggest mistake you can make is trusting a clean toothpick. If a toothpick inserted into the center comes out clean, you have overbaked the brownies and they will be dry once cooled. Instead, look for “sticky crumbs.” The toothpick should have several moist, dark clumps of batter attached to it.
The brownies will also look slightly underdone in the center when you pull them out. They should have a slight jiggle but no longer look liquid. Remember, the residual heat in the pan will continue to cook the center for several minutes after it leaves the oven.
The Critical Cooling and Setting Window
I know it’s tempting to dive in immediately, but cutting a hot brownie is a recipe for disaster. The fats and sugars need time to solidify into that dense, fudgy structure. If you cut them while warm, the steam escapes, and the internal structure collapses into a greasy mess.
Wait at least 60 minutes before lifting them out of the pan. For the cleanest, most professional edges, I actually recommend chilling the pan in the refrigerator for an hour after they reach room temperature. This “refrigerator hack” makes the fudge firm enough to slice into perfect, sharp squares without any tearing.
Troubleshooting Common Cocoa Brownie Failures
If your brownies turned out oily, the emulsion likely separated. This usually happens if the butter was too hot or the eggs were too cold. To fix this next time, ensure your butter is warm to the touch but not sizzling, and let your eggs sit in warm water for five minutes before cracking them.
A dull, matte top usually means the sugar didn’t dissolve properly. Make sure you are whisking the sugar and warm butter for the full two minutes before adding the eggs. If you use extra-large sugar crystals, they may need a bit more whisking time to break down into that meringue layer.
Tough or bready brownies are almost always the result of over-mixing the flour. Once the flour hits the wet ingredients, put the whisk away. Use a spatula and stop the second the batter is uniform. If they sank in the middle, you might have whisked too much air into the eggs or pulled them out of the oven way too early.
Equipment: Tools for Professional Results
Always use a light-colored metal 8×8 inch baking pan. Glass or ceramic pans retain too much heat and continue to cook the brownies long after they are out of the oven, which often leads to hard, overcooked edges. Metal provides the most even heat distribution for a consistent bake.
Parchment paper is non-negotiable. Create a “sling” by letting the paper overhang on two sides. This allows you to lift the entire block of brownies out of the pan at once, preserving their structural integrity and making it much easier to get those perfect slices on a cutting board.
Flavor Profiles and Texture Additions
If you want to add some crunch, toasted walnuts or pecans are a classic choice. I recommend toasting them in a dry pan for three minutes before folding them in to bring out their natural oils. This prevents the nuts from tasting “raw” inside the dense brownie batter.
For a more sophisticated twist, try swirling in a bit of tahini or creamy almond butter before baking. Use a butter knife to create marble patterns on the surface. The saltiness of the nut butters cuts through the richness of the cocoa, creating a perfectly balanced bite.
Finally, always finish your brownies with a pinch of Maldon sea salt flakes. The large, crunchy salt crystals provide a beautiful contrast to the fudgy interior. It enhances the chocolate flavor and makes the entire dessert feel much more high-end and intentional.
If you enjoy fudgy textures, you’ll also appreciate the rich combination in salted peanut butter brownies.
Storage and Longevity Strategy
These brownies actually taste better on day two once the flavors have fully melded. Store them in an airtight container at room temperature for up to five days. Avoid using foil, as it doesn’t create a tight enough seal and can cause the edges to dry out prematurely.
If you want to save them for later, these freeze beautifully. Wrap individual squares tightly in plastic wrap and place them in a freezer bag. They will stay fresh for up to three months. You can even eat them straight from the freezer for a chewy, truffle-like treat!
Expert Baking Troubleshooting
Why are my brownies dry?
Dryness is usually caused by over-measuring the flour or over-baking. If you scoop flour directly with a measuring cup, you often pack it down, leading to too much starch. Use the “spoon and level” method or a kitchen scale. Also, check your brownies 5 minutes before the timer goes off; every oven runs differently.
Can I use natural cocoa powder instead?
You can, but the results will change. Natural cocoa is more acidic and lighter in color. It will react differently with the sugar and eggs, likely resulting in a brownie that is lighter, more cake-like, and slightly more acidic in flavor. For the fudgiest results, stick with Dutch-processed.
How do I get perfectly clean slices?
Professional pastry chefs use the “hot knife” method. Run a sharp chef’s knife under hot water, wipe it completely dry, and make one long slice. Wipe the blade clean after every single cut. This prevents the sticky fudgy center from dragging and smearing across the top of the next slice.
Why did my chocolate chunks sink?
If your chocolate chunks end up at the bottom, your batter might be too thin. This usually happens if the butter was too hot or the eggs weren’t whisked enough to create a thick emulsion. A properly aerated batter should be thick enough to suspend the chunks throughout the brownie.
Can I double this recipe?
Yes, you can double the ingredients and bake them in a 9×13 inch pan. However, you will need to increase the baking time by about 5 to 10 minutes. Keep a close eye on the center and use the “sticky crumb” test to ensure you don’t lose that fudgy consistency in the larger pan.
Fudgy Cocoa Brownies
Course: DessertCuisine: AmericanDifficulty: easy12
servings15
minutes25
minutes260
kcal40
MinutesA decadent brownie recipe that avoids a cakey texture by using melted butter and vigorous whisking to create a meringue-like crust and a moist, chewy interior.
Ingredients
3/4 cup unsalted butter, melted and warm
1 1/4 cups granulated sugar
2 large eggs, room temperature
2 teaspoons vanilla extract
3/4 cup high-quality Dutch-processed cocoa powder
1/2 cup all-purpose flour
1/2 teaspoon salt
3/4 cup semi-sweet chocolate chunks (plus extra for topping)
1/2 teaspoon espresso powder (optional, to enhance chocolate flavor)
Directions
- Preheat your oven to 325°F (165°C). Line an 8×8 inch baking pan with parchment paper, leaving an overhang on the sides for easy removal. (A slightly lower temperature ensures the edges don’t dry out before the center is set).
- In a large bowl, combine the warm melted butter and granulated sugar. Whisk vigorously by hand for 2 minutes. The warmth of the butter helps dissolve the sugar, which is the primary requirement for the “crackly” top shown in the image.
- Add the eggs and vanilla extract. Continue to whisk vigorously for another 2 to 3 minutes until the mixture becomes pale, ribbony, and slightly thickened. This aeration provides the lift needed without using baking powder, which would create a cakey texture.
- Sift in the cocoa powder, flour, salt, and espresso powder (if using). Use a rubber spatula to gently fold the dry ingredients into the wet mixture. Stop as soon as no streaks of flour remain; over-mixing at this stage will develop gluten and make the brownies tough.
- Fold in the chocolate chunks.
- Pour the thick batter into the prepared pan and smooth the top. Sprinkle a few extra chocolate chunks on top if desired.
- Bake for 22 to 27 minutes. To ensure they stay fudgy as pictured, do not overbake. A toothpick inserted into the center should come out with several moist, sticky crumbs attached. If the toothpick is clean, they are overdone.
- Allow the brownies to cool completely in the pan (at least 1 hour) before lifting them out. This cooling period is technically part of the “cooking” process, allowing the fats to solidify into a dense, fudgy texture. Slice with a sharp knife, wiping the blade between cuts for clean edges.
Notes
- Do not overbake to maintain the fudgy texture. A toothpick should come out with moist crumbs. Use Dutch-processed cocoa and espresso powder for the deepest chocolate flavor.