Imagine the crackle of a campfire and the gooey, messy joy of a perfectly charred marshmallow sandwiched between graham crackers. We’ve all tried to capture that feeling in a muffin, only to end up with a heavy, leaden puck that feels more like a brick than a breakfast treat. It’s frustrating when your kitchen smells like a summer night but the texture of your bake just doesn’t deliver on the promise.
The reason most homemade muffins fail is that they lack the “spring” we see in professional bakeries. Instead of a light, airy crumb, we often get a dense interior because the oven temperature isn’t high enough to trigger a rapid rise. This recipe changes the game by focusing on the physics of the bake, ensuring every bite is as fluffy as a cloud while maintaining that iconic s’mores richness.
The real secret to this professional-grade crumb is the “High-Heat Start” combined with room temperature ingredients. By hitting the batter with a burst of 425°F heat immediately, you force the leavening agents to react violently, creating a beautiful dome before the structure sets. I’ve found that this single adjustment makes the difference between a flat muffin and a masterpiece that looks like it came from a high-end cafe.
The Science of the Non-Dense Muffin Trick
When you slide your muffin tin into a 425°F oven, you’re initiating a rapid steam release. This intense heat causes the moisture in the batter to turn into steam instantly, pushing the batter upward with significant force. This creates those sought-after airy pockets and a tall, proud muffin top that stays soft even after the oven cools down.
Most recipes call for a steady 350°F, but that lower temperature allows the muffin to set slowly, often resulting in a flatter, denser cake. By starting high and then dropping the temperature to 375°F, you lock in that height while ensuring the center cooks through without burning the edges. It’s a simple temperature pivot that completely transforms the final texture.
Why Room Temperature Dairy is Non-Negotiable
You might be tempted to grab milk and eggs straight from the fridge, but cold dairy is the enemy of a smooth batter. When cold milk hits melted butter, it causes the fat to “seize” or clump back into solid bits. This leads to an uneven distribution of fat, which often results in a rubbery, inconsistent texture once baked.
If you’re in a rush, you can warm your eggs by placing them in a bowl of warm water for five minutes. Similarly, a quick 15-second zap in the microwave will take the chill off your milk. These small steps ensure the ingredients emulsify perfectly, creating a silky batter that rises uniformly in the oven.
The Gluten Trap: Why Lumpy Batter Wins
Gluten is great for chewy bread, but it’s the villain in a muffin recipe. The more you stir your batter, the more gluten networks you develop, which leads to “tunneling”—those long, ugly holes you sometimes see inside a tough muffin. To keep things tender, you have to be gentle with your spatula.
When you mix your wet and dry ingredients, stop the very second you no longer see streaks of white flour. Your batter should look lumpy and a bit unrefined. If it looks smooth like pancake batter, you’ve likely over-mixed it, and the resulting muffin will be significantly tougher than it should be.
Essential Components for Toasted S’mores Chocolate Chip Muffins
Quality ingredients are the backbone of this recipe, starting with all-purpose flour. While cake flour is too weak to hold the weight of chocolate chips and marshmallows, all-purpose provides the perfect protein structure. We also use a 50/50 split of granulated and light brown sugar to get that deep, molasses-like undertone that mimics a toasted graham cracker.
The brown sugar adds essential moisture and chewiness, while the granulated sugar helps with the browning of the muffin top. Using unsalted butter allows you to control the salt content precisely, ensuring the sweetness of the chocolate doesn’t become cloying. Every ingredient plays a specific role in balancing the “campfire” flavor profile.
Selecting the Right Chocolate and Graham Crackers
I recommend semi-sweet chocolate chips because they provide a sharp contrast to the sugary marshmallows. If you use milk chocolate, the muffin can become overwhelmingly sweet. For the graham crackers, make sure you crush them into a mix of fine dust and small, pea-sized chunks to provide varied texture throughout the crumb.
Instead of using the crackers as a crust at the bottom, we fold them directly into the dry ingredients. This ensures that every single bite has that distinct honey-malt flavor. It also prevents the bottom of the muffin from getting soggy, as the crumbs absorb a bit of the moisture from the batter during the bake.
Marshmallow Management: Topping vs. Folding
This is the most important technical tip: never fold your marshmallows into the batter. If they are buried inside, they will simply melt away during baking, leaving behind sticky, hollow cavities and a messy tin. They are much better suited as a crowning glory on top of the raw batter.
By pressing the mini marshmallows into the surface right before the tin goes into the oven, they stay visible and intact. This allows them to puff up and catch the heat of the broiler later. You get that gooey, stretchy texture on top while the muffin interior remains perfectly cake-like and structured.
Step-by-Step: Mixing and Aerating the Batter
Start by whisking your dry ingredients in a large bowl to break up any clumps of brown sugar. In a separate jug, whisk your room-temperature wet ingredients until the eggs are fully incorporated. When you combine them, use a large silicone spatula and a “folding” motion—cut through the center, scrape the bottom, and lift over the top.
Don’t use a whisk for the final mixing stage, as it’s too aggressive. You want to see a thick, chunky batter that looks almost “messy.” Once the chocolate chips are folded in, you’re ready to scoop. Filling the muffin liners to the very brim is the key to getting those oversized, bakery-style tops that spill over the edges just right.
The Two-Stage Baking and Broiling Technique
Once your muffins are in the oven at 425°F, immediately turn the dial down to 375°F. This initial blast of heat sets the rise, while the lower temperature finishes the cooking without drying out the center. You’ll see the marshmallows start to puff and turn a light golden color toward the 15-minute mark.
For the final touch, turn on your broiler for the last 60 to 90 seconds. You must stay right by the oven door for this! Marshmallows go from golden to burnt in a heartbeat. You’re looking for a deep, toasted brown with a few charred spots to mimic that authentic campfire look. Be careful not to let the paper liners catch fire under the intense heat.
Troubleshooting Common S’mores Muffin Failures
If your muffins are sticking to the liners, it’s usually due to the high sugar content from the marshmallows melting down the sides. Using high-quality greaseproof liners or lightly spraying the top of the muffin tin with oil can help. If the batter feels too dry, you might have packed your flour into the measuring cup; always spoon flour into the cup and level it off for accuracy.
Another common issue is the marshmallows melting into a puddle rather than toasting. This happens if the broiler isn’t hot enough or if the muffins are too far from the heating element. Position your rack in the upper third of the oven for the final broil. If your graham cracker crumbs are too large, they might sink to the bottom, so aim for a “coarse sand” consistency.
Flavor Variations and Ingredient Swaps
If you want to lean into the campfire theme even more, try adding a half-teaspoon of ground cinnamon to the dry mix. It complements the graham cracker flavor beautifully. You could also swap the semi-sweet chips for chocolate-covered graham cracker bits if you can find them, which adds an extra layer of crunch to the interior.
For those who love a salty-sweet combo, a tiny pinch of flaky sea salt on top of the toasted marshmallows is incredible. It cuts through the sugar and makes the chocolate flavor pop. If you don’t have mini marshmallows, you can snip large ones into quarters using kitchen shears, though minis provide the most even coverage for that “toasted” aesthetic.
Proper Storage and Reheating for Maximum Freshness
Once the muffins are out of the oven, let them sit in the tin for exactly five minutes. If you leave them longer, the steam will get trapped at the bottom, making them soggy. Move them to a wire rack so air can circulate around the entire muffin. This keeps the “crust” of the muffin top intact while the center stays moist.
Store these in an airtight container at room temperature for up to three days. To bring back that “just-baked” gooeyness, pop a muffin in the microwave for about 10 to 12 seconds. This softens the chocolate chips and makes the marshmallow topping stretchy again. I don’t recommend freezing these, as the marshmallows can become unpleasantly sticky when thawed.
Expert Tips for Perfect Results
How do I prevent the chocolate chips from sinking?
In this specific recipe, the batter is quite thick, which naturally helps hold the chips in place. However, if you find yours are still sinking, you can toss the chocolate chips in a tablespoon of the flour mixture before adding them to the batter. This gives them a “grip” so they stay suspended during the bake.
Can I use jumbo marshmallow halves instead of minis?
You can, but be careful with the weight. Large marshmallow halves are heavier and can actually push down on the muffin dome as it tries to rise, leading to a sunken center. Minis are much lighter and allow the batter to lift them up, resulting in a better shape and more even toasting across the surface.
Why did my muffins turn out tough despite minimal mixing?
If you didn’t over-mix, the culprit is likely how you measured your flour. If you scoop the measuring cup directly into the flour bag, you compress the flour, often adding 20% more than the recipe needs. Always use the “spoon and level” method or a kitchen scale to ensure the flour-to-liquid ratio remains perfect for a tender crumb.
How do I get that specific toasted campfire aroma?
That aroma comes from the Maillard reaction and the caramelization of the sugars in the marshmallows. The broiler is essential for this. The high, direct heat breaks down the sugar molecules on the surface of the marshmallow, creating those complex, smoky, and nutty flavors that define a real s’more.
Can I make this batter ahead of time?
It’s best to bake the batter immediately. Once the wet ingredients hit the baking powder, a chemical reaction begins that creates carbon dioxide bubbles. If the batter sits too long, those bubbles escape, and your muffins won’t rise properly. If you need to save time, mix the dry and wet ingredients separately the night before and combine them right before baking.
If you enjoy making quick baked goods from scratch, you might also like making chocolate baked donuts.
S’mores Chocolate Chip Muffins
Course: DessertCuisine: AmericanDifficulty: easy12
muffins15
minutes20
minutes350
kcal35
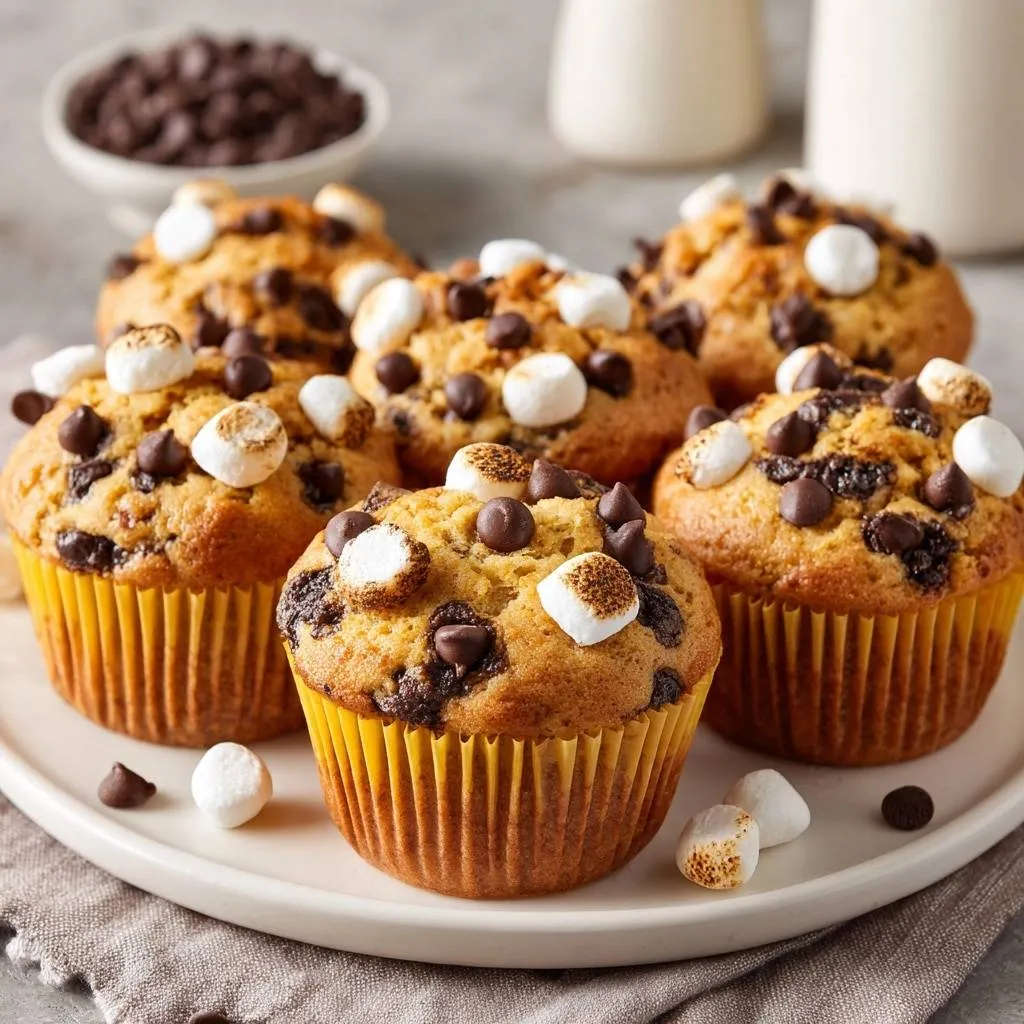
MinutesThese S’mores Chocolate Chip Muffins use a specific high-heat baking technique and a gentle mixing method to ensure a light, non-dense texture. They are loaded with chocolate chips and topped with mini marshmallows that get toasted under the broiler for a classic campfire flavor.
Ingredients
2 cups all-purpose flour
1/2 cup granulated sugar
1/2 cup light brown sugar, packed
2 teaspoons baking powder
1/2 teaspoon salt
1/2 cup unsalted butter, melted and cooled
2 large eggs, room temperature
3/4 cup whole milk, room temperature
1 teaspoon vanilla extract
1 1/4 cups semi-sweet chocolate chips (divided)
1 1/2 cups mini marshmallows (divided)
1/2 cup crushed graham crackers
Directions
- Preheat your oven to 425°F. This high initial heat is the first part of the trick to create a rapid steam release, forcing the muffins to rise quickly and stay fluffy rather than dense.
- In a large bowl, whisk together the flour, sugars, baking powder, and salt. Stir in the crushed graham crackers.
- In a separate bowl, whisk the melted butter, eggs, milk, and vanilla. Ensure your dairy is at room temperature so it does not seize the melted butter.
- Pour the wet ingredients into the dry and fold gently with a spatula. Stop as soon as the flour streaks disappear. If you over-mix, you develop gluten which leads to a tough, dense muffin. The batter should be lumpy.
- Gently fold in 3/4 cup of the chocolate chips. Do not fold the marshmallows into the batter, as they will melt and create holes; they must be added to the top.
- Line a muffin tin with paper liners and fill each cup to the very top.
- Press the remaining 1/2 cup of chocolate chips and the mini marshmallows generously into the tops of the raw batter.
- Place the tin in the oven and immediately turn the heat down to 375°F. Bake for 15-18 minutes.
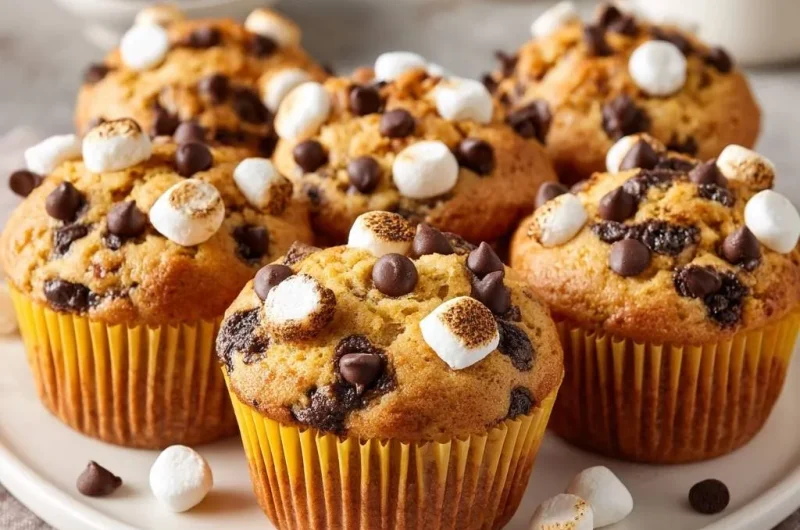
- For the visual “toasted” look shown in the image, turn on the broiler for the final 1-2 minutes of baking. Watch constantly; the marshmallows will brown and char quickly.
- Let cool in the pan for 5 minutes before transferring to a wire rack. This prevents the bottoms from becoming soggy from trapped steam.
Notes
- The ‘High-Heat Start’ involves preheating to 425°F and dropping to 375°F immediately upon placing the muffins in the oven to create a rapid rise. Use room temperature ingredients to prevent the melted butter from seizing.