We’ve all been there. You sit down with a towering, golden-brown sandwich, ready for that first shatteringly crisp bite, only to find the bottom slice has turned into a soggy, grey sponge. It’s a heartbreaking culinary betrayal. That limp texture happens because hot beef juices and steam get trapped against the bread, destroying the structural integrity of your meal before you even pick it up.
The secret to avoiding this disaster isn’t just luck; it’s engineering. By using a double-sear technique and a strategic cheese barrier, you can lock in the flavor while keeping the exterior incredibly crunchy. This method ensures your sandwich stays firm from the first bite to the very last crumb.
I’ve found that the real “aha!” moment comes from the moisture management. Most people toss the beef straight from the pan onto the bread, but that’s a recipe for a mess. If you want a professional-grade result, you have to treat the meat filling as a separate component that needs to be drained and “sealed” within the sandwich architecture.
The Anatomy of a Superior Patty Melt
While many people confuse the patty melt with a standard cheeseburger, the two are distant cousins at best. The patty melt is a mid-century diner icon that trades the soft bun for griddled bread, usually rye or sourdough. It’s designed to be a more cohesive, pressed experience where the bread and filling become one singular, toasted unit.
The evolution of this dish has moved it from greasy spoon counters to gourmet kitchens. What makes it superior is the focus on the crust. Unlike a burger, where the bun is just a vessel, the bread in a patty melt is a primary flavor and texture contributor. When you get the assembly right, the bread acts as a savory, buttery cracker that holds a molten center.
Essential Components for Ultimate Beef Patty Melts
Quality starts with your beef selection. You absolutely need an 80/20 ground beef blend. The 20% fat content provides the necessary moisture and richness that defines a great melt. If you go too lean, the meat becomes chalky and dry, losing that luxurious mouthfeel that contrasts so well with the toasted bread.
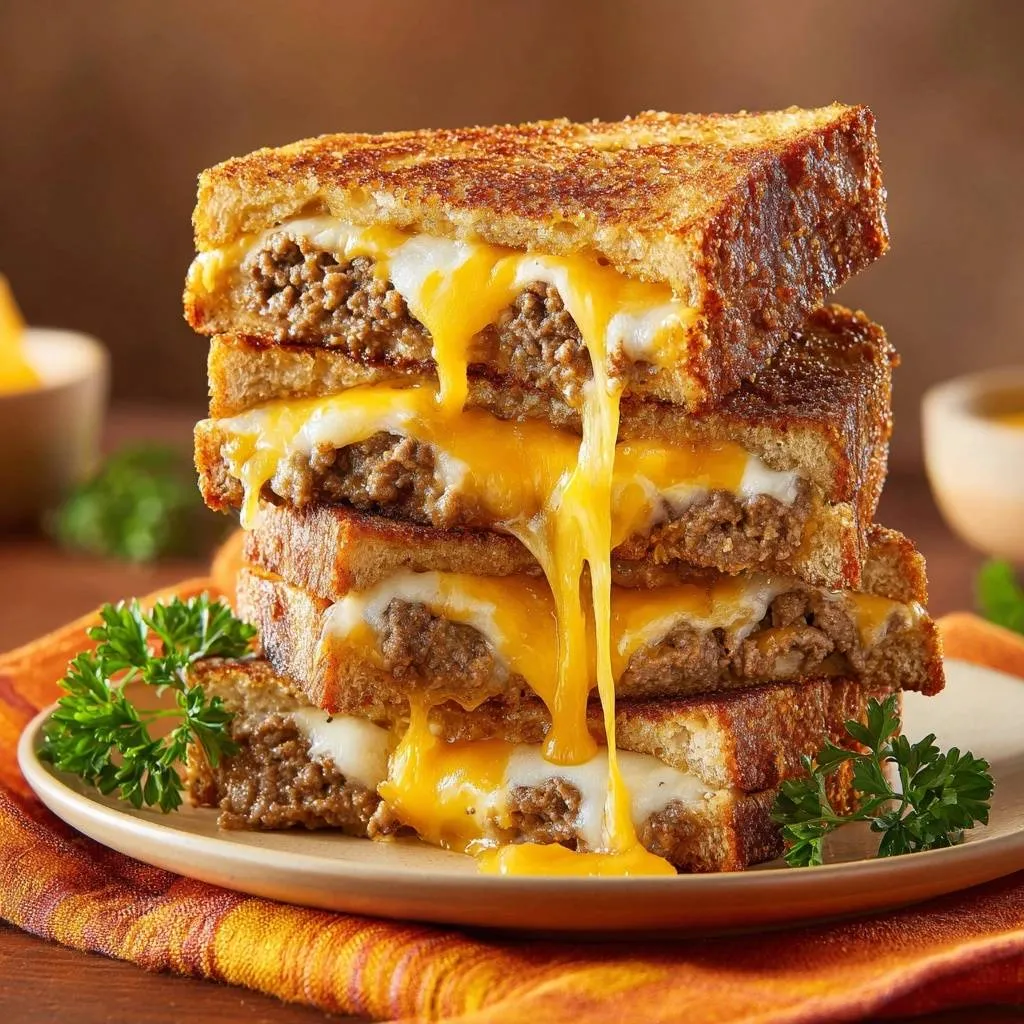
Cheese choice is equally vital for a complex palate. I use a combination of sharp cheddar for its aggressive, tangy bite and provolone for its superior melting capabilities. Provolone provides that classic “cheese pull” and a mild creaminess that balances the sharp cheddar. Finally, don’t skip the fresh curly parsley garnish; the hit of green provides a necessary burst of brightness to cut through the heavy, savory fats.
The Bread Selection: Sourdough vs. Brioche
Sourdough is the gold standard for a sturdy patty melt because its tight crumb and fermented tang stand up beautifully to the heat. However, brioche offers a rich, buttery sweetness that creates a more decadent, melt-in-your-mouth experience. Whichever you choose, ensure the slices are between 1/2 inch and 3/4 inch thick.
For a different take on thinly sliced beef, check out these juicy ribeye cheesesteaks.
If the bread is too thin, it will collapse under the weight of the beef. If it’s too thick, the meat-to-carb ratio feels off, and the cheese won’t melt properly before the outside burns. Aim for that “Goldilocks” thickness to ensure the heat penetrates all the way to the center while the crust stays rigid.
The Secret Fat Blend: Butter and Mayonnaise
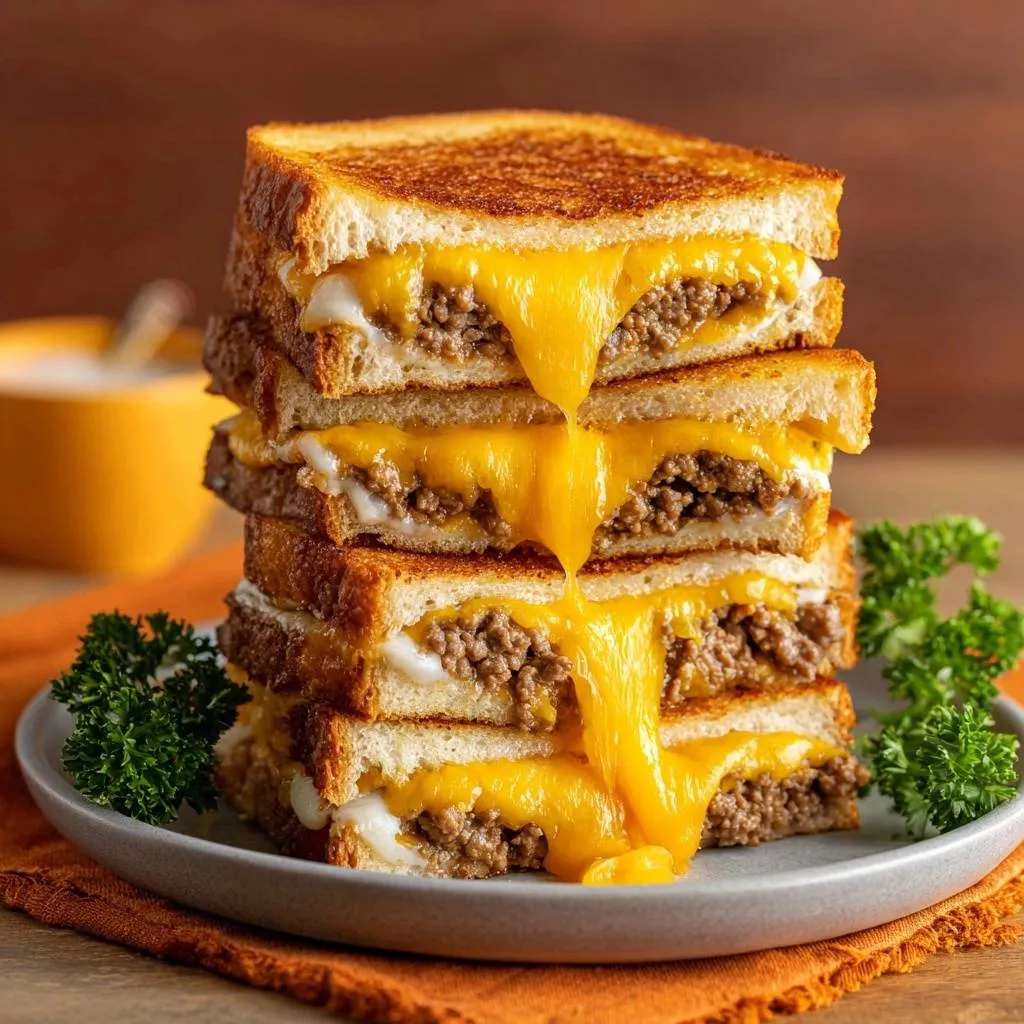
To achieve that deep, mahogany-colored crust, you need to look at the chemistry of the Maillard reaction. While butter provides incredible flavor, it has a low smoke point and can burn quickly. By mixing softened butter with a tablespoon of mayonnaise, you create a superior spreading fat.
The egg and oil in the mayonnaise raise the smoke point and help the bread brown more uniformly. This combination results in a gorgeous, even color across the entire surface of the slice. It also adds a subtle savory depth that butter alone simply cannot achieve.
The Science of Moisture Control
Steam is the enemy of the crunch. When you trap hot, moist beef between two slices of bread, the residual fat and water turn into steam. This steam hydrates the starches in the bread, turning your toasted crust back into mush within seconds. This is why draining your beef is the most important step in the entire process.
Using a fine-mesh colander to press out every drop of excess liquid from the cooked beef and onions is a “make or break” move. You want the flavor of the beef without the liquid runoff. By removing that moisture early, you ensure that the only thing melting into your bread is delicious, toasted fat, not grey steam.
Phase One: Preparing the Savory Beef Filling
Start by browning your beef and minced onions over medium-high heat. Use your spatula to break the meat into very fine crumbles. Smaller crumbles are essential because they allow the cheese to weave through the meat, creating a cohesive filling that won’t fall out when you take a bite.
Timing your seasoning is a pro move. Add your salt and pepper during the browning process rather than at the end. Salt draws out moisture, so adding it early helps the beef release its juices in the pan where they can be drained away, rather than releasing them later inside your sandwich.
For more on maximizing beef flavor, explore juicy ribeye secrets.
For that same satisfying beef flavor, check out this shredded beef and pepper sub.
Phase Two: Building the Waterproof Cheese Barrier
Assembly requires precision to maintain the “anti-soggy” integrity. I use the “Envelope Method” to protect the bread. Start with a slice of bread, then immediately lay down a slice of provolone. This first layer of cheese acts as a hydrophobic seal, melting into the pores of the bread and blocking any stray moisture from the meat.
Next, pile on your warm, drained beef mixture, followed by a slice of sharp cheddar. Finally, top it with the second slice of bread. By sandwiching the meat between two layers of cheese, you lock the filling in place. The cheese acts as a delicious, gooey insulator that keeps the juices away from your crispy crust.
Phase Three: The Weighted Press Technique
Instead of dropping your sandwich into a screaming hot pan, start with a cold or low-heat non-stick skillet. This “cold start” allows the cheese to begin melting at the same rate the bread toasts. Once the sandwich is in the pan, you need to apply pressure.
Use a heavy spatula or even a second weighted pan to press the sandwich down firmly. This compression increases the surface area contact with the skillet, ensuring every millimeter of the bread gets toasted. It also densifies the bread fibers, making them less likely to soak up moisture and more likely to stay shatteringly crisp.
Phase Four: The Critical Cooling Rack Rest
The biggest mistake you can make is sliding a hot patty melt directly onto a cold ceramic plate. The heat from the sandwich creates condensation on the plate, which immediately soaks back into the bottom slice of bread. All your hard work will be undone in thirty seconds.
Instead, let the sandwiches rest for about 60 seconds on a wire cooling rack. This allows for 360-degree airflow around the sandwich. The internal steam can escape into the air rather than being trapped against the crust. This short rest period is the final step in ensuring a professional, crunchy finish.
Troubleshooting Common Patty Melt Failures
If your bread is browning too fast but the cheese is still cold, your heat is too high. Turn it down to medium-low and use a lid for 30 seconds to trap enough heat to melt the cheese. If the filling is falling out, you likely didn’t press the sandwich firmly enough or your beef crumbles were too large.
Complementary Dishes
To round out your meal, consider these dishes that pair well with hearty beef.
- For a refreshing contrast to your savory patty melts, try the harvest apple and walnut salad, featuring crisp fruit and crunchy nuts.
- If you’re in the mood for another satisfying pasta creation, the zesty cheeseburger pasta salad offers a flavorful, one-bowl option.
For those who find the flavor a bit flat, try seasoning the exterior of the bread. A tiny pinch of salt on the butter-mayo spread before it hits the pan can make the crust pop. If the sandwich feels too greasy, ensure you are pressing the beef in the colander more aggressively next time to remove that excess rendered fat.
Optimal Side Dish Pairings
Because a patty melt is incredibly rich and savory, you want sides that offer high acidity to cleanse your palate. A vinegar-based coleslaw is a classic choice that provides a cool, crunchy contrast. The tang of the vinegar cuts right through the fat of the beef and cheese.
You might also consider spicy pickled peppers or a simple arugula salad tossed in a sharp lemon vinaigrette. These bright, peppery flavors prevent the meal from feeling too heavy. A crisp, cold sparkling apple cider or a ginger beer also provides a refreshing bubbly finish that complements the toasted sourdough perfectly.
Frequently Asked Questions
Can I use lean ground beef instead?
Using 90/10 or 95/5 lean beef is generally not recommended for this recipe. Lean beef lacks the fat necessary to create a juicy interior, often resulting in a dry, crumbly texture that doesn’t “bond” with the cheese. The 80/20 blend provides the essential fats that create the signature “melt” mouthfeel and savory depth.
How do I reheat leftovers without losing the crunch?
Never use a microwave to reheat a patty melt, as it will turn the bread into a rubbery, soggy mess. The best way to reheat is in a dry skillet over low heat for about 3 minutes per side, which recrisps the bread. Alternatively, use an air fryer at 350°F for 3 to 4 minutes to restore that original “shatter” crunch to the crust.
What is the best substitute for Provolone?
If you don’t have provolone, Swiss cheese or Havarti are excellent substitutes. Both have relatively low melting points and a mild, creamy flavor profile that won’t overpower the beef. Avoid very hard cheeses like aged parmesan for the “barrier” layer, as they won’t melt enough to create that necessary moisture seal.
Can I add mushrooms to the beef mixture?
Yes, but you must cook them separately first. Mushrooms hold a massive amount of water. Sauté them in a different pan until they are deeply browned and all their liquid has evaporated. Only then should you mix them with your cooked beef. Adding raw or undercooked mushrooms will release water inside the sandwich and cause the dreaded soggy bottom.
Why is my bread burning before the cheese melts?
This usually happens when the pan is too hot or the bread is too thick. The “low and slow” approach is vital for thick-cut sandwiches. By using medium-low heat and a weighted press, you give the heat enough time to migrate through the bread and meat to melt the cheese without carbonizing the exterior fats.
Beef Patty Melts
Course: Main CourseCuisine: AmericanDifficulty: easy2
servings10
minutes15
minutes750
kcal25
MinutesA gourmet take on the classic patty melt featuring sourdough bread, a blend of cheddar and provolone, and a specialized cooking method to ensure a shatteringly crisp crust and gooey center.
Ingredients
4 thick slices of sourdough or brioche bread
1/2 pound ground beef (80/20 blend for flavor)
1/2 small yellow onion, finely minced
4 slices sharp cheddar cheese
4 slices provolone or swiss cheese
3 tablespoons unsalted butter, softened
1 tablespoon mayonnaise (for the ultimate golden crust)
1/2 teaspoon garlic powder
Salt and black pepper to taste
Fresh curly parsley for garnish
Directions
- In a skillet over medium-high heat, add the ground beef and minced onions. Season with salt and pepper. Break the beef into very fine crumbles as it cooks. Once fully browned and the onions are translucent, drain the mixture thoroughly in a fine-mesh colander. Press down on the meat to remove all excess moisture and fat; this is the critical first step to preventing a soggy sandwich.
- In a small bowl, combine the softened butter, mayonnaise, and garlic powder. Spread this mixture generously on one side of each bread slice. The addition of mayonnaise raises the smoke point and ensures the deep, even mahogany crust seen in the image.
- Place two slices of bread, butter-side down, into a large, cold non-stick skillet.
- Layer one slice of provolone on each piece of bread. The cheese acts as a waterproof seal. Top the cheese with a thick, even layer of the warm beef and onion mixture. Place a slice of cheddar over the beef. This “double-cheese envelope” locks the meat in place and prevents juices from migrating to the bread.
- Top with the remaining bread slices, butter-side up. Turn the heat to medium.
- To solve the soggy bottom problem for good, press the sandwich down firmly with a heavy spatula or a second weighted pan. This compresses the bread fibers, making them denser and creating that professional “pressed” texture.
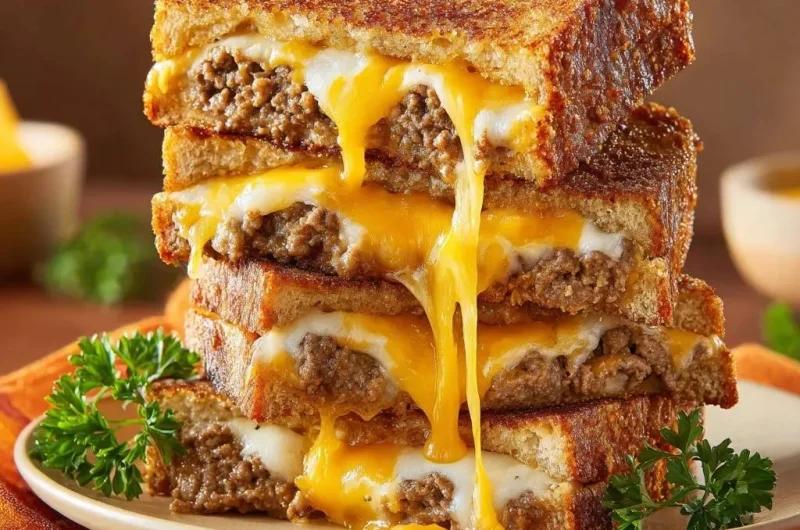
- Grill for 3 to 4 minutes. Once the bottom is deep golden brown and crispy, carefully flip. Grill the other side for another 3 minutes until the cheese is cascading down the sides.
- Remove from the heat and let the sandwiches rest for 60 seconds on a wire rack. This allows internal steam to escape rather than soaking back into the crust. Slice diagonally, garnish with fresh curly parsley, and serve immediately.
Notes
- Resting the sandwiches on a wire rack for 60 seconds is crucial to prevent steam from softening the crust. Using a mix of butter and mayonnaise on the exterior provides a superior golden-brown finish.