
There’s nothing quite like craving that comforting baked macaroni and cheese, only to have it emerge from the oven as a dry, sad block. I’ve been there countless times! But after years of passionate kitchen experiments, I finally perfected the method for an Ultimate Baked Mac and Cheese that stays incredibly creamy, satisfying, and utterly delicious, even after baking.
This recipe isn’t just about a cheesy dish; it’s about achieving consistent, luscious results every single time, offering that perfect golden brown crust with a rich, velvety interior.
Why This Ultimate Baked Mac and Cheese Recipe Reigns Supreme
The “Never Dry” Promise: A Baked Mac Breakthrough
The biggest challenge with baked mac and cheese is often maintaining its moisture. Our recipe tackles this head-on by initially covering the dish during baking.
This critical step traps steam, gently cooking the pasta further while ensuring the cheese sauce remains luxuriously creamy, guaranteeing a tender, never-dry experience.
Unbeatable Creaminess, Bite After Bite
This recipe delivers a rich, smooth texture that won’t clump or become grainy. We achieve this through a thoughtful blend of sharp cheddar and nutty Gruyere cheeses.
The secret lies in incorporating the cheese gradually into a perfectly crafted béchamel, allowing each handful to melt smoothly and integrate fully before adding more.
Simple Steps, Spectacular Results
Despite its gourmet-level flavor and texture, this Ultimate Baked Mac and Cheese is surprisingly straightforward to prepare. The instructions are clear and concise.
You’ll find that with a few key techniques, anyone can achieve a truly spectacular, comforting dish that impresses every time.
Your Ingredient Lineup: Crafting Unforgettable Flavors
The Pasta Foundation: Choosing the Right Noodle
Elbow macaroni is the classic choice for a reason; its small, curved shape perfectly cradles the rich cheese sauce.
Crucially, we undercook the pasta slightly – cooking it two minutes less than al dente – to prevent mushiness and allow it to absorb the creamy sauce during baking.
The Velvety Base: Milk, Butter, and Flour
This trio forms our essential béchamel, the creamy backbone of the dish.
Unsalted Butter: Provides rich flavor and the fat needed to create a smooth roux.
All-Purpose Flour: Thickens the sauce, creating that luscious body.
Whole Milk: Absolutely essential for unparalleled creaminess and richness. Warming it first prevents lumps and ensures a smooth sauce.
The Cheese Dream Team: Cheddar and Gruyere
This combination offers a balanced, complex flavor profile.
Sharp Cheddar: Delivers that iconic, tangy mac and cheese flavor and melts beautifully.
Gruyere Cheese: Adds a sophisticated, nutty, and slightly earthy note, enhancing the overall depth and creaminess without overpowering it.
Flavor Boosters and Crispy Toppings
These elements elevate the dish from good to extraordinary.
Dry Mustard Powder: A subtle secret weapon that amplifies the cheese flavor without adding a distinct mustard taste.
Salt & Black Pepper: Essential seasonings that balance and enhance all the flavors.
Panko Breadcrumbs: These coarser Japanese breadcrumbs create an incredibly light and crispy golden brown topping when tossed with melted butter.
Fresh Parsley: A final garnish that adds a pop of color and fresh herbal brightness.
Essential Tools for Your Ultimate Mac and Cheese Adventure
Pots, Pans, and Dishes: Your Kitchen Companions
Having the right cookware makes all the difference for a smooth cooking process.
Large Pot: For boiling the macaroni. Choose one generous enough to prevent overcrowding.
Large Saucepan or Dutch Oven: Ideal for making the béchamel sauce, ensuring even heat distribution and enough space for whisking.
9×13 Inch Baking Dish: The perfect size for this recipe, allowing for an optimal pasta-to-sauce ratio and even baking.
Whisks and Spatulas: Stirring Up Success
These handheld tools are indispensable for achieving creamy perfection.
Whisk: Critical for thoroughly combining the butter and flour for the roux, and for gradually incorporating the milk to prevent lumps in the béchamel.
Sturdy Spatula: Essential for gently folding the cooked macaroni into the rich cheese sauce, ensuring every noodle is perfectly coated without breaking.
Mastering the Method: A Step-by-Step Guide to Ultimate Baked Mac and Cheese
Prep & Pasta: Setting the Stage
Preheat and Prepare: Preheat your oven to a precise 375 degrees F. Then, lightly grease a 9×13 inch baking dish to prevent sticking and ensure easy serving.
The “Al Dente Minus Two” Rule: Cook the elbow macaroni in a large pot of generously salted boiling water. Cook it for exactly two minutes less than the package directions for al dente; this is crucial. Drain it exceptionally well after cooking, shaking off excess water, as moisture control is key.
Building the Béchamel: The Heart of the Sauce
Crafting the Roux: In a large saucepan or Dutch oven, melt the 1/2 cup unsalted butter over medium heat. Whisk in the 1/2 cup all-purpose flour and cook for just 1 minute, stirring constantly, until it forms a pale blonde paste. This brief cooking eliminates the raw flour taste.
Gradual Milk Integration: Slowly, a little at a time, whisk in the warm whole milk. This gradual addition ensures a perfectly smooth, lump-free sauce. Continue cooking, stirring frequently, for about 5-7 minutes until the sauce thickens to coat the back of a spoon and begins to simmer gently.
The Cheesy Fusion: Adding Depth and Creaminess
Seasoning the Sauce: Remove the saucepan from the heat immediately. Stir in the dry mustard powder, 1/2 teaspoon salt, and black pepper. The residual heat is enough for seasoning.
Handful by Handful Cheese Method: This is a critical step for preventing graininess. Add the shredded sharp cheddar and Gruyere cheeses to the sauce a handful at a time. Stir continuously with a spatula or whisk until each addition is completely melted and smooth before incorporating the next handful. This ensures a beautifully emulsified, velvety sauce.
Assembling Your Mac and Cheese Masterpiece
Combining Pasta and Sauce: Add the slightly undercooked and thoroughly drained macaroni directly into the prepared cheese sauce. Stir gently but thoroughly with a sturdy spatula to ensure every single noodle is evenly coated in the rich, creamy sauce.
Transfer to Dish: Carefully pour the entire macaroni and cheese mixture into your prepared 9×13 inch baking dish. Spread it out evenly into a single layer.
The Crispy Crown: Panko Topping Perfection
Preparing the Topping: In a small separate bowl, combine the panko breadcrumbs with 2 tablespoons of melted butter. Toss them together until the breadcrumbs are evenly coated and glistening.
Even Distribution: Generously sprinkle the buttered panko breadcrumbs evenly over the entire surface of the macaroni and cheese in the baking dish. This creates that irresistible crispy crust.
Baking to Golden Glory: The “Never Dry” Technique
The Covered Bake: Cover the baking dish tightly with aluminum foil. This step is vital for our “never dry” promise. Bake for an initial 20 minutes with the foil on.
Unveiling for Crispness: After 20 minutes, carefully remove the aluminum foil. Return the dish to the oven and continue to bake for another 15-20 minutes, or until the topping achieves a beautiful golden brown and crispy texture, and the Ultimate Baked Mac and Cheese is bubbling around the edges.
The Perfect Finish: Rest and Garnish
The Importance of Resting: Once out of the oven, let the baked mac and cheese rest for 5-10 minutes. This allows the sauce to set slightly, preventing it from being too runny and making for easier, cleaner serving.
Garnish with Freshness: Before serving, sprinkle generously with fresh chopped parsley. This adds a vibrant pop of color and a fresh, herbaceous counterpoint to the rich dish.
Beyond the Recipe: Pro Tips for Next-Level Baked Mac and Cheese
The “Al Dente Minus Two” Noodle Secret
Undercooking your pasta by two minutes is paramount for baked mac and cheese. This ensures the noodles retain a slight chewiness and don’t turn mushy during the secondary cooking in the oven.
It also allows them to absorb the rich cheese sauce as they finish cooking, becoming perfectly tender and flavorful, never overcooked.
The Warm Milk & Gradual Whisking Advantage
Using warm milk for your béchamel sauce is a game-changer. Cold milk can shock the roux, making it harder to whisk smoothly and potentially leading to lumps.
Gradually adding the warm milk, while whisking continuously, ensures a perfectly emulsified, silky-smooth sauce that is the foundation for truly creamy mac and cheese.
Cheese Integration: Handful by Handful for Smoothness
Adding cheese slowly and allowing each batch to fully melt before adding more is critical. Dumping all the cheese in at once can cause the sauce to seize, resulting in a grainy or oily texture.
This patient method ensures the cheese emulsifies beautifully with the béchamel, creating an incredibly smooth and luscious sauce every time.
Customizing Your Cheese Blend: Beyond Cheddar & Gruyere
While cheddar and Gruyere are a fantastic duo, feel free to experiment with other melting cheeses to personalize your Ultimate Baked Mac and Cheese.
For a different texture, consider trying roasted cauliflower mac and cheese.
Consider Monterey Jack for extra creaminess, Fontina for a nutty, buttery depth, or smoked Gouda for a distinct smoky flavor. Combining 2-3 types creates complex layers of taste.
Flavor Enhancements & Mix-Ins
Elevate your dish with thoughtful additions. Cooked and crumbled crispy bacon or caramelized onions folded into the sauce add incredible savory depth.
For a touch of heat, try diced pickled jalapeños. A pinch of smoked paprika or a dash of Worcestershire sauce stirred into the béchamel can also deepen the savory notes.
Troubleshooting Your Ultimate Baked Mac and Cheese
Why Is My Sauce Grainy?
A grainy sauce often results from adding cheese too quickly, overheating the sauce after cheese is added, or using pre-shredded cheese with anti-caking agents.
Ensure you add cheese gradually, stirring until fully melted before each addition, and remove the sauce from direct heat immediately after the cheese is incorporated.
Help! My Mac and Cheese is Dry!
If your baked mac and cheese turns out dry, it’s typically due to overbaking or insufficient sauce. Ensure you follow the “covered bake” step diligently.
The foil traps moisture, preventing the sauce from evaporating too quickly. Also, verify your initial sauce consistency is thick but pourable before baking.
My Topping Isn’t Crispy Enough.
For a truly crispy topping, panko breadcrumbs are superior to regular ones. Ensure they are well-coated with melted butter before sprinkling.
If after the specified uncovered baking time your topping isn’t golden, a quick minute or two under the broiler (watch very carefully!) can achieve that perfect crispness.
Ultimate Baked Mac and Cheese: Your Top Questions Answered
Can I make this recipe ahead of time?
Yes, you can prepare the cheese sauce and pasta, combine them, and transfer to the baking dish up to 24 hours in advance. Cover tightly and refrigerate.
When ready to bake, let it sit at room temperature for 30 minutes while the oven preheats, then proceed with the recipe, adding an extra 10-15 minutes to the covered bake time.
What’s the best way to store leftovers?
Store any leftover Ultimate Baked Mac and Cheese in an airtight container in the refrigerator for up to 3-4 days. For reheating, a microwave works well for individual portions.
Alternatively, reheat larger amounts in an oven-safe dish at 300°F (150°C), covered with foil, adding a splash of milk or cream to restore moisture, until heated through.
Can I freeze Ultimate Baked Mac and Cheese?
Yes, this recipe freezes well! Once completely cooled, cover the baking dish tightly with foil and plastic wrap, or transfer portions to freezer-safe containers.
It can be frozen for up to 2-3 months. Thaw overnight in the refrigerator before reheating. Note that the pasta texture might be slightly softer after freezing and thawing.
Can I use different types of pasta?
Absolutely! While elbow macaroni is classic, other short, sturdy pasta shapes work wonderfully for this baked pasta dish.
Consider using cavatappi, shells, penne, or rotini. Ensure to still slightly undercook your chosen pasta variety to prevent it from becoming mushy during baking.
Is there a gluten-free option for this recipe?
Yes, you can easily adapt this recipe to be gluten-free. Simply substitute regular elbow macaroni with a good quality gluten-free elbow macaroni.
For the béchamel, replace the all-purpose flour with an equal amount of a gluten-free all-purpose flour blend (one that contains xanthan gum works best for thickening). The result will be just as delicious.
Serving Suggestions: Pairing Your Comfort Food Classic
Classic Companions for Your Cheesy Delight
This creamy mac and cheese pairs beautifully with hearty, savory main dishes. Think tender slow-cooked ribs, juicy roasted chicken, or even classic meatloaf.
It’s the ultimate comfort food side that effortlessly elevates any family meal or holiday spread.
Adding a Fresh Touch: Salads and Greens
To balance the rich indulgence of your Ultimate Baked Mac and Cheese, consider serving it with something light and fresh.
A crisp green salad with a bright vinaigrette, steamed broccoli, or sautéed asparagus provides a refreshing counterpoint and adds vibrant color to your plate.
Hearty Mains & Side Dishes
This baked pasta dish is versatile enough to be a standalone vegetarian main course when paired with a robust salad, or served alongside other comfort food favorites.
Imagine it next to pulled pork sandwiches, grilled sausages, or as part of a festive spread with other comforting sides.
Ready to Indulge? Share Your Ultimate Baked Mac and Cheese Success!
You now possess the secrets to creating the most luscious, “never dry” Ultimate Baked Mac and Cheese. This isn’t just a recipe; it’s a guaranteed path to pure comfort food bliss.
Go forth and create this creamy masterpiece, then share your success with us! We can’t wait to see your golden, bubbling results.

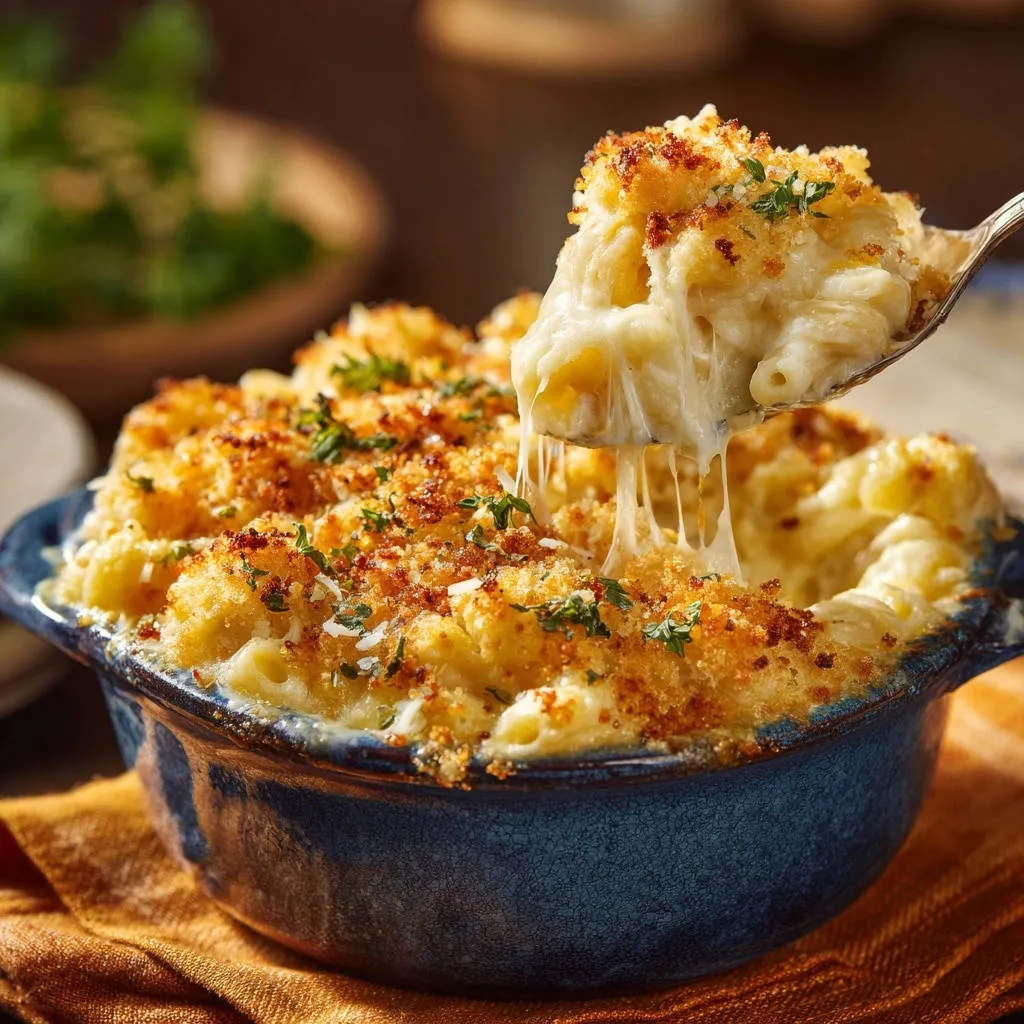
Baked Mac and Cheese
Course: Main CourseCuisine: AmericanDifficulty: medium8
servings20
minutes40
minutes650
kcal60
minutesSay goodbye to dry, sad baked mac and cheese! This recipe reveals the secret to keeping your mac incredibly creamy and satisfying, even after baking. With a blend of sharp cheddar and Gruyere, and a crispy panko topping, it’s the ultimate comfort food.
Ingredients
1 pound elbow macaroni
1/2 cup unsalted butter
1/2 cup all-purpose flour
4 cups whole milk, warmed
1 teaspoon dry mustard powder
1/2 teaspoon salt, plus more for pasta water
1/4 teaspoon black pepper
4 cups shredded sharp cheddar cheese
2 cups shredded Gruyere cheese
1 cup panko breadcrumbs
2 tablespoons melted butter
Fresh parsley, chopped, for garnish
Directions
- Preheat your oven to 375 degrees F. Grease a 9×13 inch baking dish.
- Cook the elbow macaroni in a large pot of salted boiling water according to package directions, but remove it from the heat 2 minutes before it reaches al dente. Drain well.
- In a large saucepan or Dutch oven, melt the 1/2 cup butter over medium heat. Whisk in the flour and cook for 1 minute, stirring constantly, to create a roux.
- Gradually whisk in the warm milk, a little at a time, ensuring no lumps form. Continue to cook, stirring frequently, until the sauce thickens and begins to simmer, about 5-7 minutes.
- Remove the saucepan from the heat. Stir in the dry mustard powder, 1/2 teaspoon salt, and black pepper.
- Add the shredded cheddar and Gruyere cheeses to the sauce, a handful at a time, stirring until completely melted and smooth before adding more. This keeps the sauce creamy and prevents it from becoming grainy.
- Add the slightly undercooked macaroni to the cheese sauce and stir gently to coat all the noodles evenly.
- Pour the macaroni and cheese mixture into your prepared baking dish.
- In a small bowl, toss the panko breadcrumbs with the 2 tablespoons of melted butter until coated. Sprinkle the buttered breadcrumbs evenly over the top of the macaroni and cheese.
- The Secret to Never Dry Mac: Cover the baking dish tightly with aluminum foil. Bake for 20 minutes.
- Remove the foil and continue to bake for another 15-20 minutes, or until the topping is golden brown and crispy and the mac and cheese is bubbly.
- Let rest for 5-10 minutes before serving. Garnish with fresh chopped parsley.
Notes
- The key to a creamy mac and cheese is undercooking the pasta slightly and adding cheese off the heat gradually to prevent graininess.