For years, I chased that elusive perfect texture-the cinnamon roll that pulls apart effortlessly, melting in your mouth instead of requiring a fight. The secret to consistently achieving truly plush, feather-light texture lies in one simple, expert technique: how you treat the milk. This recipe guarantees the kind of Ultimate Homemade Cinnamon Rolls that are impossibly gooey and perfectly risen every time.
The Game-Changer: Why This Recipe Guarantees Fluffy Rolls
Decoding the Secret: Scalding Milk for Moisture Lock-In
The key to these tender treats is the process of scalding the milk. By heating the milk until it just begins to bubble (around 180°F) and then cooling it, we fundamentally change its structure.
This process deactivates whey proteins that would otherwise interfere with gluten development during kneading and rising. The result is a more resilient, moisture-retaining dough structure that rises higher and stays softer than recipes using cold or warm milk alone.
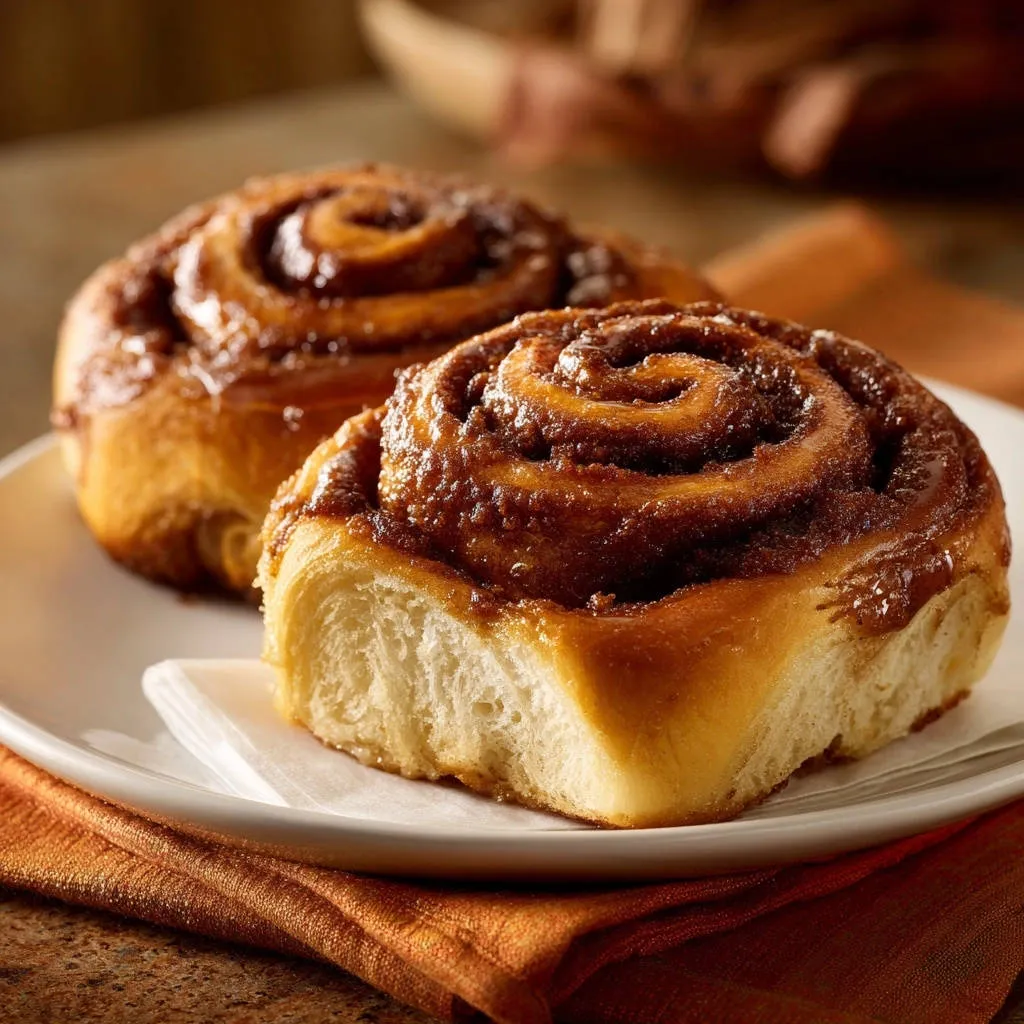
Beyond the Basic Roll: That Irresistibly Gooey, Sticky Bottom
While the dough ensures fluffiness, the optional sticky topping guarantees decadence. We skip the traditional heavy cream cheese frosting and instead create a caramelized base of melted butter and brown sugar.
If you’re looking for a similarly sweet treat, try glazed raspberry sweet rolls on your next baking day.
For another perfect crumbly treat, check out this classic apple crumb cake.
This sweet, syrupy mixture is spread into the baking dish before the rolls are placed inside. When baked, it creates a rich, sticky layer that, once inverted, forms a magnificent, irresistible glaze.
For a similar sticky topping, explore glazed pecan cinnamon rolls.
Essential Tools for Your Ultimate Homemade Cinnamon Rolls Adventure
While you don’t need a professional bakery setup, having the right equipment dramatically improves the consistency and quality of your homemade cinnamon rolls.
Stand Mixer vs. Hand Kneading: A stand mixer with a dough hook is a huge time and effort saver, ensuring the required 8-10 minutes of intense kneading for proper gluten development. Hand kneading is possible but requires 12-15 minutes of focused work to pass the windowpane test.
The Windowpane Test: This technique is crucial for knowing when your dough is ready. You should be able to stretch a small piece of dough thin enough to see light through it without tearing-a definitive sign of strong, elastic gluten.
Kitchen Thermometer: Precise temperature control is non-negotiable for baking success. A thermometer ensures your yeast proofing water is in the optimal range (105-115°F) and, critically, verifies the milk has reached 180°F before cooling.
Gathering Your Baking Arsenal: Inside the Best Cinnamon Roll Recipe
The Foundations of a Feather-Light Dough
Active dry yeast must be proofed properly to ensure your rolls rise effectively; this step guarantees your leavening agent is alive.
Always use softened unsalted butter; if it’s too cold, it won’t incorporate smoothly, and if it’s melted, it changes the necessary structure of the dough. The scalded milk is the true foundation, locking in moisture for unparalleled softness.
The Intense, Perfectly Balanced Cinnamon Filling
The filling relies on a high ratio of packed light brown sugar for depth of flavor and moisture.
Use generously soft butter, not melted, and mix it thoroughly with the brown sugar and cinnamon until a thick, uniform paste forms. This paste ensures the filling stays put during rolling and provides maximum gooey texture.
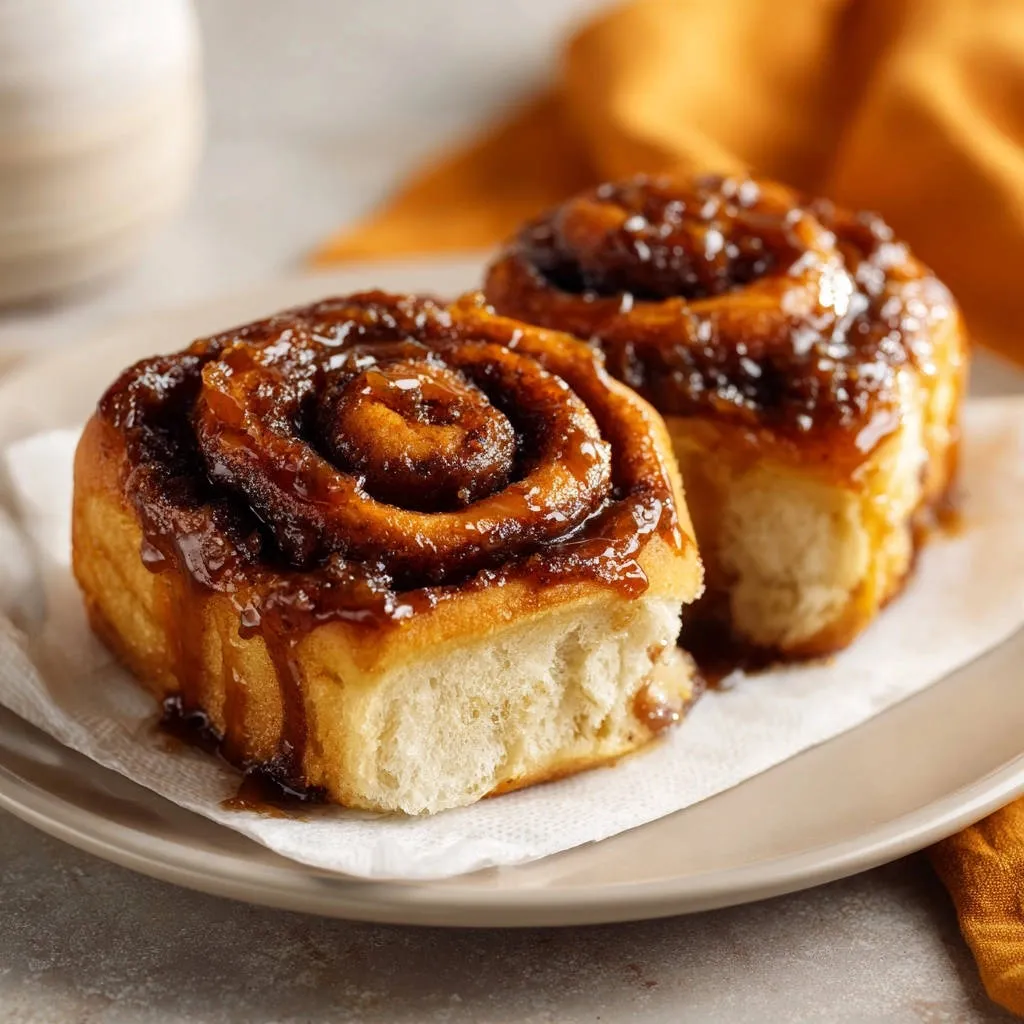
Crafting the Two-Part Topping System (The Sticky Glaze)
This recipe’s signature feature is the sticky, caramelized bottom layer, created using a simple mixture of melted butter, milk, and brown sugar.
When the pan is inverted, this base layer becomes the luscious, gooey coating, eliminating the need for a separate, heavy glaze.
More Sweet Bakes to Try
If you enjoyed these cinnamon rolls, you might like these other baked goods featuring chocolate and comforting textures.
- For a similar fluffy texture with a chocolate twist, check out this recipe for Chocolate Walnut Cinnamon Rolls.
- If you’re after rolls with impressive height and a rich chocolate swirl, this Chocolate Swirl Rolls with Guaranteed Height recipe is a great choice.
Mastering the Method: Step-by-Step Guide to Fluffy Dough
-
Activate Yeast and Perform the Scald-Cool Technique:
Start by proofing the yeast in a quarter cup of warm water with a teaspoon of sugar for 5 to 10 minutes; it must be foamy to proceed.
Next, scald the remaining cup of milk, heating it until it just begins to simmer (around 180°F). Immediately remove from heat and let it cool completely until it reaches lukewarm temperature (around 110°F). This step is non-negotiable for fluffiness.
-
Blending the Wet Ingredients:
In a large bowl or stand mixer, combine the remaining granulated sugar, softened butter, eggs, and salt.
Pour in the cooled, scalded milk mixture and the fully activated yeast mixture, ensuring all ingredients are well-integrated before adding the flour.
-
Achieving the Perfect Knead and Windowpane:
Gradually add the five cups of all-purpose flour, mixing until a shaggy dough forms. Switch to the dough hook attachment.
Knead the dough rigorously for a full 8 to 10 minutes until it is perfectly smooth, elastic, and, most importantly, passes the windowpane test.
-
The Critical First Rise: The Environment Matters:
Place the dough in a lightly oiled bowl, turn to coat, and cover tightly with plastic wrap to prevent drying.
For a guaranteed, draft-free rise, place the covered bowl in a cold, turned-off oven along with a pan of boiling water below it. Let rise until doubled in size, which typically takes 1 to 1.5 hours.
-
Preparing the Sticky Pan and Filling Paste:
While the dough rises, prepare a 9×13 inch baking pan by spreading the melted butter, milk, and 1/2 cup brown sugar base evenly across the bottom for the signature sticky bottom.
Separately, combine the softened filling butter, 1 cup brown sugar, and ground cinnamon until it forms a thick, deeply scented, spreadable paste.
-
Rolling, Filling, and Coiling:
Punch down the risen dough and turn it out onto a very lightly floured surface. Roll the dough into a large, even rectangle, approximately 12 inches by 18 inches.
Spread the prepared cinnamon filling paste completely over the entire surface of the dough rectangle, ensuring edge-to-edge coverage for maximum flavor in every bite.
-
Cutting Uniform Rolls with Dental Floss:
Starting with the long side, roll the dough tightly into a log, pinching the final seam to seal it completely.
Use unscented dental floss (by slipping it under the log and crossing the ends) or a very sharp knife to slice the log into 12 uniform 1.5-inch rolls for the cleanest cuts.
-
The Puffy Second Rise and Baking:
Place the rolls cut-side down into the prepared sticky pan. Cover them lightly and allow them to rise again until puffy and pressing slightly against each other (30-45 minutes).
Bake at a preheated 375°F for 20 to 25 minutes, or until the edges are light golden brown. Do not overbake, which is the enemy of fluffy cinnamon rolls.
-
The Sticky Finish: Inverting for Gooey Glory:
Once out of the oven, let the rolls cool in the pan for only 5 minutes to set slightly.
Immediately invert the rolls onto a large serving platter so the sticky caramelized bottom becomes the luscious topping. Serve these Ultimate Homemade Cinnamon Rolls warm.
Chef’s Corner: Pro Tips for Elevated Results
The Tighter the Roll, the Better the Swirl: Always roll the dough as tightly as possible, especially during the initial turns. This prevents gaps in the final baked roll and achieves that beautiful, tall, spiraled look.
Don’t Over-Flour the Surface: Resist the urge to use too much flour during the rolling step. Excess flour dries out the dough and prevents the tight coiling necessary for gorgeous rolls. Use only the absolute minimum required to prevent sticking.
Testing for Doneness (The Center Roll): Rolls bake unevenly, with the edges cooking faster. Check the center-most roll (the one surrounded by others) to ensure it is cooked through without risking dryness on the more exposed edges.
The Importance of Salt in Sweet Doughs: Salt does more than just enhance flavor. It regulates the yeast activity, slowing down the rise just enough to allow better flavor development and strengthen the overall gluten structure.
Planning Ahead: Make-Ahead Ultimate Homemade Cinnamon Rolls
Overnight Preparation: The Cold Rise Method
You can prepare your rolls the night before for fresh morning baking. Complete the process all the way through the cutting and placement of the rolls into the sticky pan (Step 8).
Instead of the 30-45 minute second rise, cover the pan tightly with plastic wrap and place it immediately in the refrigerator overnight (up to 16 hours). In the morning, pull them out 1 hour before baking to temper slightly, then bake as directed.
Storage and Reheating Best Practices
Store any leftover baked rolls in an airtight container at room temperature for up to two days. For longer storage, freeze them unglazed for up to one month.
To reheat baked rolls without drying them out, wrap them individually in foil and warm them in a 300°F oven for 10-15 minutes. Alternatively, microwave them briefly (15-20 seconds) with a damp paper towel draped over the top.
Troubleshooting Common Dough Disasters
Problem: My Dough Didn’t Rise
The most common cause is dead yeast or improper temperature control. Ensure your water for proofing was not too hot (killing the yeast) or too cold (stunting it).
Confirm the rising environment was truly warm and draft-free; the oven with boiling water method is the best assurance against this failure.
Problem: The Rolls Unraveled While Baking
This happens when the log wasn’t rolled tightly enough or when the final seam was not adequately sealed with a pinch.
Always start rolling very tightly from the first turn, and press down firmly on the seam before cutting.
Problem: My Rolls Came Out Dry and Stiff
If your Ultimate Homemade Cinnamon Rolls are dry, the issue likely points back to the essential moisture lock-in technique: did you scald and cool the milk correctly?
Additionally, avoid over-kneading (which tightens the structure) and be hyper-vigilant about the baking time-pull them out right when the centers are set but still look tender.
Quick Answers to Common Cinnamon Roll Questions
Can I use rapid-rise or instant yeast in this Ultimate Homemade Cinnamon Rolls recipe?
Yes, you can. You should use about 25% less instant yeast than active dry yeast, and you can skip the proofing step entirely, adding it directly to the flour and other dry ingredients.
However, the dough will likely rise faster, so monitor the first rise closely.
I don’t have a stand mixer; how long should I hand-knead the dough?
When kneading by hand, increase the time to 12-15 minutes of strenuous work. The definitive sign of readiness remains the windowpane test, regardless of the method used.
What is the ideal internal temperature for cooked cinnamon rolls?
The ideal internal temperature for cooked yeast dough, including these sweet treats, is between 195°F and 205°F. Using a thermometer is the best way to ensure they are done without drying them out.
Bake Your Best Batch Today!
By focusing on the simple science of the scalded milk technique and following the detailed steps, you can confidently transform your baking routine and produce truly perfect, feather-light rolls.
Ditch the dense disasters of the past and bake these incredible Ultimate Homemade Cinnamon Rolls. Hit the kitchen, embrace the technique, and share your gloriously gooey results!

Cinnamon Rolls
Course: BreakfastCuisine: AmericanDifficulty: medium12
rolls40
minutes25
minutes450
kcal180
minutesUnlock the secret to feather-light, melt-in-your-mouth cinnamon rolls. This guaranteed recipe focuses on one simple technique: properly scalding the milk to lock in moisture, ensuring a plush, perfect dough every single time.
Ingredients
For the Dough:
4 1/2 teaspoons active dry yeast (2 packets)
1 cup milk
1/2 cup granulated sugar
1/2 cup unsalted butter, softened
2 large eggs
1 teaspoon salt
5 cups all-purpose flour, plus extra for dusting
For the Filling:
1/2 cup unsalted butter, softened
1 cup packed light brown sugar
2 tablespoons ground cinnamon
For the Glaze/Sticky Topping (Optional, but recommended for shine):
1/4 cup unsalted butter, melted
2 tablespoons milk
1/2 cup brown sugar, packed
Directions
- Activate the Yeast and Scald the Milk: In a small bowl, dissolve the yeast and 1 teaspoon of the granulated sugar in 1/4 cup of warm water (105 to 115 degrees F). Let stand for 5 to 10 minutes until foamy. This proves your yeast is alive. Meanwhile, place the 1 cup of milk in a small saucepan. Heat the milk until it just begins to bubble around the edges (about 180 degrees F). Immediately remove from heat and let it cool until it is just lukewarm (about 110 degrees F). This process of scalding and cooling the milk is the key to fluffiness, as it changes the milk proteins, preventing them from interfering with the gluten structure.
- Prepare the Dough Base: In a large bowl or stand mixer, combine the remaining granulated sugar, softened butter, eggs, and salt. Pour in the cooled, scalded milk mixture and the activated yeast mixture.
- Mix and Knead: Gradually add the flour, mixing until a shaggy dough forms. Switch to the dough hook attachment (or turn out onto a floured surface). Knead the dough for 8 to 10 minutes until it is smooth, elastic, and passes the windowpane test (you should be able to stretch a piece thin enough to see light through it without tearing).
- The First Rise (Hydration Lock-In): Place the dough in a lightly oiled bowl, turning to coat. Cover tightly with plastic wrap. Place the bowl in a warm, moist, but draft-free environment. To guarantee a great rise and prevent the dough from forming a tough skin, place the bowl in a cold, turned-off oven along with a pan of boiling water below it. Let rise until doubled in size, about 1 to 1.5 hours.
- Prepare the Pan and Filling: While the dough rises, prepare the baking pan (a 9×13 inch pan works well). For the extra sticky bottom shown, spread the melted butter and 1/2 cup of brown sugar evenly across the bottom of the pan. Set aside. For the filling, combine the softened butter, 1 cup of brown sugar, and cinnamon until a thick, spreadable paste forms.
- Roll and Fill: Punch down the risen dough and turn it out onto a lightly floured surface. Roll the dough into a large rectangle, roughly 12 inches by 18 inches, keeping the thickness even. Spread the cinnamon filling paste completely over the dough rectangle, going right up to the edges.
- Cut and Shape: Starting with the long side, tightly roll the dough into a log. Use unscented dental floss or a very sharp knife to cut the log into 12 equal rolls, about 1 1/2 inches thick.
- The Second Rise: Place the rolls cut-side down into the prepared sticky bottom pan. Cover them again lightly with plastic wrap and let them rise for 30 to 45 minutes, or until puffy and pressing slightly against each other.
- Bake: Preheat oven to 375 degrees F. Bake the rolls for 20 to 25 minutes, or until the edges are golden brown and the centers are cooked through.
- Finish: Once out of the oven, let them cool in the pan for only 5 minutes. Then, immediately invert the rolls onto a serving plate so the sticky caramelized bottom becomes the gooey topping. Serve warm.
Notes
- The key to the plush dough is scalding the milk (180°F) and then cooling it until lukewarm (110°F). For a gooey, sticky topping, invert the rolls immediately after a 5-minute cooling period.