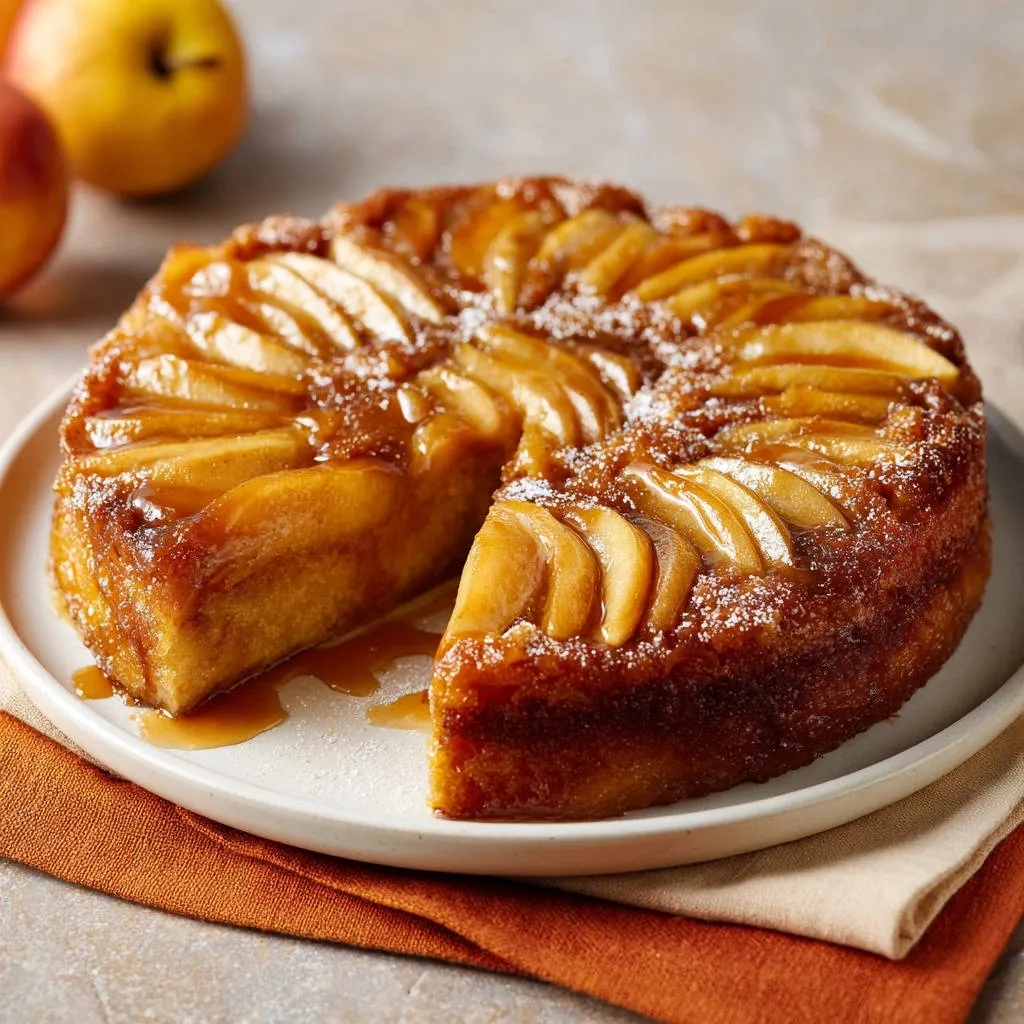
There’s nothing quite like the frustration of a beautiful caramel apple dessert sticking stubbornly to the pan, ruining all your hard work. I’ve perfected a simple yet foolproof trick for this Caramel Apple Upside Down Cake that guarantees a perfectly clean release, revealing a stunning, intact topping every single time.
This recipe isn’t just about a flawless flip; it’s about a wonderfully moist cake base, perfectly tender apples, and a rich, buttery caramel that will undoubtedly become a favorite in your kitchen.
The Secret to a Seamless Flip: Unveiling Our Caramel Apple Upside Down Cake
Why This Recipe Guarantees a Perfect Pan Release Every Time
The magic of this Caramel Apple Upside Down Cake lies in a meticulous but straightforward pan preparation technique. We create a double layer of non-stick protection using both butter and parchment paper.
This method forms a barrier that actively prevents the delicious, sticky caramel from seizing onto the pan’s surface, ensuring your gorgeous apple design slides right out when inverted.
For a similar comforting sweetness, check out this recipe for old-fashioned gingerbread cake.
Beyond Basic: What Makes This Cake Irresistibly Delicious?
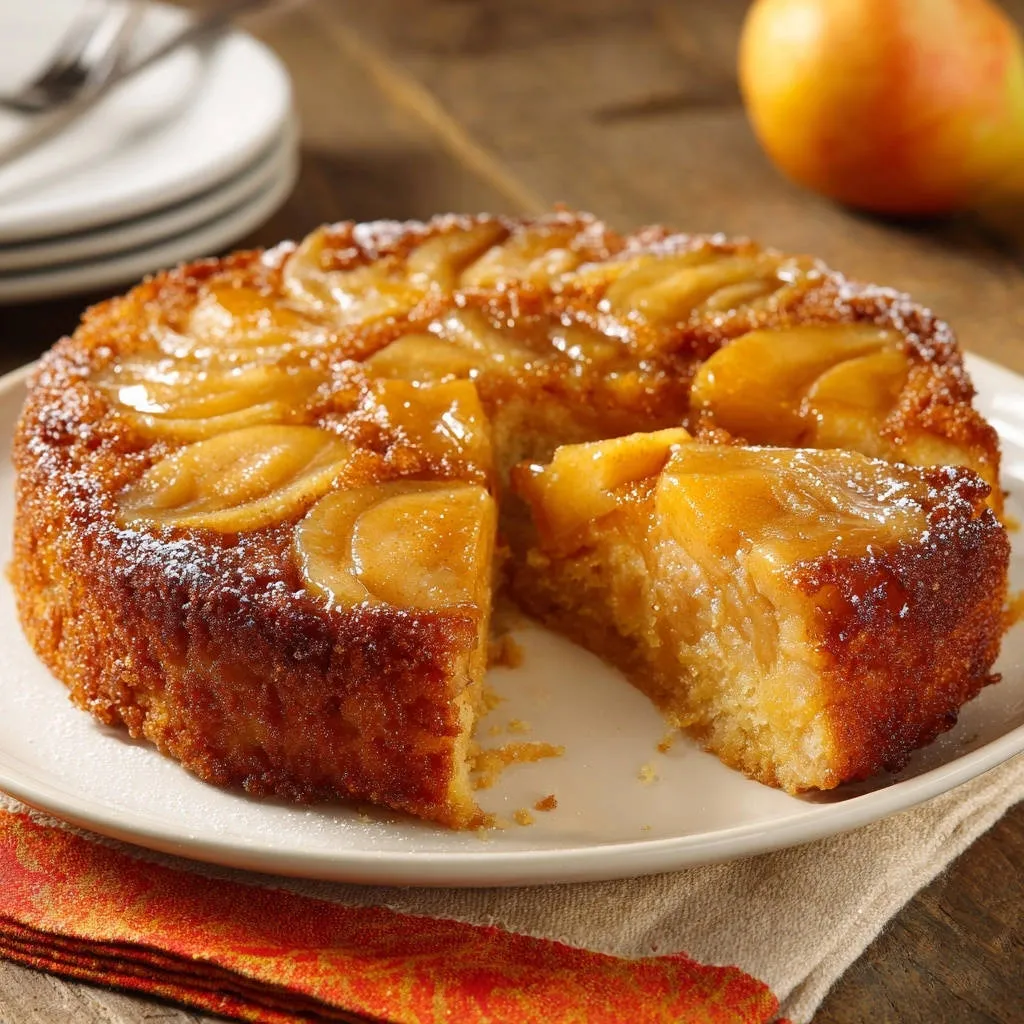
Beyond the flawless presentation, this recipe truly shines in its flavor and texture. The cake itself is incredibly moist and tender, perfectly balancing the sweetness of the caramel.
The apples soften just enough to become spoon-tender while retaining their integrity, providing a delightful textural contrast to the airy cake.
The Building Blocks: Essential Ingredients for Your Cake
Every great Caramel Apple Upside Down Cake starts with quality ingredients. Understanding their role helps ensure a consistently delicious outcome.
For the Gooey Caramel Topping
Unsalted Butter, softened: Essential for a rich, flavorful caramel base. Softened butter melts more evenly and combines smoothly with sugar.
Light Brown Sugar, packed: Provides a deep, molasses-rich sweetness and creates that signature gooey caramel texture. Packing it ensures accurate measurement.
Medium Apples (Granny Smith, Honeycrisp, or Braeburn): Choose firm, tart-sweet varieties that hold their shape when baked. Slice them uniformly to ensure even cooking and a beautiful design.
Crafting the Fluffy Cake Batter
All-Purpose Flour: The structural foundation of our cake. Sifting or whisking it lightens the flour and aids in even distribution.
Baking Powder: Our primary leavening agent, responsible for the cake’s light and fluffy texture. Ensure it’s fresh for optimal rise.
Salt: A crucial flavor enhancer that balances the sweetness and brings out the apple and caramel notes.
Ground Cinnamon: Adds warmth and classic autumnal spice, perfectly complementing the apples and caramel.
Granulated Sugar: Contributes sweetness and helps create a tender crumb when creamed with butter.
Large Eggs, room temperature: Provide structure, richness, and moisture. Room temperature eggs emulsify better with butter and sugar for a smoother batter.
Vanilla Extract: Enhances all the other flavors, adding a touch of aromatic sweetness.
Milk: Adds essential moisture to the batter, contributing to the cake’s tender and moist texture.
Enhancing Flavor: Spices and Optional Dusting
Cinnamon is a key player, infusing the cake with a comforting aroma and taste that pairs perfectly with the apples and caramel. Don’t skip it!
For a similar, foolproof approach to baking, discover our moist chocolate bundt cake.
An optional dusting of powdered sugar adds a delicate finish and a touch of extra sweetness to the presentation, making this homemade caramel cake even more inviting.
Essential Tools for Caramel Apple Upside Down Cake Success
Having the right tools at hand simplifies the baking process and contributes to a perfect outcome for your Caramel Apple Upside Down Cake.
Pans and Preparation Aids
9-inch Round Cake Pan: The standard size for this recipe, ensuring the correct batter-to-apple ratio and cook time.
Parchment Paper: Crucial for the non-stick guarantee. A round cut to fit the bottom of the pan is essential.
Small Saucepan: For melting butter and combining it with brown sugar to create the luscious caramel layer.
Mixing and Baking Equipment
Electric Mixer (handheld or stand): Vital for creaming butter and sugar until light and fluffy, incorporating air for a tender cake.
Large and Medium Mixing Bowls: For separating wet and dry ingredients before combining, ensuring proper aeration and mixing.
Whisk: To thoroughly combine dry ingredients and ensure even distribution of leavening agents and spices.
Rubber Spatula: For gently folding ingredients and spreading batter evenly without overmixing.
Measuring Cups and Spoons: Accurate measurements are critical for baking success.
Wooden Skewer or Toothpick: Your reliable test for doneness, ensuring the cake is baked through without being dry.
Mastering the Method: A Step-by-Step Guide to Perfect Cake
- Prepare Your Pan for a Clean Release:
Generously butter the bottom and sides of a 9-inch round cake pan.
Cut a round piece of parchment paper to fit the bottom of the pan and press it into place, then butter the parchment paper thoroughly. This double layer of protection is key to preventing sticking.
- Create the Caramel Mixture:
Melt 1/2 cup of the softened butter in a small saucepan over medium heat. Stir in the brown sugar until smooth and bubbling.
Pour this warm caramel mixture evenly into the bottom of the prepared cake pan, ensuring it coats the entire base.
- Arrange the Apple Slices:
Carefully arrange the apple slices in a decorative pattern over the caramel in the pan.
You can overlap them slightly to create a beautiful design that will be revealed when flipped.
- Combine Dry Ingredients:
In a medium bowl, whisk together the all-purpose flour, baking powder, salt, and ground cinnamon.
Whisking thoroughly ensures even distribution of leavening agents and spices for a consistent cake.
- Cream Wet Ingredients:
In a separate large bowl, using an electric mixer, cream the granulated sugar and remaining 1/2 cup softened butter until light and fluffy.
Beat in the eggs one at a time, ensuring each is fully incorporated before adding the next, then stir in the vanilla extract.
- Combine Wet and Dry:
Gradually add the dry ingredients to the wet ingredients, alternating with the milk.
Begin and end with the dry ingredients, mixing until just combined to avoid overdeveloping the gluten.
- Layer the Batter:
Gently spoon the cake batter over the apple slices in the pan, spreading it evenly to cover them completely.
- Bake the Cake:
Bake at 350 degrees Fahrenheit for 40 to 45 minutes, or until a wooden skewer inserted into the center of the cake comes out clean.
The internal temperature should reach around 200-205°F (93-96°C) for perfect doneness.
- The Crucial Flipping Technique:
As soon as the cake comes out of the oven, run a thin knife around the edge of the pan to loosen any stuck spots.
Place a large serving plate upside down over the cake pan. Carefully, but confidently, flip the cake pan and plate together.
Let it sit inverted for about 5 minutes before lifting the pan. This allows the warm caramel to fully release and settle, preventing tears.
- Final Reveal and Serve:
Gently lift the cake pan away. If the parchment paper sticks to the cake, carefully peel it off.
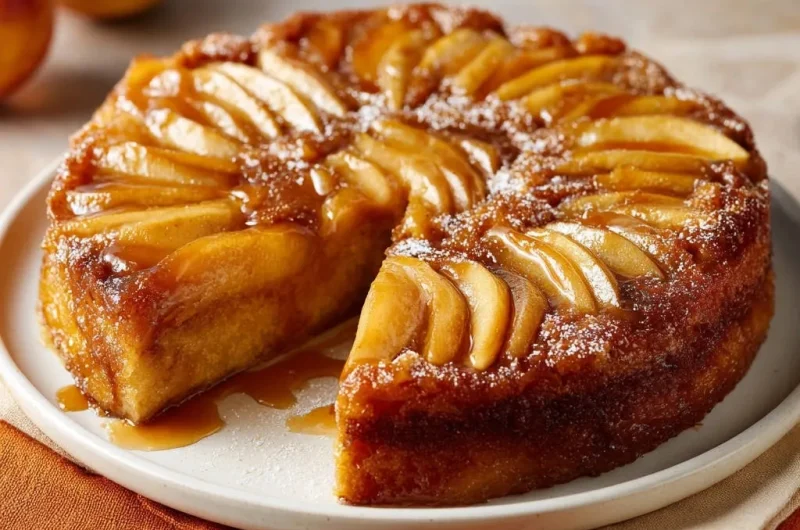
Dust with powdered sugar if desired and serve warm for the best experience.
Pan Prep Perfection: The Non-Stick Guarantee
Building the Caramel Foundation
Whipping Up the Airy Batter
Assembling and Baking to Golden Perfection
The Golden Flip: Unveiling Your Masterpiece
Finishing Touches and Serving
Chef’s Secrets: Elevating Your Caramel Apple Upside Down Cake
Choosing the Best Apples for Baking
Opt for firm, tart apples like Granny Smith, Honeycrisp, or Braeburn that hold their shape well during baking and provide a nice counterpoint to the sweet caramel.
Temperature Matters: Softened Butter and Eggs
Ensure your butter is truly softened (room temperature, but not melted) and eggs are at room temperature. This allows them to cream together properly, resulting in a lighter, more uniform batter.
The Art of Not Overmixing
Mix the dry and wet ingredients only until just combined. Overmixing develops gluten, which can lead to a tough or dense cake.
Perfecting the Caramel Layer Consistency
Ensure the brown sugar and butter mixture comes to a gentle simmer before pouring. This helps it distribute evenly and set beautifully.
Knowing When Your Cake is Done (And When to Flip!)
Trust the skewer test – it should come out clean. The 5-minute wait after flipping is crucial for the caramel to flow and release; don’t rush it!
Common Questions & Troubleshooting Your Upside Down Cake
Why Did My Cake Stick to the Pan (Despite the Tips)?
If your cake still stuck, it’s likely the pan wasn’t buttered generously enough, or the parchment paper wasn’t properly adhered and buttered. Another common reason is lifting the pan too quickly after flipping; ensure you wait the full 5 minutes for the caramel to soften and release.
My Caramel Layer is Too Hard/Runny. What Happened?
A caramel layer that’s too hard often means it was cooked too long or at too high a heat. If it’s too runny, it might not have been cooked enough, or perhaps the apples released too much moisture. Ensure apples are well-drained after slicing if they appear very juicy.
The Cake is Dense or Dry. Any Fixes?
Density or dryness usually points to overmixing the batter, which develops gluten and makes the cake tough. It can also be a sign of overbaking; always rely on the skewer test rather than just time.
Apples Are Too Soft or Not Cooked Enough.
Using softer apple varieties can lead to mushy apples. If they are undercooked, they may have been sliced too thick, or the oven temperature might be slightly off. Ensure slices are uniform and thin enough for even cooking.
Enjoying and Preserving Your Caramel Apple Upside Down Cake
Delicious Serving Suggestions
This Caramel Apple Upside Down Cake is delightful on its own, but it truly shines when served warm with a scoop of vanilla bean ice cream, a dollop of fresh whipped cream, or a drizzle of extra caramel sauce.
Round Out Your Meal
If you enjoyed this caramel apple upside down cake, you might like these other sweet breakfast and dessert ideas.
- For a breakfast treat that echoes the apple and cinnamon flavors, consider making Apple Cinnamon Roll Pancakes.
- If you’re in the mood for more warm spice, our Fluffy Pumpkin Spice Pancakes offer a similar comforting profile.
Storage Tips to Keep it Fresh
Store leftover cake covered tightly with plastic wrap or in an airtight container at room temperature for up to 2 days, or in the refrigerator for up to 4 days.
Can I Make This Cake Ahead?
Yes, you can prepare the cake a day in advance. Store it covered at room temperature. For best results, gently warm individual slices in the microwave or oven before serving to re-soften the caramel.
Your Top Caramel Apple Upside Down Cake Questions Answered
What kind of apples are best for this recipe?
We recommend using firm, crisp apples that hold their shape well when baked, such as Granny Smith (for tartness), Honeycrisp, Braeburn, or Gala. A mix of two varieties can also add complexity.
Can I use gluten-free flour?
Yes, you can substitute a 1:1 gluten-free baking flour blend for the all-purpose flour. Ensure your blend contains xanthan gum for best results, or add 1/2 teaspoon per cup of flour if it doesn’t.
Can I make this dairy-free?
To make this cake dairy-free, substitute unsalted butter with a high-quality plant-based butter alternative and use a dairy-free milk substitute (like almond or oat milk) in the batter.
How long does the cake last?
When stored properly, the cake will remain fresh and delicious for 2-3 days at room temperature, or up to 4 days in the refrigerator.
What’s the best way to reheat leftovers?
To reheat, place individual slices in the microwave for 15-30 seconds, or wrap them in foil and warm in a preheated oven at 300°F (150°C) for 10-15 minutes until just warm through.
Ready to Bake Your Own Caramel Apple Upside Down Cake Masterpiece?
Now that you’re armed with the ultimate “clean release” secret and expert tips, there’s nothing stopping you from creating a stunning Caramel Apple Upside Down Cake that will impress everyone at your table.
Dive into this recipe, embrace the joy of baking, and prepare for rave reviews. We can’t wait to see your flawless, delectable creations!
Caramel Apple Cake
Course: DessertCuisine: AmericanDifficulty: medium8
servings25
minutes45
minutes350
kcal60
minutesUnlock the secret to a perfectly released Caramel Apple Upside Down Cake with this easy trick. Enjoy a stunning caramel topping and tender apple slices every time. This recipe will transform your baking game!
Ingredients
1/2 cup (1 stick) unsalted butter, softened, plus extra for pan
1 cup packed light brown sugar
3 medium apples, peeled, cored, and sliced 1/4 inch thick
1 1/2 cups all purpose flour
1 1/2 teaspoons baking powder
1/2 teaspoon salt
1 teaspoon ground cinnamon
1 cup granulated sugar
2 large eggs
1 teaspoon vanilla extract
1/2 cup milk
Powdered sugar for dusting (optional)
Directions
- Prepare Your Pan for a Clean Release: Generously butter the bottom and sides of a 9 inch round cake pan. Cut a round piece of parchment paper to fit the bottom of the pan and press it into place, then butter the parchment paper thoroughly. This double layer of protection is key!
- Melt 1/2 cup of the softened butter in a small saucepan over medium heat. Stir in the brown sugar until smooth and bubbling. Pour this caramel mixture evenly into the bottom of the prepared cake pan.
- Arrange the apple slices in a decorative pattern over the caramel in the pan. You can overlap them slightly.
- In a medium bowl, whisk together the flour, baking powder, salt, and cinnamon.
- In a separate large bowl, using an electric mixer, cream the granulated sugar and remaining 1/2 cup softened butter until light and fluffy. Beat in the eggs one at a time, then stir in the vanilla extract.
- Gradually add the dry ingredients to the wet ingredients, alternating with the milk, beginning and ending with the dry ingredients. Mix until just combined.
- Gently spoon the cake batter over the apple slices in the pan, spreading it evenly.
- Bake at 350 degrees Fahrenheit for 40 to 45 minutes, or until a wooden skewer inserted into the center of the cake comes out clean.
- The Golden Rule for Flipping: This is crucial! As soon as the cake comes out of the oven, run a thin knife around the edge of the pan to loosen any stuck spots. Place a large serving plate upside down over the cake pan. Carefully, but confidently, flip the cake pan and plate together. Let it sit inverted for about 5 minutes before lifting the pan. This allows the warm caramel to fully release and settle.
- Gently lift the cake pan away. If the parchment paper sticks to the cake, carefully peel it off. Dust with powdered sugar if desired and serve warm.
Notes
- Crucial to flip immediately after baking for a clean release.