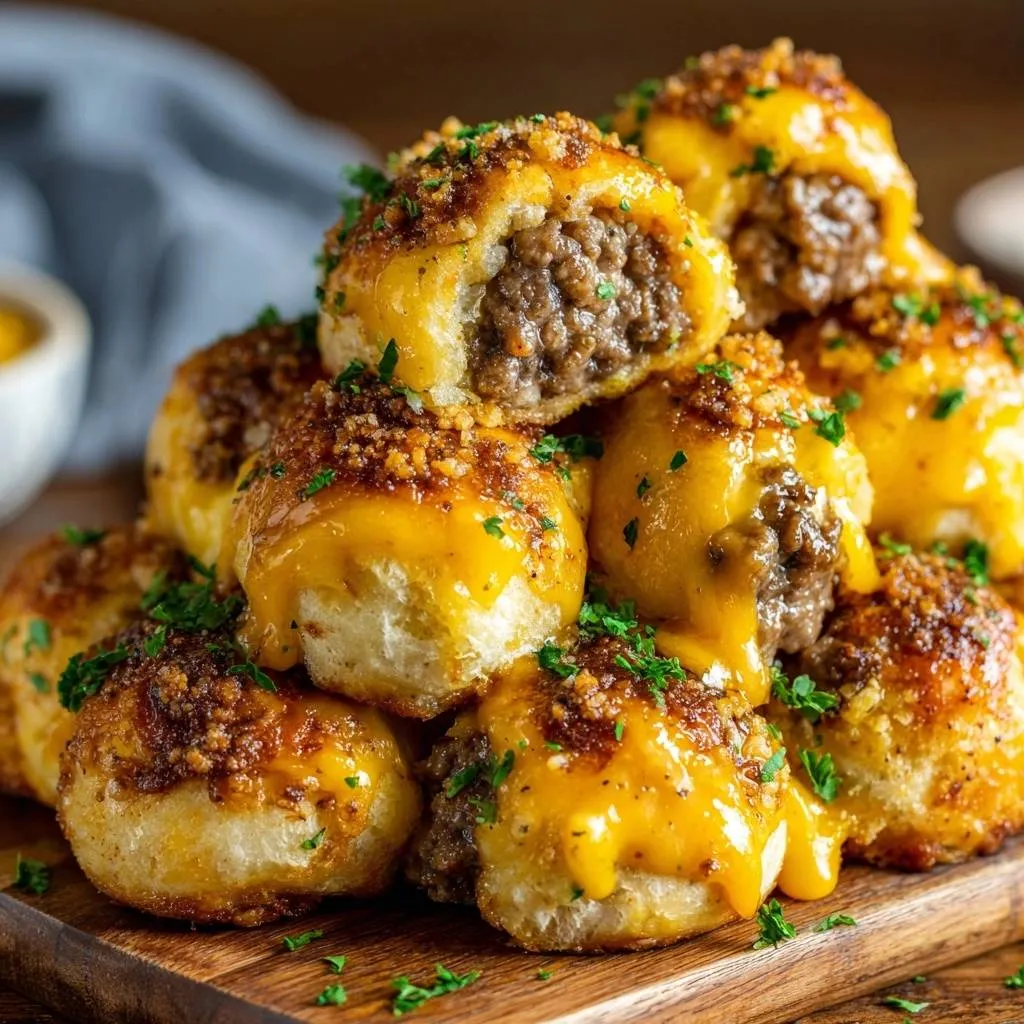
Picture this: you bite into a cheeseburger bomb expecting that perfect crunch followed by molten cheese and juicy beef. Instead, cheese oozes everywhere, leaving a soggy mess on your baking sheet. Frustrating, right? These cheeseburger bombs fix that with a double-pinch and chill method that locks everything in tight.
Therefore, you get crispy panko exteriors that shatter on the first bite, revealing gooey cheddar and seasoned beef without a single leak. In addition, the payoff hits all your senses: that satisfying snap, the warm cheese pull, and savory bursts of flavor. You’ll crave them again immediately.
Here’s the expertise pro tip: always chill the sealed balls for 15 minutes. This firms up the dough’s gluten network, creating an airtight seal that withstands the cheese’s steam pressure during baking. No more disasters, just pure cheeseburger bomb perfection.
Why Cheeseburger Bombs Fail (And How Yours Won’t)
Most cheeseburger bombs recipes lead to heartbreak. Dough tears easily, seals weaken under heat, and exteriors turn soggy from leaked fat. However, this cheeseburger bombs recipe dodges those pitfalls with science-backed fixes.
First, understand dough elasticity: refrigerated biscuits stretch without ripping if you flatten them right. Drain beef fat fully, or it greases everything up. Plus, skipping the chill step lets steam burst seams open. Our method contrasts sharply by sealing tight and crisping perfectly.
Therefore, you’ll build anticipation for the steps ahead. No more undercooked centers or bland bites. These cheeseburger bombs deliver restaurant-quality results at home.
Leak Sources in Cheeseburger Bombs
Steam from melting cheese builds massive pressure inside. Weak pinching leaves gaps, and warm dough expands instead of contracting seals. However, baking physics shows cold dough firms up, locking everything in. That’s why leaks vanish with our approach.
Juicy Beef Texture Breakdown
Go for 80/20 ground beef; it stays juicy without excess grease. Drain fat after browning to avoid soggy bombs. Over-seasoning toughens meat, but balanced powders bloom umami perfectly. Under-seasoned versions taste flat, so hit that sweet spot.
Core Ingredients for Leakproof Cheeseburger Bombs
Refrigerated biscuit dough shines here because it’s pre-proofed and stretchy, forming perfect 4-inch circles without tearing. Sharp cheddar cubes melt gooey without overpowering; block cheese cuts cleaner than pre-shredded. Panko breadcrumbs deliver airy crunch that regular crumbs can’t match.
Melted butter helps panko stick evenly, unlike oil which beads up. In addition, garlic and onion powders infuse beef with savory depth. These best cheeseburger bombs ingredients ensure every element pulls its weight. Source block cheddar for uniform cubes that prevent weak spots.
Pros of butter brushing: golden Maillard reaction for flavor. Cons of skipping: dull exteriors. Salt and pepper season beef post-browning to keep it tender.
Beef and Seasoning Precision
Use 1 pound 80/20 ground beef. Add 1 teaspoon each garlic and onion powder during cooking for even umami bloom. Season with salt and pepper at the end; early salting draws out moisture and toughens texture.
Cheese Cube Cutting Technique
Cut 8 ounces cheddar into 12 even 1-inch cubes. Uniform size distributes melt pressure evenly, avoiding bursts. Pro tip: freeze cubes 10 minutes first for firmness during sealing.
Biscuit Dough and Crunch Elements
Flatten 16 biscuits to 4 inches on floured surface. Panko’s jagged structure traps air for superior crispness over fine breadcrumbs. Melted butter’s fat content ensures coating adheres through baking heat.
Science of Sealing Cheeseburger Bombs
Biscuit dough’s gluten networks stretch like elastic bands. Double-pinch creates an airtight barrier by overlapping seams. Chilling solidifies fats, contracting those seals tight against cheese steam. During baking, even heat transfer prevents bursts.
In addition, the Maillard reaction browns panko into a golden crust at 375°F. This cheeseburger bombs science guarantees no leaks. Warm dough skips this contraction, leading to explosions. Cold sets it right.
For that same crisp finish, consider cheesy pigs in a blanket.
Double-Pinch Sealing Mechanics
Pinch the center first to anchor filling. Then seal radially outward, distributing tension evenly. This outperforms single pinches, which leave weak edges prone to steam tears.
Chill Step’s Thermal Magic
15 minutes in the fridge firms dough proteins and contracts seams. Cheese steam can’t penetrate. Room-temp balls leak disastrously as heat hits unevenly.
Step-by-Step: Building Perfect Cheeseburger Bombs
Active time clocks in at 45 minutes total. Watch for visual cues like springy dough and fragrant beef. Troubleshooting integrates right in to keep you on track. Let’s build these cheeseburger bombs right.
Phase 1: Seasoned Beef Base
Brown 1 pound beef in a skillet over medium heat with powders, salt, and pepper for 8 minutes. Drain fat completely; it prevents greasy interiors. Cool 5 minutes so it doesn’t melt cheese early. Smell that savory bloom? Perfect.
Phase 2: Dough Circles and Filling
Lightly flour surface and flatten each biscuit to a 4-inch circle. Add 1 tablespoon beef plus 1 cheese cube center. Don’t overfill; excess volume stretches dough too thin and rips seams.
Phase 3: Double-Pinch and Ball Shaping
Bring edges up, pinch center seam tight first. Work around edges smooth, then gently roll into balls. Inspect for gaps; patch any for airtight seals. Dough springs back when ready.
Phase 4: Chill, Coat, and Bake
Chill balls on a plate 15 minutes, spaced apart. Brush with 4 tablespoons melted butter, roll in 1 cup panko, pressing for adhesion. Bake at 375°F on parchment-lined sheet 18-20 minutes, rotating halfway. Internal temp hits 165°F for safety. Golden crisp signals done.
Avoiding Cheeseburger Bombs Disasters
Skipping fat drain soaks dough soggy. Uneven cheese cubes cause bursts from pressure pockets. No chill means leaks galore. Heavy dough handling toughens texture. Here’s cheeseburger bombs troubleshooting to nail it.
Overfilling bursts seals; stick to portions. Poor pinching leaves gaps. Fixes work by respecting dough physics and heat dynamics. Follow these, and disasters vanish.
Oven Temp and Timing Fixes
375°F crisps without burning fragile seals. Parchment stops sticking and promotes even browning. Bake 18-20 minutes; undercooking leaves doughy centers.
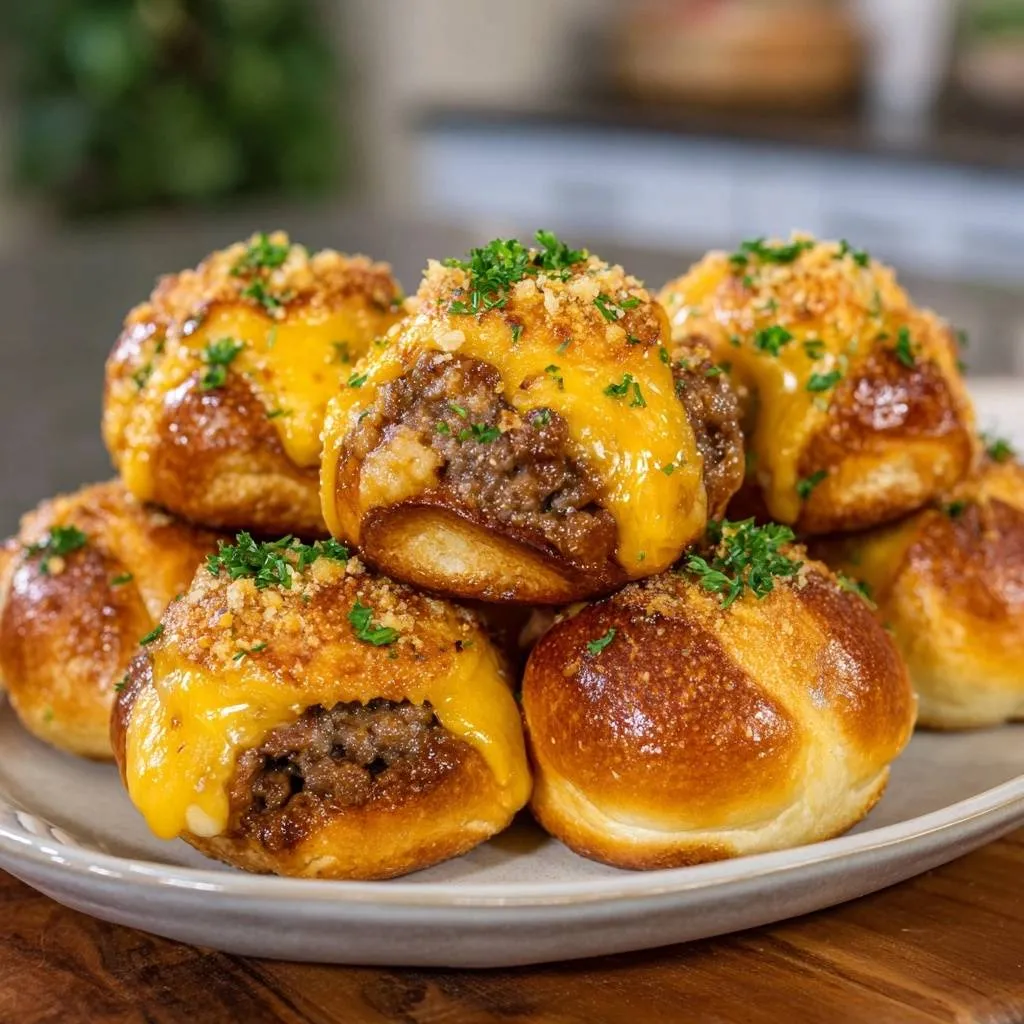
Post-Bake Garnish and Dipping
Finely chop parsley for fresh pop. Dijon mustard adds tang over yellow. Serve hot for maximum cheese ooze.
What to Serve Alongside
For your Cheeseburger Bombs, consider these complementary creations.
- Discover a new way to enjoy vegetables with this Crispy Cheesy Whole Cauliflower, offering a satisfying crunch and rich flavor.
- For another textural delight, try the Crunchy Panko Chicken Tenders, perfect for dipping and sharing.
Flavor Twists on Cheeseburger Bombs
Keep the core method; swap add-ins smartly. Add pre-cooked bacon bits for smoky crunch without bulk. Jalapeños bring heat; dice fine to fit. BBQ sauce swirl inside amps tang. These cheeseburger bombs variations stay leakproof.
Mushroom veggie version: sauté finely chopped for beefy texture. Swap cheddar for pepper jack heat. Scale to 1 tablespoon total filling per bomb. Experiment confidently.
Spicy and Loaded Upgrades
For spice, add 1/4 teaspoon cayenne to beef. Load with diced pickles for brine. Keeps volume low, seals strong. Heat levels: mild jalapeño or ghost pepper daring.
Make-Ahead Cheeseburger Bombs Guide
Assemble and freeze raw on a sheet, then bag airtight up to 3 months. Thaw overnight, chill 15 minutes, bake as directed. Store baked in fridge 3 days. Reheat at 350°F 10 minutes with a butter brush for crisp revival.
Pairing Sides with Cheeseburger Bombs
Oven fries add starch crunch. Coleslaw’s cream cuts richness with acid snap. Pickle spears echo burger vibes. Sweet potato wedges balance sweet-savory. Iced tea refreshes perfectly.
These contrasts work because crisp textures offset gooey bombs, while acids tame fat. Build a balanced plate easily.
For more balanced eats, consider a vibrant baked taco dip that avoids any watery layers.
Crunchy and Fresh Complements
For fries: toss potatoes with oil, 425°F 25 minutes. Coleslaw: shred cabbage, mix mayo-vinegar dressing. Pickles: spear dills cold. Macros balance protein-rich bombs.
Cheeseburger Bombs FAQ
Can I Air Fry Cheeseburger Bombs?
Yes, preheat air fryer to 370°F. Spray basket and bombs lightly with oil. Air fry 12-15 minutes, shaking halfway. They crisp faster than oven with less oil, but watch closely to avoid over-browning panko. Internal temp still 165°F.
Vegetarian Cheeseburger Bombs Possible?
Absolutely, swap beef for Beyond Burger or black beans mashed with seasonings. Use 1 cup cooked plant patty crumbles per recipe. Adjust drain step unnecessary; cool fully. Seals hold same, cheese melts perfectly for meat-free joy.
How to Store Leftover Cheeseburger Bombs?
Fridge airtight container up to 3 days; they reheat well. Freeze baked up to 2 months in freezer bag, thaw fridge overnight. Reheat oven 350°F 12 minutes or air fryer 370°F 8 minutes for crisp. Microwave softens but works in pinch.
Gluten-Free Cheeseburger Bombs Adaptation?
Use gluten-free biscuit dough or pizza dough alternative, like Pillsbury GF. Swap panko for GF version or crushed cornflakes. Flatten gently; GF dough breaks easier, so double-pinch extra careful. Bake same; seals hold with chill step.
Why Do My Cheeseburger Bombs Leak?
Leaks stem from weak seals, no chill, or overfilling. Checklist: double-pinch center first then edges, chill 15 minutes firm, 1 tbsp beef max per bomb. Drain beef fat fully. Even cheese cubes prevent pressure points. Retry these fixes for zero leaks.

Cheeseburger Bombs
Course: AppetizerCuisine: AmericanDifficulty: easy16
bombs25
minutes25
minutes250
kcal50
MinutesTired of cheeseburger bombs that burst open? This foolproof double-pinch and chill method seals them tight for perfect juicy beef and gooey cheese every single time.
Ingredients
1 pound ground beef
8 ounces cheddar cheese cut into 12 cubes
2 cans (16 biscuits total) refrigerated biscuit dough
1 cup panko breadcrumbs
4 tablespoons melted butter
1 teaspoon garlic powder
1 teaspoon onion powder
Salt and pepper to taste
Chopped fresh parsley for garnish
Mustard for dipping
Directions
- Cook ground beef in a skillet over medium heat with garlic powder, onion powder, salt, and pepper until browned and cooked through, about 8 minutes. Drain excess fat and let cool slightly.
- Preheat oven to 375 degrees F and line a baking sheet with parchment paper.
- Flatten each biscuit round into a 4-inch circle on a lightly floured surface.
- Spoon 1 tablespoon cooked beef into center of each dough circle, top with a cheddar cube.
- Bring edges of dough up and around filling. Pinch seams tightly together in the center first, then work around to double-seal all edges smooth. Roll gently into a tight ball. This double-pinch creates an airtight barrier.
- Place sealed balls on a plate and chill in fridge for 15 minutes. Chilling firms the dough seal, preventing any leaks during baking, guaranteed.
- Brush chilled balls with melted butter, then roll in panko breadcrumbs for that irresistible crunch.
- Arrange on baking sheet and bake 18 to 20 minutes until golden and crispy outside.
- Garnish with chopped parsley and serve hot with mustard for dipping. Bite in, the cheese melts perfectly without a single leak!
Notes
- Chilling the sealed balls for 15 minutes is key to preventing leaks. Serve with mustard or your favorite dipping sauce.