
There’s nothing quite as satisfying as the sound of a perfectly crispy bite, but achieving that ideal crunch with homemade egg rolls often felt like a mystery in my kitchen. For years, my attempts at Easy Spinach & Egg Crispy Rolls ended in frustration – either soggy, overly greasy, or both.
I finally cracked the code to truly crispy egg rolls that are never oily, thanks to a few simple yet critical techniques. This recipe will guide you to restaurant-quality results, delivering a light, flavorful spinach and egg filling wrapped in a golden, shattering shell.
For a similar crispy outcome with a different bite, check out these flaky mini cheddar quiches.
Why These Easy Spinach & Egg Crispy Rolls Will Become Your Go-To
The “No More Soggy Rolls” Promise
The secret to genuinely non-greasy egg rolls lies in meticulous preparation, not just frying. This recipe focuses on eliminating excess moisture from your spinach and egg filling and maintaining precise oil temperatures.
Crucial steps like thoroughly squeezing wilted spinach prevent steam buildup, a primary culprit for soggy wrappers. Our specific draining method ensures these homemade crispy rolls stay perfectly crisp long after frying.
Packed with Flavor: A Simple Yet Satisfying Filling
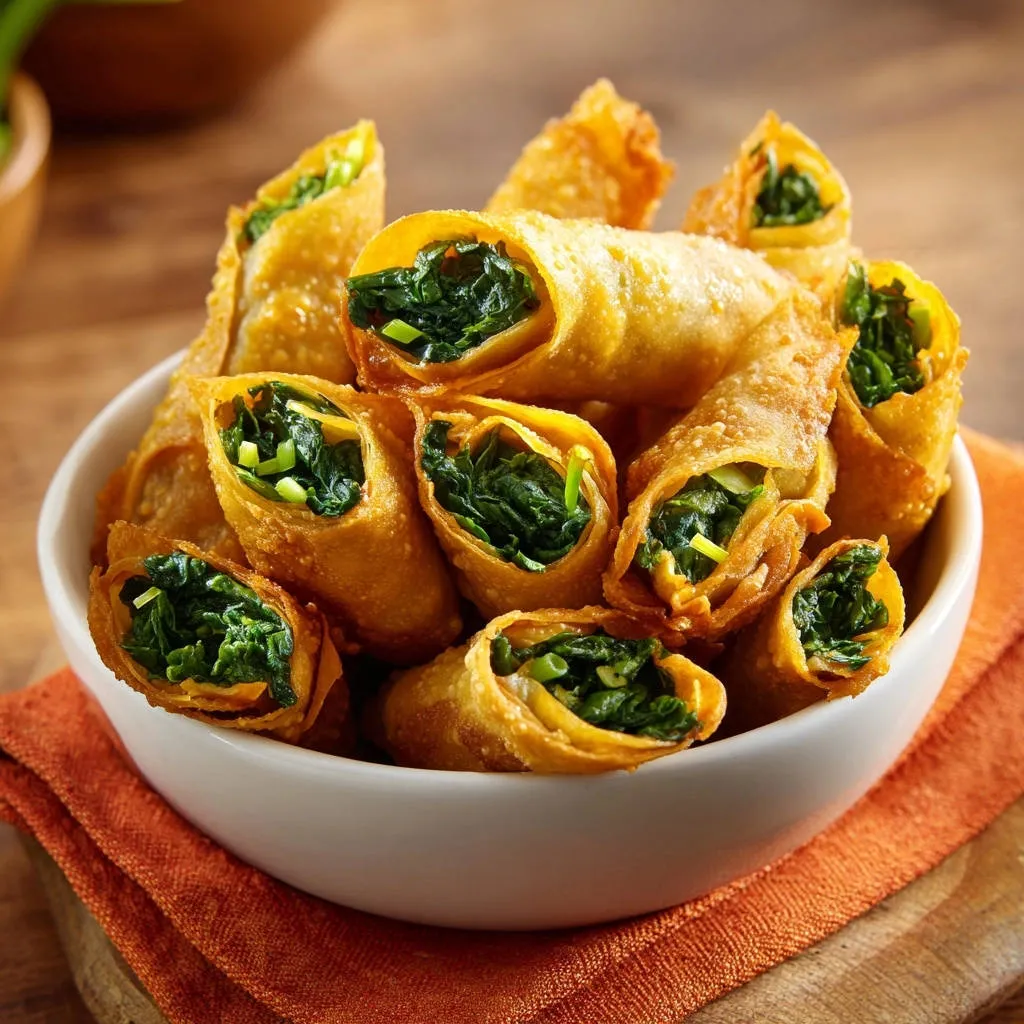
Our filling is a delightful blend of fresh spinach and perfectly scrambled eggs, creating a savory and wholesome core. This combination offers a light yet satisfying taste, making these rolls perfect for any meal or savory snack.
For perfectly fluffy eggs every time, consider the technique used in this shrimp and scrambled egg rice bowl.
The simple seasoning of salt and pepper allows the natural goodness of the spinach and egg to shine through. It’s a testament that sometimes, the best flavors come from the fewest, freshest ingredients.
Surprisingly Simple: Mastering the Crispy Fry at Home
While the goal is restaurant-quality crispiness, the process for these Easy Spinach & Egg Crispy Rolls is surprisingly straightforward. We’ve broken down each step to be incredibly easy to follow.
You’ll gain confidence in deep-frying, understanding the vital role of oil temperature and proper draining. The detailed guidance ensures even a novice can achieve beautifully golden fried rolls on their first try.
The Essential Lineup: What You’ll Need for Perfect Crispy Rolls
Core Components: Egg Roll Wrappers and the Golden Filling
Select fresh, high-quality egg roll wrappers; their thinness is essential for achieving that desirable shatter-crisp texture. Look for them in the refrigerated section of your grocery store.
For the filling, choose vibrant, fresh spinach and large, fresh eggs. These are the stars, providing both nutritional value and delightful flavor to your rolls, forming a classic spinach and egg filling.
Flavor Boosters: Seasonings and Sealing Solutions
A simple touch of salt and freshly ground black pepper is all you need to elevate the natural flavors of the spinach and egg. Taste and adjust for a perfectly balanced filling.
Plain tap water acts as your culinary glue, essential for creating a secure seal on the wrappers. This prevents any filling from escaping and ensures oil doesn’t seep in during frying.
The Frying Medium: Selecting Your Oil Wisely
For deep frying, select an oil with a high smoke point and neutral flavor, such as canola, peanut, or vegetable oil. These oils allow the wrappers to crisp up beautifully without imparting unwanted tastes.
Using the right oil is crucial for achieving that light, non-greasy egg rolls outcome. You need enough oil to submerge the rolls for even cooking and optimal crispiness.
Beyond the Ingredients: Tools for Crispy Roll Mastery
Temperature Control: The Deep-Fry Thermometer’s Role
A reliable deep-fry thermometer is your best friend for making crispy egg rolls. It’s non-negotiable for precisely maintaining the ideal 350°F (175°C) oil temperature.
Without it, your rolls risk becoming either greasy from too-cool oil or burnt on the outside and undercooked inside from oil that’s too hot. This tool guarantees consistent, perfect results.
Prepping and Draining: Bowls, Skillets, and Racks
You’ll need a heavy-bottomed pot or Dutch oven for stable oil temperatures during frying. A good skillet is essential for quickly cooking your spinach and eggs for the filling.
Mixing bowls will facilitate combining your filling ingredients, and sturdy tongs are vital for safely handling the rolls in hot oil. Most importantly, a wire rack set over a baking sheet is critical for proper draining and preventing any residual oil from making your golden fried rolls soggy.
Crafting Perfection: Your Step-by-Step Guide to Crispy Rolls
Preparing the Flavorful Heart: Mastering Your Filling
Begin by heating 1 tablespoon of vegetable oil in a skillet over medium heat. Add the fresh spinach and cook just until it wilts, which usually takes about 2-3 minutes. Overcooking can lead to excess moisture and a less vibrant flavor.
Immediately transfer the wilted spinach to a clean kitchen towel or several layers of paper towels. Squeeze out as much excess liquid as humanly possible. This critical step prevents a watery filling, which is the nemesis of crispiness.
Finely chop the squeezed spinach. In the same skillet, quickly cook the scrambled eggs until they are just set, then chop them into small pieces. Combine the chopped spinach and eggs in a bowl and season generously with salt and pepper.
Allow the entire filling to cool completely before you even think about rolling. Warm filling creates steam inside the wrapper, leading to disappointing, less crispy homemade crispy rolls.
The Art of Rolling: Ensuring a Tight, Secure Package
Lay an egg roll wrapper on a clean, dry surface, orienting it like a diamond with one corner pointing towards you. Place approximately 2 tablespoons of the cooled filling slightly below the center of the wrapper.
Fold the bottom corner of the wrapper tightly over the filling, ensuring it’s snug. Next, fold in the side corners towards the center, pressing them firmly against the filling to create a compact package.
Roll the wrapper upwards from the bottom, maintaining a firm, tight cylinder as you go. Before reaching the top corner, moisten its edge with a little water using your fingertip, then press firmly to seal. A tightly rolled egg roll is your shield against oil seepage during frying, guaranteeing non-greasy egg rolls.
The Fryer’s Dance: Achieving the Ideal Golden Crisp
Pour about 4 cups of cooking oil into a heavy-bottomed pot or Dutch oven, ensuring a depth of at least 2-3 inches. Attach a deep-fry thermometer to the side and heat the oil over medium-high heat until it precisely reaches 350°F (175°C).
Maintaining this exact temperature is paramount for achieving a golden fried rolls exterior that’s crispy and light, not greasy. If the oil is too cool, the rolls absorb too much oil; if it’s too hot, they brown too quickly without cooking through.
Carefully lower 2-3 Easy Spinach & Egg Crispy Rolls into the hot oil, ensuring you do not overcrowd the pot. Overcrowding causes the oil temperature to drop drastically, leading directly to soggy and greasy results.
The Crucial Finish: Draining for Unbeatable Crunch
Fry the rolls for 4-6 minutes, turning them occasionally with tongs, until they achieve a beautiful, even golden brown color and are undeniably crispy all over. The visual cue of rich gold signals perfection.
Using tongs, immediately remove the fried crispy egg rolls from the oil and transfer them to a wire rack that’s set over a baking sheet lined with paper towels. This setup is critical for optimal air circulation, preventing the bottoms from becoming soggy by sitting in residual oil.
Remember to maintain the oil temperature at 350°F (175°C) between batches. Repeat this process until all your rolls are fried, serving them immediately for the absolute best, most satisfying crispy texture.
Unlock the Secrets: Expert Tips for Your Crispy Rolls
Maximizing Dryness: Squeezing Spinach to Perfection
This step truly cannot be overstated. After wilting, the spinach will release a surprising amount of water. Gather it in a thick kitchen towel and twist vigorously until no more liquid drips out. This extra effort pays off in unmatched crispiness for your spinach and egg filling.
The Cool Factor: Why Chilled Filling Matters
Hot filling creates steam when wrapped, which gets trapped inside the egg roll and makes the wrapper soft. Cooling the filling completely ensures minimal steam production, giving you that desirable shatter-crisp texture every time.
Sealing the Deal: Preventing Filling Escapes
For an extra secure seal, try a very thin paste made from a little flour and water instead of just water. Apply it thinly to the top corner. This can be especially helpful if you’re new to rolling or plan to freeze your homemade crispy rolls.
Precision Frying: Maintaining Optimal Oil Temperature
Keep a close eye on your deep-fry thermometer. If the temperature drops below 350°F (175°C), briefly increase the heat and allow it to recover before adding more rolls. Conversely, if it climbs too high, temporarily remove the pot from the heat.
Smart Frying: Avoiding the Overcrowding Trap
Patience is key here. Frying in small batches ensures the oil temperature remains stable and high enough for even, crispy cooking. Trying to rush the process by adding too many rolls will only result in a disappointing, greasy outcome.
Serving Suggestion: Best Practices for Freshness
These Easy Spinach & Egg Crispy Rolls are at their absolute peak freshness and crispiness immediately after frying. Serve them hot with your favorite dipping sauce for the best experience. Consider a sweet chili sauce or a creamy dill dip.
Troubleshooting Common Crispy Roll Challenges
My Rolls Are Soggy or Greasy!
This is usually due to oil temperature being too low, causing the wrappers to absorb oil instead of quickly crisping. Ensure your deep-fry thermometer reads a steady 350°F (175°C) before adding rolls, and never overcrowd the pot.
Another common culprit is poor draining. Always use a wire rack set over paper towels. Letting rolls sit directly on paper towels or a flat surface can trap steam and oil, leading to sogginess.
Why Did My Filling Leak Out?
Leaking filling is typically a sign that the rolls weren’t sealed tightly enough or the wrappers weren’t folded securely. Make sure to moisten the top corner generously and press firmly to create a strong seal.
Also, ensure your initial fold over the filling is snug, preventing gaps for the filling to escape. A little practice with rolling technique goes a long way for perfectly contained spinach and egg filling.
The Rolls Browned Too Quickly (or Not Enough)!
If your rolls browned too quickly, your oil temperature was likely too high. They’ll look done on the outside but remain raw or undercooked inside. Use your thermometer to maintain the target 350°F (175°C).
Conversely, if they aren’t browning sufficiently, the oil is too cool. Be patient and allow the oil to come back up to temperature before adding more rolls. Consistent heat ensures golden fried rolls every time.
Plan Ahead & Preserve: Enjoying Your Crispy Rolls Anytime
Prepping the Filling in Advance
The spinach and egg filling can be prepared up to 2 days in advance. Simply cook the spinach and eggs, combine, season, and ensure it’s completely cooled.
Store the prepared filling in an airtight container in the refrigerator until you’re ready to roll. This significantly cuts down on prep time on frying day.
Freezing Unfried Rolls for Future Feasts
To freeze, arrange the unfried Easy Spinach & Egg Crispy Rolls in a single layer on a baking sheet and freeze until solid. Once firm, transfer them to a freezer-safe bag or container.
They can be fried directly from frozen; simply add an extra minute or two to the frying time until golden and cooked through. This is perfect for a spontaneous savory snack or appetizer.
Reheating to Reclaim the Crisp
For best results, reheat cooked crispy egg rolls in an oven or air fryer. Preheat to 375°F (190°C) and bake for 8-12 minutes, or air fry for 5-8 minutes, flipping halfway.
Avoid the microwave, as it will make them soggy. These methods help regain that delightful crunch, making leftovers nearly as good as fresh.
Your Top Questions About Easy Spinach & Egg Crispy Rolls Answered
Can I Bake or Air Fry These Rolls?
Yes, you can! While deep frying yields the ultimate crispiness, baking or air frying offers a lighter alternative. For baking, brush lightly with oil and bake at 400°F (200°C) for 15-20 minutes, flipping halfway, until golden.
For air frying, brush with oil and cook at 375°F (190°C) for 10-15 minutes, shaking the basket occasionally, until golden and crispy. The texture will be slightly different but still delicious.
What Are Some Dipping Sauce Ideas?
Classic choices include sweet chili sauce, duck sauce, or a simple soy-ginger dipping sauce. For a creamy option, try a sriracha mayo or a cool, refreshing creamy garlic dip. Experiment to find your favorite pairing!
Can I Use Different Vegetables in the Filling?
Absolutely! Feel free to experiment with other finely chopped, quickly cooked vegetables like shredded cabbage, carrots, or mushrooms. The key is always moisture control.
Complementary Dishes to Enjoy
Round out your meal with these flavorful chicken and vegetable recipes.
- For a satisfying poultry option, try the Garlic Ginger Chicken and Broccoli, featuring tender chicken prepared with a special technique.
- Enjoy these Sesame Chicken Meatballs served over zucchini noodles for a lighter, vegetable-forward choice.
Ensure any additions are thoroughly cooked and excess liquid is squeezed out to maintain the integrity and crispiness of your homemade crispy rolls. Wilting greens like kale or Swiss chard would also work well.
Is a Deep-Fry Thermometer Absolutely Necessary?
While not strictly “necessary” if you’re an experienced fryer with a good feel for oil temperature, a deep-fry thermometer is highly recommended for consistent results, especially for beginners. It takes all the guesswork out of achieving non-greasy egg rolls.
Without one, you can test the oil with a tiny piece of wrapper: it should sizzle immediately but not aggressively. However, for guaranteed perfection with your Easy Spinach & Egg Crispy Rolls, invest in this simple tool.
Ready to Create Your Own Crispy Roll Masterpiece?
Now that you’re armed with all the secrets, tips, and precise instructions, there’s nothing stopping you from creating the most incredible Easy Spinach & Egg Crispy Rolls right in your own kitchen.
Say goodbye to soggy disappointments and hello to perfectly golden, shatteringly crispy bites filled with a delightful spinach and egg filling. Gather your ingredients, trust the process, and prepare to impress yourself and your loved ones with this truly special savory snack.
Don’t be afraid to experiment with your own flavor twists once you’ve mastered the basics. Happy cooking, and get ready to enjoy the ultimate homemade crispy rolls!

Spinach Egg Rolls
Course: AppetizerCuisine: AsianDifficulty: easy10
egg rolls30
minutes30
minutes350
kcal60
minutesDiscover the secret to perfectly golden, crispy, and light egg rolls with this easy recipe. Say goodbye to soggy or greasy results and enjoy a delightful crunch in every bite. This foolproof method guarantees ultimate crispiness.
Ingredients
10-12 egg roll wrappers
2 cups fresh spinach, packed
2 large eggs, scrambled and chopped
1 tablespoon vegetable oil (for cooking spinach/egg)
Salt, to taste
Black pepper, to taste
4 cups cooking oil (e.g., canola, peanut, or vegetable) for deep frying
Water, for sealing wrappers
Directions
- Prepare the Filling: Heat 1 tablespoon vegetable oil in a skillet over medium heat. Add the fresh spinach and cook until wilted, about 2-3 minutes. Immediately transfer the spinach to a clean kitchen towel or a few layers of paper towels and squeeze out as much excess liquid as possible. This step is critical to prevent a watery filling which can make your egg rolls soggy. Finely chop the squeezed spinach.
- In the same skillet, cook the 2 scrambled eggs until just set. Remove from heat and chop them into small pieces. Combine the chopped spinach and chopped scrambled eggs in a bowl. Season with salt and pepper to taste. Allow the filling to cool completely before rolling, as warm filling can create steam inside the wrapper and lead to less crispy results.
- Roll the Egg Rolls: Lay an egg roll wrapper on a clean, dry surface with one corner pointing towards you, forming a diamond shape. Place about 2 tablespoons of the cooled filling slightly below the center of the wrapper.
- Fold the bottom corner of the wrapper tightly over the filling. Then, fold in the side corners towards the center, ensuring the sides are snug against the filling.
- Roll the wrapper upwards from the bottom, keeping the roll firm and tight. Before reaching the top corner, moisten the top corner’s edge with a little water using your fingertip to create a seal. Press firmly to secure the roll. Repeat this process with the remaining wrappers and filling. A tightly rolled egg roll prevents oil from seeping in during frying.
- Fry for Ultimate Crispiness (The Secret Revealed!): Pour the 4 cups of cooking oil into a heavy-bottomed pot or Dutch oven, ensuring the oil is at least 2-3 inches deep. Attach a deep-fry thermometer to the side of the pot. Heat the oil over medium-high heat until it reaches 350F (175C). Maintaining this precise temperature is key to achieving a crispy, non-greasy exterior. If the oil is too cool, the egg rolls will absorb too much oil and be greasy; if it’s too hot, they will brown too quickly and not cook through.
- Carefully lower 2-3 egg rolls into the hot oil, ensuring you do not overcrowd the pot. Overcrowding will cause the oil temperature to drop significantly, leading to soggy and greasy egg rolls.
- Fry for 4-6 minutes, turning occasionally with tongs, until they are beautifully golden brown and crispy all over.
- Crucial Draining Step: Using tongs, immediately remove the fried egg rolls from the oil and place them on a wire rack set over a baking sheet lined with paper towels. This allows for optimal air circulation, preventing the bottoms from becoming soggy by sitting in residual oil.
- Maintain the oil temperature at 350F (175C) between batches. Repeat with the remaining egg rolls until all are fried. Serve immediately for the best crispy texture.
Notes
- Crucial steps for perfectly crispy, non-greasy egg rolls include squeezing liquid from spinach, cooling the filling, tight rolling, precise oil temperature (350F/175C), and immediate draining on a wire rack.