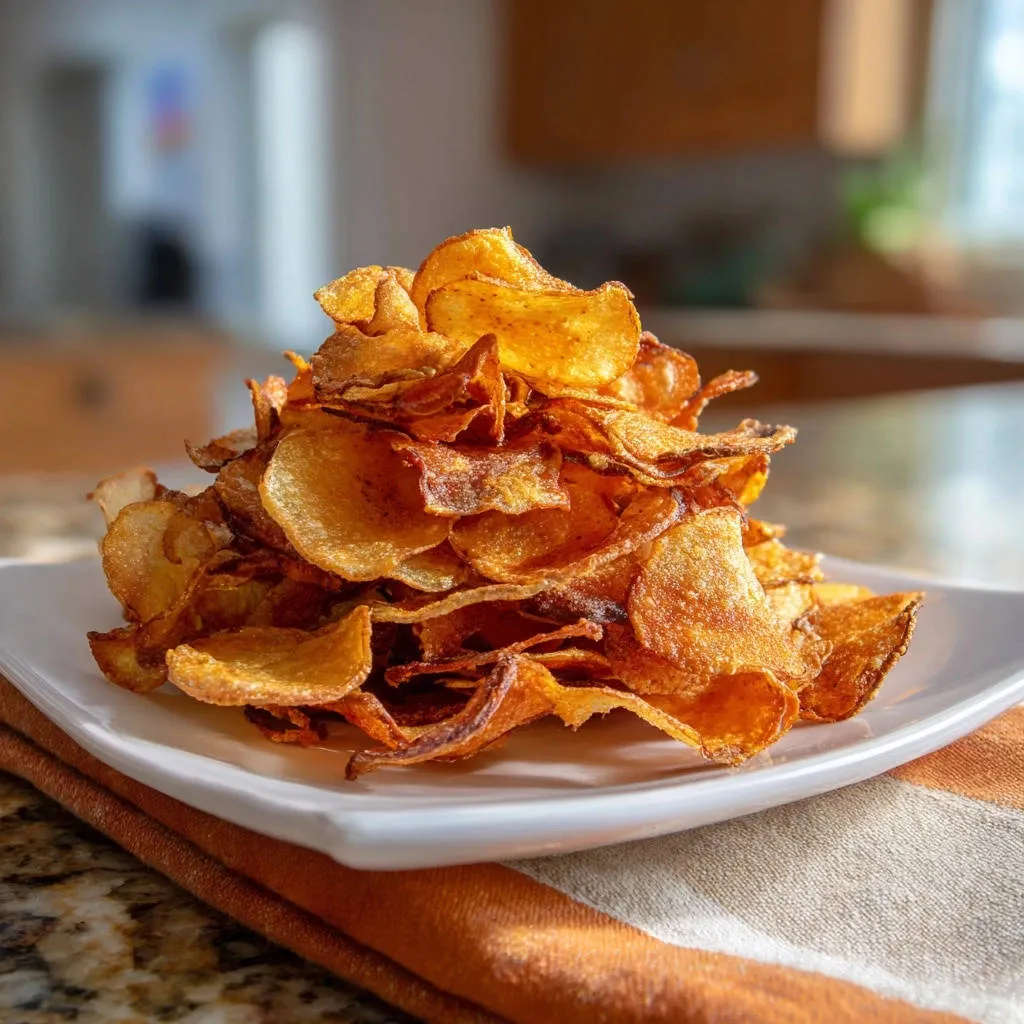
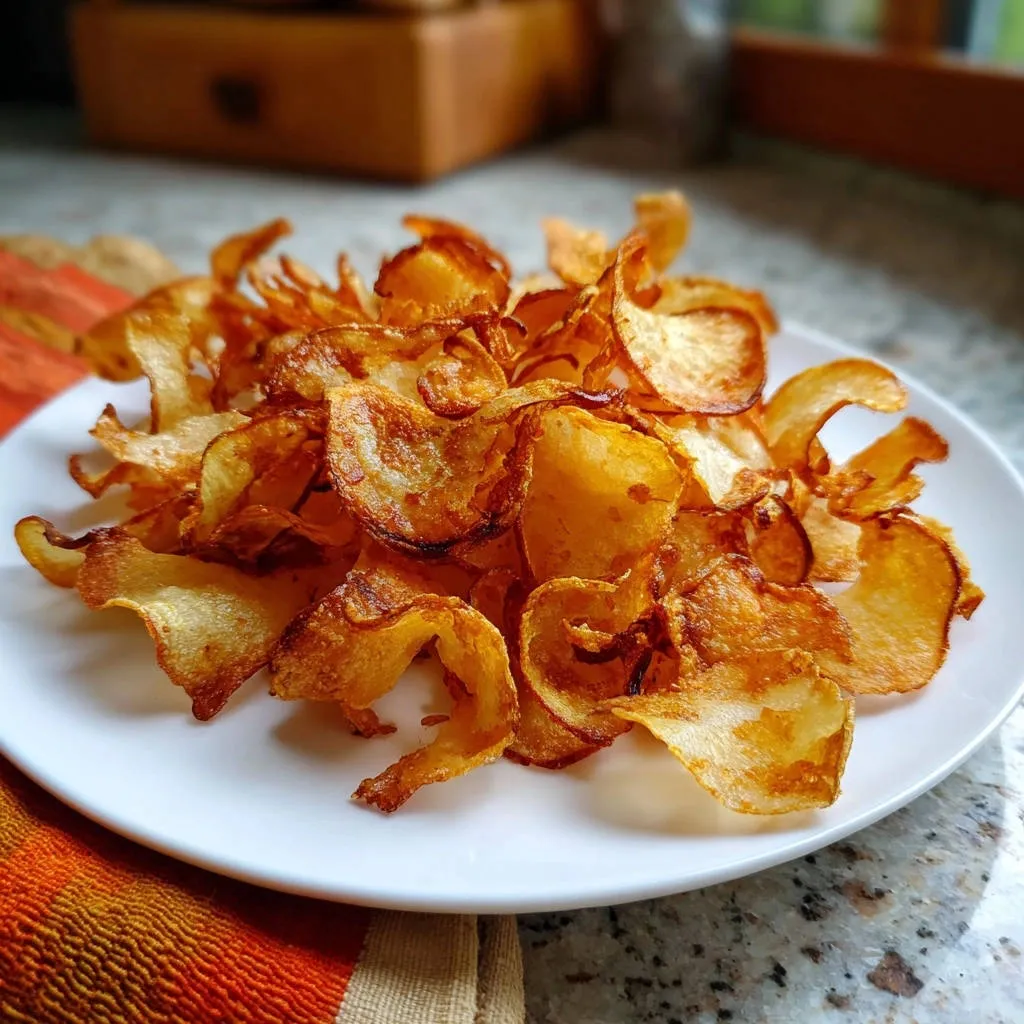
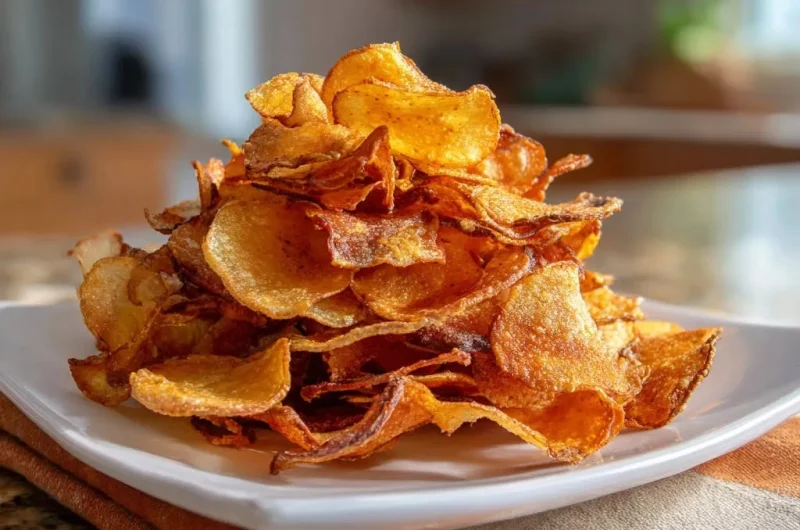
There’s nothing quite like the irresistible crunch of a perfectly fried potato chip, but achieving that elusive, shatteringly crisp texture at home often feels like a culinary puzzle. I’ve spent years perfecting the art of the ultimate homemade crispy potato chips, transforming soggy attempts into consistently golden, airy delights. This recipe provides the foolproof method you’ve been searching for, promising a batch of chips so exceptional, you’ll never buy them from a bag again.
Why This Recipe for Homemade Crispy Potato Chips Is Your New Favorite
This isn’t just another potato chip recipe; it’s a meticulously crafted guide designed to eliminate the common frustrations of home frying. We tackle the primary culprits behind disappointing chips head-on, ensuring your efforts are always rewarded with pure crunch.
The End of Soggy Chips: Guaranteed Crispiness Solved
The secret to these incredibly crispy potato chips lies in an often-overlooked but crucial step: thorough moisture removal. This recipe meticulously guides you through preparing your potatoes to be bone dry before they ever touch the oil, which is the ultimate game-changer for achieving that satisfying snap with every bite.
Simple Steps, Gourmet Results: Uncomplicated Excellence
Despite the gourmet-level outcome, the process for these homemade crispy potato chips remains remarkably simple. With clear, concise instructions and a focus on fundamental techniques, even novice fryers can achieve professional-grade results right in their own kitchen.
Freshness You Can Taste: Beyond Basic Store-Bought Quality
Forget the stale, additive-laden chips from the grocery aisle. Making your own homemade crispy potato chips delivers an unparalleled freshness, a pure potato flavor, and a textural experience that simply cannot be replicated by mass production. You control the oil, the salt, and the crispness.
Essential Tools for Your Crispy Chip Creation
While simple ingredients are at the heart of this recipe, having the right tools makes a significant difference in achieving consistent, perfect results. These three items will elevate your chip-making game.
The Mandoline: Precision Slicing for Uniformity
A mandoline slicer is highly recommended for achieving perfectly uniform 1/16-inch thick potato slices. Consistency in thickness is paramount for even cooking, ensuring every chip crisps up at the same rate and prevents some from burning while others remain undercooked.
Thermometer Talk: Achieving the Perfect Oil Temperature
An accurate kitchen thermometer is your best friend when deep frying. Maintaining the oil temperature between 325-350°F is critical for golden, crispy results and prevents greasy chips from oil that’s too cool, or burnt chips from oil that’s too hot. Precision is key here.
Drain & Cool: The Role of a Wire Rack and Baking Sheet
After frying, transferring your hot chips to a wire rack set over a baking sheet is essential. This setup allows air to circulate around the chips, draining excess oil and preventing them from steaming and becoming soggy as they cool.
The Humble Heroes: Ingredients for Perfect Potato Chips
The beauty of this recipe lies in its simplicity, requiring just a few basic ingredients. However, understanding the role of each ensures the best possible outcome for your homemade crispy potato chips.
The Star: Russet Potatoes (and Alternatives)
Russet potatoes are the ideal choice for homemade crispy potato chips due to their high starch content and low moisture. This composition leads to a light, airy, and exceptionally crisp texture once fried. Select firm, blemish-free potatoes for the best results.
While Russets are king for crispness, you can experiment with other varieties like Yukon Golds for a slightly creamier interior or even red potatoes for a beautiful color. Just note that results may vary in terms of crispiness due to their different starch levels.
The Frying Medium: Choosing the Right Vegetable Oil
For deep frying, choose a neutral-flavored vegetable oil with a high smoke point. Good options include vegetable oil, canola oil, peanut oil, or sunflower oil. These oils can withstand the high heat required for frying without breaking down or imparting undesirable flavors to your chips.
The Finishing Touch: Fine Sea Salt
Fine sea salt is perfect for seasoning homemade crispy potato chips. Its smaller granules adhere beautifully to the warm, freshly fried surfaces, providing an even distribution of flavor. You can always add more to taste after frying.
The Golden Rule: Unlocking Shattering Crispy Potato Chips Every Time
This is it-the absolute linchpin of truly exceptional homemade crispy potato chips. The entire success of your efforts hinges on this one critical step. Mastering moisture removal transforms good chips into truly unforgettable ones.
The Essential Step: From Soaked to Bone Dry Potatoes
After slicing, soaking your potatoes in cold water and rinsing repeatedly is crucial to remove excess starch. This prevents the slices from sticking together during frying and contributes significantly to their final crispiness. Continue rinsing until the water runs mostly clear.
The real magic happens after rinsing: meticulous drying. Spread the potato slices in a single layer over clean kitchen towels or paper towels and press firmly with more towels to absorb every last bit of surface moisture. This isn’t just about patting dry; it’s about making them as bone dry as possible. Any lingering water will create steam, preventing crisping and causing hazardous oil splattering. If time allows, an extra 10-15 minutes of air drying ensures they are truly ready for their oil bath.
Your Step-by-Step Journey to Perfectly Fried Potato Chips
- Prepare Your Potatoes: Slice and Rinse
Start by washing and peeling your Russet potatoes, or leave the skins on for a rustic touch. Using a mandoline slicer, carefully slice the potatoes into uniform 1/16-inch thick rounds. This consistent thickness is absolutely vital for ensuring every chip cooks evenly and crisps up perfectly.
Immediately place the sliced potatoes in a large bowl and cover them with fresh cold water. Swish them around vigorously to release starch. Drain the water, refill with fresh cold water, and repeat this process 2-3 more times until the water remains mostly clear. This crucial step prevents sticking and lays the groundwork for ultimate crispness.
- The Crucial Drying Process: No Moisture Left Behind
After the final rinse, drain the potato slices thoroughly. Spread them out in a single layer over several clean kitchen towels or a thick layer of paper towels. Press firmly with more towels on top, absorbing as much moisture as possible. You want them to feel completely dry to the touch.
This step is the most important for achieving guaranteed crispiness and preventing dangerous oil splattering. If you have extra time, let the dried slices air dry for an additional 10-15 minutes; the drier they are, the better your chips will be.
- Heat the Oil: Reach the Sweet Spot for Frying
Pour 4 cups of vegetable oil into a large, heavy-bottomed pot or Dutch oven. Heat the oil over medium-high heat until it reaches a consistent temperature between 325-350°F (160-175°C). Using a kitchen thermometer is highly recommended to monitor this precise temperature, which is essential for optimal frying results.
- Fry in Batches: Prevent Overcrowding
Once the oil is at temperature, carefully add a single layer of potato slices to the hot oil. Do not overcrowd the pot. Overcrowding will drastically lower the oil’s temperature, leading to soggy, greasy chips instead of crisp ones. Work in small batches to maintain optimal frying conditions.
- Observe for Perfection: Golden Brown and Bubbling
Fry each batch of chips for 3-5 minutes, stirring occasionally with a slotted spoon to ensure even cooking. The chips are ready when they turn a beautiful golden brown and the bubbling in the oil significantly subsides, indicating that the moisture has cooked out. They will continue to crisp slightly as they cool.
- Drain and Season Immediately: The Final Flourish
Using the slotted spoon, carefully remove the golden-brown chips from the hot oil. Transfer them immediately to a wire rack set over a baking sheet to drain any excess oil. This prevents them from sitting in oil and becoming greasy.
While still warm from the fryer, immediately sprinkle the chips generously with fine sea salt. The warmth helps the salt adhere perfectly, ensuring maximum flavor with every crunchy bite.
- Repeat and Enjoy: Fresh Batches Every Time
Allow the oil to return to the correct temperature (325-350°F) before adding the next batch of potato slices. Repeat the frying and seasoning process until all your potato slices are transformed into crispy perfection. Serve your homemade crispy potato chips immediately for the absolute best taste and texture.
Chef’s Secrets: Elevate Your Potato Chip Game
Achieving truly shatteringly crispy potato chips consistently involves a few key principles. Keep these expert tips in mind to ensure every batch is a triumph.
Don’t Skip the Rinse (and Repeat): Thorough starch removal is non-negotiable. Rinse until the water is completely clear to prevent sticking during frying and achieve optimal crispiness. This step is a foundational component for the perfect crunch.
Drying is Divine: The dryer the potato slices are before hitting the oil, the crispier your chips will be. This is the single most important step for success, directly impacting the final texture and preventing soggy, disappointing results. Embrace the towel-drying!
Temperature Matters: Consistent oil temperature prevents burnt edges and soggy centers. Invest in a good thermometer and diligently adjust the heat as needed between batches to maintain that sweet spot of 325-350°F. Proper temperature control is the mark of an expert fryer.
Salt Smart, Salt Hot: Seasoning the chips immediately after they come out of the oil ensures the salt adheres beautifully for maximum flavor. Use fine sea salt for even distribution and a classic chip experience. For a fun twist, try seasoning with a homemade blend, much like you might for crispy garlic parmesan potato wedges.
Troubleshooting Common Homemade Potato Chip Pitfalls
Even with the best instructions, sometimes issues arise. Here’s how to tackle common problems and get back on track to crispy success.
Problem: My Chips Are Soggy or Chewy
This is almost always due to insufficient drying of the potato slices before frying, or oil temperature that is too low. Ensure potatoes are bone dry and maintain oil between 325-350°F using a thermometer. Patience in drying and diligent temperature monitoring are your solutions.
Problem: My Chips Are Sticking Together
Insufficient rinsing of starch, or overcrowding the pot during frying, can cause chips to clump. Rinse potatoes thoroughly until the water is clear, and always fry in small, single-layer batches to give them ample space to cook without touching. This allows for even crisping.
Problem: Chips Are Too Dark on the Edges but Still Soft
This indicates the oil temperature is too high. The outside is cooking too fast before the inside has time to crisp fully. Lower the heat slightly and ensure consistent temperature, reducing frying time if necessary. A thermometer will guide you to that perfect golden hue.
Your Homemade Crispy Potato Chips Questions Answered
Curious about variations or practicalities? Here are answers to some common questions about making homemade crispy potato chips.
Can I Use Different Kinds of Potatoes?
While Russets are highly recommended for their high starch content, which yields the crispiest results, Yukon Golds or even red potatoes can work. Be aware that the texture and crispiness may vary slightly due to their different starch levels and moisture content. You’ll still get delicious chips, just a slightly different bite.
What About Using an Air Fryer for Crispy Potato Chips?
While an air fryer can produce crispy results with less oil, the texture will be distinct from deep-fried chips. Air-fried chips often have a less uniform crispness and can resemble roasted potatoes more closely. This recipe focuses on traditional deep-frying for that classic, shatteringly crisp bite that only hot oil can achieve.
How Do I Store Leftover Homemade Potato Chips?
Store completely cooled chips in an airtight container at room temperature for up to 3-4 days. To help maintain crispness, you can place a paper towel at the bottom of the container to absorb any lingering moisture, which helps prevent them from becoming stale or soft. For maximum longevity, consider a container that minimizes air exposure.
Can I Make These Ahead of Time for Parties?
For optimal crispness, homemade potato chips are truly best enjoyed immediately after frying. While you can store them, they do tend to lose some of their initial crispiness over time. Frying in batches just before serving is ideal for the ultimate experience, delivering that fresh-from-the-fryer taste that will impress your guests. This is similar to how you’d want to serve perfectly crispy skillet potatoes and onions, right off the stove.
Serving Suggestions & Storage Secrets for Freshness
Once you master the basic homemade crispy potato chips, the fun really begins! Explore new flavors and ensure your hard work stays delicious.
Creative Flavor Pairings: Beyond Just Salt
Elevate your chips by experimenting with different seasonings beyond just salt. Try smoked paprika, garlic powder, onion powder, a dash of cayenne pepper for a spicy kick, or even a sprinkle of nutritional yeast for a cheesy flavor. A mix of dried herbs like rosemary and thyme also adds a gourmet touch.
Serve your chips alongside your favorite homemade dips, as a crunchy side to burgers or sandwiches, or simply enjoy them as a satisfying snack on their own. They’re perfect for any occasion, from a casual movie night to a backyard barbecue.
Storing Your Crispy Masterpiece: Keeping the Crunch Alive
To prolong the crispness of your homemade potato chips, ensure they are completely cooled before storing them. Store them in an airtight container at room temperature. For a quick refresh of texture, you can briefly warm them in a low oven (around 250°F/120°C) or an air fryer for a few minutes until re-crisped. This method revitalizes their crunch, similar to how you might re-crisp crispy baked onion rings.
Ready to Impress? Share Your Homemade Crispy Potato Chips Masterpiece!
Now that you’ve unlocked the secret to perfectly golden, shatteringly crisp homemade potato chips, you’re ready to delight friends and family with this irresistible snack. Say goodbye to mediocre store-bought bags and hello to a truly superior, fresh-from-the-fryer chip experience that showcases your culinary prowess.
Don’t forget to share your culinary creations with us! We love seeing your homemade triumphs and delicious results. Happy frying and enjoy every crunchy bite!
Potato Chips
Course: SnacksCuisine: AmericanDifficulty: easy4
servings30
minutes20
minutes500
kcal50
minutesDiscover the foolproof method for making perfectly golden, shatteringly crisp homemade potato chips every single time. This recipe reveals the simple secret to achieving that ultimate crunch, transforming your snack time into a gourmet experience.
Ingredients
2 large Russet potatoes
4 cups vegetable oil, plus more if needed for deep frying
1 teaspoon fine sea salt, plus more to taste
Directions
- Wash and peel the potatoes, or leave skins on for a rustic chip. Using a mandoline slicer or a very sharp knife, slice the potatoes into uniform 1/16 inch thick rounds. Consistency in thickness is key for even cooking.
- Place the sliced potatoes in a large bowl and cover them with cold water. Swish them around to release excess starch. Drain the water, refill with fresh cold water, and repeat this process 2-3 more times until the water runs mostly clear. This step is crucial for preventing sticking and promoting crispiness.
- This is the secret for guaranteed crispiness! After the final rinse, drain the potatoes thoroughly. Then, spread the potato slices in a single layer over clean kitchen towels or paper towels. Press firmly with more towels on top to remove as much moisture as possible. You want them to be as dry as possible; any lingering moisture will prevent crisping and cause oil splattering. Let them air dry for an additional 10-15 minutes if time allows, or until they feel completely dry to the touch.
- Heat the vegetable oil in a large heavy-bottomed pot or Dutch oven over medium-high heat until it reaches 325-350 degrees F. A kitchen thermometer is highly recommended for accuracy.
- Carefully add a single layer of potato slices to the hot oil, ensuring not to overcrowd the pot. Overcrowding will lower the oil temperature and result in soggy chips.
- Fry the chips for 3-5 minutes, stirring occasionally with a slotted spoon, until they are golden brown and bubbling subsides. They will continue to crisp up slightly as they cool.
- Using the slotted spoon, carefully remove the chips from the oil and transfer them to a wire rack set over a baking sheet to drain any excess oil.
- While still warm, immediately sprinkle the chips generously with salt.
- Repeat the frying process with the remaining potato slices, ensuring the oil returns to the correct temperature between batches.
- Serve immediately and enjoy your perfectly crispy homemade potato chips!
Notes
- Thoroughly drying the potato slices is the crucial step for guaranteed crispiness and preventing oil splattering.